
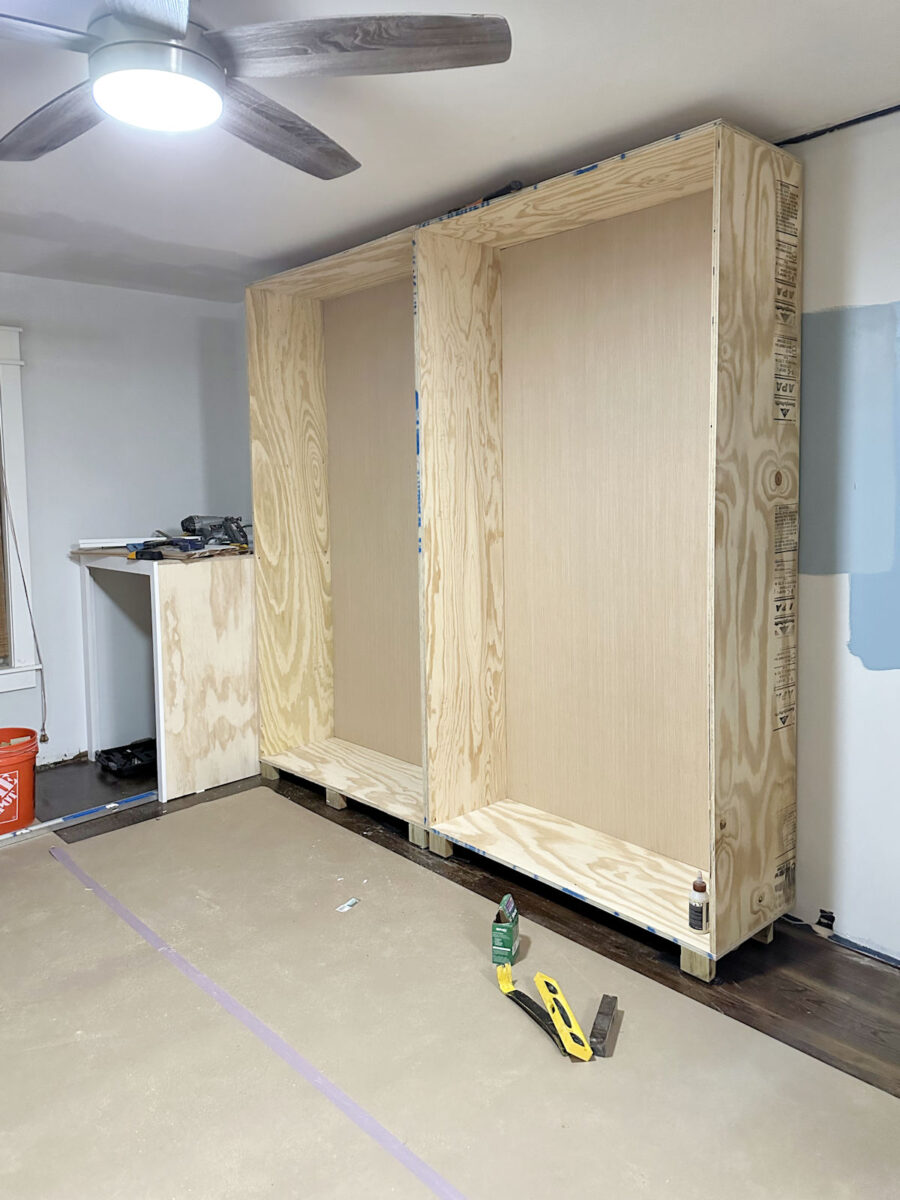
I told y’all in yesterday’s post that I had to be away for a couple of hours yesterday afternoon, so I wasn’t so sure how much I’d get done on the closet, but I was going to do my best to get the other two closet cabinets built for the right side of the room before I went to bed last night. Well, I didn’t get them built, but I did do a pretty important thing yesterday. I got the center cabinet — the one that will have the pretty wallpaper and mirror — wired for lighting.
This is only one part of what will be a very long series of posts on my biggest built yet — my walk-in closet and laundry combination. If you missed the previous post, you can find that here: Building My Closet Cabinets – Part 1
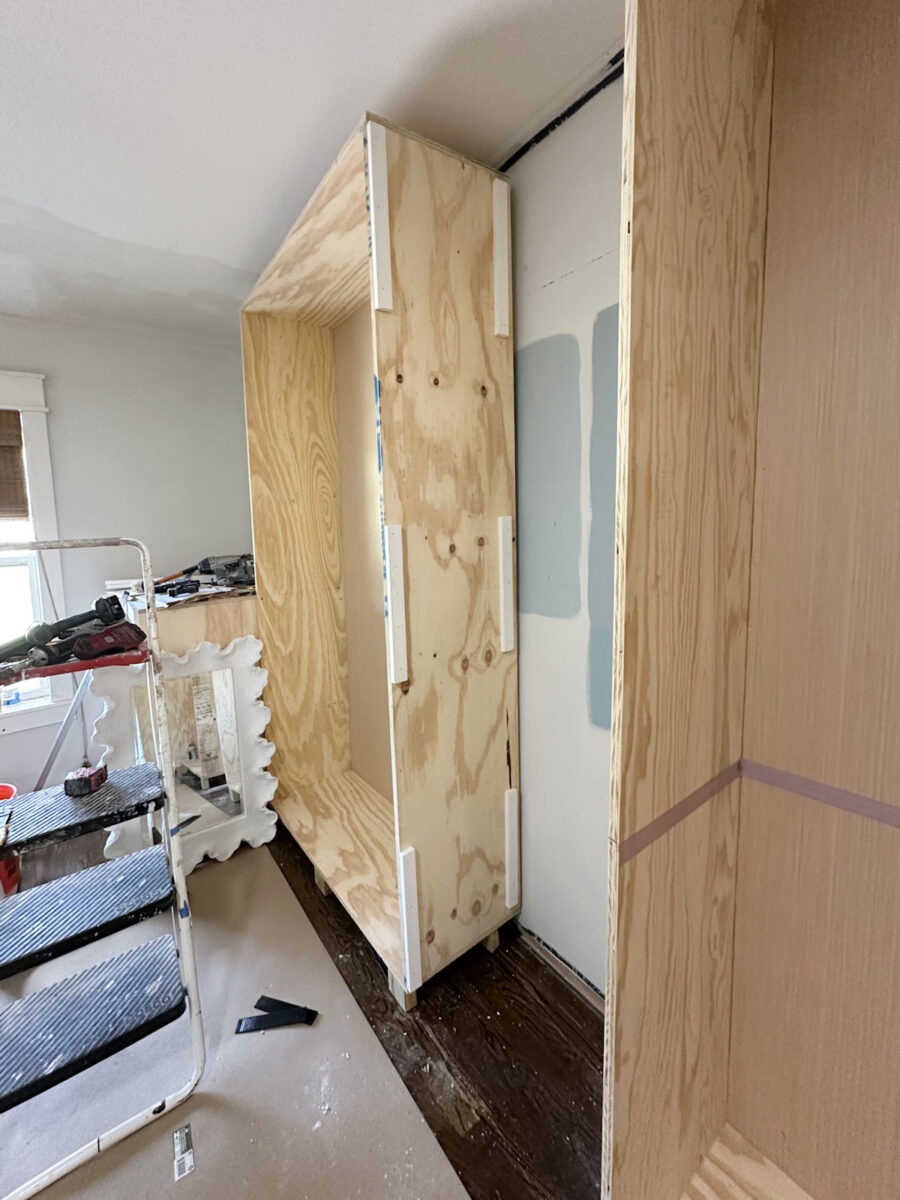
I had been so focused on the building process that I got ahead of myself and hadn’t even given the lighting any thought. So at the end of the day on Sunday, after building two cabinet sections, I just shoved them together and screwed them to each other. And that’s what I showed y’all in yesterday’s post.
But after my mom read yesterday’s post, she texted me and asked, “Are you going to have sconces by your mirror? Just wondering about how you will run electricity.” Oh, yeah! Electricity! I’m definitely going to need some of that!
I’m so glad she said something because I was just so focused on building, and it would have been so frustrating to get any further along in the building process and have all of my cabinets attached to each other and then realize that I had overlooked the wiring. But since I only had two cabinets screwed to each other at this point, this was the time to make that final decision.
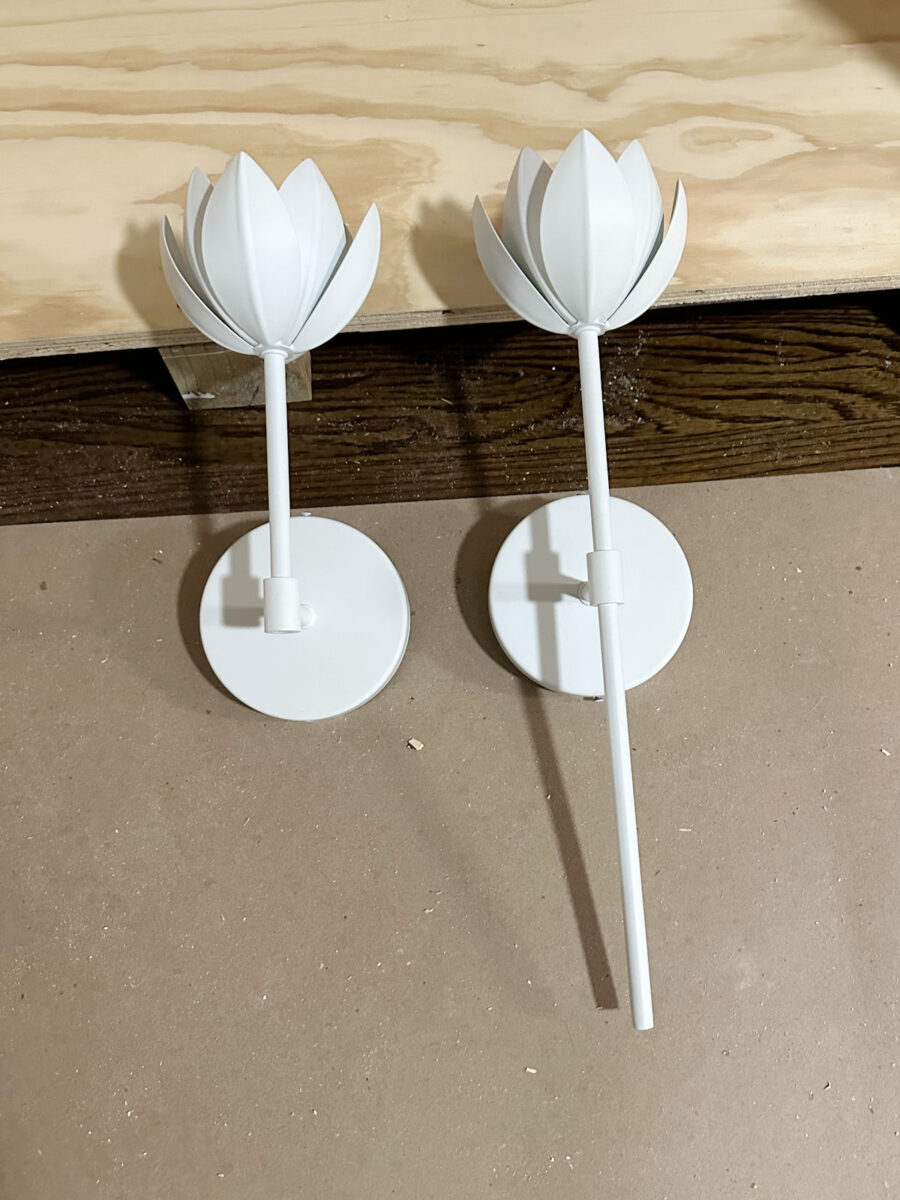
I knew I had two flower sconces that I bought a while back that I had purchased to use in the guest bathroom, but I knew that at this point, they would be much better suited for my closet. So I got them out of storage, opened the box, took out one of the sconces, and immediately got so excited. I thought to myself, “That’s not how I remember these sconces looking. These are so much cuter than what I remember!” And then I realized that the sconce right out of the box was missing a piece. There was a long piece that attaches to the bottom and adds about seven inches to the height of the sconce. So I screwed that piece into one of the sconces, and I didn’t like it nearly as much. I LOVE the shorter version so much more!
Here’s the side view of the shorter version…
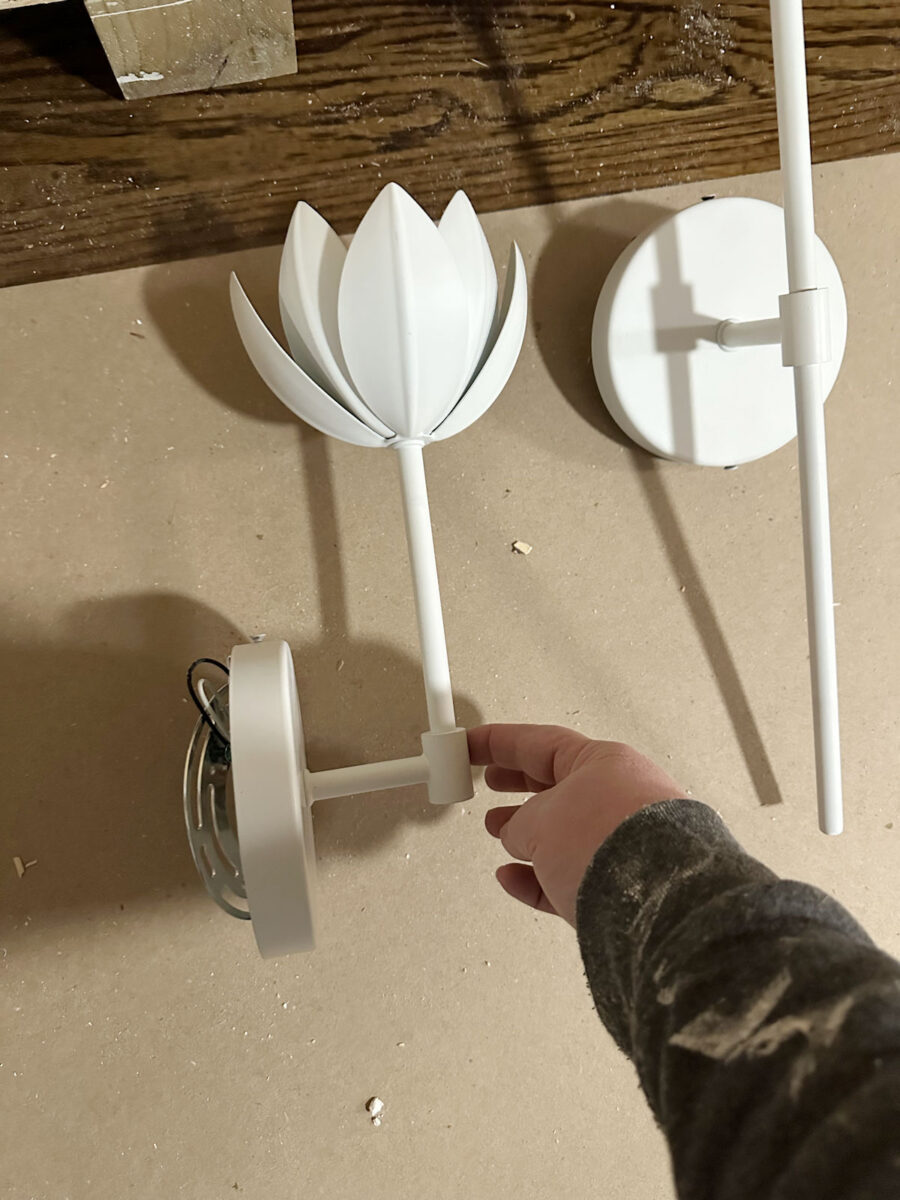
And here’s a side view of the sconce with the lower piece attached…

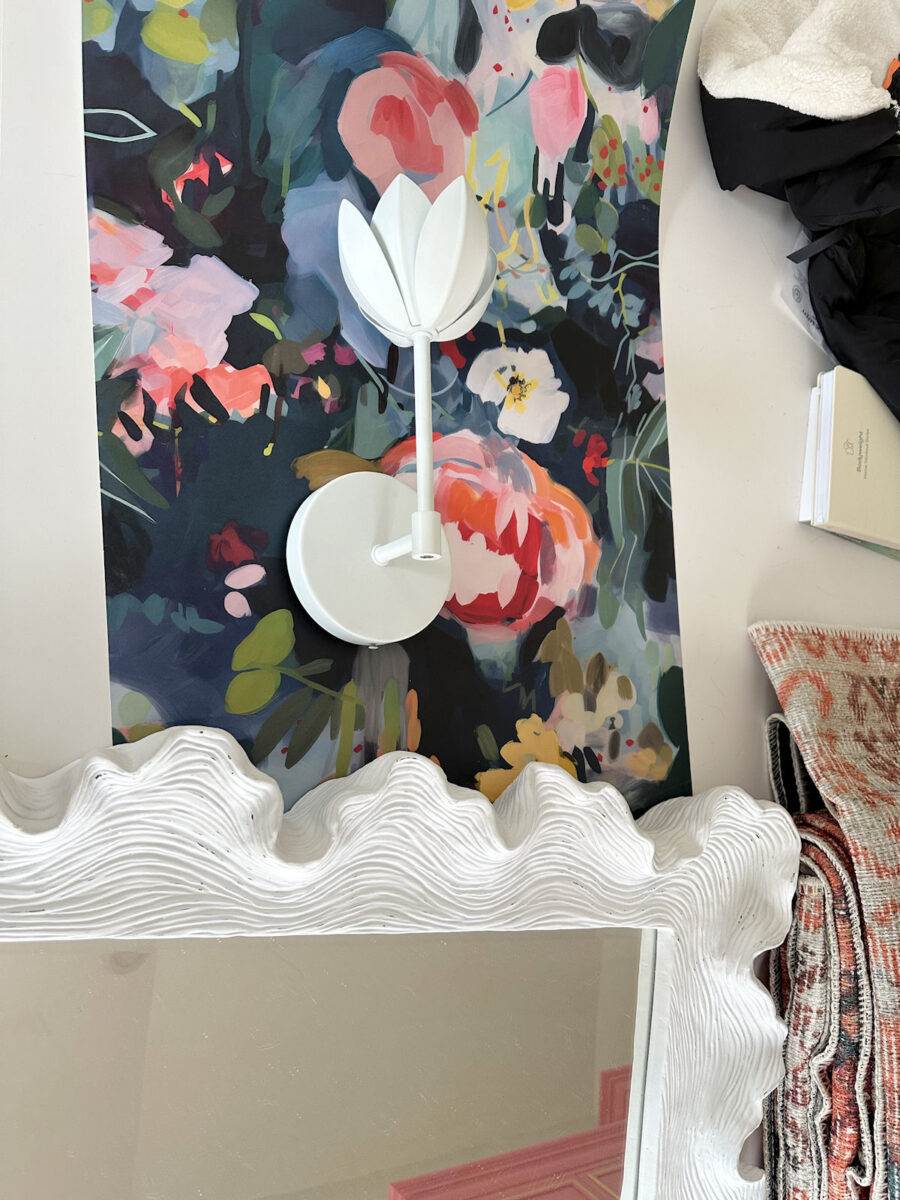
That shorter version looks so much better to me. So then I got really excited to test it out with the wallpaper, and I absolutely loved it!
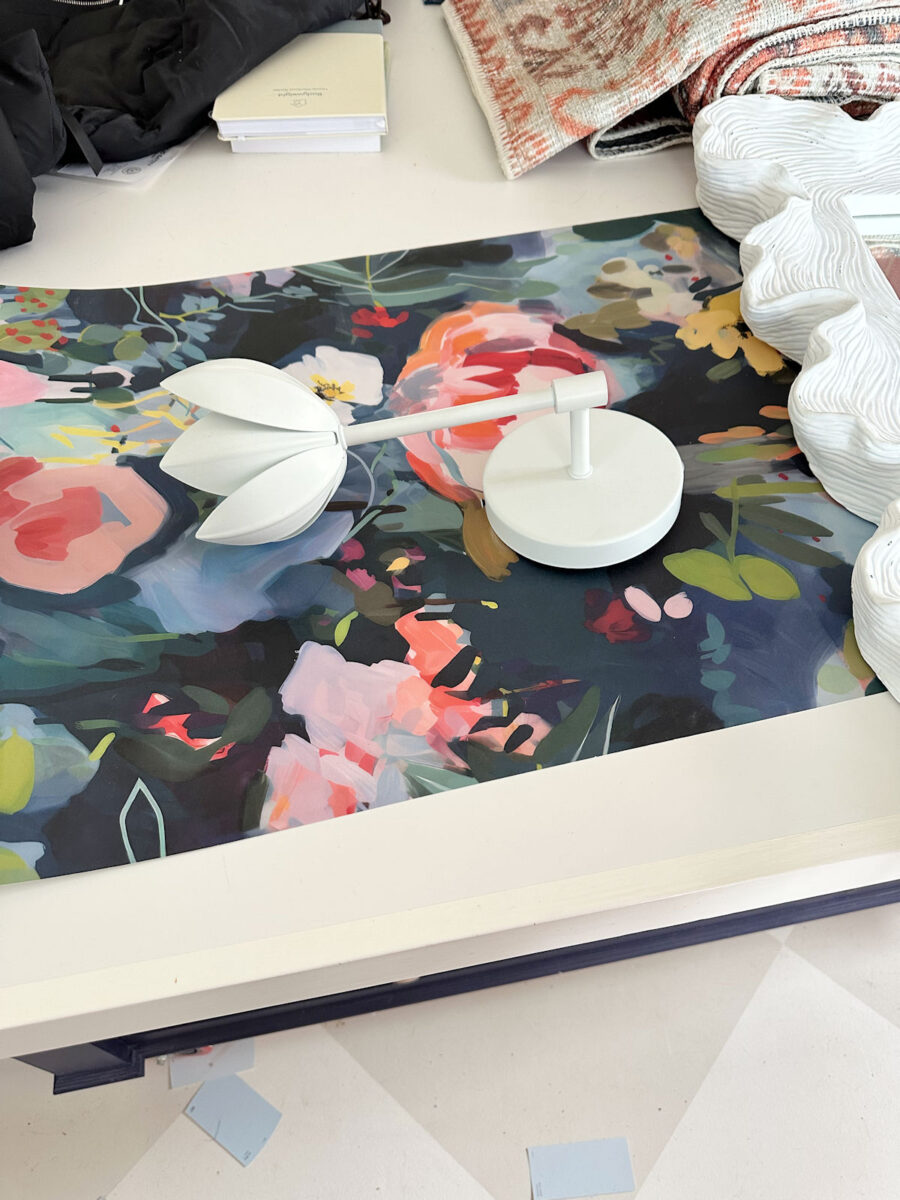
I tried to get a picture showing the sconce and wallpaper going the right direction. It’s an awkward angle, but this gives us a better idea of what it will look like against the wallpaper.
So then I needed to decide exactly where I wanted the sconces. Do I want them on the back of the unit next to the mirror? Or do I want them attached to the sides of the cabinet? So I took some time to mark off where the lower drawer section would go with the countertop height at 36 inches, and then where the mirror would hang with its center at 60 inches high.
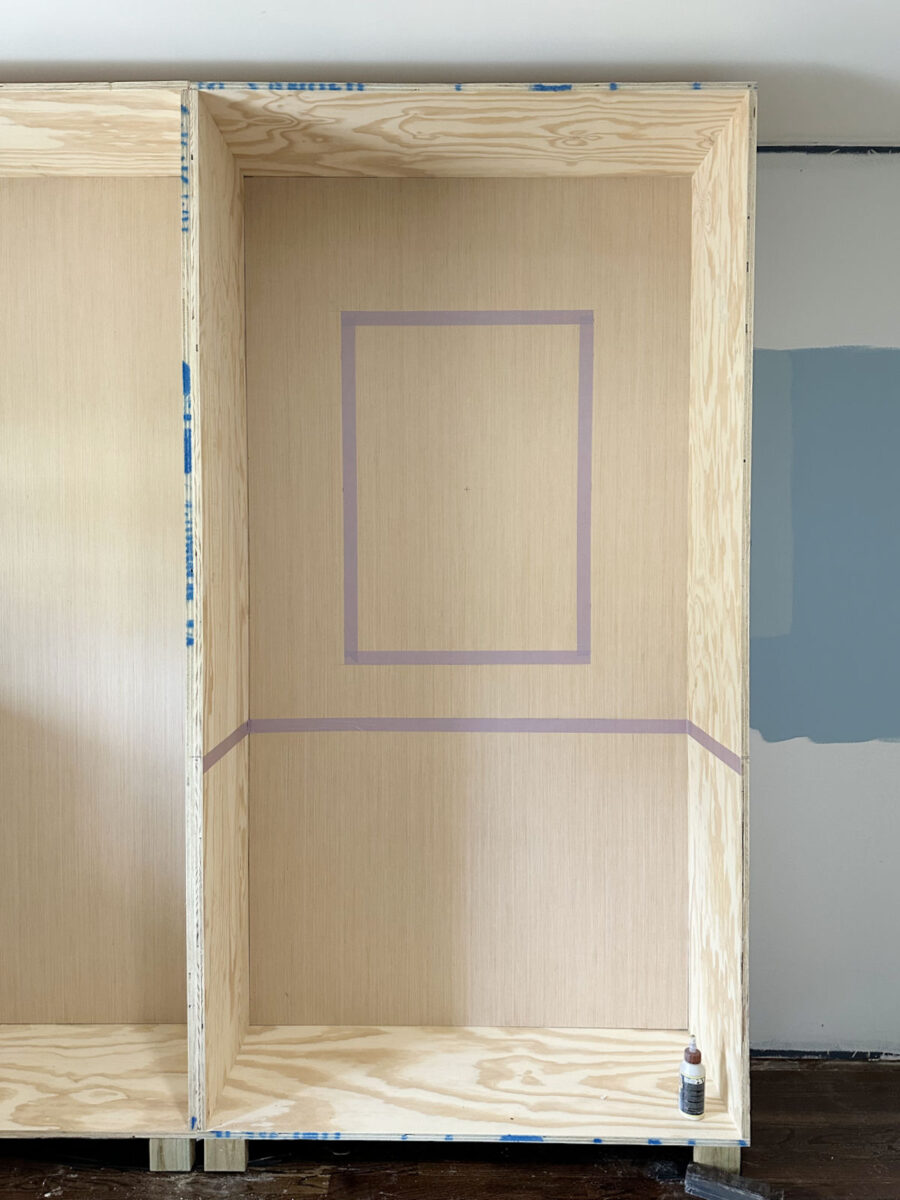
And then I used those measurements to determine the placement of the sconces. Here’s the space they would have to fit into if I placed them next to the mirror…
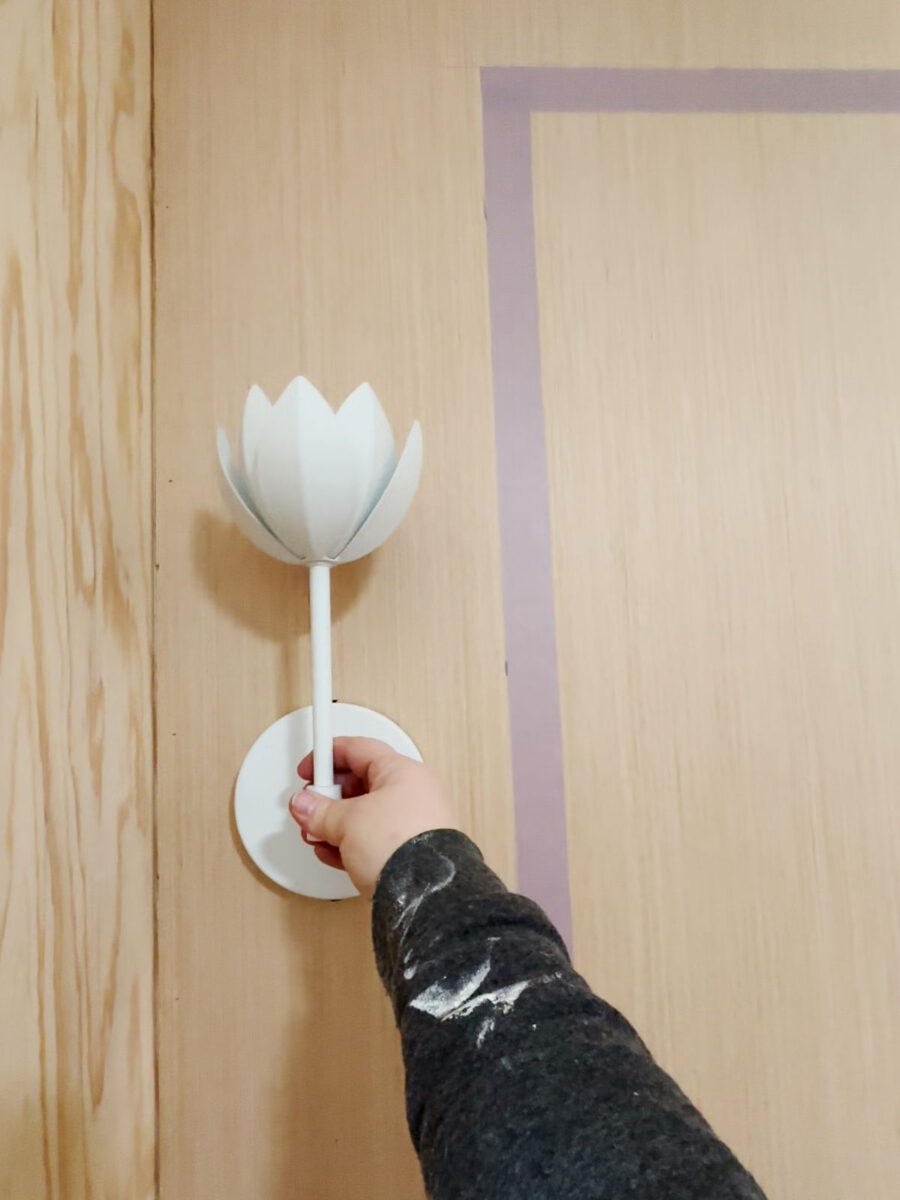
And here’s what they would look like on the side…
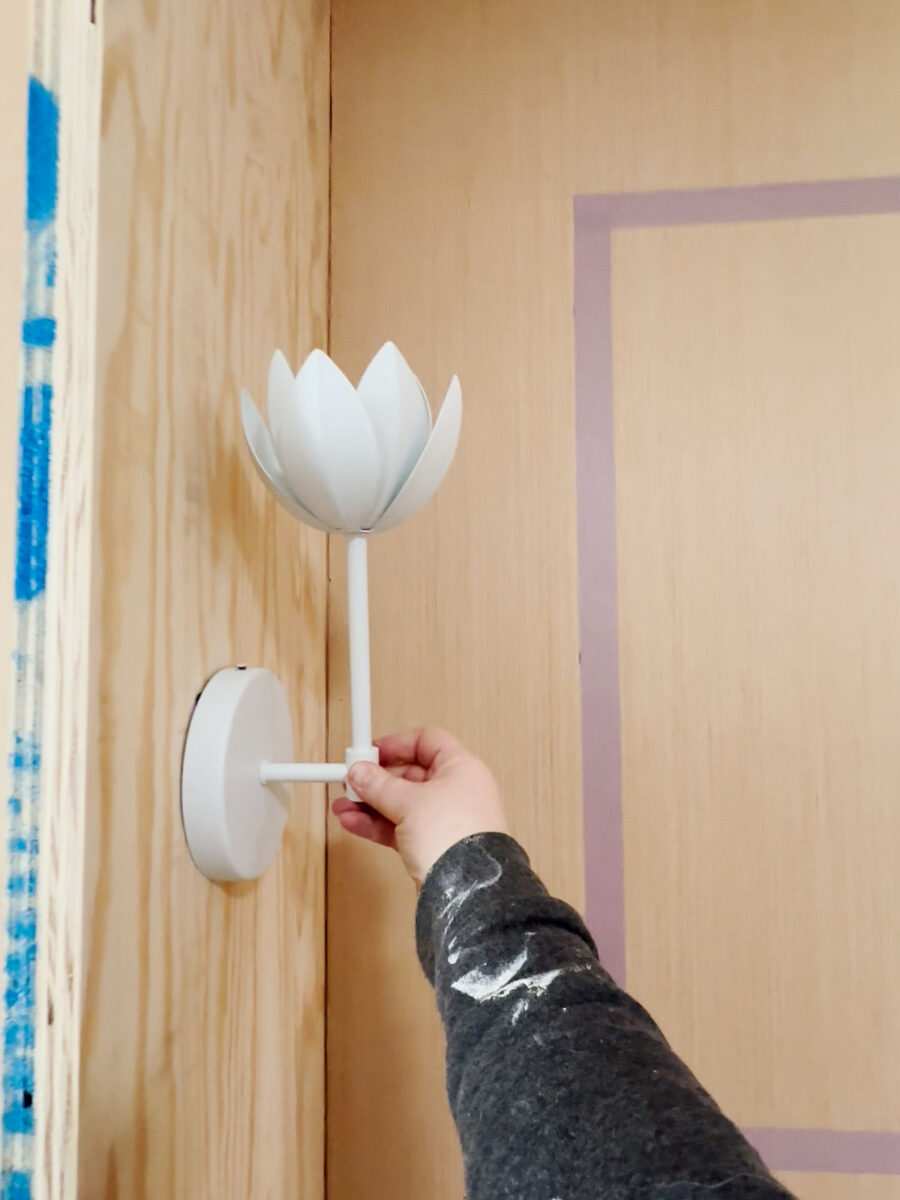
I decided that I like them on the sides much better. So then I had to figure out how to get wiring to the sides. I ended up having to unscrew the boxes from each other. (Ugh! After I had gone to all that trouble to get them level, plumb, and shimmed so that they would fit together perfectly!) Then I cut six pieces of 1×2 lumber that I had on hand, and I nailed those pieces to the side of the first unit to create a space for wiring.
And then I had to venture up into the attic. Y’all know how much I hate going into the attic. I avoid going up there if at all possible, but this had to be done.
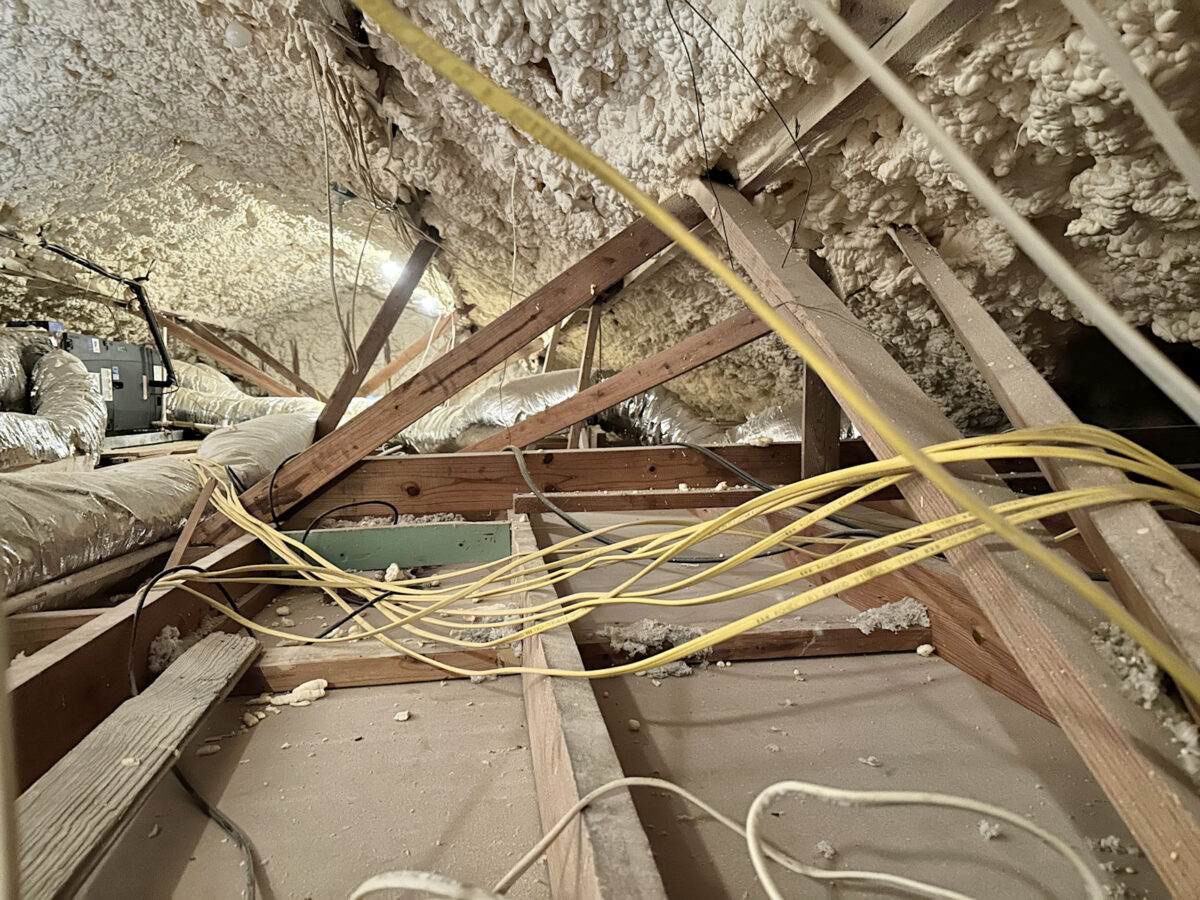
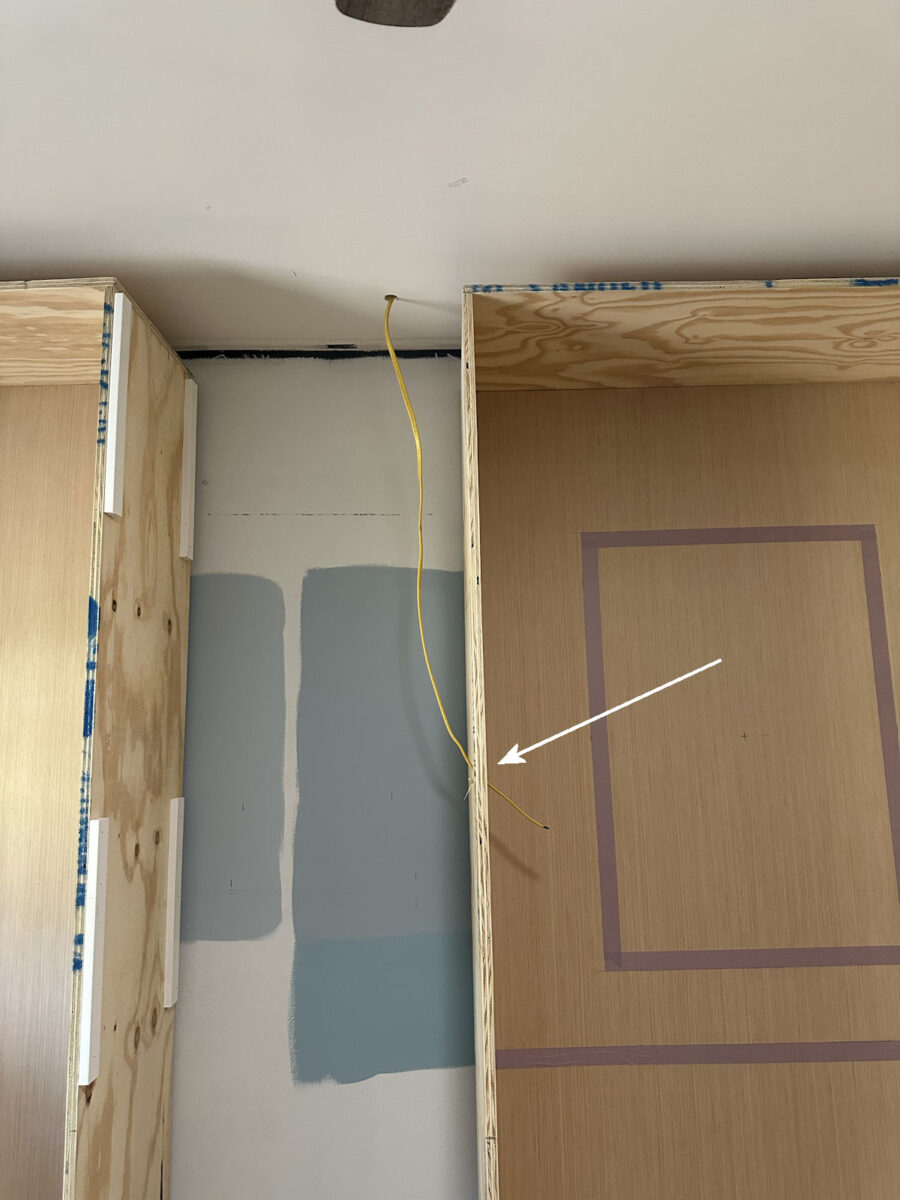
I had already drilled a hole through the ceiling in the closet above the center cabinet, so I cut a long piece of wire and went up there and poked the wire through that hole. Thankfully, I didn’t have to go very far because the attic access is very close to the wall where I was working in the closet.
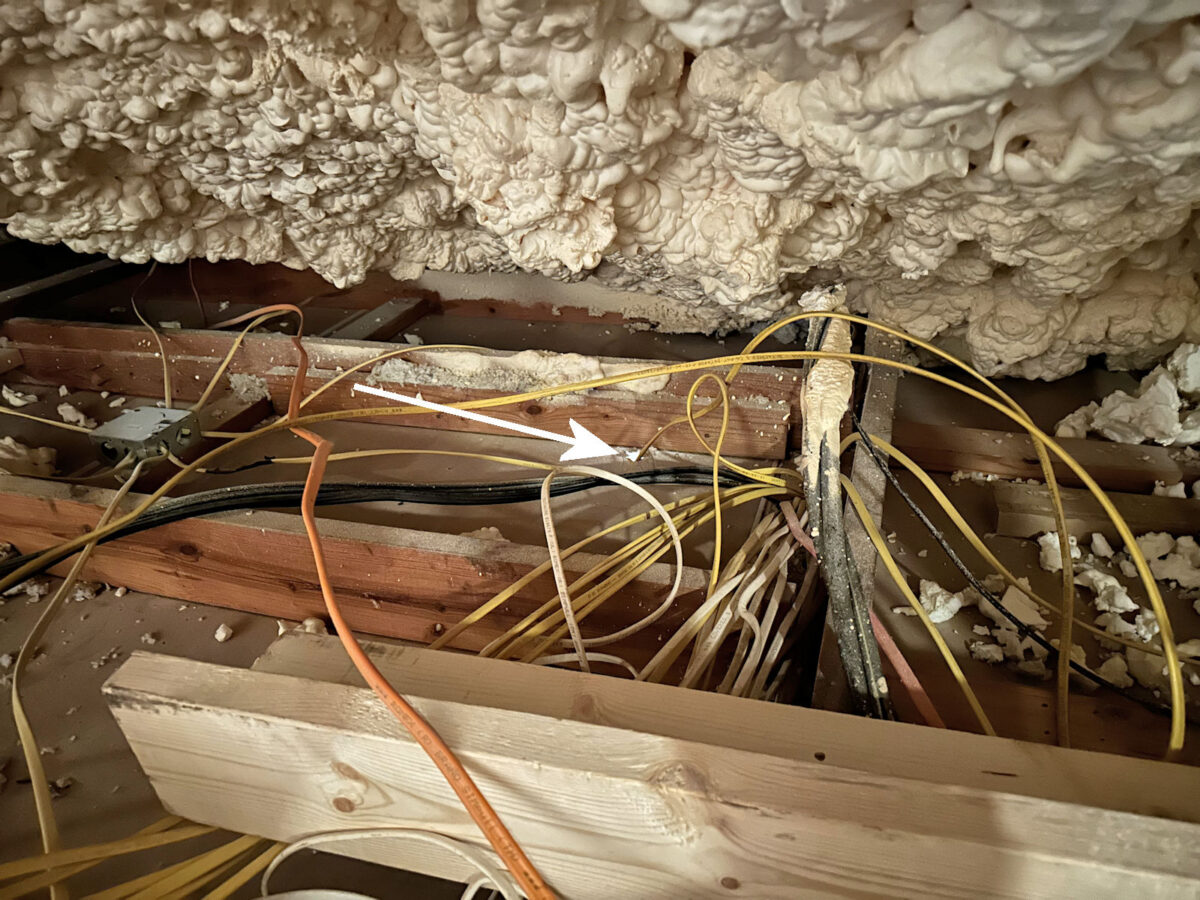
I didn’t actually hook the wire up to anything to give it electricity yet, so for now, the end in the attic is just rolled up. I’ll daisy chain that to the rest of the lighting I add to the closet later. But for now, I just needed to get the other end of the wire in place. I pulled it down from the ceiling and between the cabinet sections.
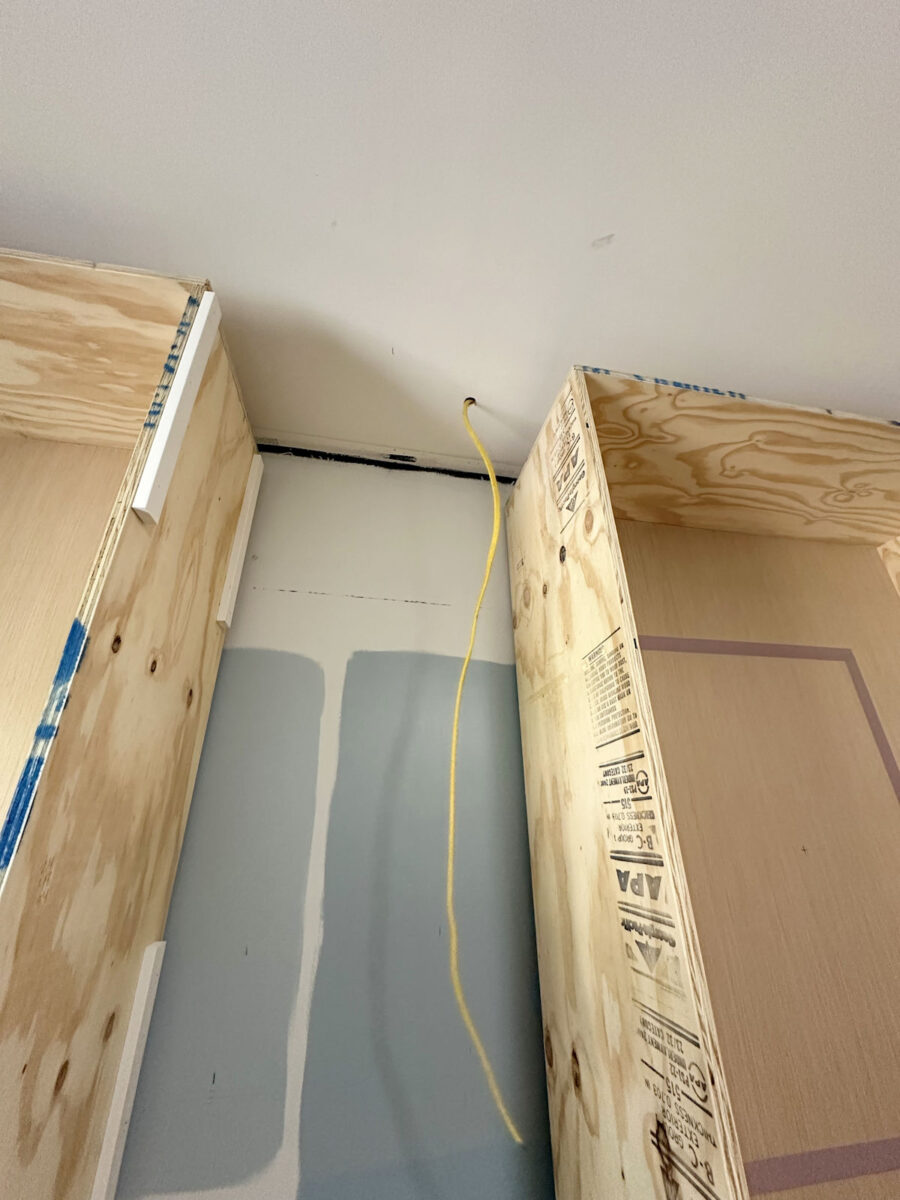
And then I drilled a 1-inch hole in the side of the cabinet box where I want the sconce to go, and poked that wire through.
I forgot to get a picture of the next step, but I also ran a second wire from that hole in the left side of the cabinet, up the side, across the top of the cabinet, and down the other side where I had drilled a second hole for the second sconce. I’ll be adding the same spacers to the right side of the cabinet as well.
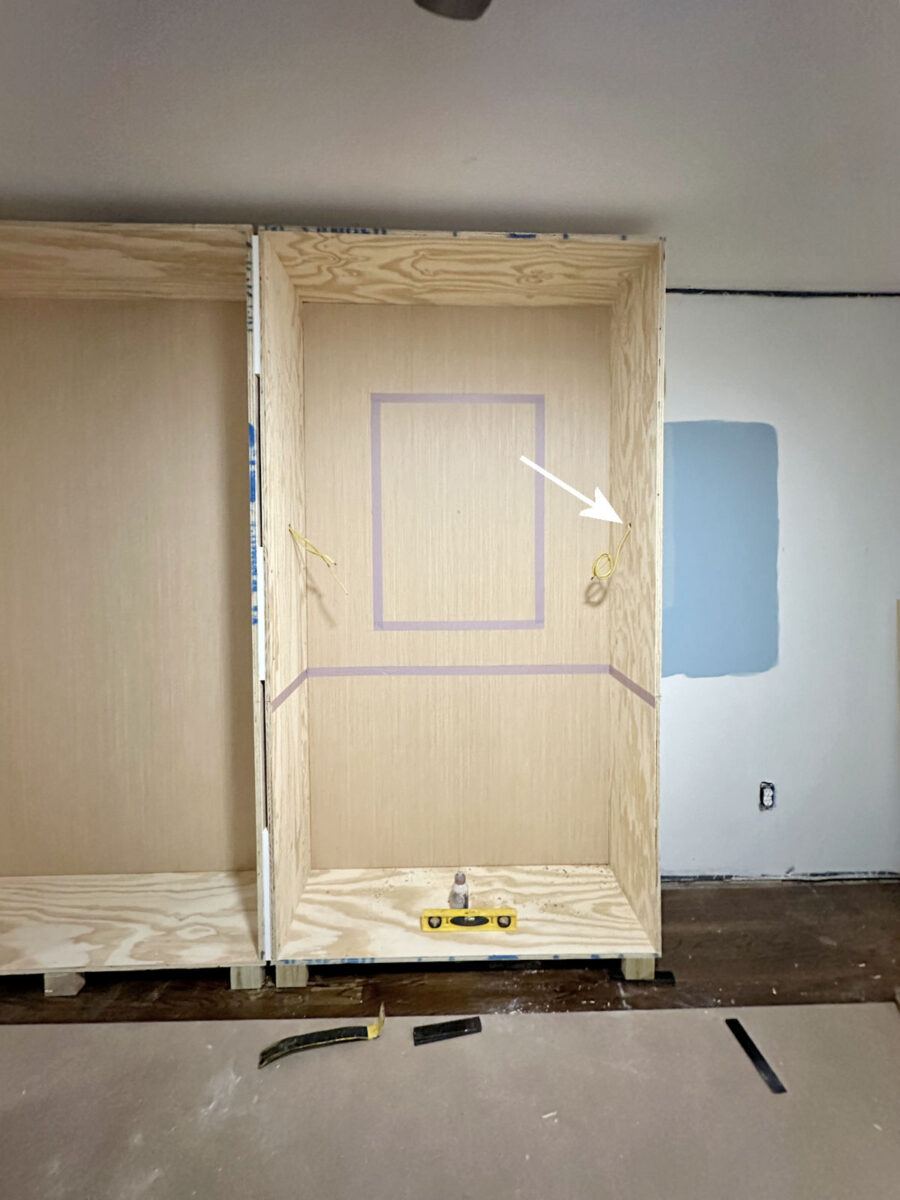
Once the wiring was in place, I had to go through the whole process of screwing the cabinets together again, which required lots of shimming, pulling, pushing, clamping, etc. But at least it’s done! And now that section is ready for its cute little white flower sconces.
I don’t plan to add any more lighting inside any of the other cabinets. The room is in desperate need of more lighting, but the rest of the lighting will be added to the ceiling. I need to get all of the cabinets in place first before I determine exactly where I want the rest of the lighting to go. I’m planning on adding five recessed lights — four spaced evenly in the closet area and one centered between the washer and dryer. Plus, I’ll have a chandelier above the center island. But again, I’ll wire all of that once the cabinets are in place. This was the only wiring that had to be done at this point in the process.
I’m so thankful that my mom reminded me of this! I would have been so disappointed had I gotten this whole side built and screwed together only to realize that I had to redo all of it because I forgot to wire my sconces. Sometimes I forget things and get too focused on one aspect of a project. It’s good to have people looking out for me! 😀
The A2D Daily:
The A2D Daily:

Addicted 2 Decorating is where I share my DIY and decorating journey as I remodel and decorate the 1948 fixer upper that my husband, Matt, and I bought in 2013. Matt has M.S. and is unable to do physical work, so I do the majority of the work on the house by myself. You can learn more about me here.