")
Today wraps up week one of my closet build. Technically, I started over a week ago when I built the cabinet for my washer, but I did that while I was waiting for my plywood and supplies for the rest of the closet to be delivered. So I consider the official beginning of this project to be the day that the supplies were delivered, and I could actually get started without any roadblocks. So how much did I get done?
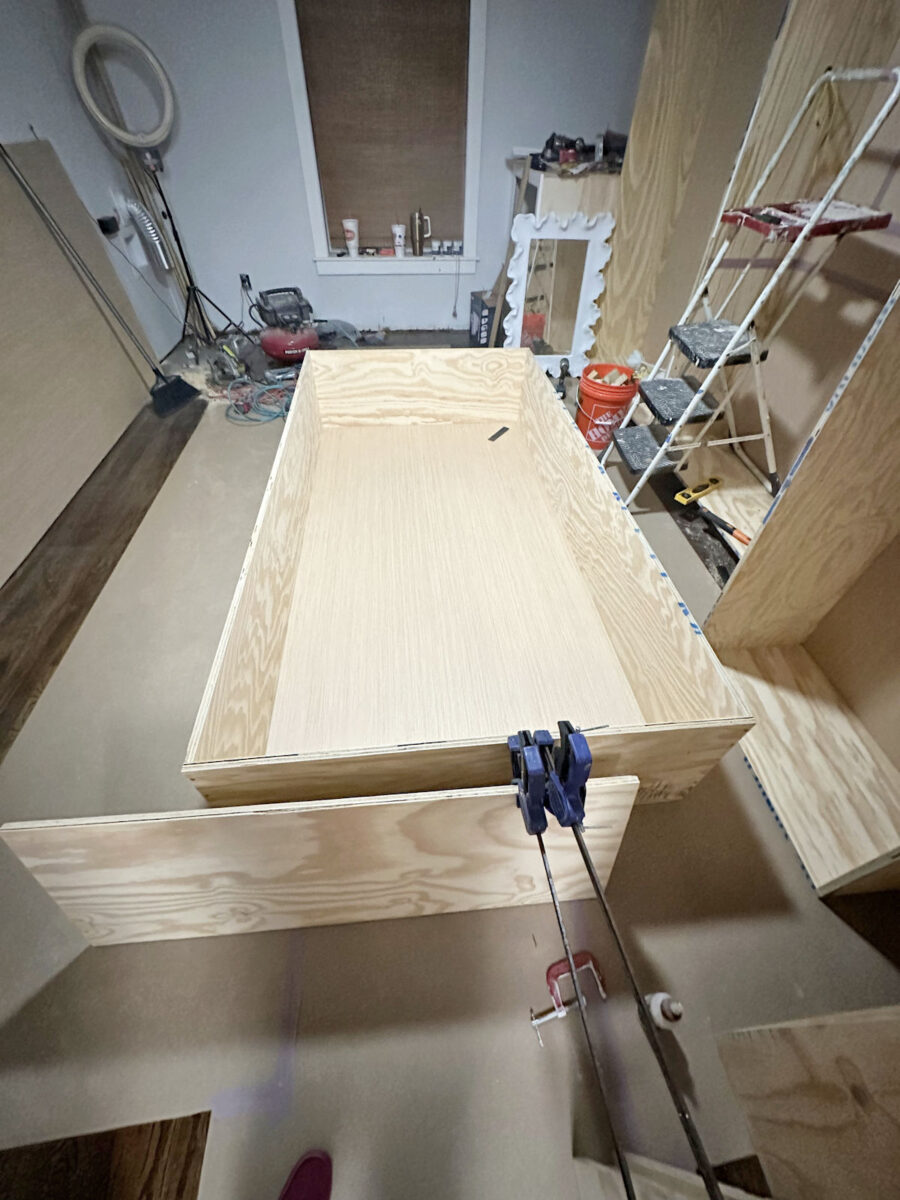
I got six of the eight big boxes built. I decided to go ahead and build out the left side of the closet before getting to the fun stuff. Most of y’all suggested that I do it this way because I already have my system down. I can build the boxes pretty quickly, and I already have the required tools out and handy. And I was positive that I could get the rest of this built by the end of the day today, so that just put off the fun stuff for a couple of days and then I would be completely finished with this step and move full steam ahead with the pretty stuff.
I actually thought I might be able to get all eight boxes built yesterday, but I kind of sabotaged myself. The first one took me a while because I videoed that whole process. But once that was done, I thought I could just plough through the other three and get them done before I went to bed. Sadly, that didn’t happen, and I’ll show you why.
I did get one of the big boxes finished…
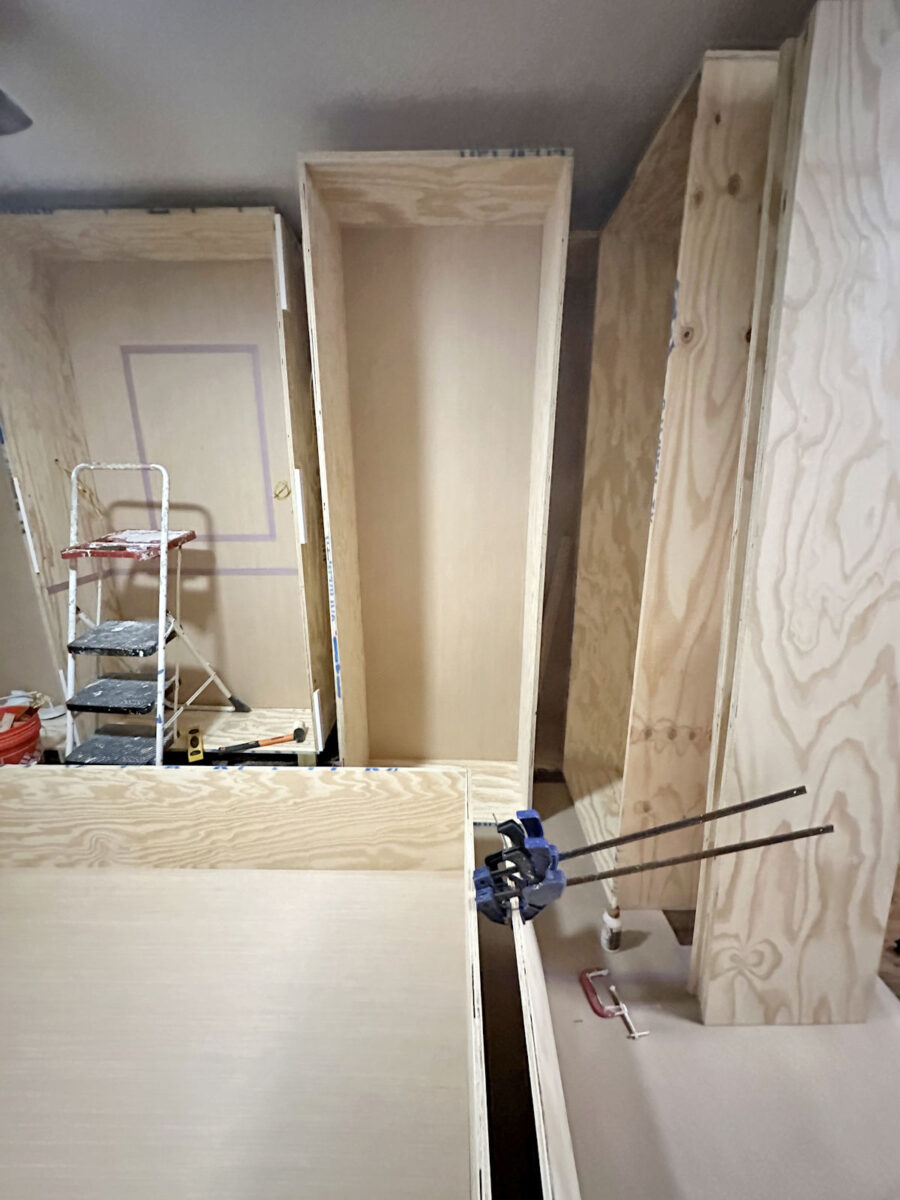
And then I got the second 30-inch box finished. But I ran out of room to put these (I had tools and 1/4-inch plywood standing in the way on the left side of the room), so I had to stack it kind of inside one of the big boxes on the right side of the room for now.
And then I went to build the second big box for the left side of the room, and I noticed this on one of the short pieces for that box…
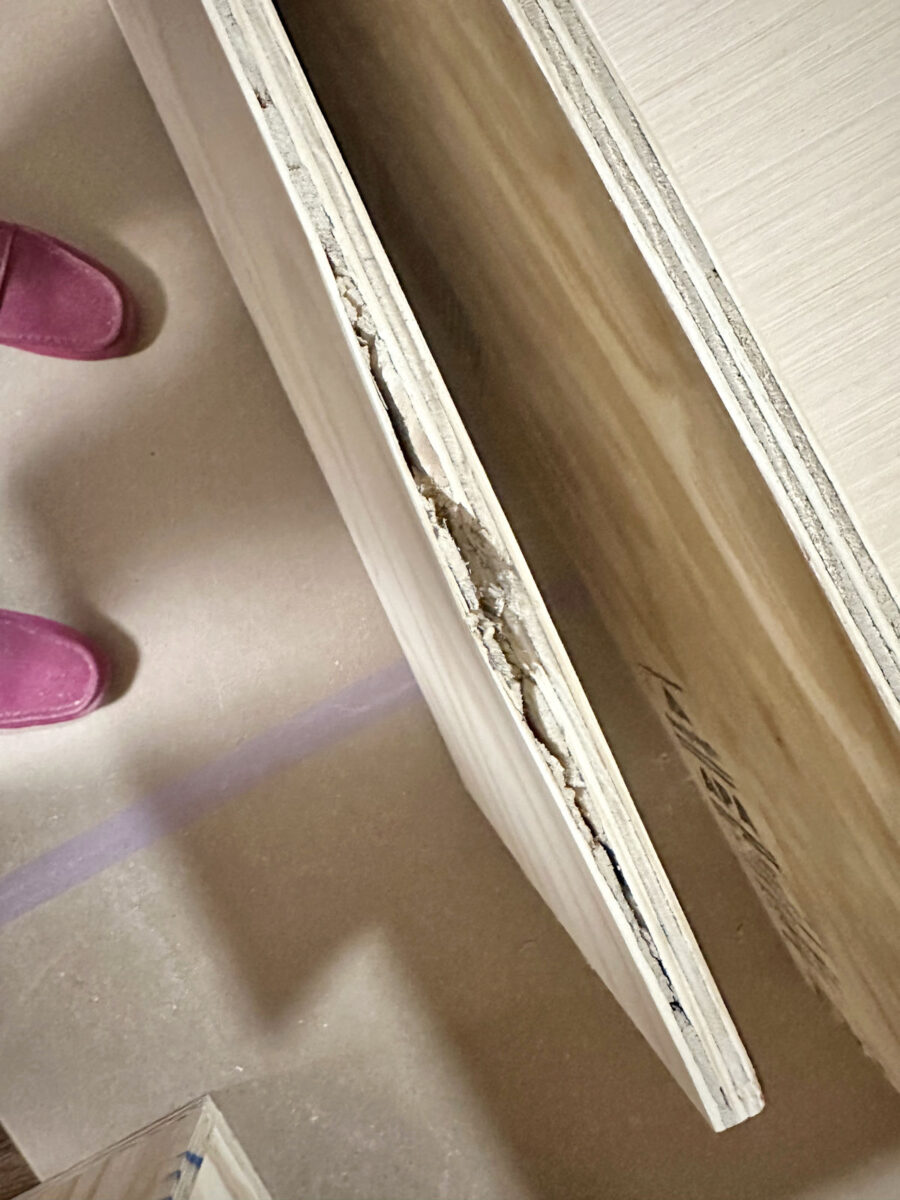
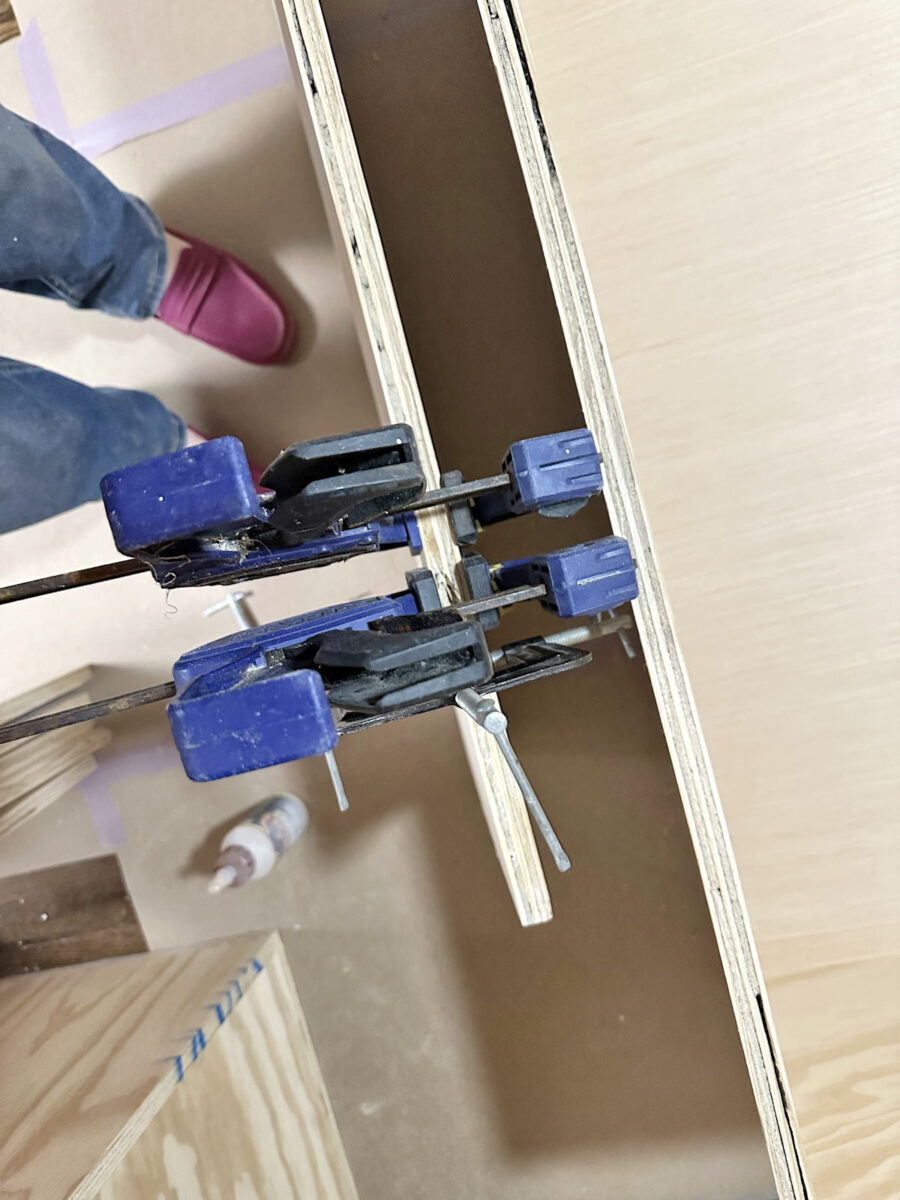
Ugh. I didn’t want to scrap that piece, though. So I filled that crack with wood glue and clamped it together in an effort to salvage it. I think it’ll be fine, but there was no way all of that glue would dry in time for me to use that piece yesterday.
No problem. I had two more short pieces, right? At least, I should have had two more short pieces! But I looked everywhere, and they were nowhere to be found. So I had miscounted when cutting the short pieces and wound up two pieces short. Unfortunately, by the time I noticed, it was about 7:45pm, and I don’t like using my tools outside after 8:00. If they had just needed to be cut, I could have easily done that by 8:00. But they also would have required wood filling and sanding, and I didn’t want to be outside doing all of that after 8:00.
So I was forced to stop building cabinet boxes two hours earlier than I had planned last night, all because of my own oversight. Oh well. It happens. But I can definitely get those last two boxes built today, along with the dryer cabinet, and then be on to the fun stuff tomorrow! And since I had extra time on my hands with nothing to build, I got the left side of the room cleaned up so that I can go ahead and get all of the boxes in place as soon as they’re built.
I’m pretty pleased with my week one progress! When I started this closet, I had no idea how long this whole project would take. I still don’t have any idea, especially because this is actually the fast part. Once I get to all of the finishing steps (the wood filling, sanding, caulking, priming, and painting), that’s the part that seems to drag on forever. So it’ll be interesting to see how long it takes me to completely finish this room.
Let’s move on to a couple of Q&A’s:
Why didn’t I build 2×4 bases for the cabinets instead of using feet?
The simple answer is because building big 2×4 bases isn’t any easier than attaching small feet, and it requires more lumber to build the bases. I already had enough 2x4s on hand to cut feet (it took about 1.5 8-foot 2x4s for all the feet), and I didn’t want to have to buy more to build big bases, which would have required much more than 1.5 2×4’s.
But another reason is that I like the control I have with small feet over 2×4 bases. 2×4 lumber is very rough lumber, and finding perfectly straight 2x4s can be a real challenge. Most of them aren’t perfectly straight, and so when you go to build a long base with them (like the 138-inch length I’d need for each long wall), if it’s even slightly bowed, or if it sticks out too far because the wall isn’t perfectly straight along that whole 138-inch length, then that affects the placement of the trim and molding along the bottom.
By contrast, since I only have three little feet along the front of each cabinet, I can tap those into place very easily and make sure they’re perfectly flush along the front of each cabinet, ensuring that my trim and molding along the bottom will be perfectly flush with the face of the cabinet when it’s finished.
I’ve done it both ways — feet and 2×4 bases. My experience is that the feet are easier, cheaper, and require less work. It takes me about five minutes to glue and nail the feet in place on each cabinet. And then shimming and screwing the cabinets together takes just a few minutes more. The reason I had such a hard time on that first one is because the side plywood pieces of the first cabinet were warped, so I knew it would take a bit more effort to get those cabinets to line up. I would have had that same challenge getting those two lined up even if I had used 2×4 bases because the challenge didn’t have anything to do with the base/feet. It was all about that warped plywood.
Why did I use a full cabinet in the middle of the right wall when the entire top was going to be wallpaper, mirror, and sconces?
One word. Symmetry. 😀 I could have left that section open, which would have required less plywood. That’s definitely an option, but it was just a design decision I made because I want the left and right sides of the closet to be perfectly symmetrical. Had I left that section open at the top, the crown molding would have had to wrap around the sides of the first and third cabinets, and back to the wall in that open section, and that would have thrown off the symmetry on that wall. And y’all know how obsessive I am about symmetry. 😀
If y’all have more questions, I’m happy to answer them! Just let me know!
The A2D Daily:

Addicted 2 Decorating is where I share my DIY and decorating journey as I remodel and decorate the 1948 fixer upper that my husband, Matt, and I bought in 2013. Matt has M.S. and is unable to do physical work, so I do the majority of the work on the house by myself. You can learn more about me here.