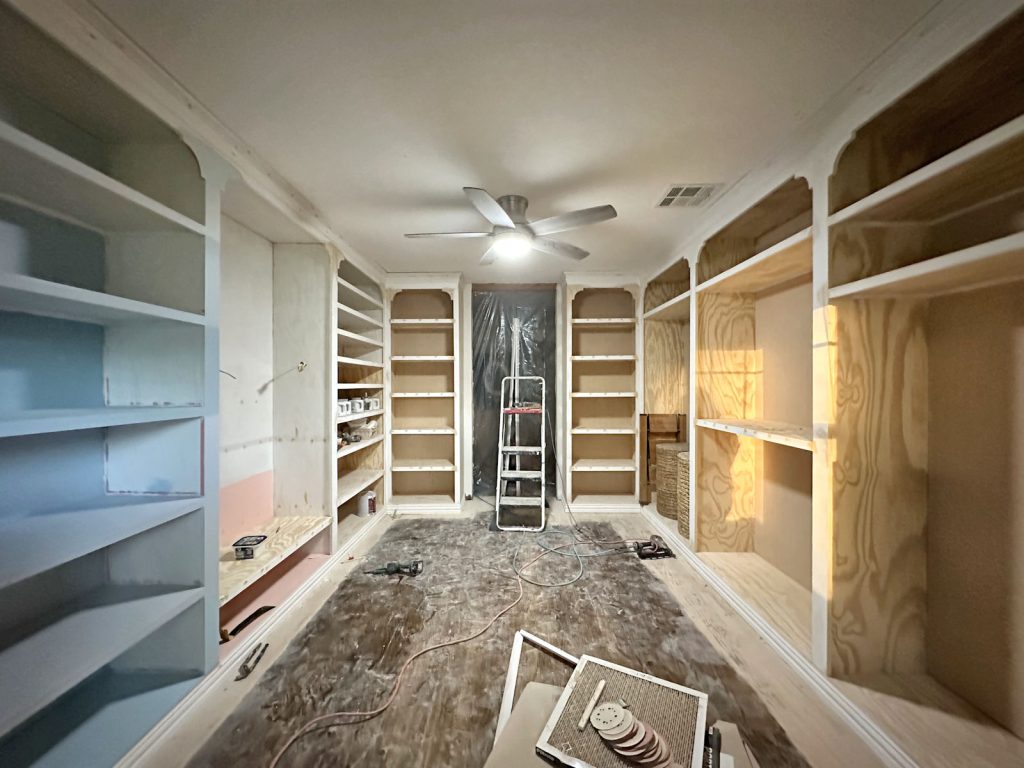
Well, another weekend has passed, and I still don’t have the closet primed and painted. But that doesn’t mean that I didn’t get a whole lot of necessary work done! I spent the weekend not only adding the last two shelves to two of the closet sections, but also redoing the ten shelves in the two cabinets that flank the doorway to the closet.
I had originally planned to add cabinet doors to the two closets flanking the doorway so that I would have some closed storage in the room. But after giving it some thought, and seeing how those two sections looked with the open shelves, I decided to forgo the closet doors and leave those sections open. I preferred the cohesive look of having all of the closets lining the walls open. I’ll have all of my needed drawer storage in the center island.
Since I had planned to add inset doors on these cabinets, I cut and installed the original shelves so that they sat back from the front of the cabinet about 1.5 inches. Once the front trim piece was installed on the shelves, they sat just behind the front trim on the cabinets, leaving just enough room for inset cabinet doors. You can see what I mean in these pictures…
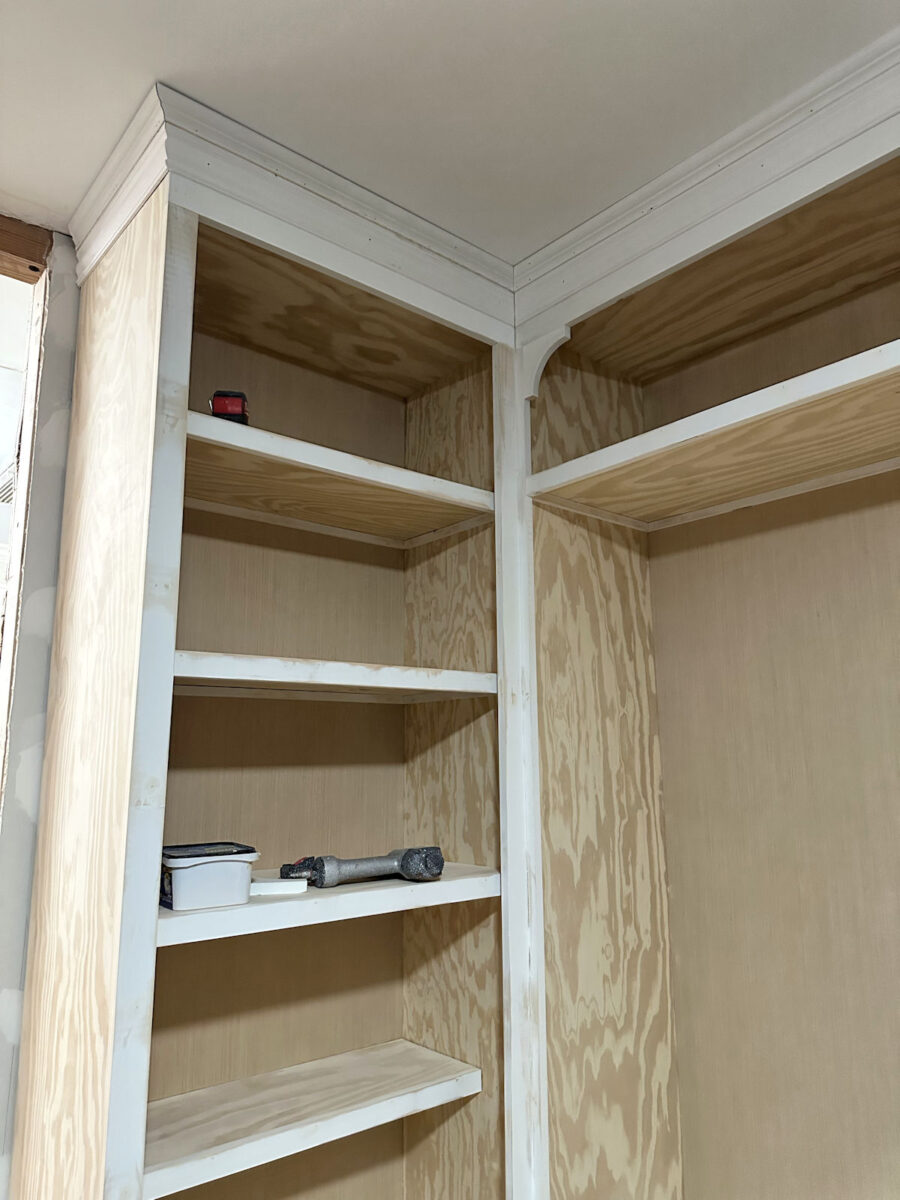
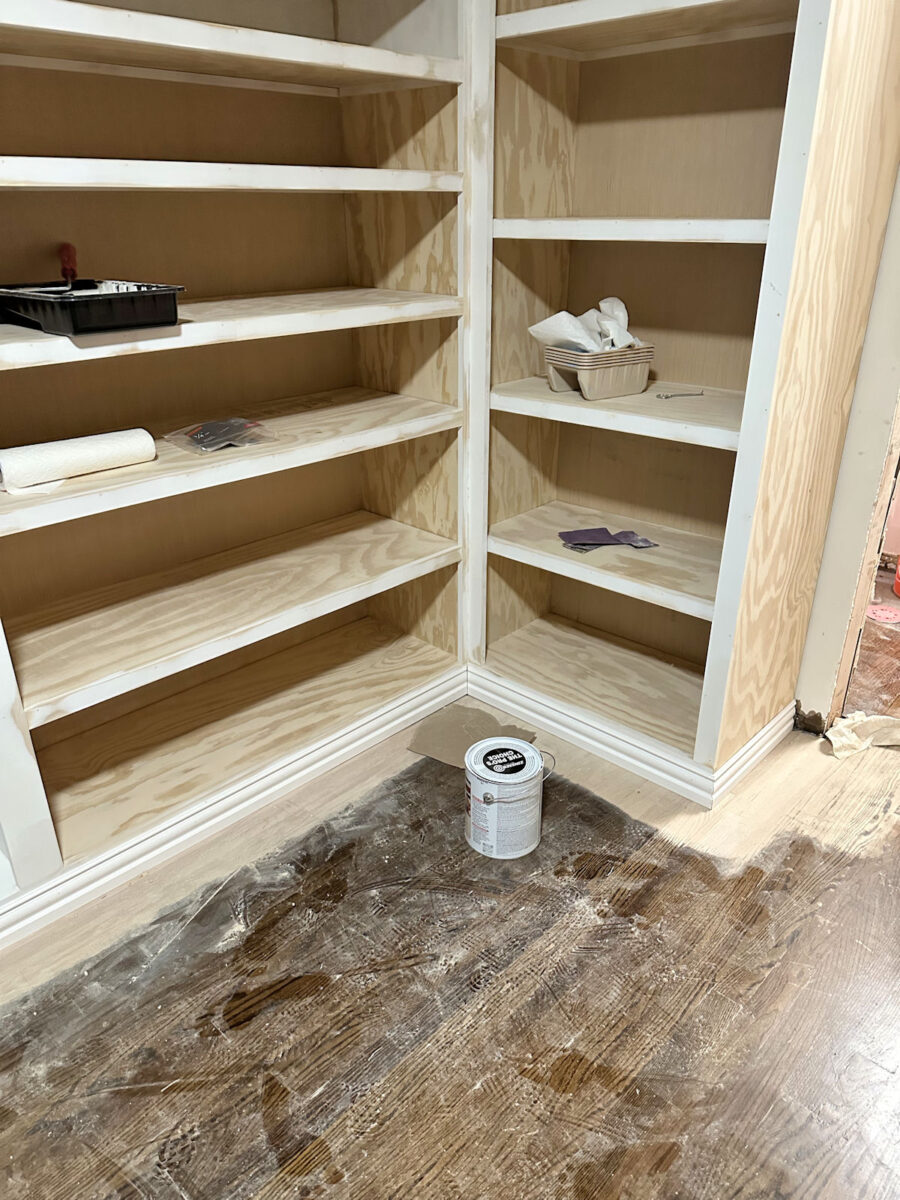

But front trim on all of the rest of the shelves in the room sits flush with the trim on the front of the cabinets. So now that I decided to leave the doors off of those two cabinets, I had to figure out how to bring that front trim on those ten shelves forward so that they also sat flush with the front trim on the cabinets. There’s no way I could leave the doors off of those cabinets and have them look completely different from the rest of the cabinets.
I initially thought I could just remove the front trim pieces, add a plywood extension to the shelves, and then reattach the trim. That plan didn’t work out. Even if I had used a whole lot of wood filler to fill in the joint between the main shelf and the plywood extension, and then sanded them as smoothly as possible, I feared that it would still be obvious that those extensions were there. I didn’t want that kind of “make do” afterthought in my custom, built-from-scratch closet.
I finally decided that the only way I would get that clean look that I want would be to cut all new plywood for those ten shelves. So that’s what I did. I removed all ten shelves, cut new plywood for those shelves, and then had to wood fill and sand them smooth before I could add them to the cabinets. (As a reminder, I used a lesser grade of plywood on this whole closet to save money, so some of the pieces are kind of rough and need wood filler and lots of sanding to make them smooth.)
And then I decided to cut all new front trim pieces rather than reuse the pieces that I had removed because in the process of removing them, I kind of gouged the edges of some of those pieces.
Anyway, that whole process took up all of my Saturday, but I got all ten new shelves installed, trimmed, and wood filled. They still need to be sanded, but here’s how those end cabinets look now.
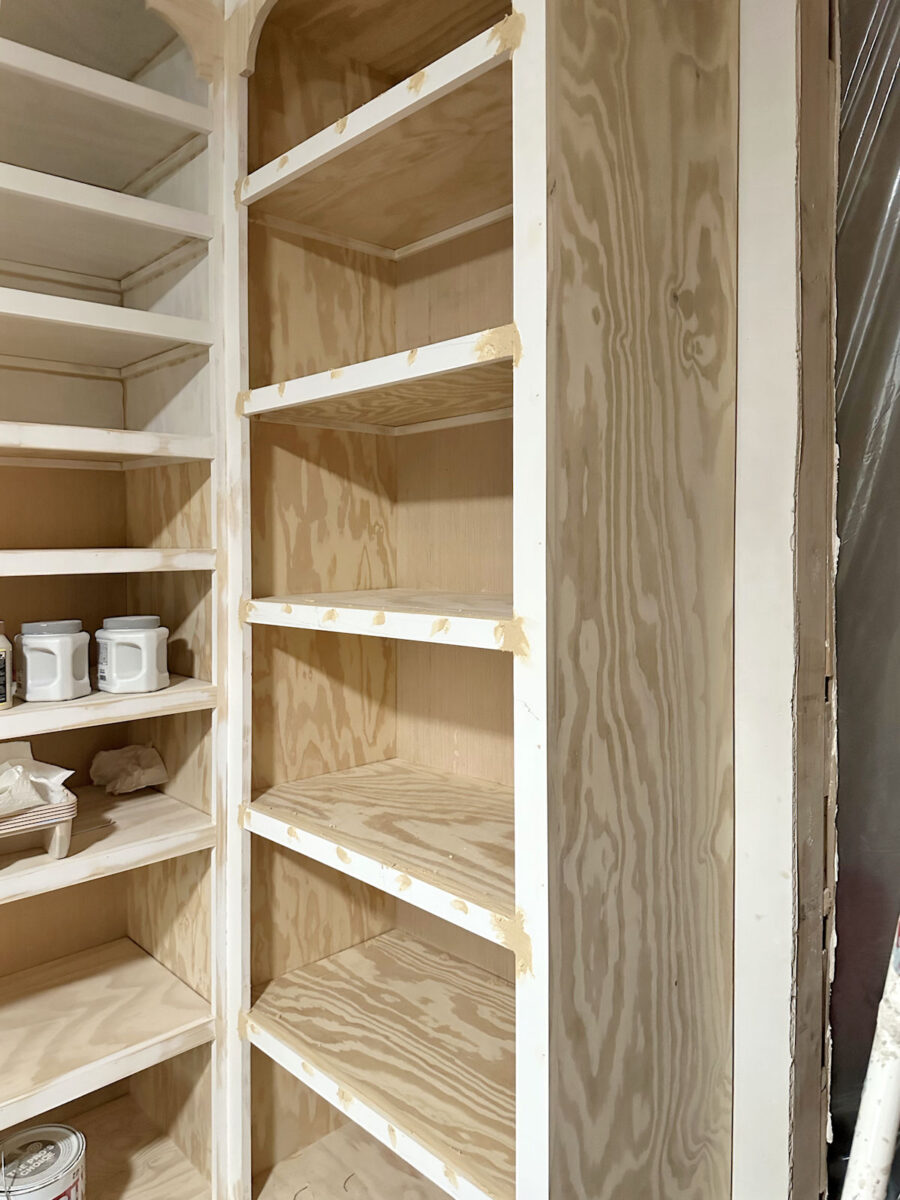

They now have shelves that match the rest of the shelves in the closet, with the front trim of the shelves sitting flush with the cabinet trim.
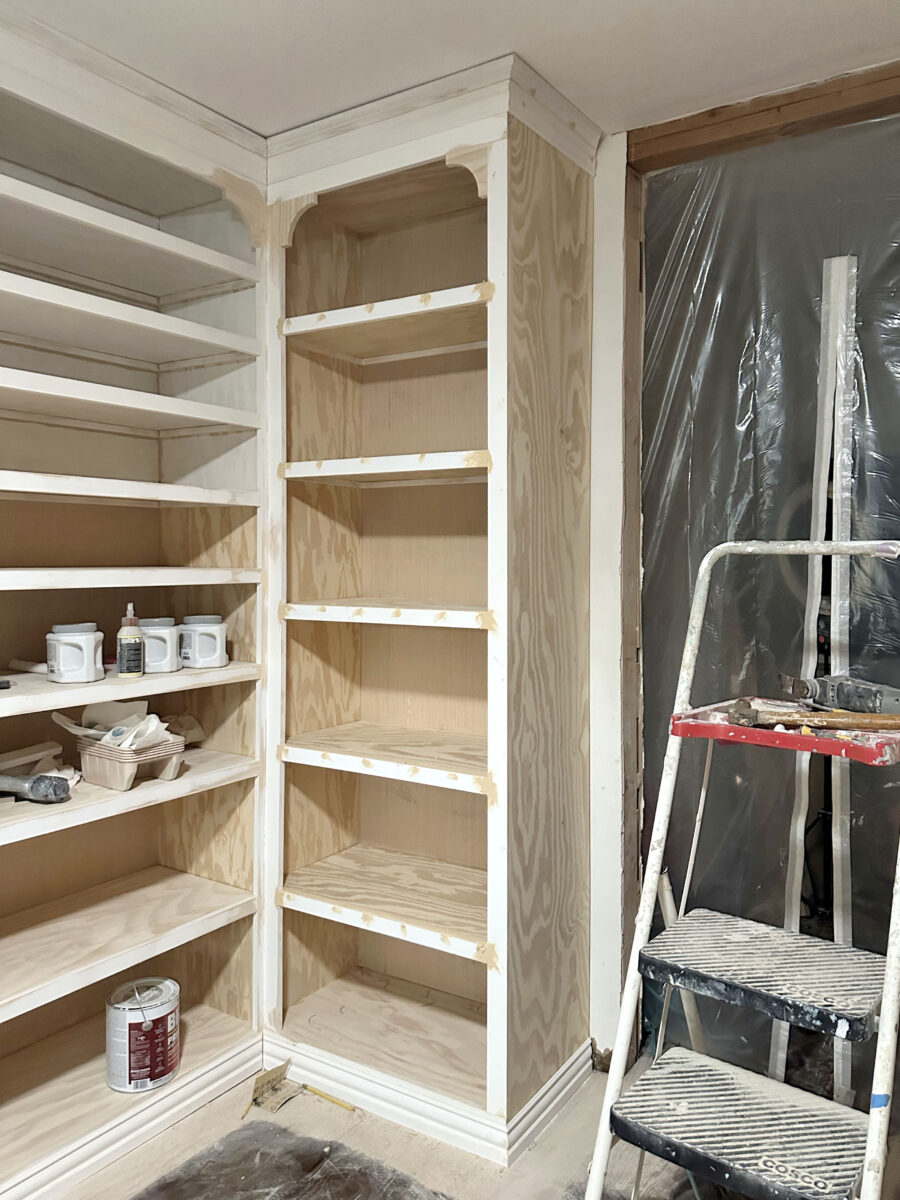

It was a lot of work to redo all of that, but it’s important for me to get it right. I never want my projects to look like obvious DIY projects, and I think it’s important to do it right in order to get a professional finished look. Believe me, I didn’t want to redo all of that. I had hoped that I could either live with the inset shelves or find a shortcut, but I knew I would never be satisfied if I left those shorter shelves that looked different from all the rest of the shelves. And shortcuts in a custom closet that I’m building from scratch didn’t set well with me. If I’m going to go to the trouble of building a custom, built-from-scratch walk-in closet, I want it done right. No shortcuts.
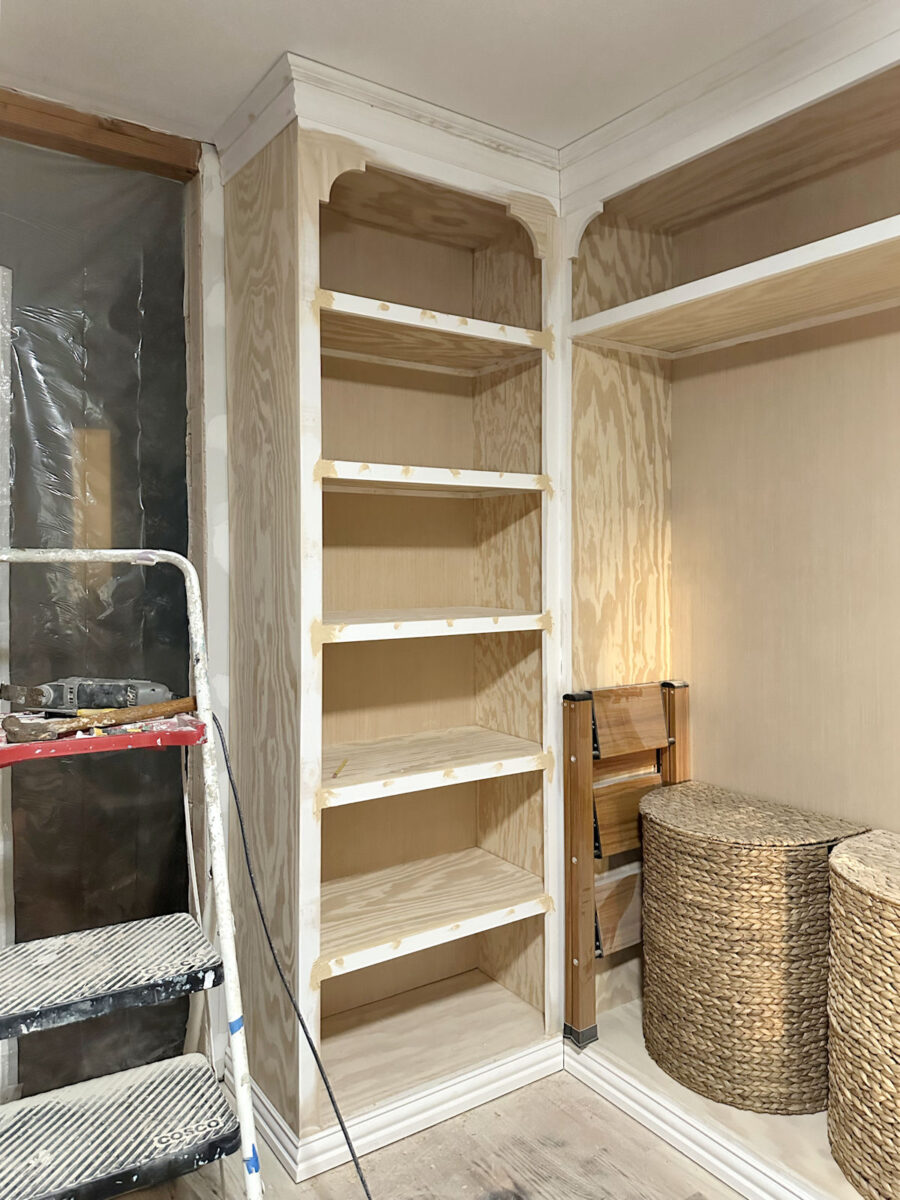

I also got the other two shelves installed that I’ve been needing to add. I added the middle shelf to separate the two bars where I’ll be hanging shirts. That piece of plywood had an obvious bow to it once I installed it, so I sat two weights on it overnight (45 pounds in all) to remove that bow.
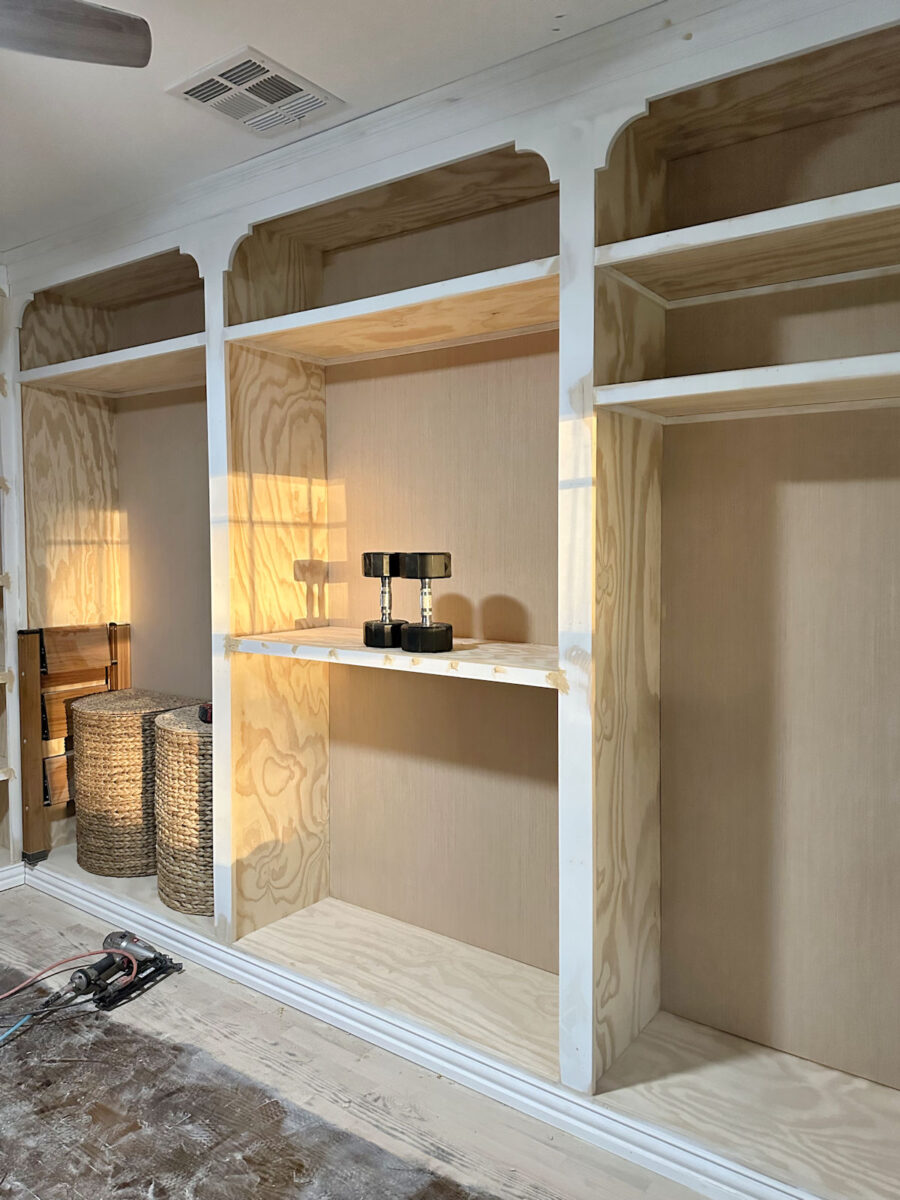

That’s the only shelf in the entire room that I had this problem with. A few others had slight bows to them after I installed them, but those were easily straightened out as soon as I added the front trim piece. But this one was unusually stubborn, so it required weights overnight. The weights took care of the issue.
And finally, I got the bottom shelf installed the middle section on the opposite wall…

I actually installed that one twice. The first time, I had it four inches higher so that it was even with the lower shelves on the two sections on either side. But the section just above that shelf will be my necklace storage, and I doubted that I had left enough room for the necklaces. So I removed the shelf, lowered it four inches, and reinstalled it.
So while I did get a whole lot of work done this weekend, it wasn’t exactly the work I wanted to do. I’m so anxious to see paint on these cabinets, but I can’t rush the process. The good news is that I just have one shelf left to add. The last remaining shelf that needs to be added is the glass-top shelf that will cover my earring/ring drawer, but I don’t want to start building that until I have that piece of tempered glass in hand. It’s supposed to arrive tomorrow, so once that gets here, I can add the framing pieces and front trim piece for that shelf, and then all of the building for the wall cabinets will officially be done.
Every big project tends to have a point where I have to take a few steps back before I can move forward again. That’s what this weekend was all about, but I’m so glad I took the time to redo those shelves and make sure that they matched the rest of the room. Now they look intentional, like they were designed to be open shelves from the beginning, rather than looking like an afterthought.
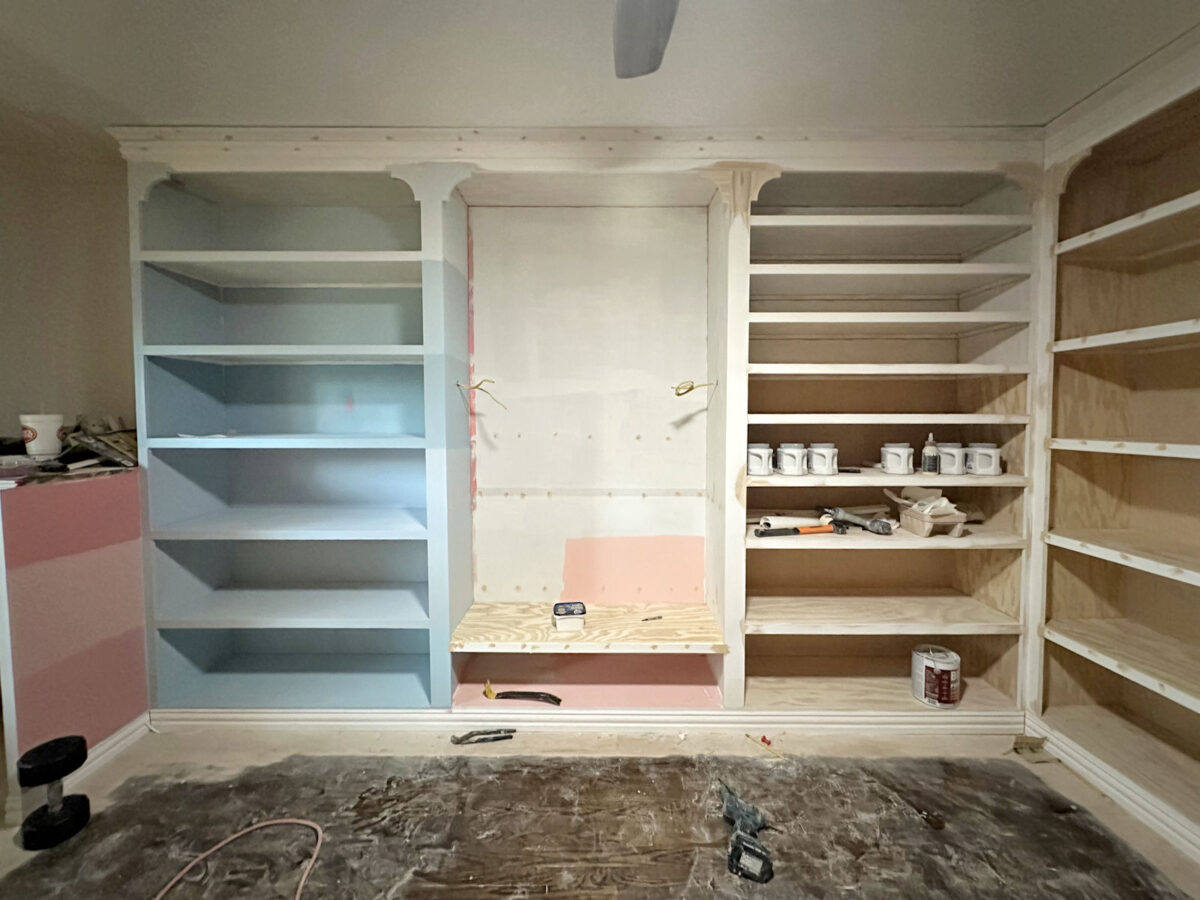
Here’s how the whole room looks at this point…
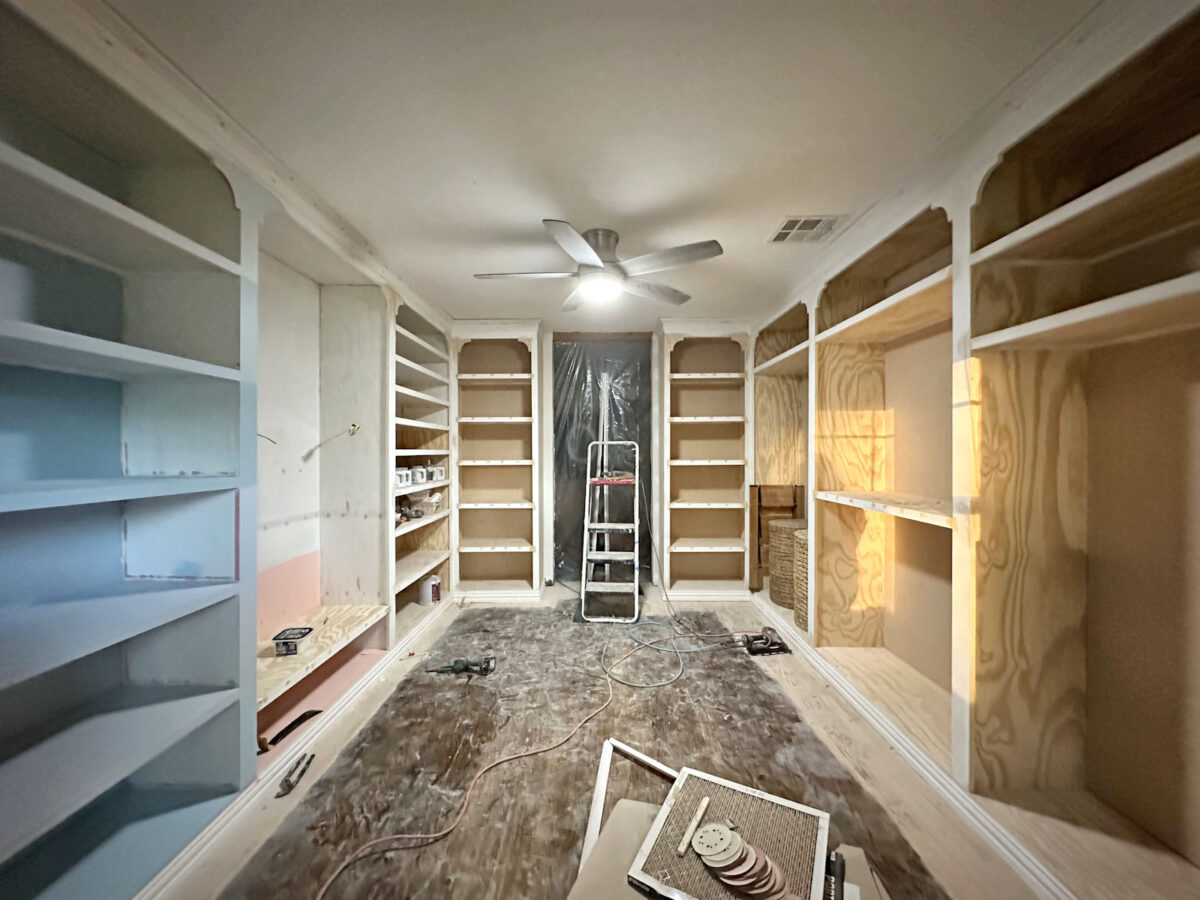

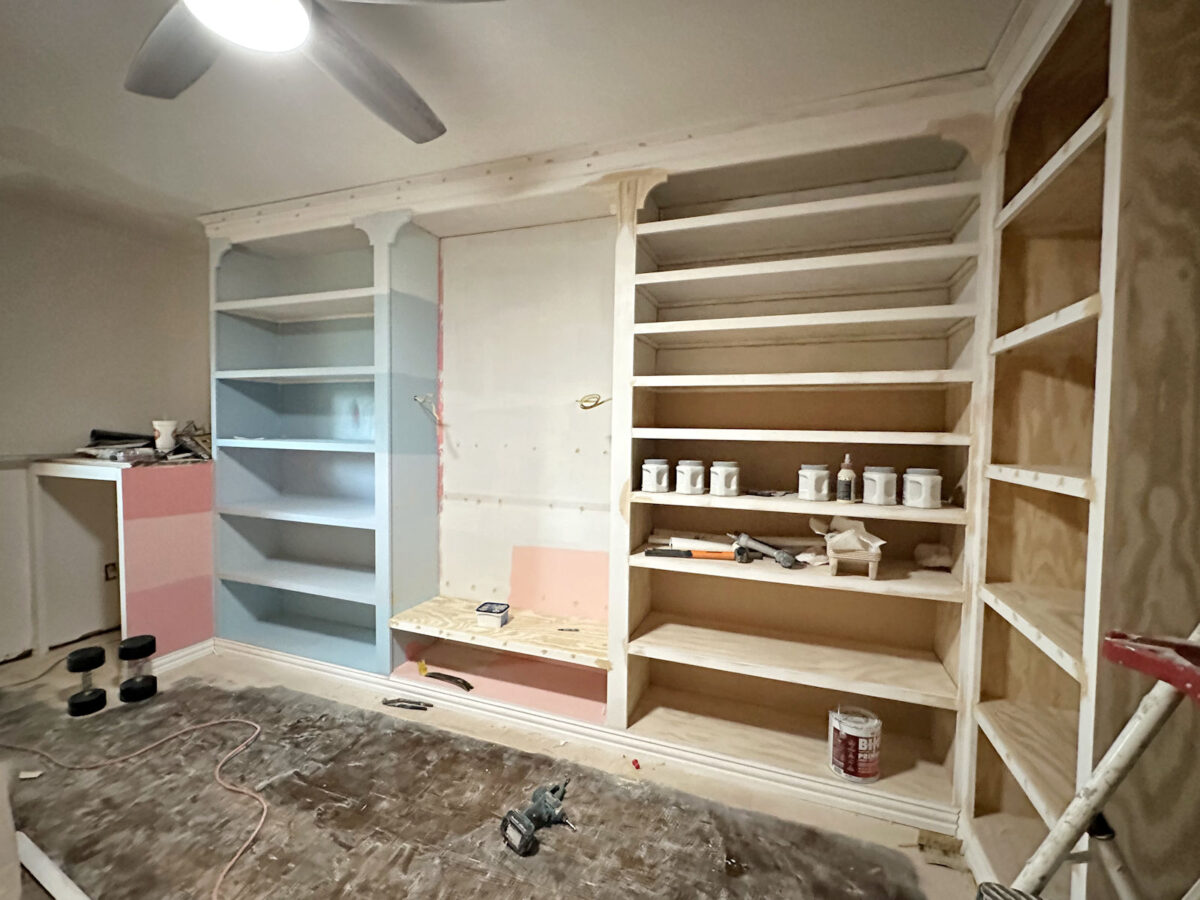

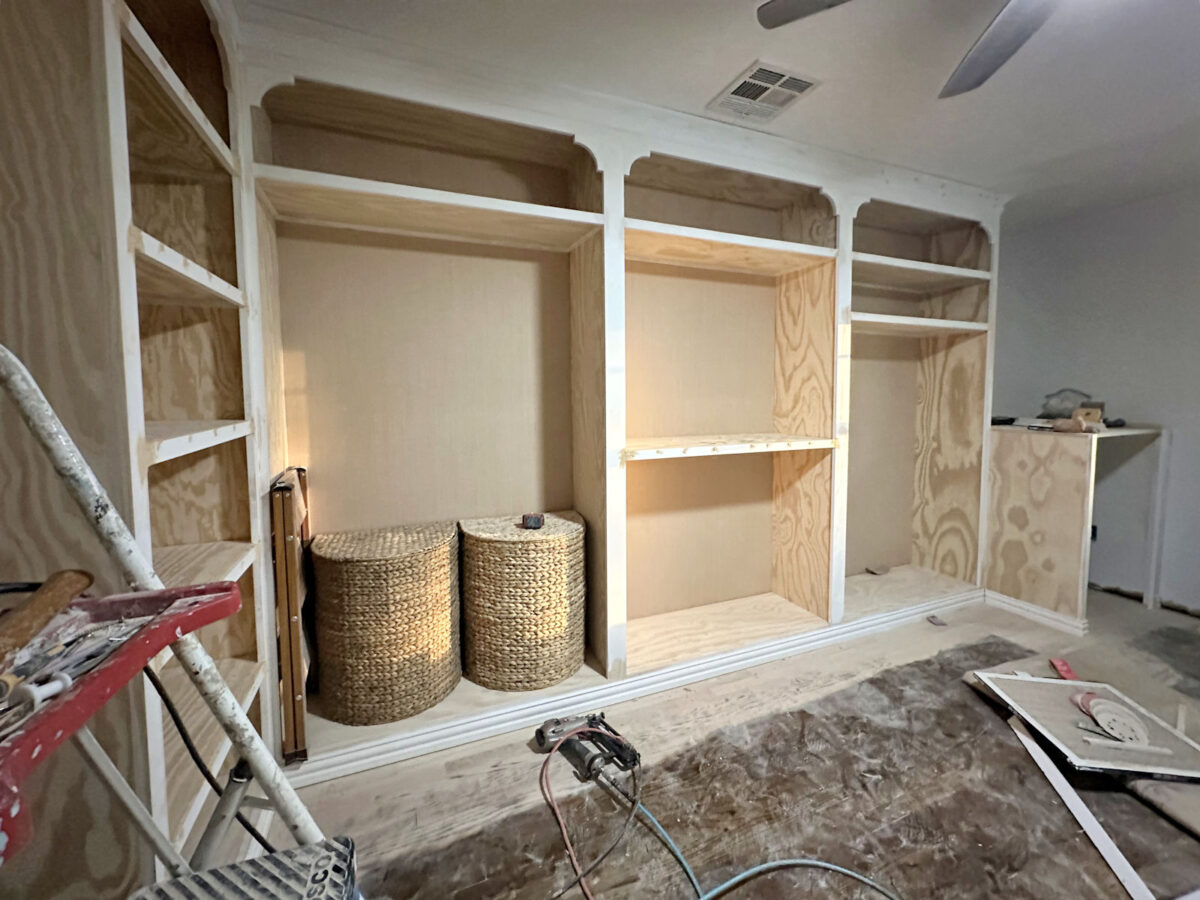

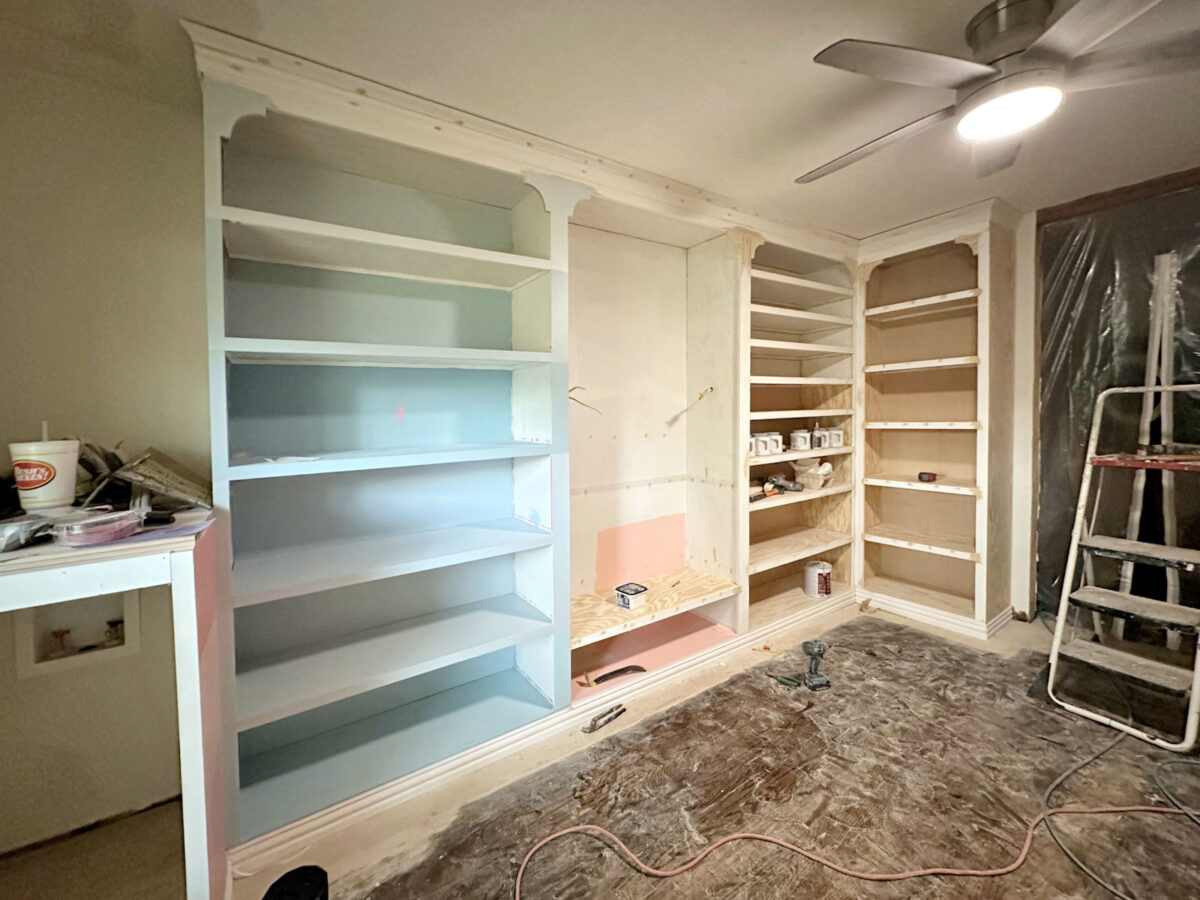

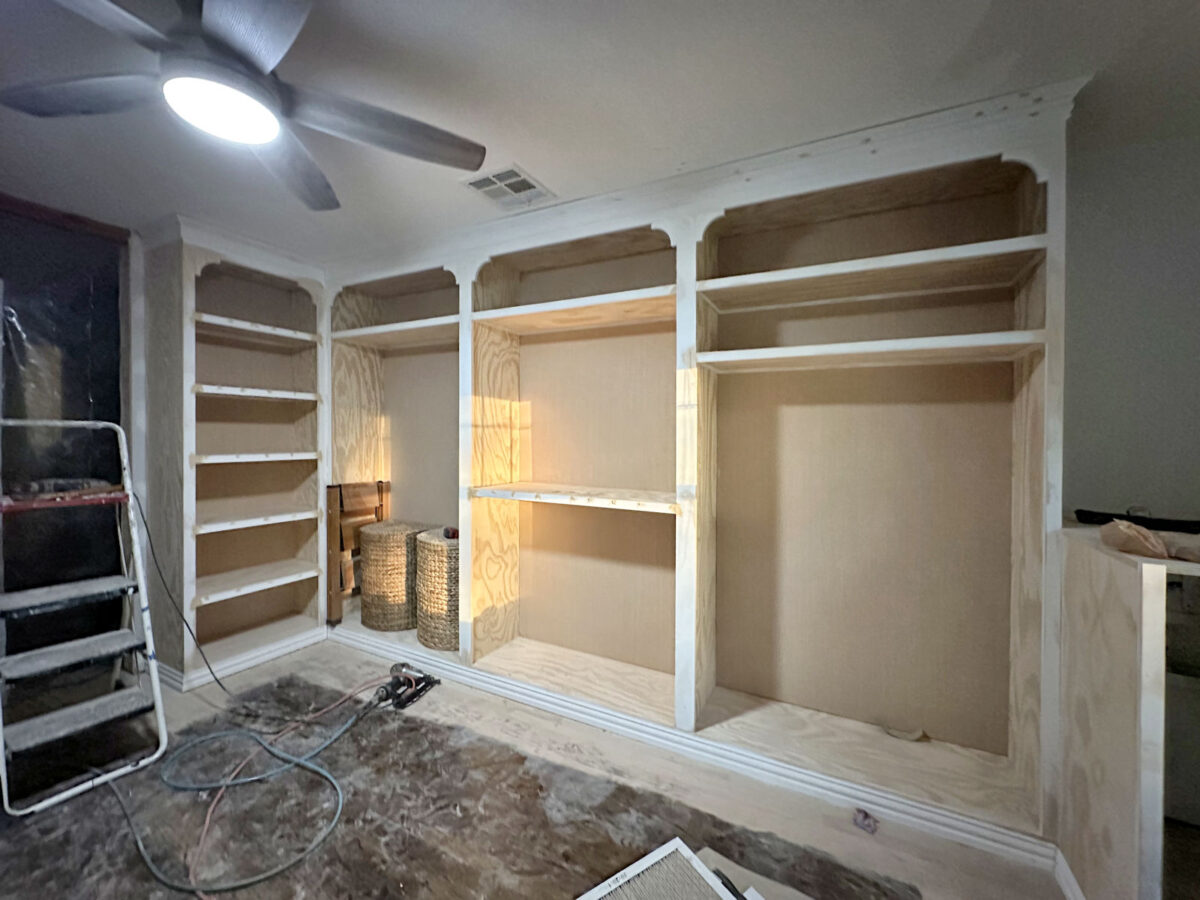

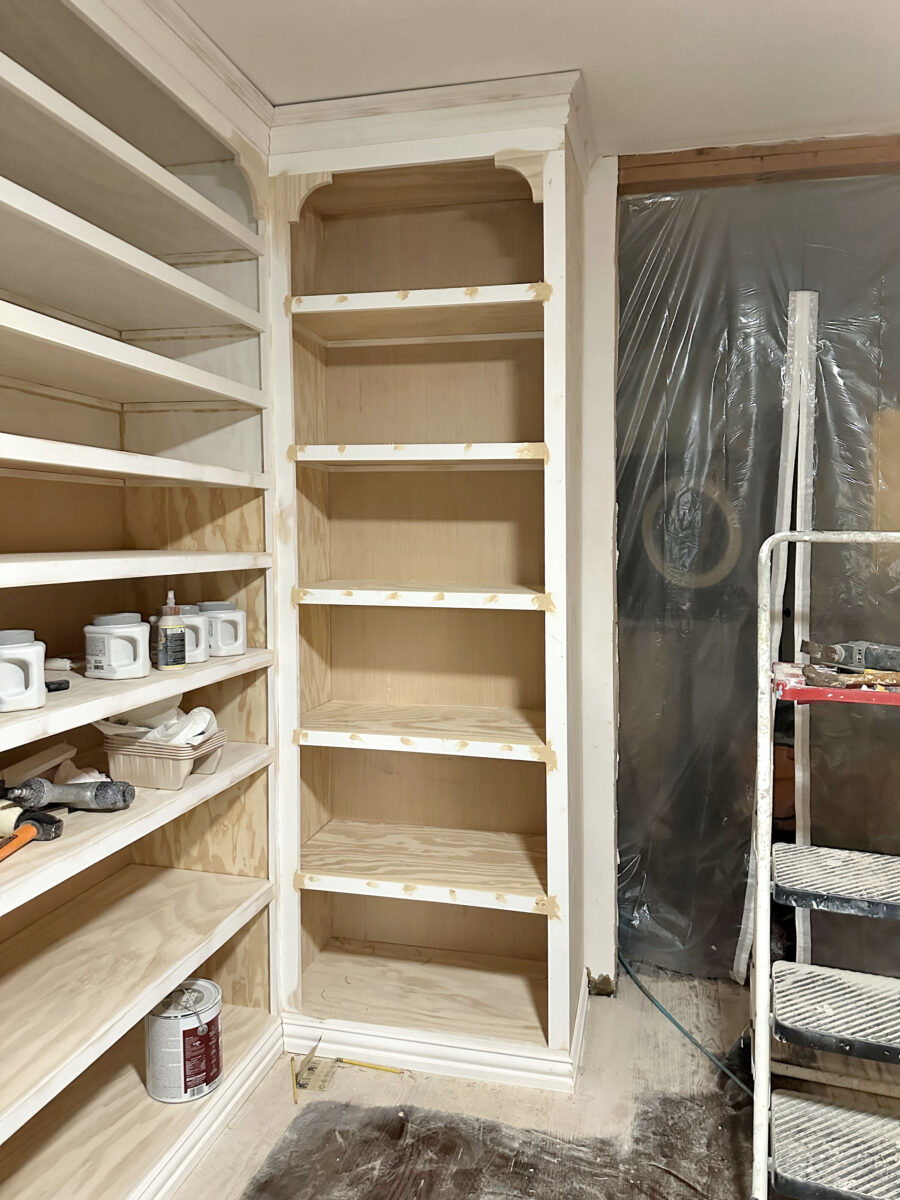

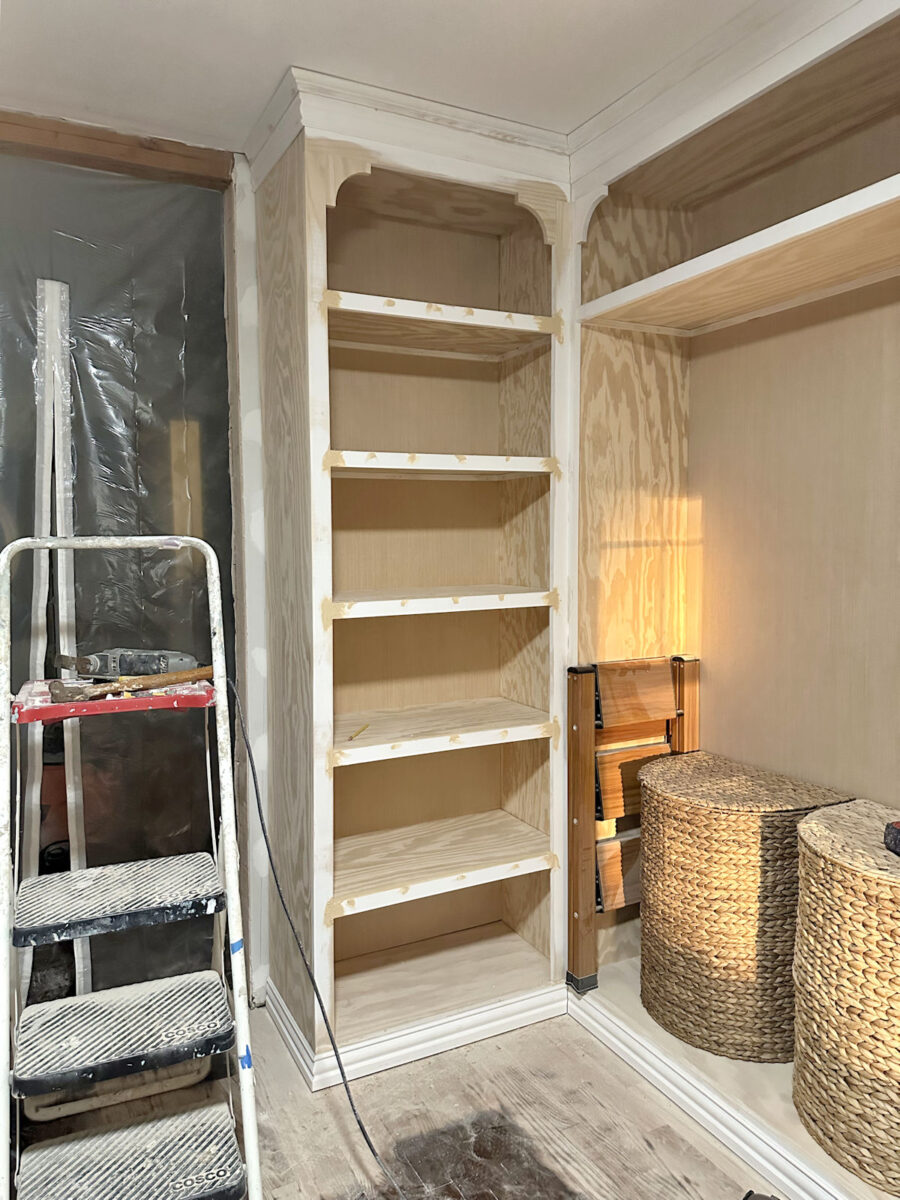

It’s getting there, y’all! I’m officially on my fifth week of working on this project, and while it’s going lower than I had hoped, I’m so incredibly excited about how it’s turning out. There’s nothing better than looking at something like this and feeling that pride of knowing that I built everything with my own two hands. It sure would have been so much easier to use IKEA Pax wardrobes to create my closet, but it just wouldn’t have been the same. They wouldn’t have fit the room as well, and I wouldn’t have that same sense of, “I did that!” when I looked at the closet. This one is all my own creation and all my own work, from the very beginning. And I’m so close to being ready to paint!
The A2D Daily:

