")
I got so much done on my walk-in closet this past weekend, and while I didn’t get nearly as much painted by the time I went to bed last night as I had hoped, I do finally have some cabinets painted! But you’ll have to forgive me for burying the lede, because I want to back up and show you all of the progress in order.
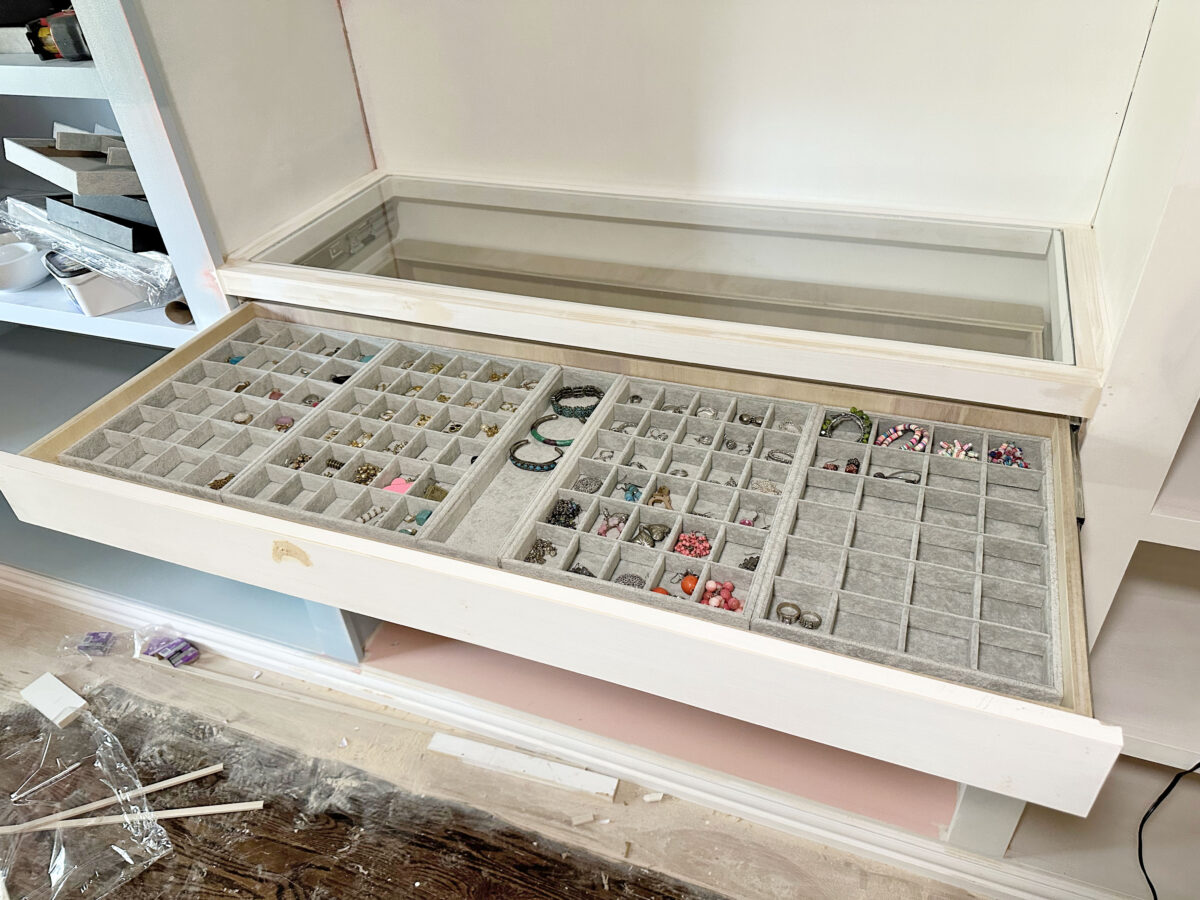
First, if you read Friday’s post early in the day, you may have missed that I took apart one of the leftover jewelry trays that I bought on Amazon (these are the ones I bought — affiliate link), cut it down to the right size to fit that remaining 3.5-inch gap, and then put it back together. So now, I have a completely customized look that fits the width of the drawer perfectly. And I got that customized look for less than $70, and about 45 minutes of my time. That beats the heck out of paying over $500 for a fully customized jewelry drawer insert!
After working on that, I spent the rest of Friday priming cabinets. I got the rest of the cabinets on the right side of the room primed, and all of the cabinets on the left side of the room primed. I still need to do the corners with a brush, but all of the parts I could do with a 6-inch roller are done.
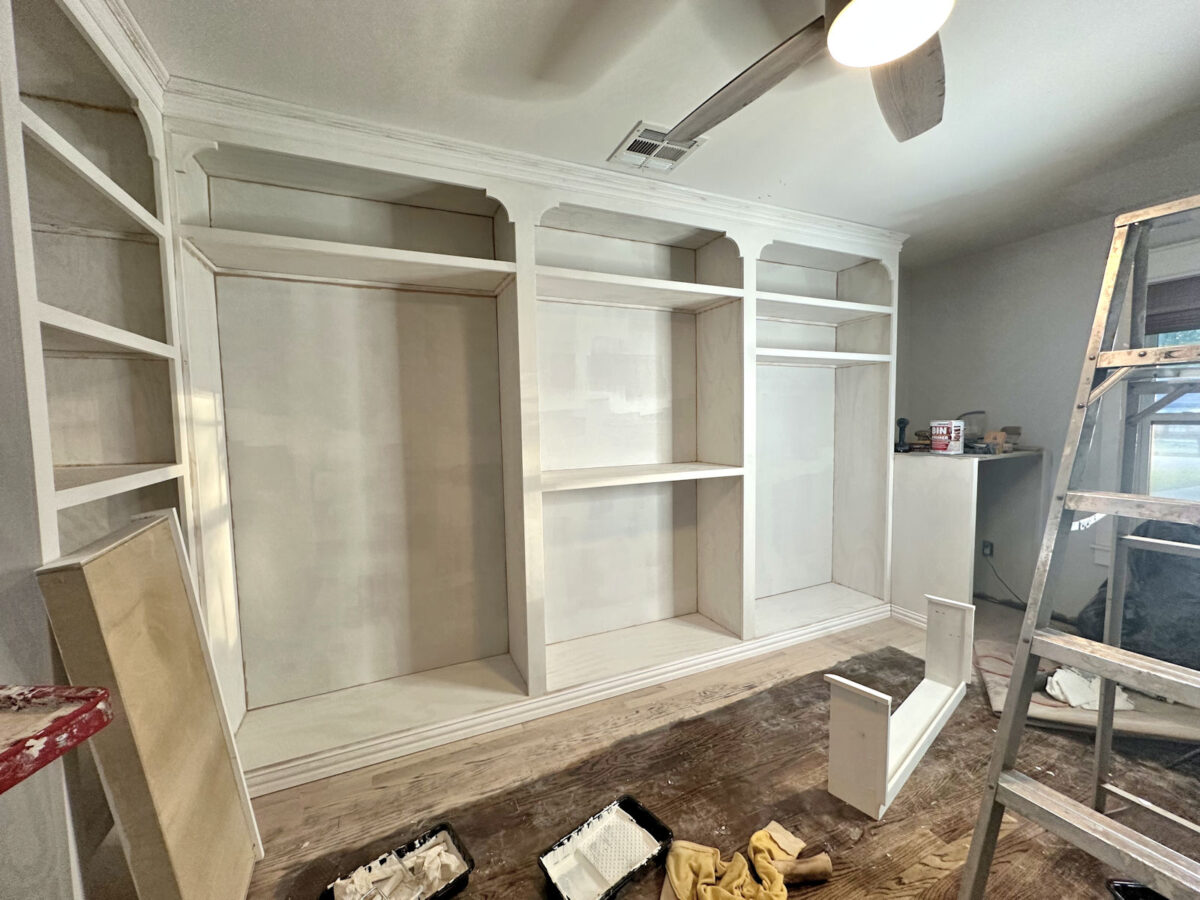
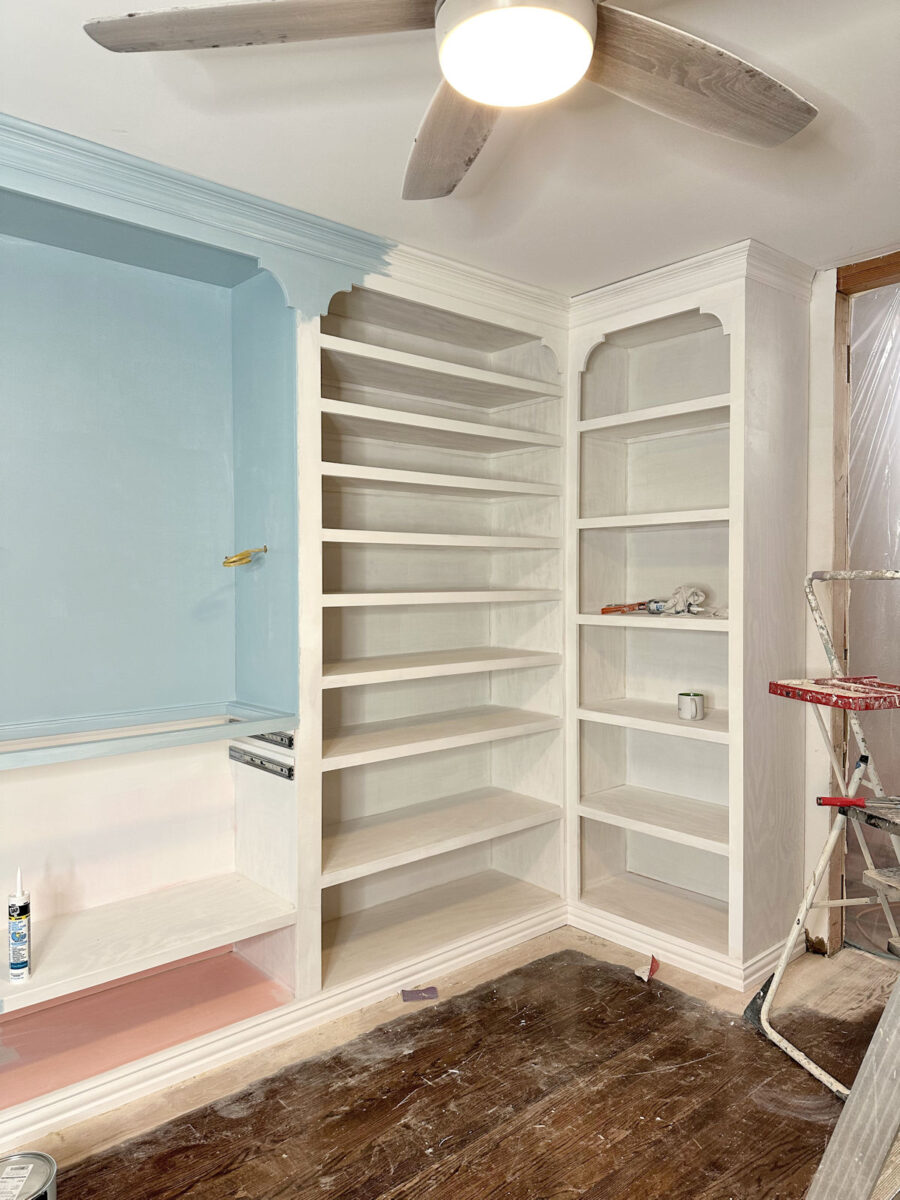
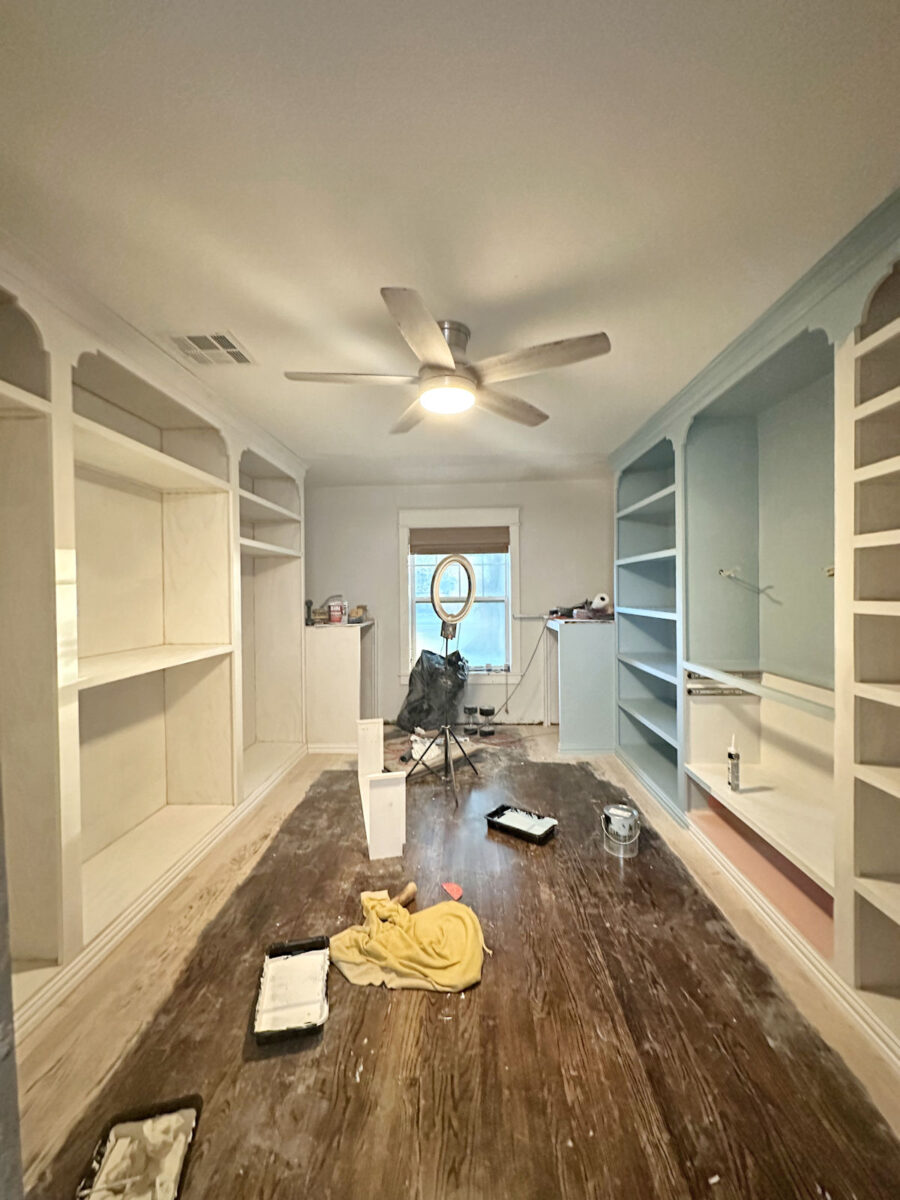
It’s amazing how much primer alone totally changed the look of the cabinets. Before, it was a sea of brown plywood with white pre-primed trim…
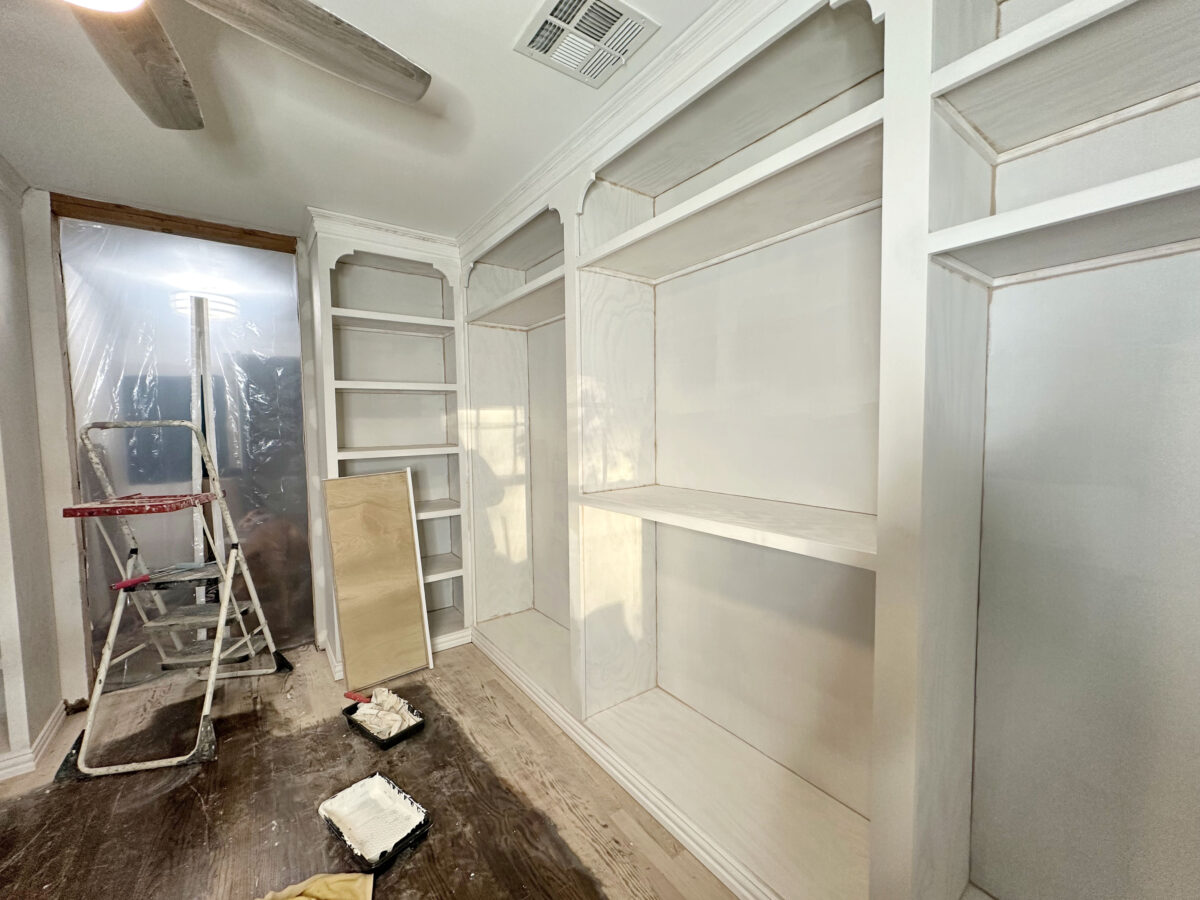
And now that everything is the same color, even if it is thin, streaky primer, it looks so much better. (I used my new favorite primer, Zinsser B-I-N shellac-based primer). Once primer goes on, you can really get a much better idea of how the finished cabinets will look.
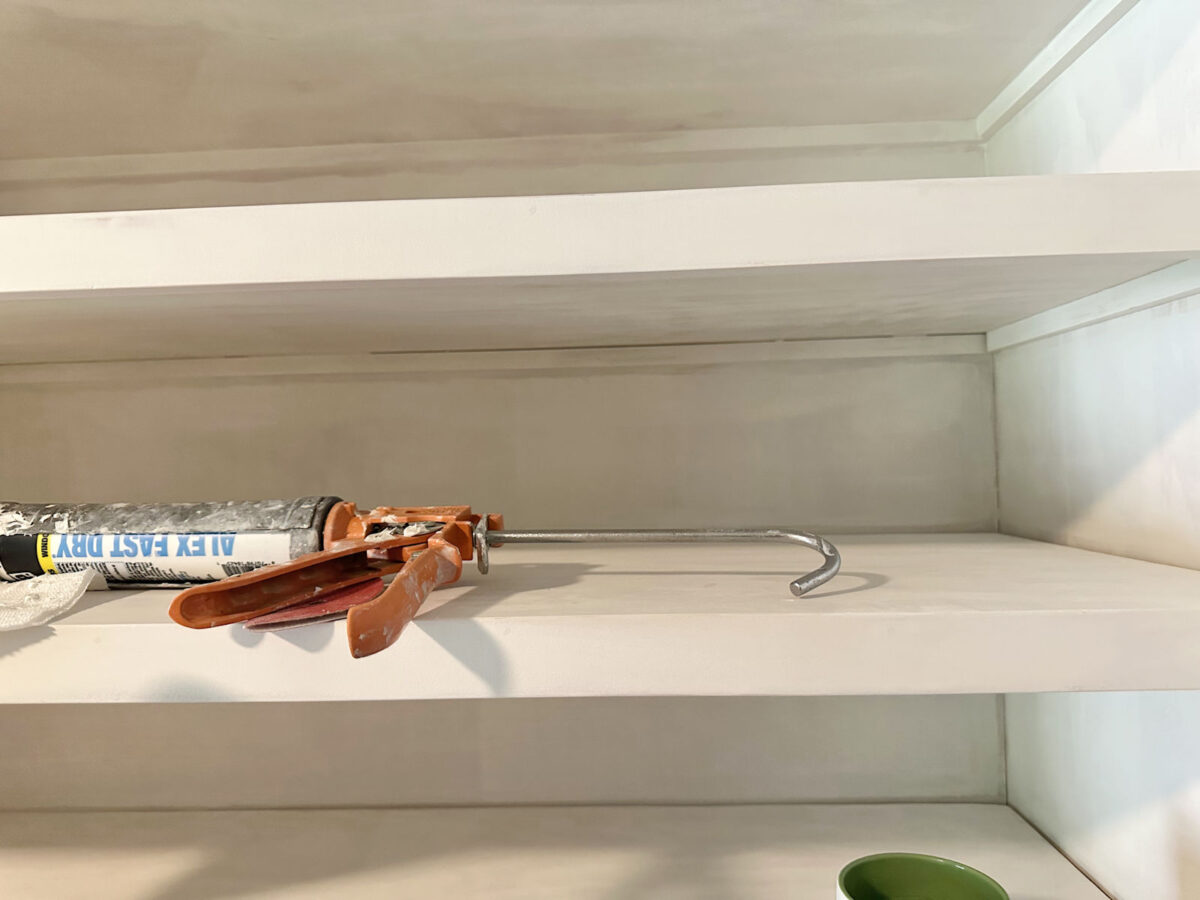
And then I spent Saturday doing the most dreaded, but the most important, step of all — caulking. I hate caulking so much, but I don’t ever skip this step because it makes such a huge difference in the finished project. The biggest pain was caulking these short shoe shelves. I could barely get my caulk gun in there at the correct angle to get caulk where it needed to go, but I made it work because it needed to be done. You can see the huge difference that caulk makes below.
Here’s a shelf before caulking. First, you can see why I like to prime before caulking. It makes all of those dark cracks and crevices so much easier to see and much harder to miss. If I try to caulk before I prime, I always end up overlooking areas that needed to be caulked.
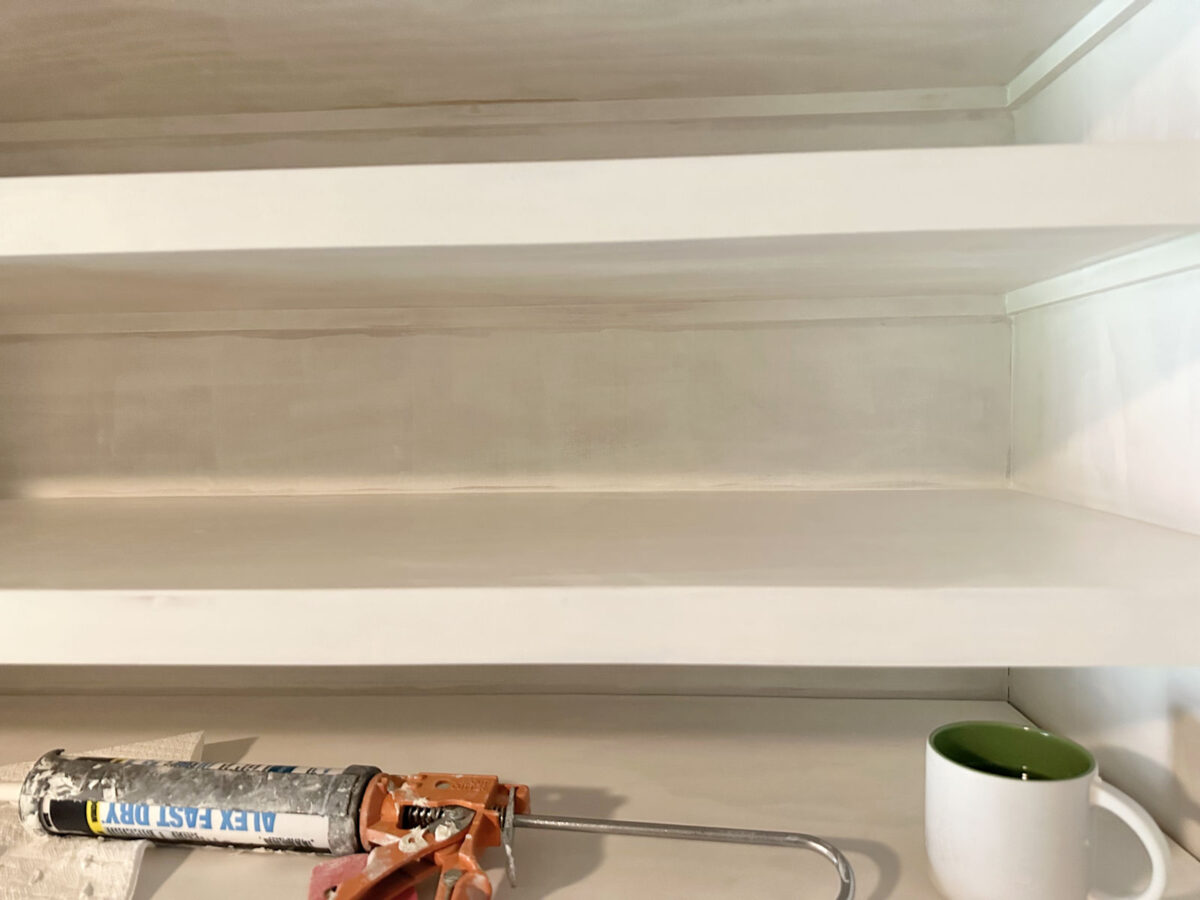
And here’s what it looks like after caulking. What a difference!
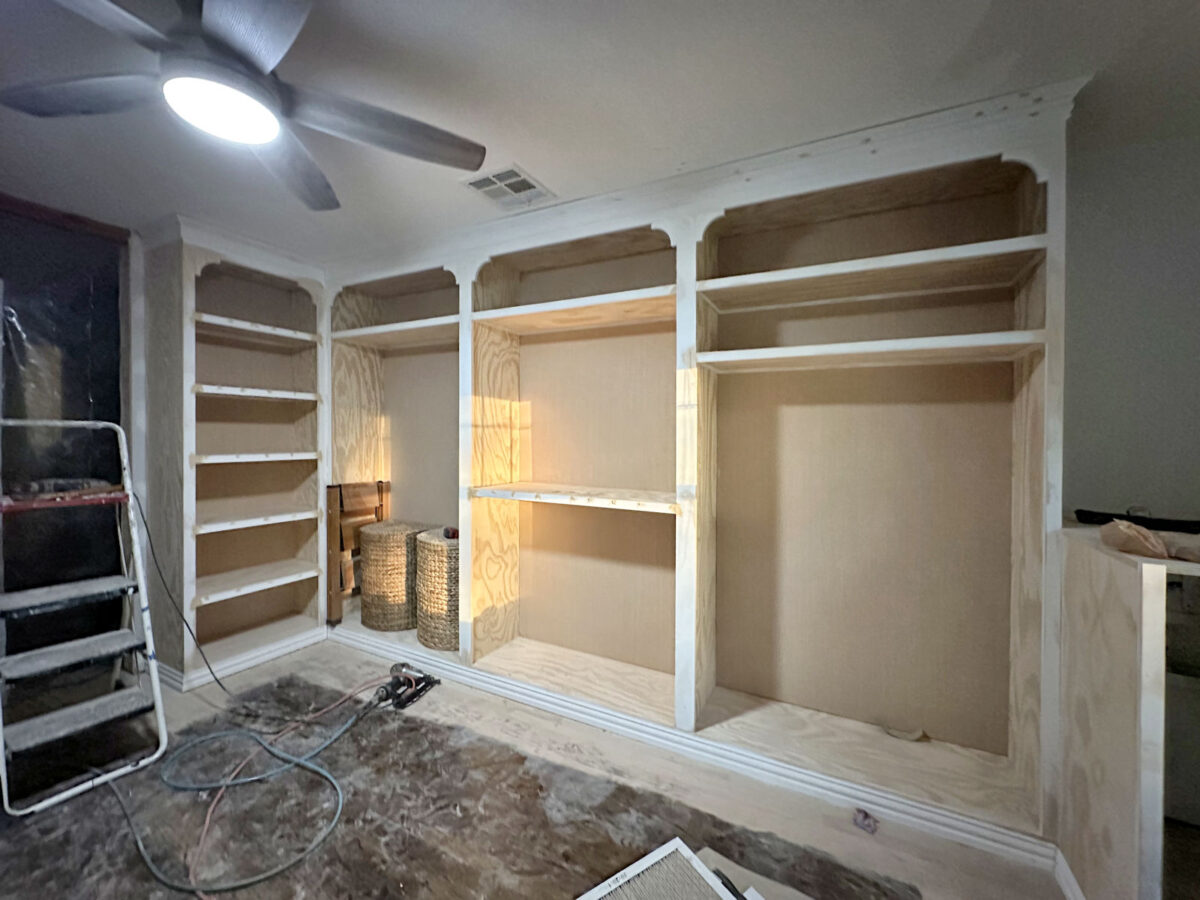
Before I could prime the jewelry drawer and the necklace organizer, I had to finalize the design on the necklace organizer. I ended up going with this very simple design on the front.
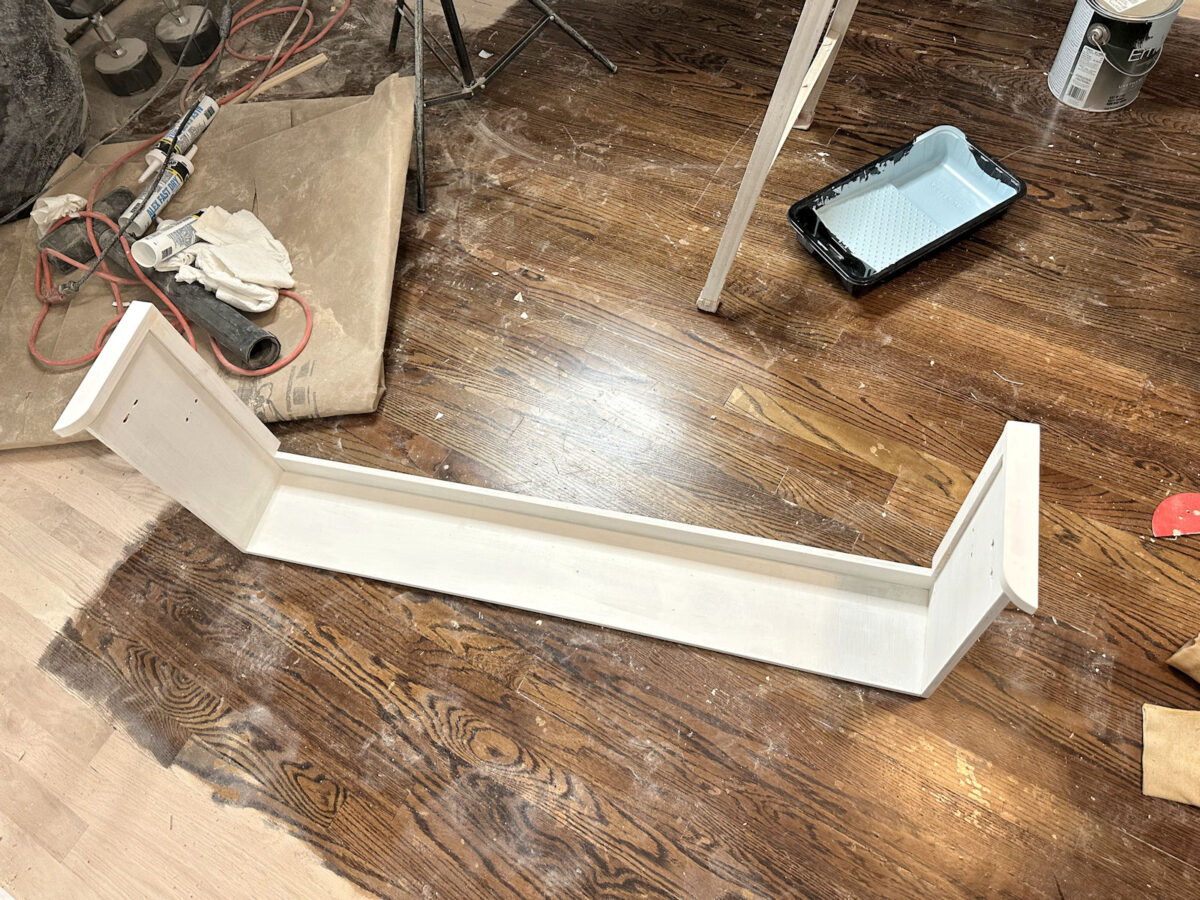
I decided that I didn’t want to have anything going all the way across the front that would get in the way of easy access to the necklaces, so I’ll just use the front necklace bar as a pull. It took me a while to get this all figured out, finish the design, and then take everything apart again (i.e., remove the drawer slides, bars, and bar hardware) so that I could wood fill, sand, caulk, and prime everything.
I got everything on the right wall caulked except for the cabinet by the door. Once I finished caulking the shoe shelves, I decided I deserved a reward for my perseverance. 😀 And that reward was to finally PAINT!
I didn’t get as far as I had hoped on the painting. I had hoped to get the first two sections completely painted while I waited for the caulk to dry on the shoe shelves. But I didn’t quite get all of the second section painted. But at least I got to do some painting.

For these cabinets, I’m using Sherwin Williams Emerald paint in a satin finish. This paint is ridiculously expensive (about $115/gallon), which is way more than I’m used to spending on Behr paint at Home Depot.
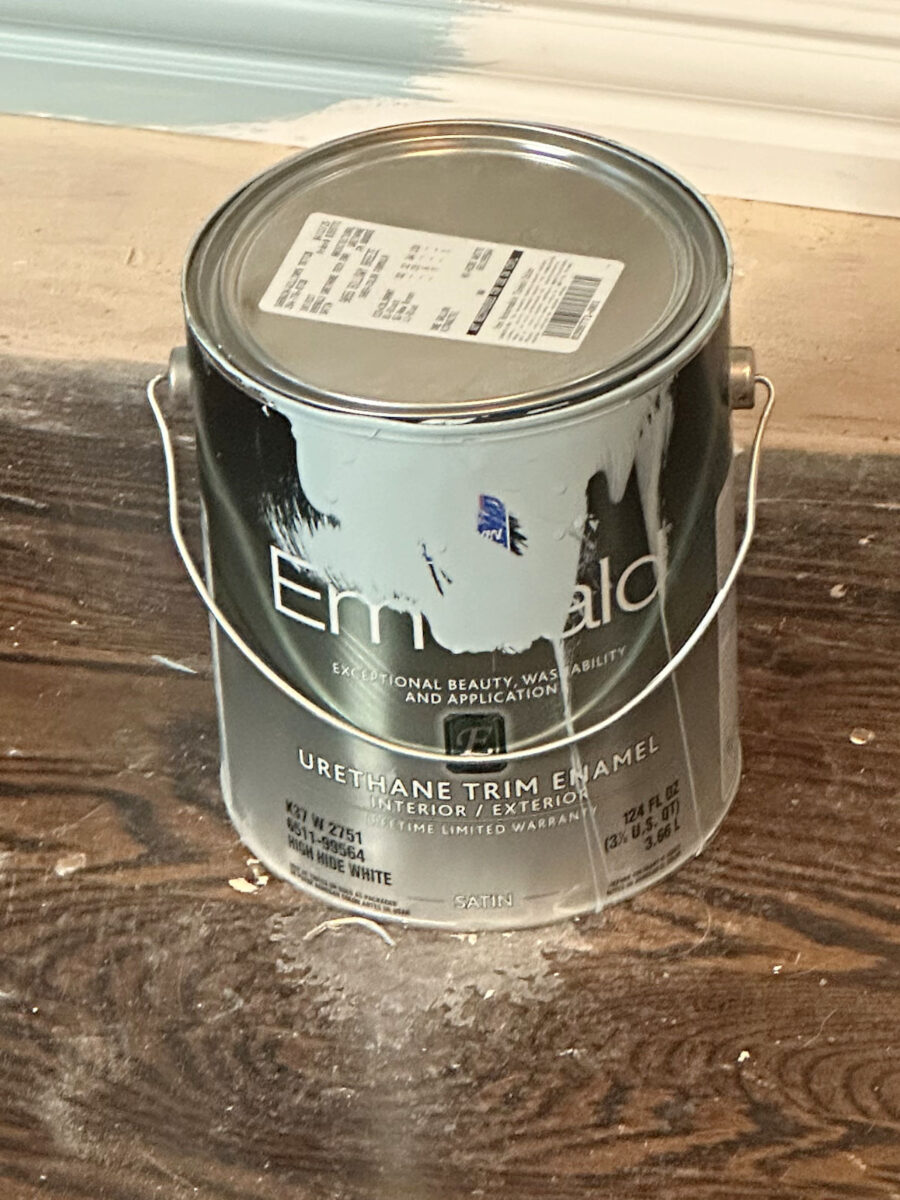
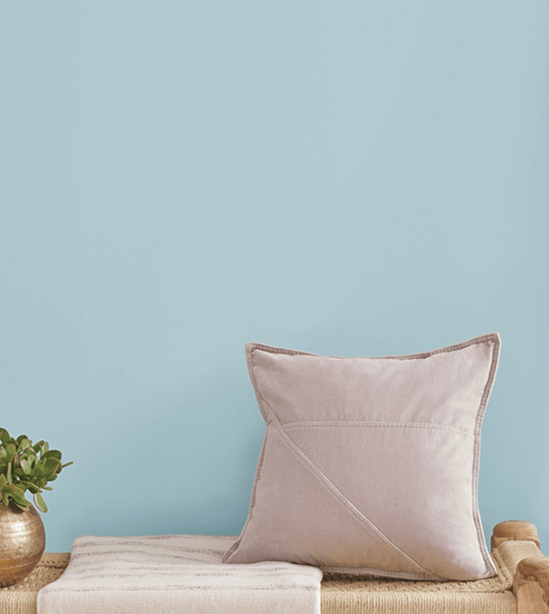
The color is called Billowy Breeze, and it’s a light greenish blue.

I’m used to using Behr paint from Home Depot, so I seriously doubted that paying over $100 for a gallon of paint would be worth it. But as soon as I started painting the cabinets, I realized that this paint is worth every penny. I decided to use a paint brush for the corners and trim and a 6-inch roller for smooth surfaces for all of the flat surfaces. This paint goes on so smoothly, and it’s a dream to paint with. I was nervous about using a satin finish, which is the lowest sheen that this paint comes in. Y’all know I hate shiny finishes, and I’ve always had a problem with Benjamin Moore’s Advance paint in a satin finish because it’s too shiny for my taste. But this one is PERFECT!
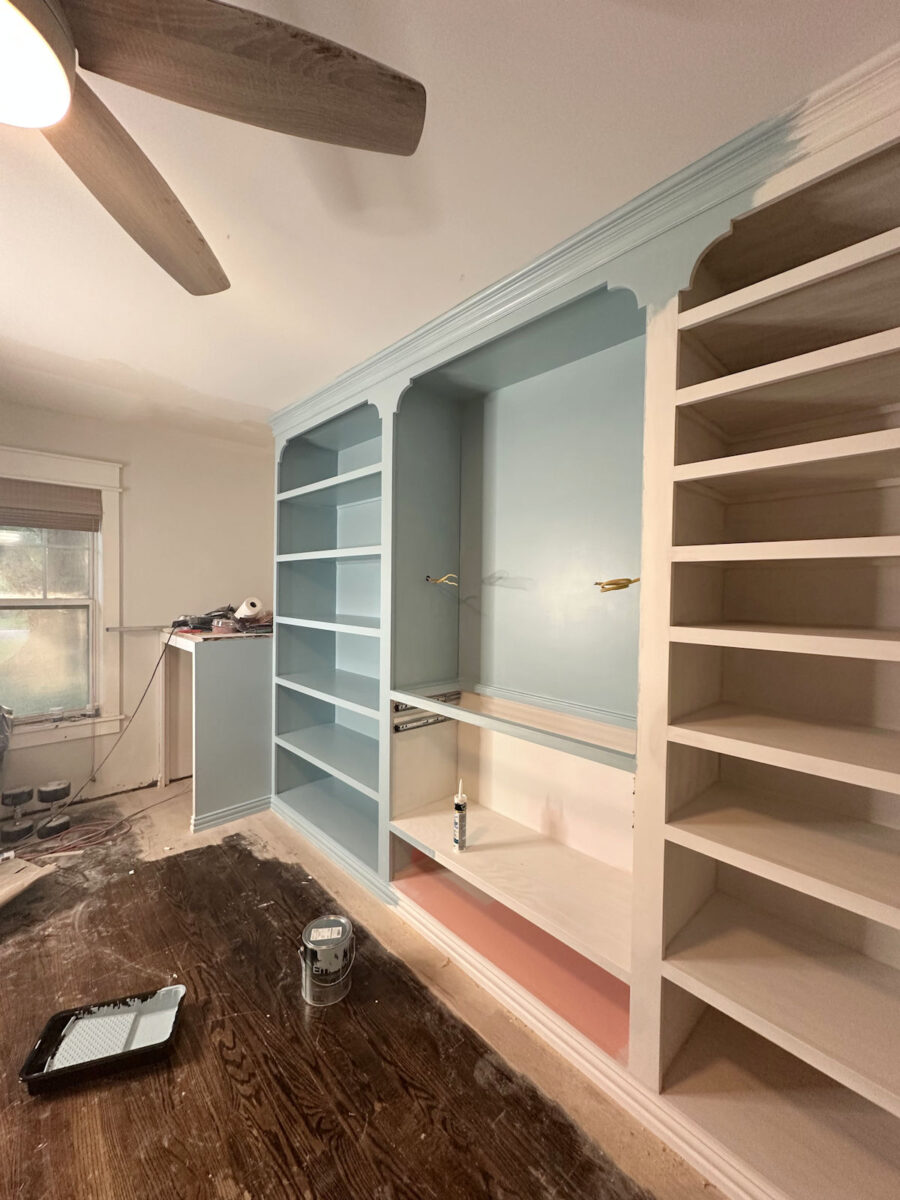
It will still take two coats, and this is just the first coat. But just look at this gorgeous color! And sheen!
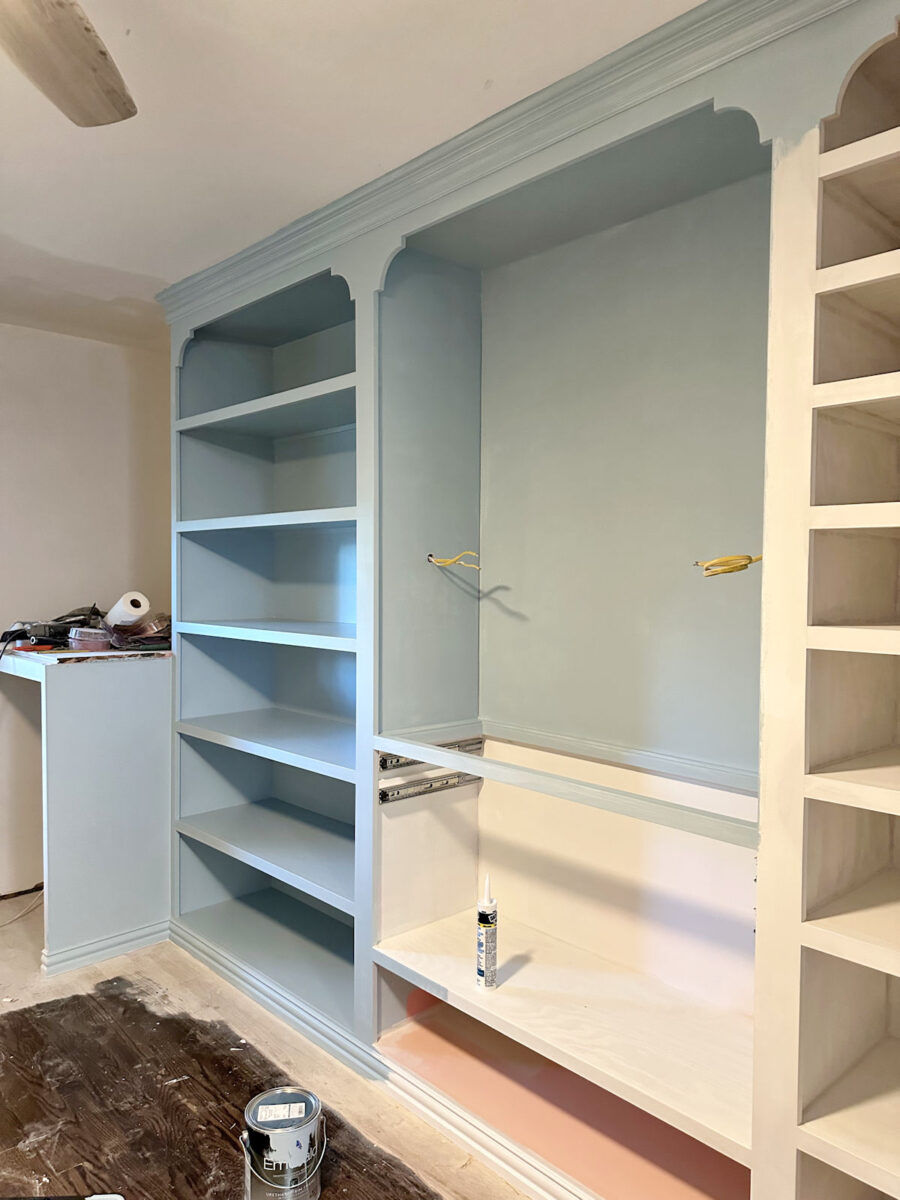
In fact, I love the color so much that I’m considering color-drenching the room with it. That basically means that I would paint everything in the room in that color — all of the cabinets, all of the trim (even the crown molding and baseboards that aren’t on the cabinets), the window trim, the door trim, and the ceiling.
The only thing areas that wouldn’t be color drenched in this beautiful greenish blue color would be areas where I plan to add wallpaper — the walls around the washer and dryer and the one upper section in the center cabinet on the wall on the right. Everything else would be painted Billowy Breeze.
I tried to find a good example of a color-drenched room with light wood floors, and I found this one on Instagram from Rock Creek Builders…
I think that is absolutely beautiful. Of course, that room is painted Benjamin Moore Hale Navy, which is way darker than the color I’m using. Hale Navy is below on the left, and the color I’m using (SW Billowy Breeze) is on the right. So you can see what a huge difference there is in color.
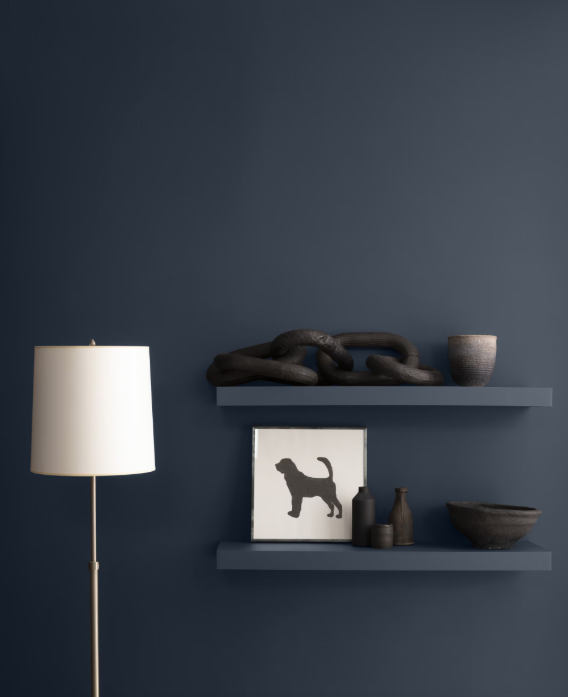
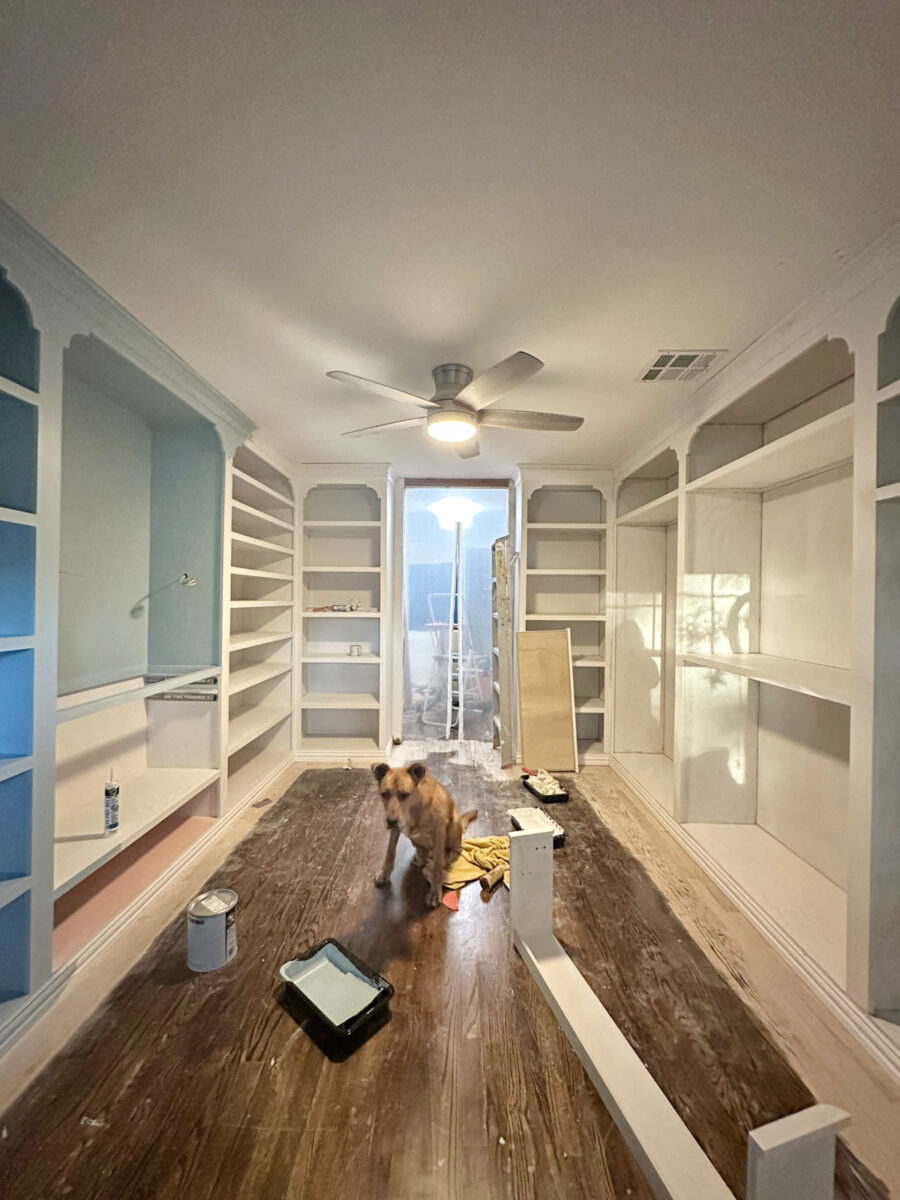
So my color-drenched room would end up much lighter and brighter than the color-drenched office from Rock Creek Builders. But the concept would be the same (with the addition of wallpaper in my closet).
Anyway, it’s just something I’m considering because with all of the greenish-blue cabinets, I’m a little concerned that any white trim might stick out like a sore thumb. I’m generally a white ceiling kind of person. In fact, the only ceiling in our house that isn’t painted white is the hallway bathroom, which has a stained wood ceiling.

And, of course, that room won’t stay a bathroom forever. It will eventually be a storage closet once we build the addition with the new guest bathroom.
I’ve wanted to color-drench a room for a while now, and I think this closet might be my opportunity. And if I’m going to put a color on a ceiling, what’s better than a light greenish blue? So I think I’m going to go for it. I don’t have to use the expensive paint for the ceiling, and if I end up not liking it, I can always go back and paint it white, right?

Addicted 2 Decorating is where I share my DIY and decorating journey as I remodel and decorate the 1948 fixer upper that my husband, Matt, and I bought in 2013. Matt has M.S. and is unable to do physical work, so I do the majority of the work on the house by myself. You can learn more about me here.