")
I’ve made progress on my walk-in closet island, but I had a pretty big setback yesterday because I wasn’t paying attention and spent all afternoon cutting the pieces for the drawers, only to realize that I cut most of them the wrong size. I blame it on my brain that has a hard time with numbers and math.
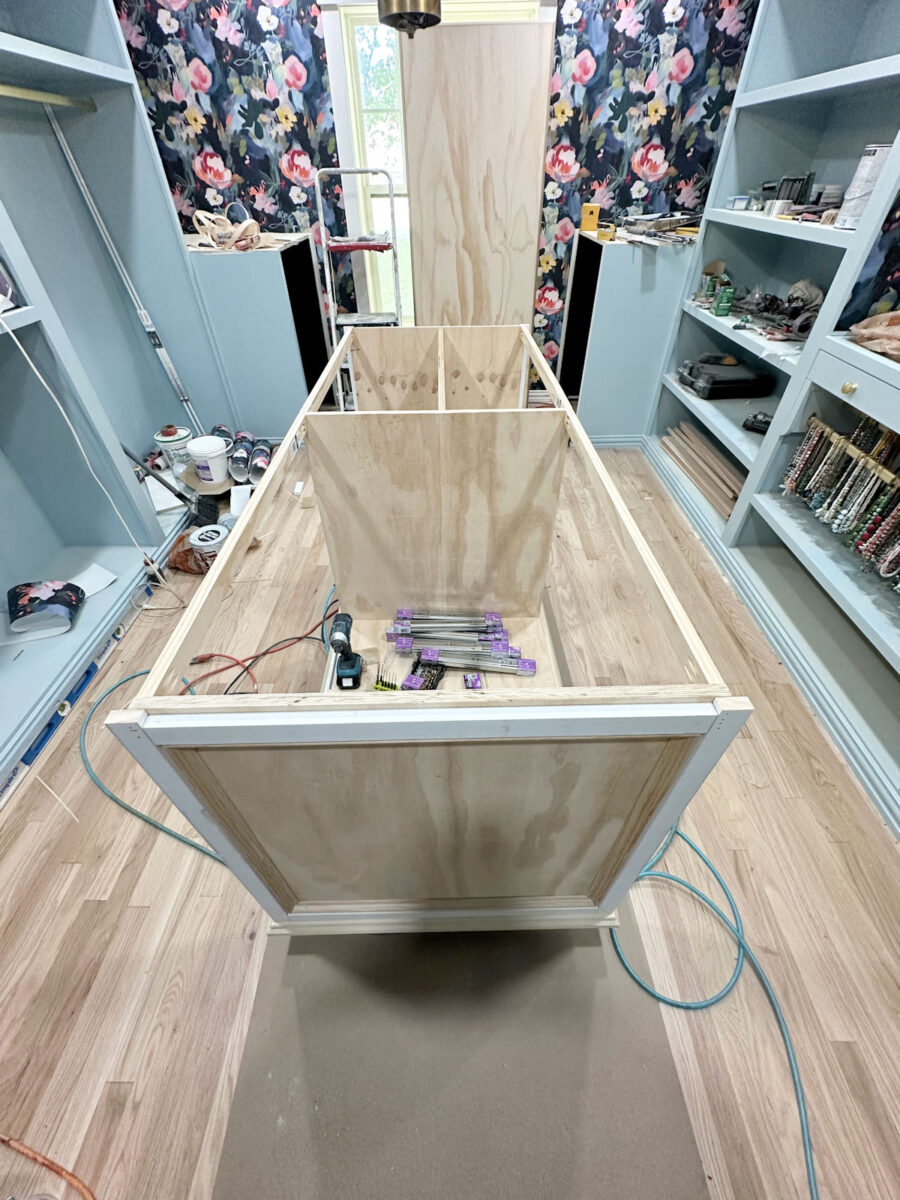
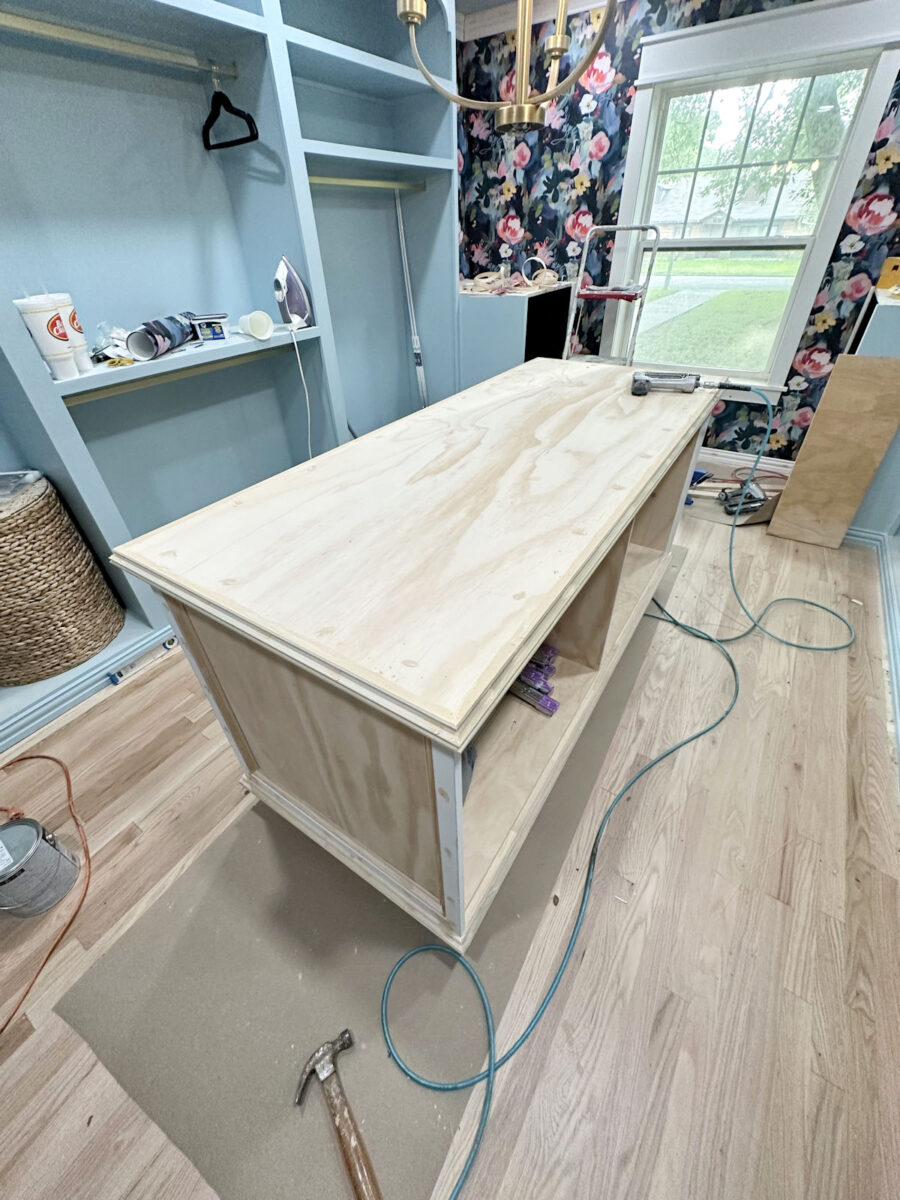
So let me back up a bit. When I last shared my progress, the island looked like this…
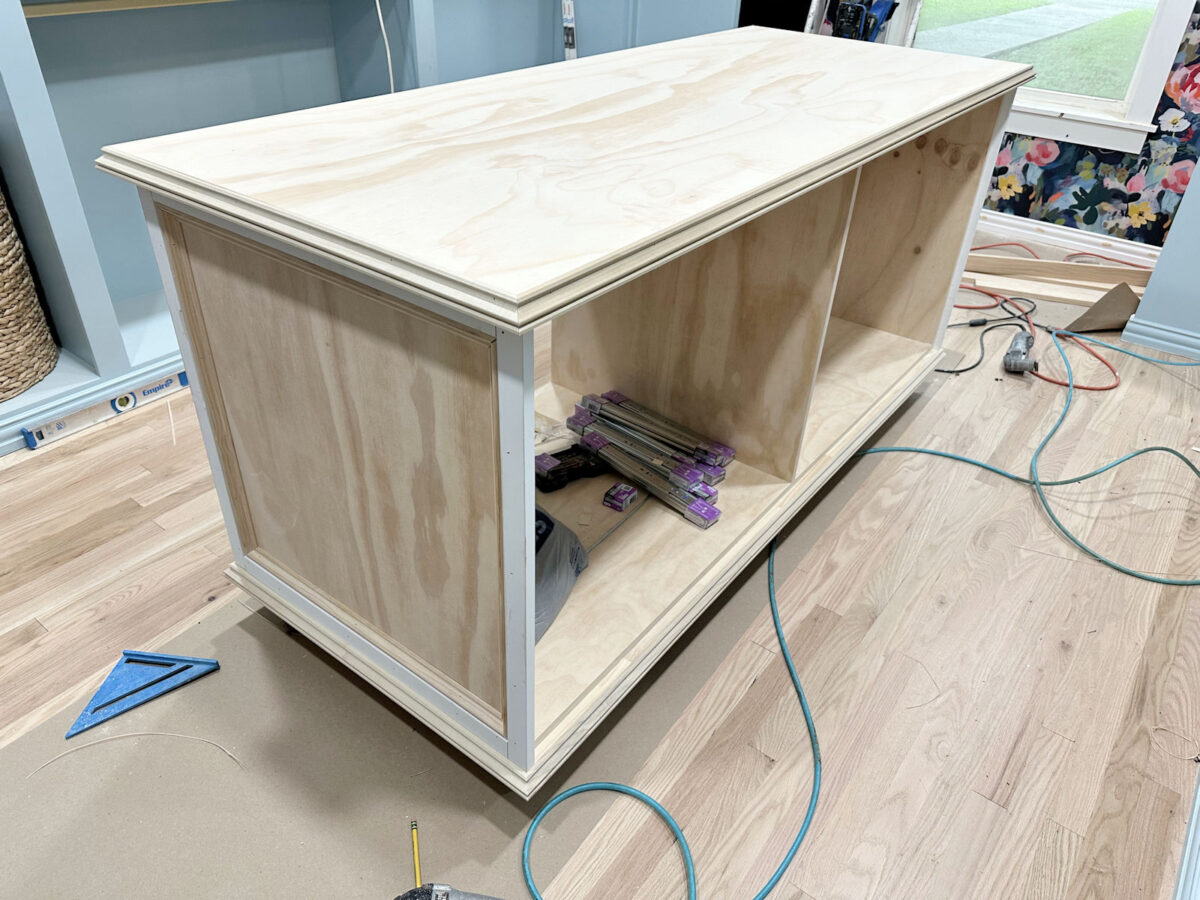
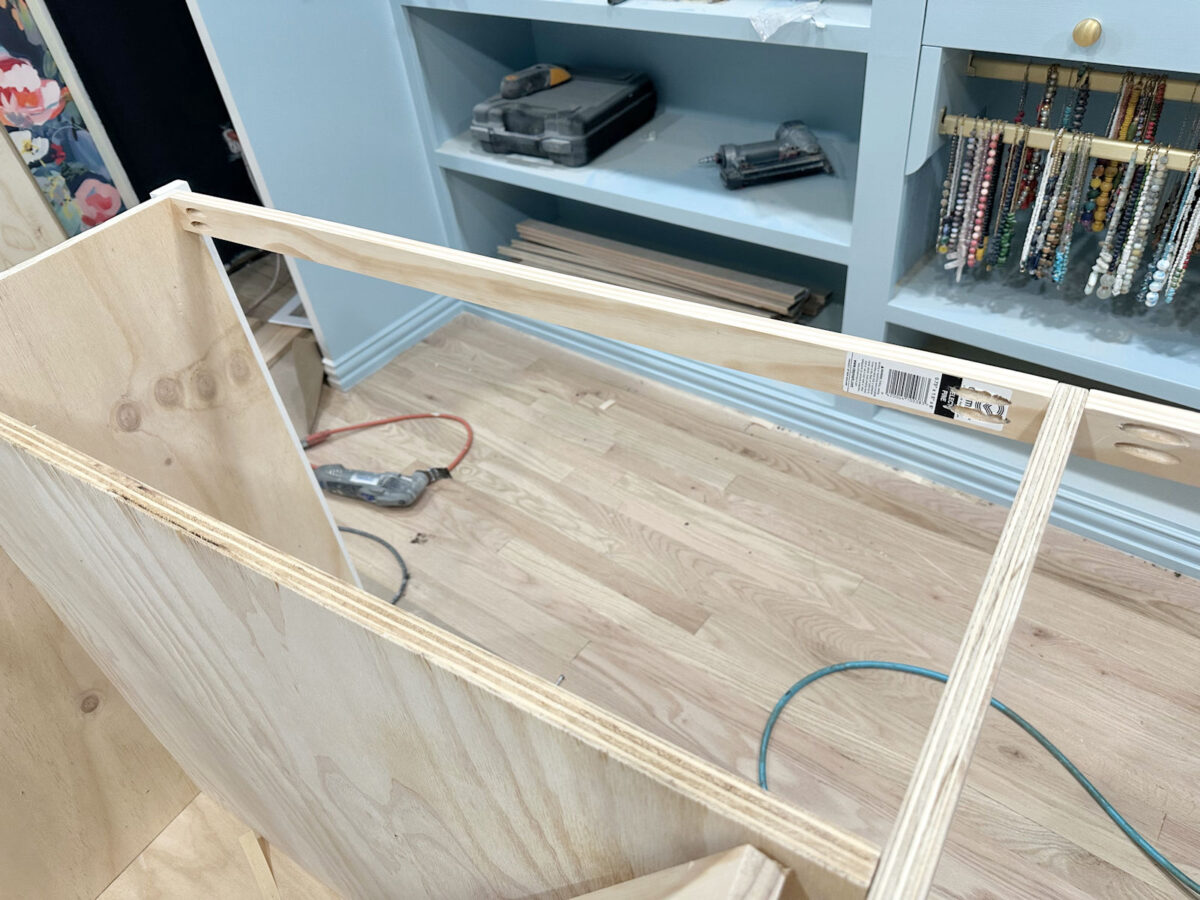
The basic build looked finished at that point, but I still needed to remove the top and add a few more pieces to the base structure. I cut pieces of 1×2’s to fit at the top of each opening. I drilled pocket holes in each end of each piece using my Kreg pocket hole jig, and then used those pocket holes to screw the pieces into the sides of each section.
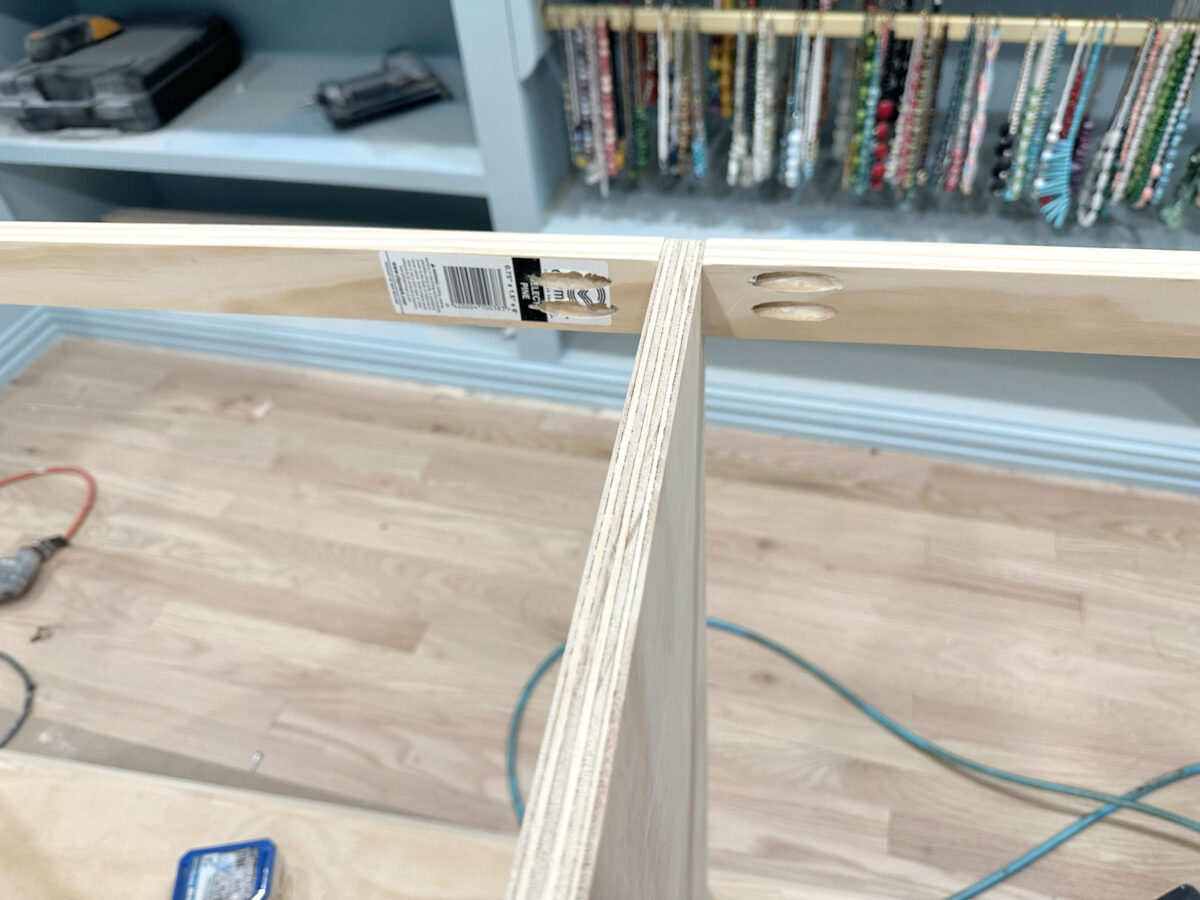
Here’s a look at where both pieces screw into the middle divider piece of plywood.
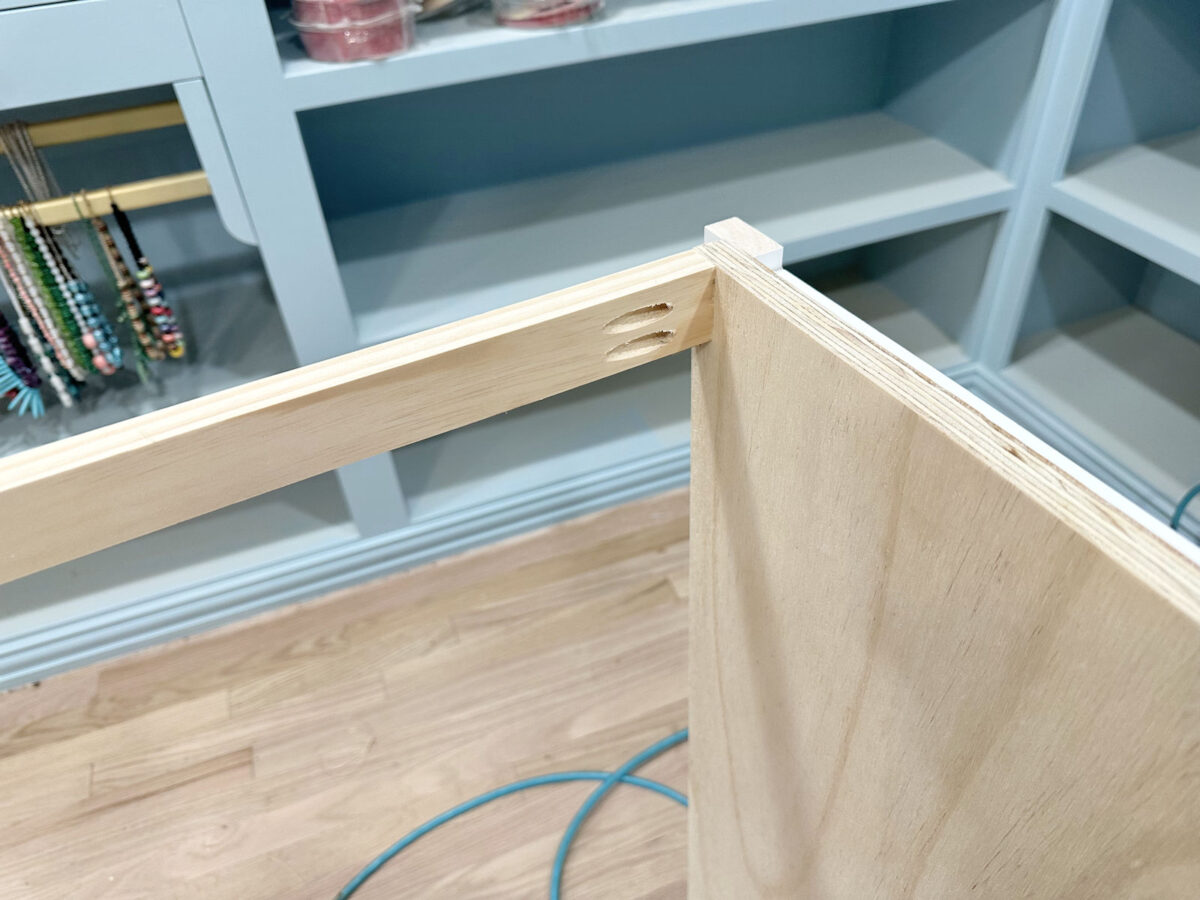
And here’s a closer look at where it’s screwed into the end piece, lined up with the plywood.
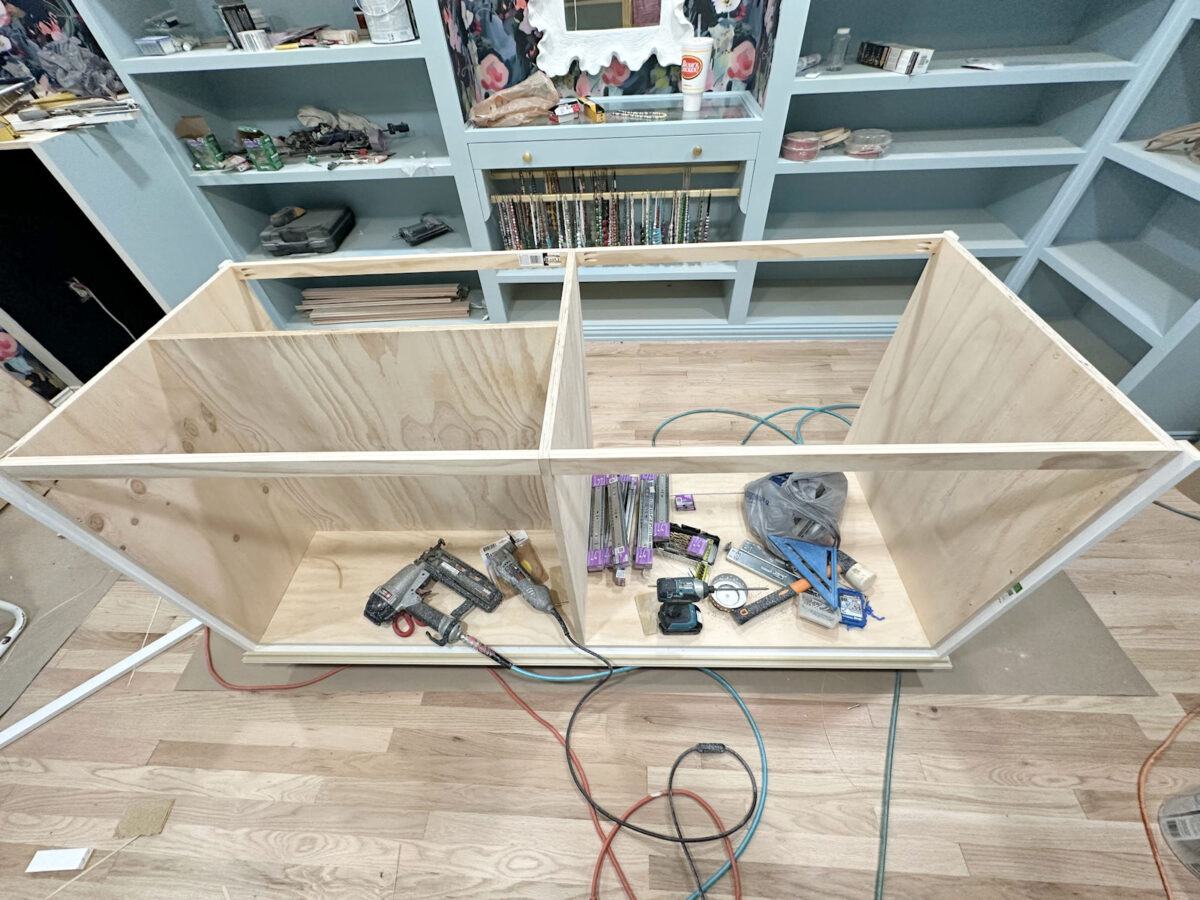
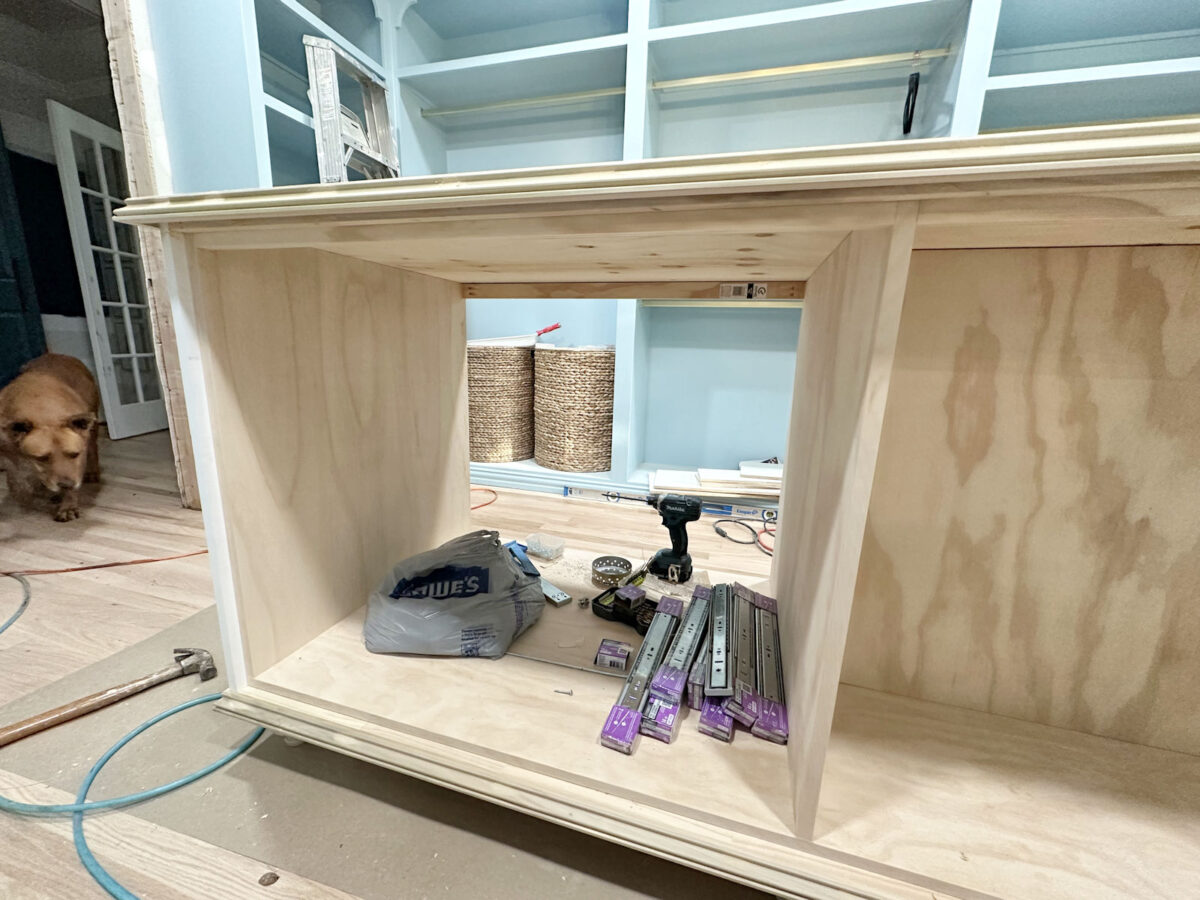
With all of those 1×2’s attached, it looked like this…
Here’s another look from the side of the island…
I had already created a frame for the doors and drawer front on the sides with the side trim, and on the bottom with the bottom trim, so now I needed to create a frame on the top so that the doors and drawer fronts would look inset on all sides once they’re attached. So I cut another strip of 3/4″ square trim by ripping down a 1×3 using my table saw, and I attached it going all the way across the top of the 1×2 stretchers I had just attached.
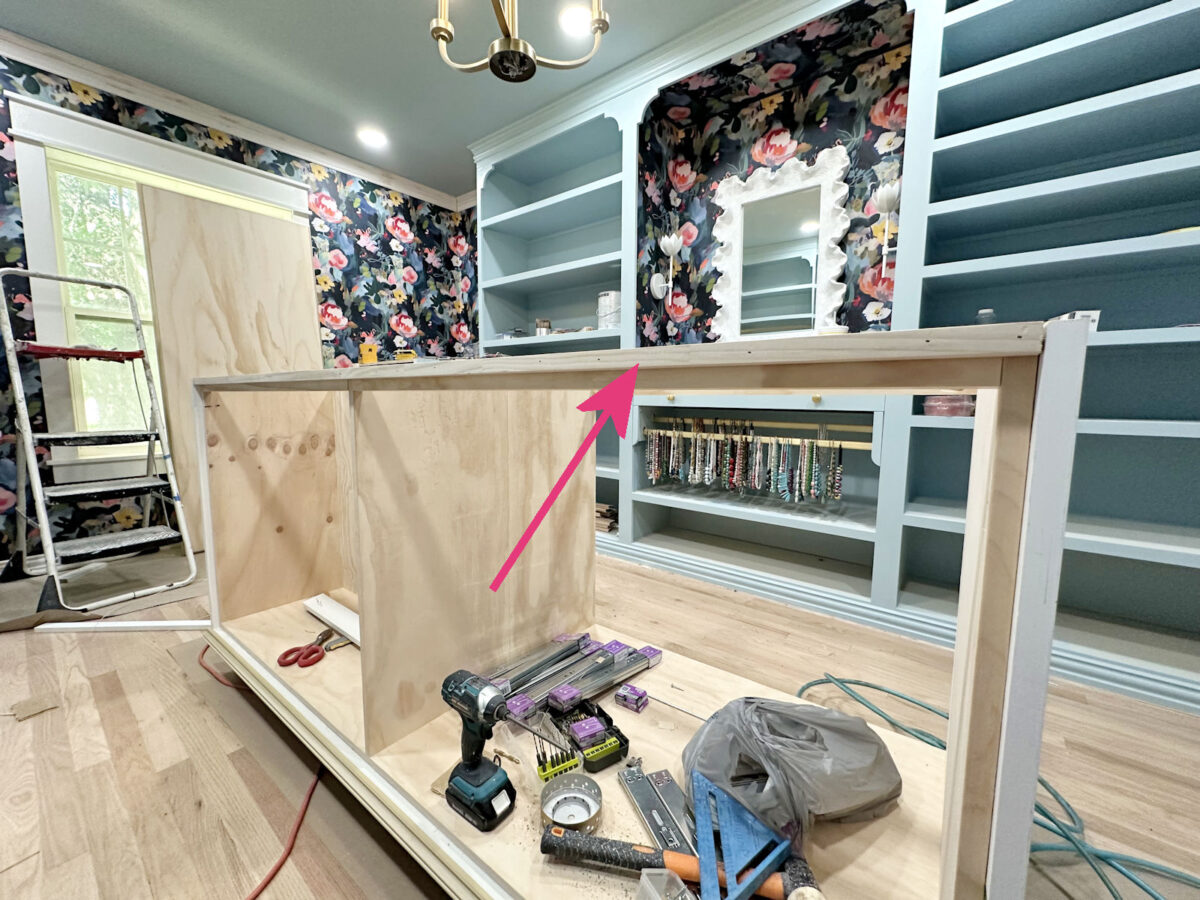
And with that piece attached, you can now see that the doors and drawer fronts will sit inside that frame giving them an inset look once they’re on.
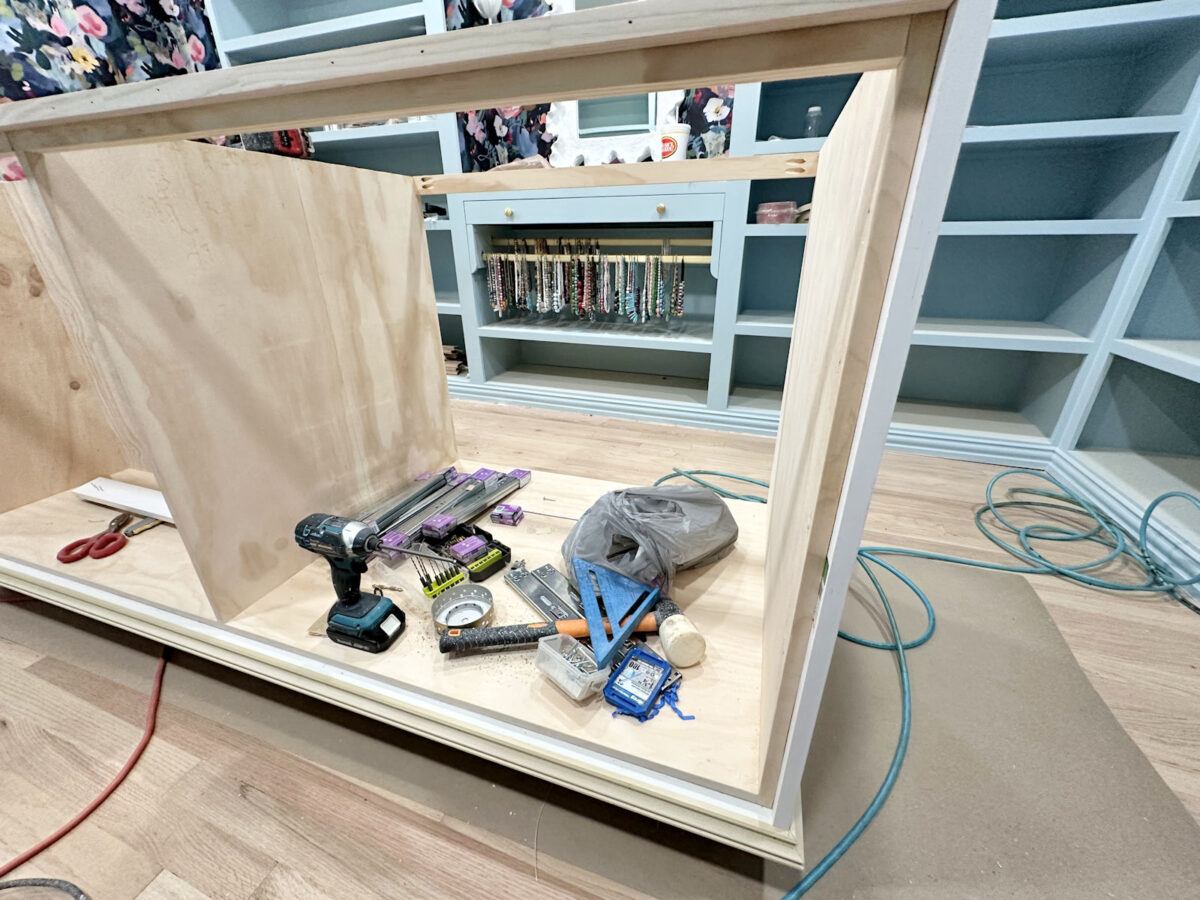
With that done, I could actually attach the top. After measuring carefully to make sure it was even all the way around, I just nailed right through the top and into the frame of the base to secure the top. You can see where I used wood filler to fill those nail holes.
I also added wood filler where the side trim met the plywood top so that when it’s sanded, it’ll be as perfectly smooth as possible with no little cracks between those pieces.

Here’s a look at it with the top on. You can see that that top frame piece is about 1/4″ below the countertop.
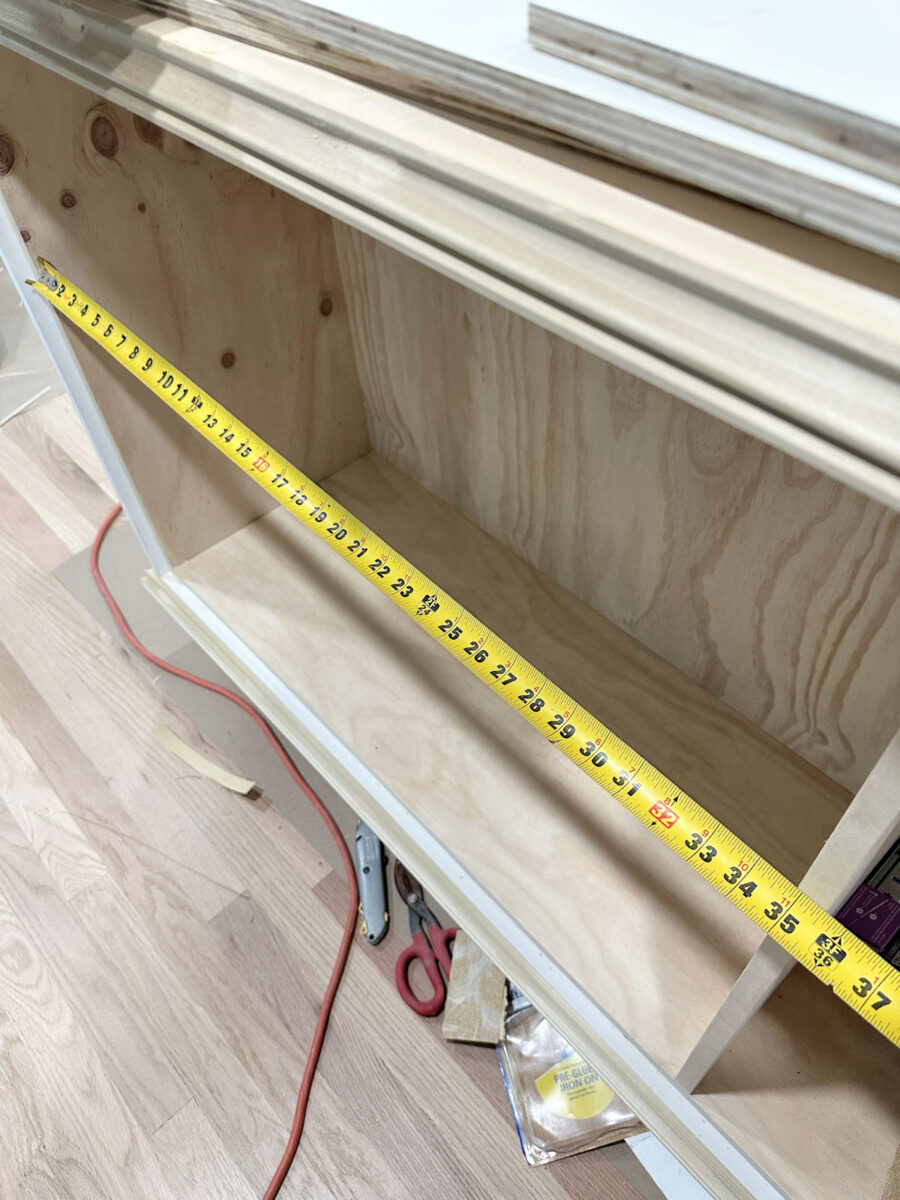
Then I was ready to build the drawer boxes. I started by measuring the width of the opening, which was 34 7/8 inches.
These are the drawer slides I use. I’m not particular about the brand as long as they’re ball bearing drawer slides with soft close. You can get them at Home Depot and Lowe’s, and they’re all pretty much the same, regardless of brand.
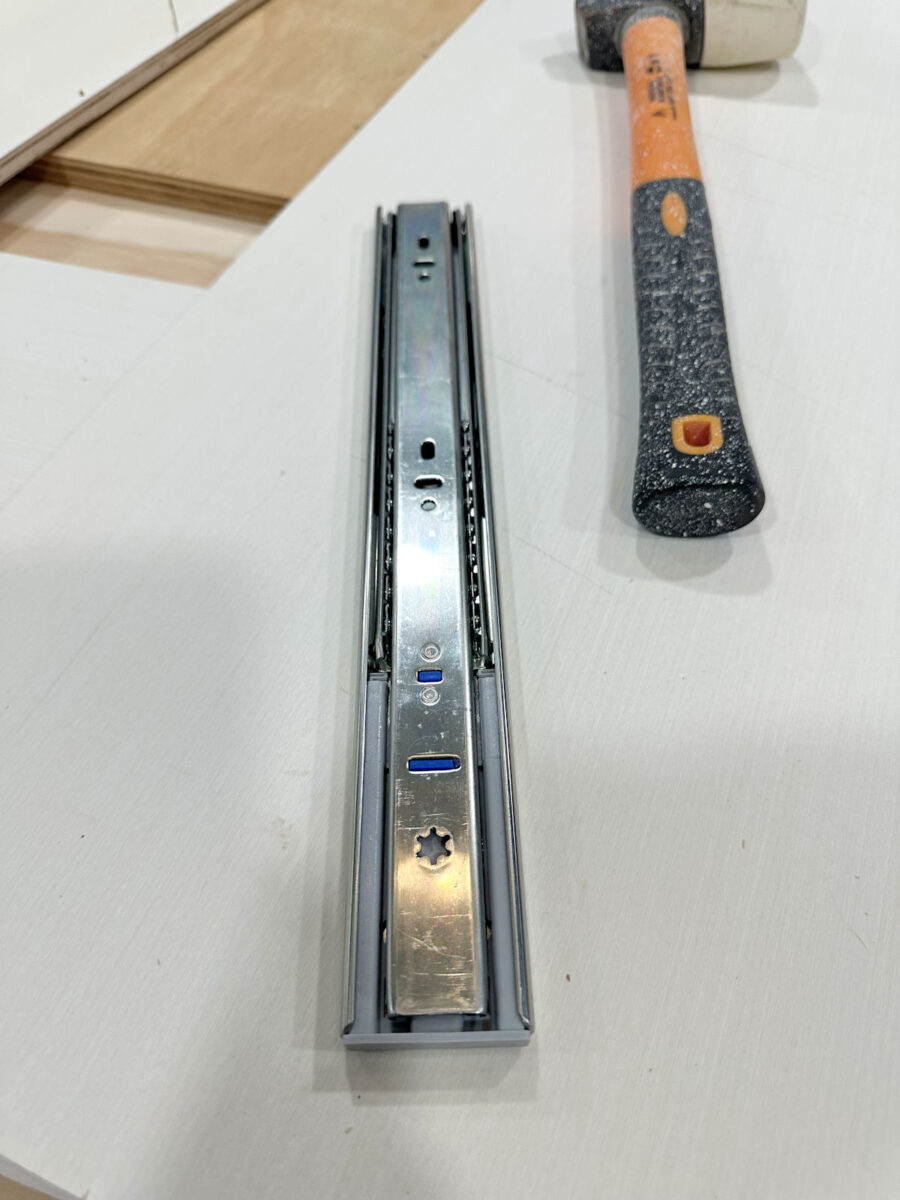
The drawer slides are 1/2 inch thick.

That should make it easy, right? You take the width of the opening, subtract an inch, and that’s the width you build the drawer box. Easy peasy. Or at least, it should be.
So I spent hours cutting and sanding all of the pieces for the drawer boxes. For these, I decided to keep it easy and build the absolute simplest form of drawer box possible. I cut one bottom piece for each drawer. Then I cut two pieces to go on the front and back, cut to the same width as the bottom piece. And then I cut two pieces for the ends, cut to one inch more than the bottom piece so that the side pieces would cover the bottom piece plus the sides of the front and back pieces. Nail them all together, and you have the most basic drawer box possible. No fancy cuts or fancy tools needed.
So I got everything cut, got the first drawer box nailed together, and then realized that I had forgotten to subtract that inch for the drawer slides when cutting all of the bottom, front, and back pieces. UGH!!!! Such a rookie mistake!!!
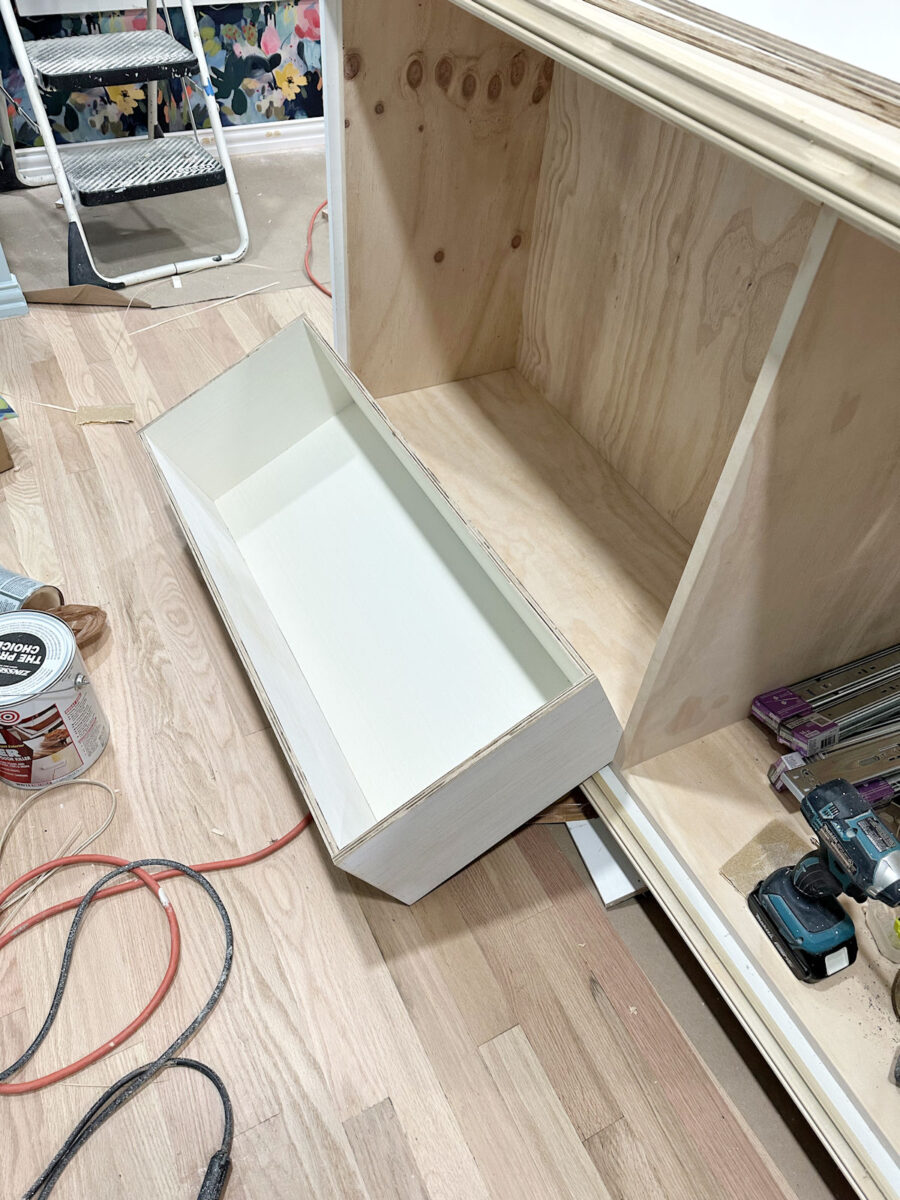
Y’all, I was so frustrated. Thank goodness I had only put together one drawer box and decided to test it for fit before putting the rest together. I would have ugly cried had I gotten all ten drawer boxes put together before realizing that I had cut them all the wrong size.
It’s no big deal. I just have to spend time today recutting all of those pieces (all except for the side pieces) to the right lengths (one inch shorter than they are) and doing a little more sanding, and then I can get them built. At least I cut them too long instead of too short! Had I cut them too short, all of that plywood would have been wasted. So this is a really easy fix, but it’s still a pain.
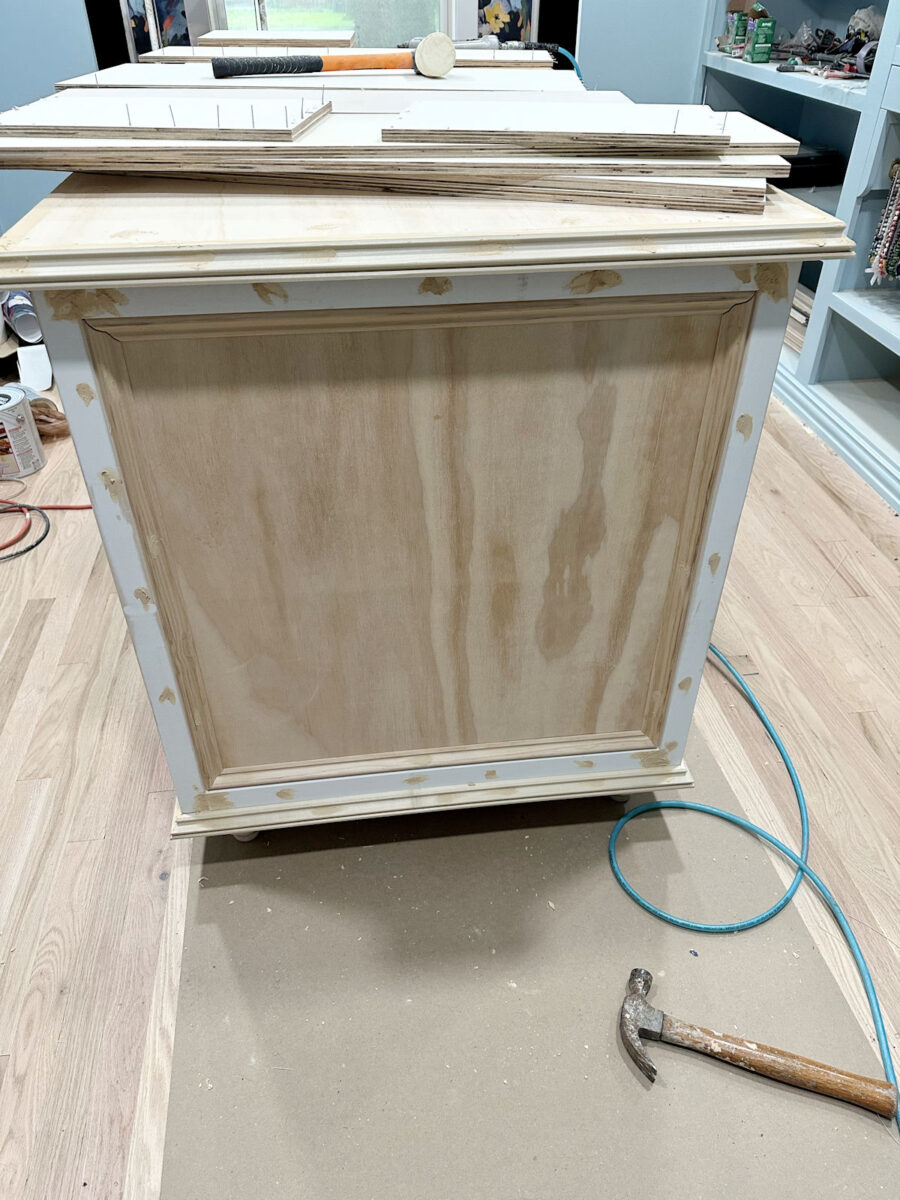
By the time I realized my mistake, I didn’t have it in me to go back out and fix those pieces. So instead, I got all of the wood filler on the base and got it ready for sanding so that I can get it primed and painted.
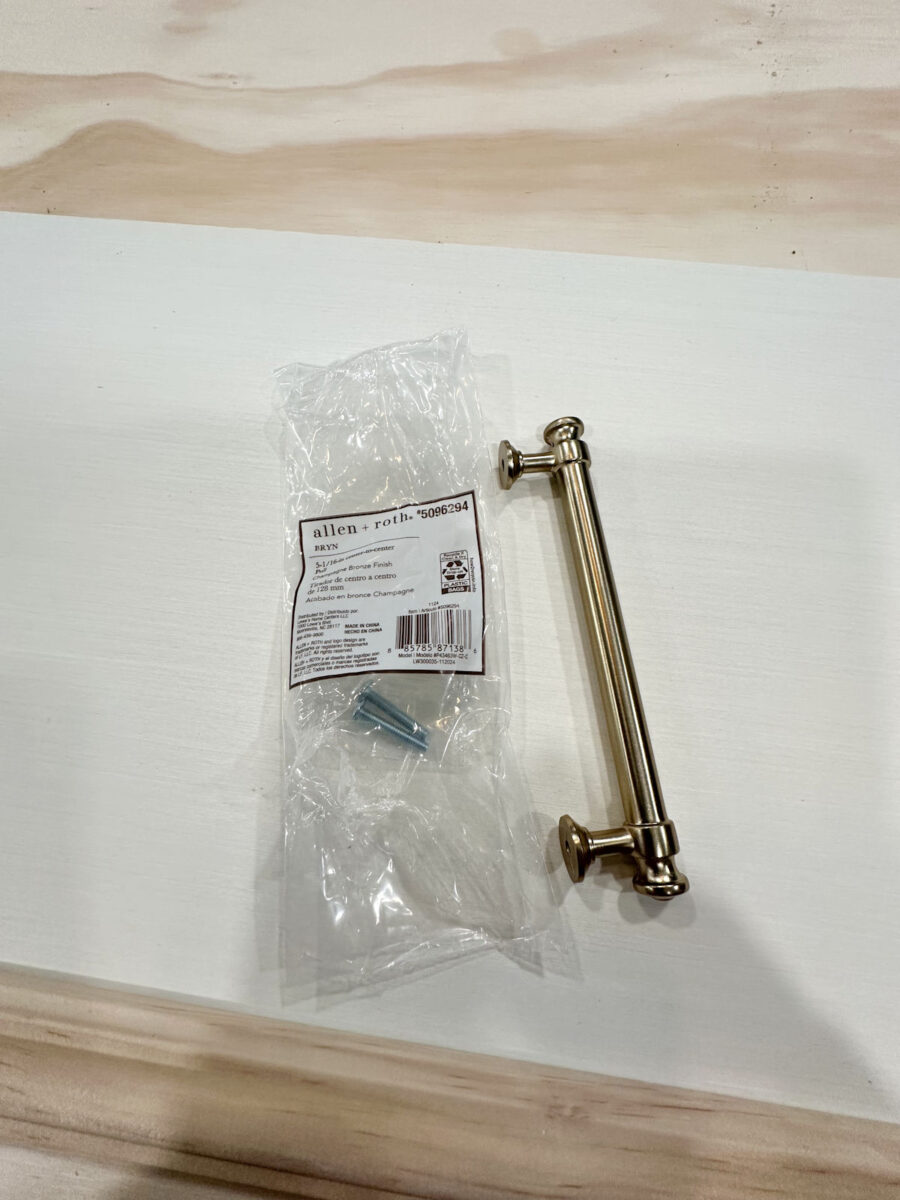
I also tried to figure out just exactly how I’m going to make the drawer fronts and doors. I was waffling between two different designs, but I think I’m going to keep it simple. I bought these pulls from Lowe’s.
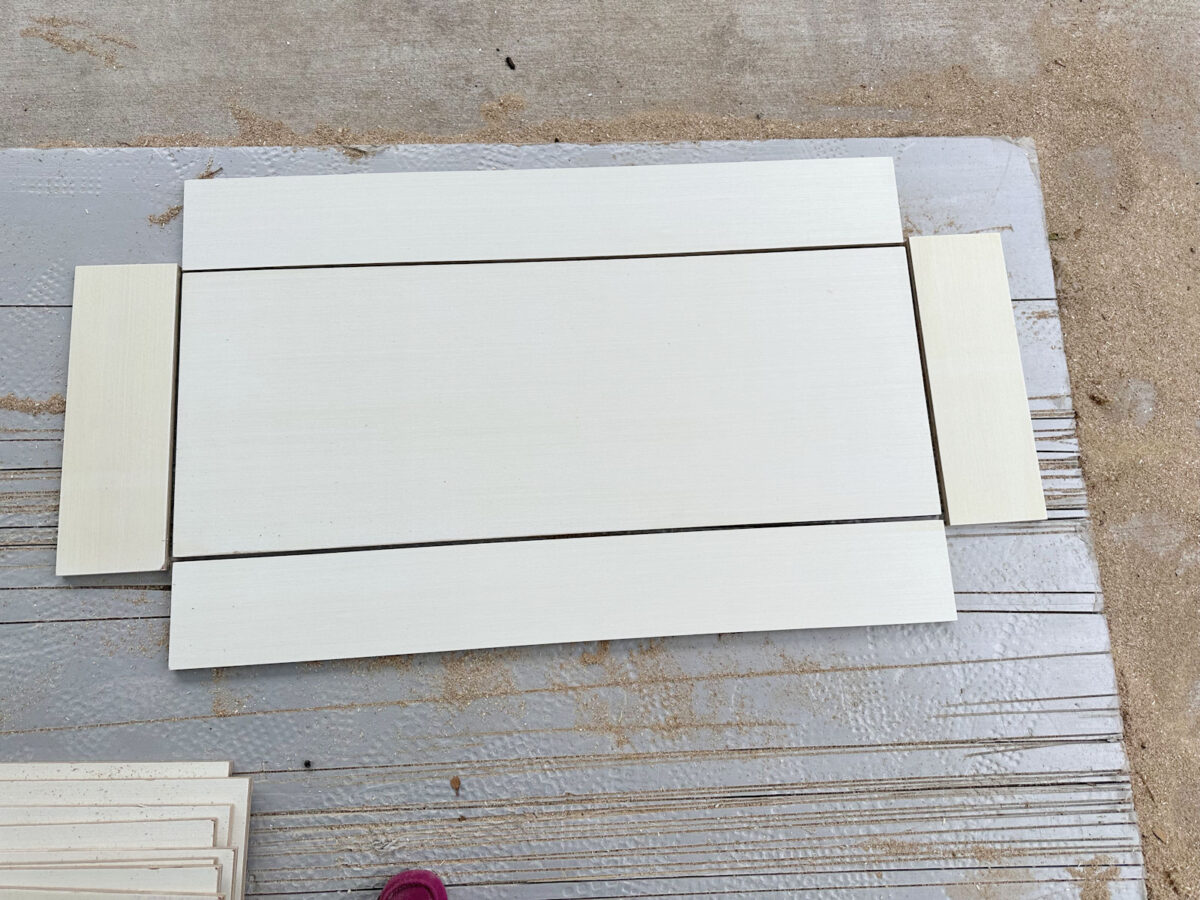
So I think I’m just going to cut the drawer fronts out of 1/2″ plywood and then put some pretty trim around the edges. I’m still not sure if I’m going to use one pull per drawer…
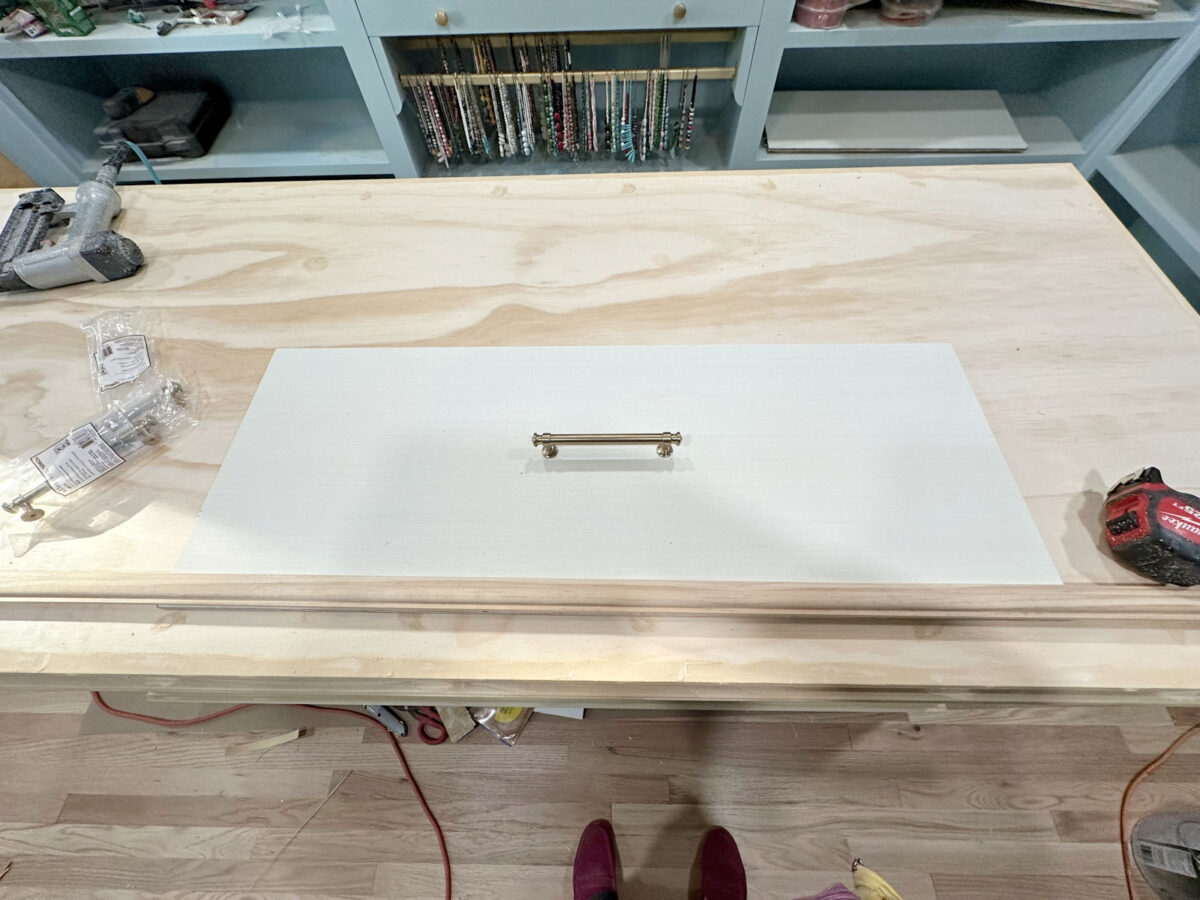
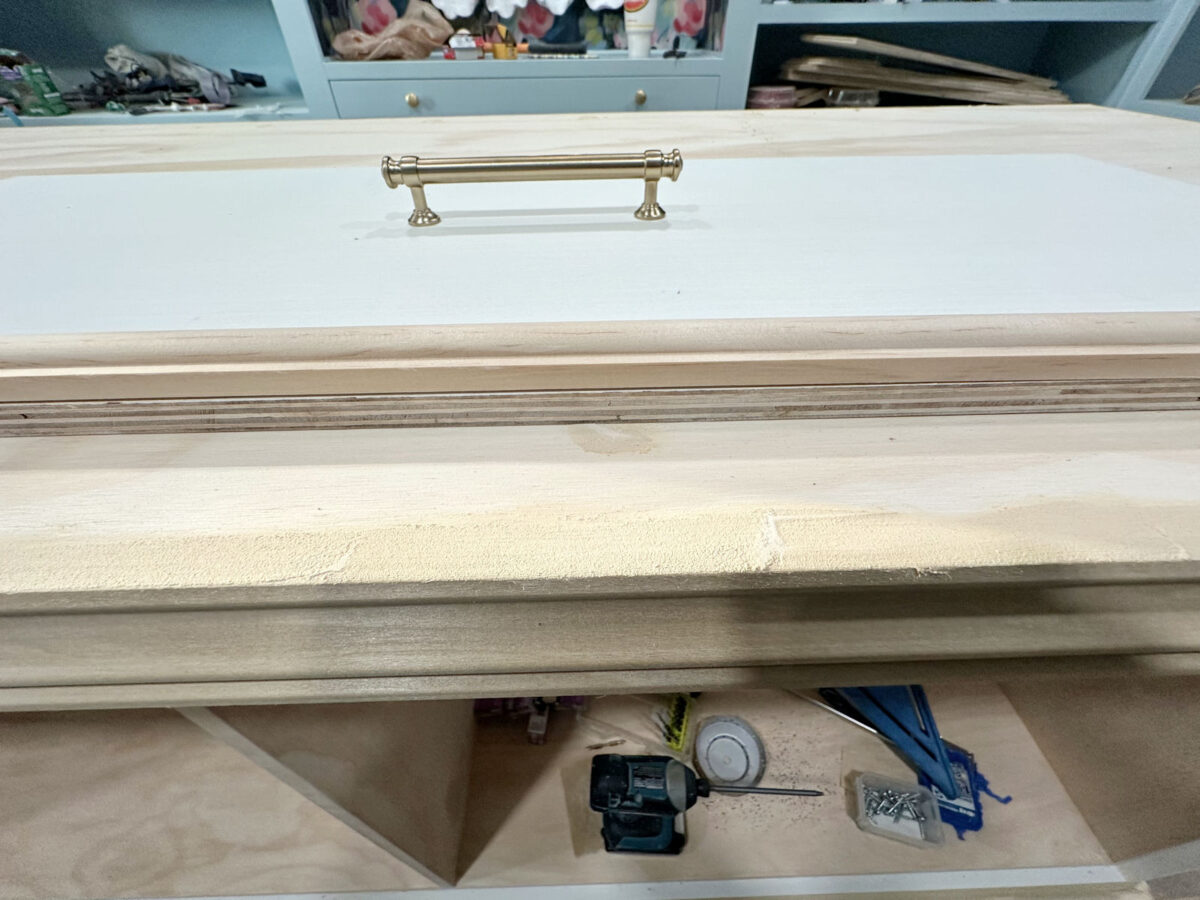
Or two pulls per drawer like this…

I’m leaning towards two since the drawers are so wide (almost 36 inches wide). And once the trim is attached, I’ll just finish up the edges with some wood veneer edge banding.
That’s the plan for now. I had so hoped that I’d be ready to make drawer fronts and doors today, but instead, I have to backtrack and redo what I worked on yesterday. It’s so frustrating when that happens, but that’s to be expected sometimes. I’m trying to give myself some grace because this island is probably the biggest piece of furniture I’ve ever built, but at the same time, I’m so ready to be done with it!
More About My Walk-In Closet/Laundry Room

see all walk-in
closet diy projects

read all walk-in
closet blog posts

Addicted 2 Decorating is where I share my DIY and decorating journey as I remodel and decorate the 1948 fixer upper that my husband, Matt, and I bought in 2013. Matt has M.S. and is unable to do physical work, so I do the majority of the work on the house by myself. You can learn more about me here.