")
This closet island project is becoming a never-ending project inside another never-ending project. I swear to you that I worked all day yesterday on the island, and while I did make some good progress, I didn’t get nearly as much done as I thought I would. I was hoping to get paint on at least a part of the island yesterday, but that didn’t happen.
Let me back up a bit. A couple of days ago, I shared my design for each of the drawer/door sections. That design looks like this, where I trimmed out each section as a whole rather than trimming out each drawer front and cabinet door individually…

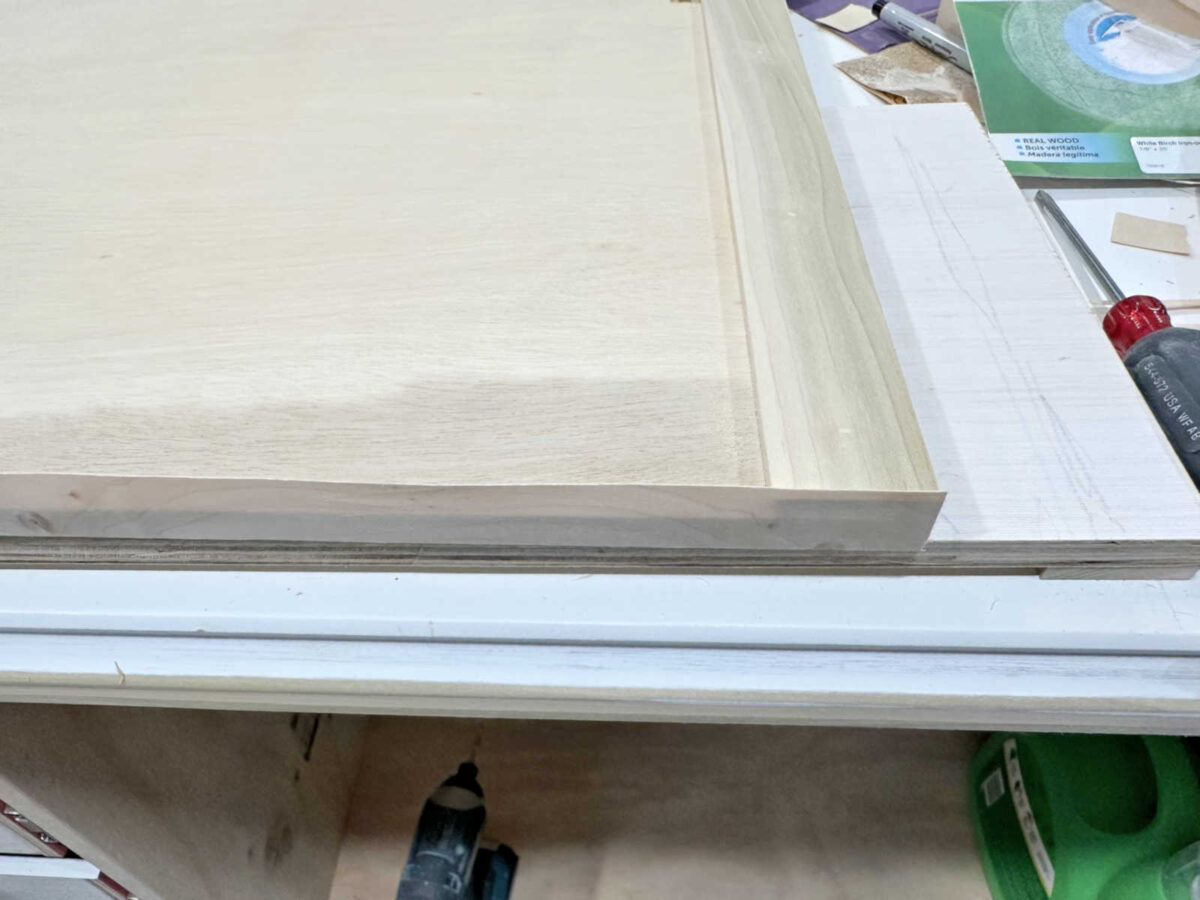
So yesterday, I had to finish up with adding the iron-on veneer edge banding on some of the drawer fronts and the two doors. Adding the edge banding to the edges that had the 1/4-inch trim was pretty straightforward, but adding the edge banding to the edges that didn’t have the 1/4-inch trim was a little trickier. Here’s what it looked like after I ironed it on, and you can see that it required a bit more careful trimming than the simple straight cuts required on the edges that had the 1/4-inch trim. Note that this drawer front is sitting on top of a scrap piece of 1/2-inch plywood that I used as my work surface.
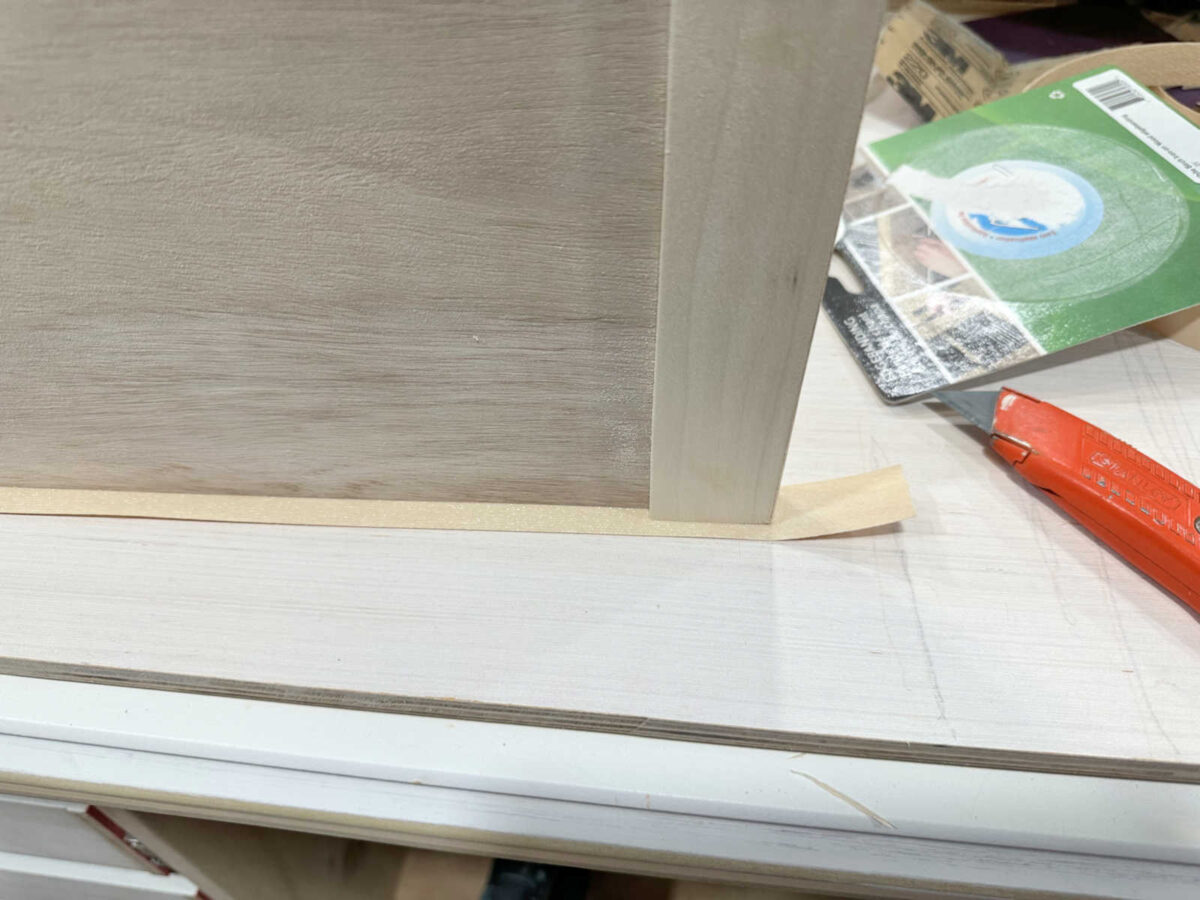
After the edge banding was ironed on, I stood it up on the edge to trim off that excess piece sticking out on the side. I used a very sharp, new blade in my utility knife to do all of the trimming.
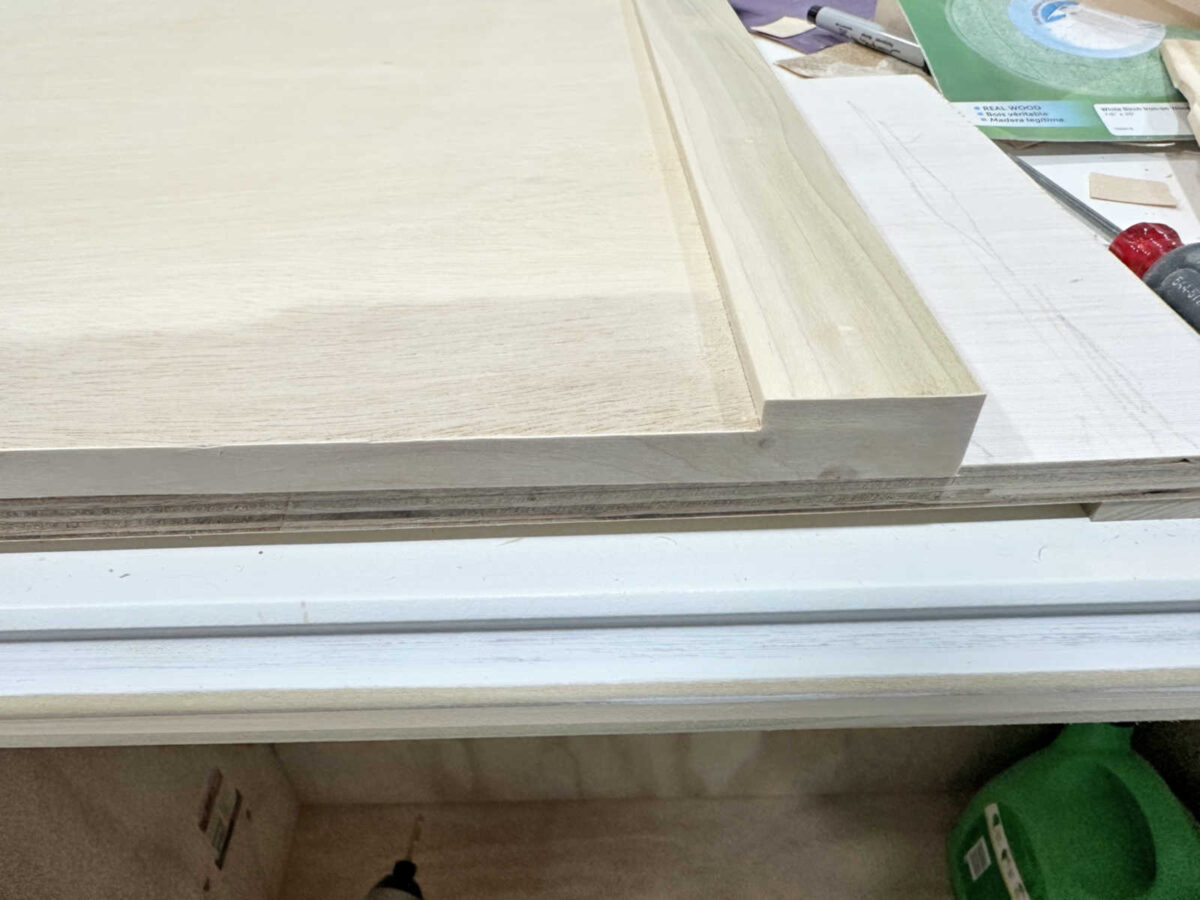
Once that was cut off, I laid it back down and trimmed off the excess from the front edge. Here’s what it looked like after it was trimmed. You can see that the excess is gone, but it’s still not very pretty.
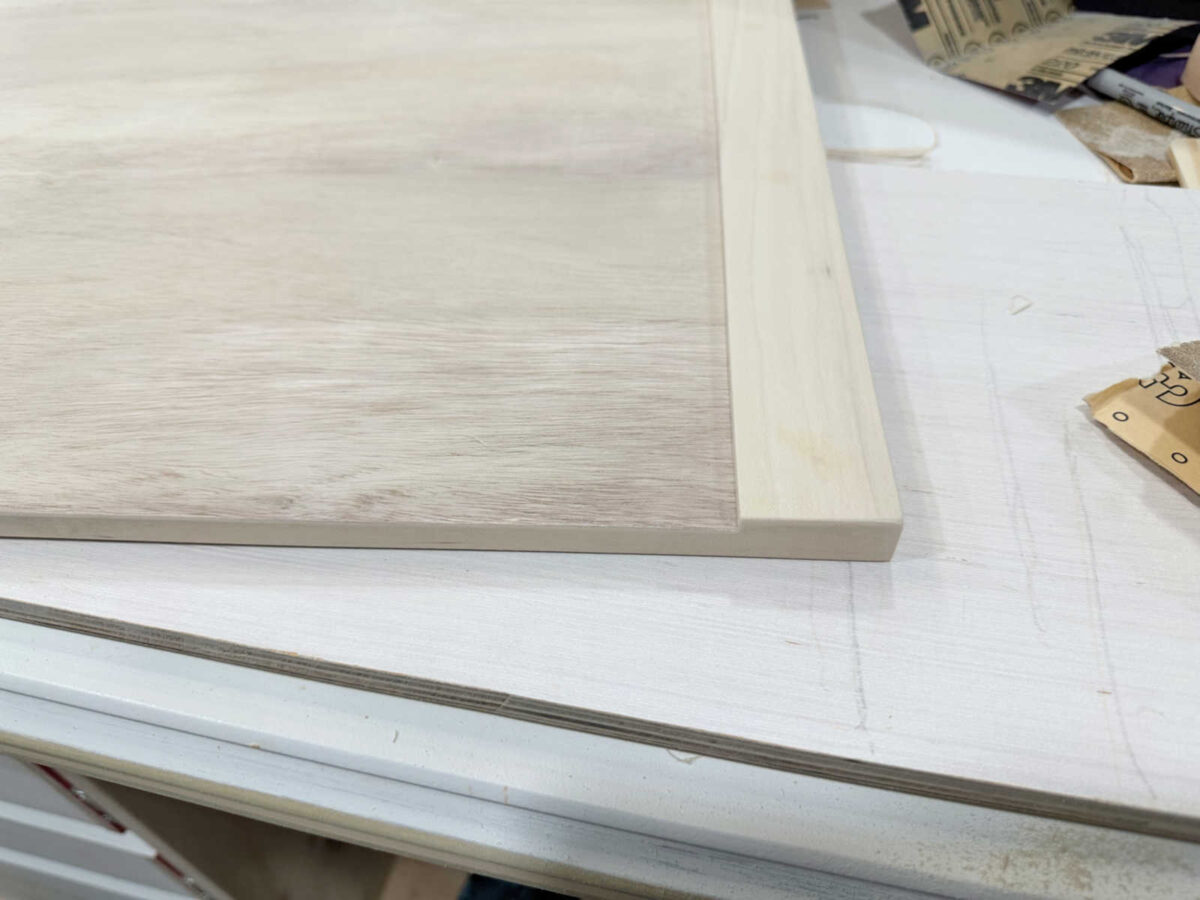
I show you that to make a point that sanding wood veneer edge banding is a critical step in making it look nice. Do not skip this step! Sanding the edge banding to make it blend in with the plywood is what gives it that finished, solid wood look. I used 100-grit sandpaper for this, and sanded it all by hand. This is not something you’d want to use a sander for because you can easily remove too much veneer, or sand too much off of the corner with a sander. Sanding by hand gives you much more control. Here’s what it looked like once it was sanded.
Once I got them all sanded, I was ready for primer. I used my new favorite primer — Zinsser Bin Shellac-Based Primer. I should have taken the picture before I poured it and made a mess, but I forgot. 😀
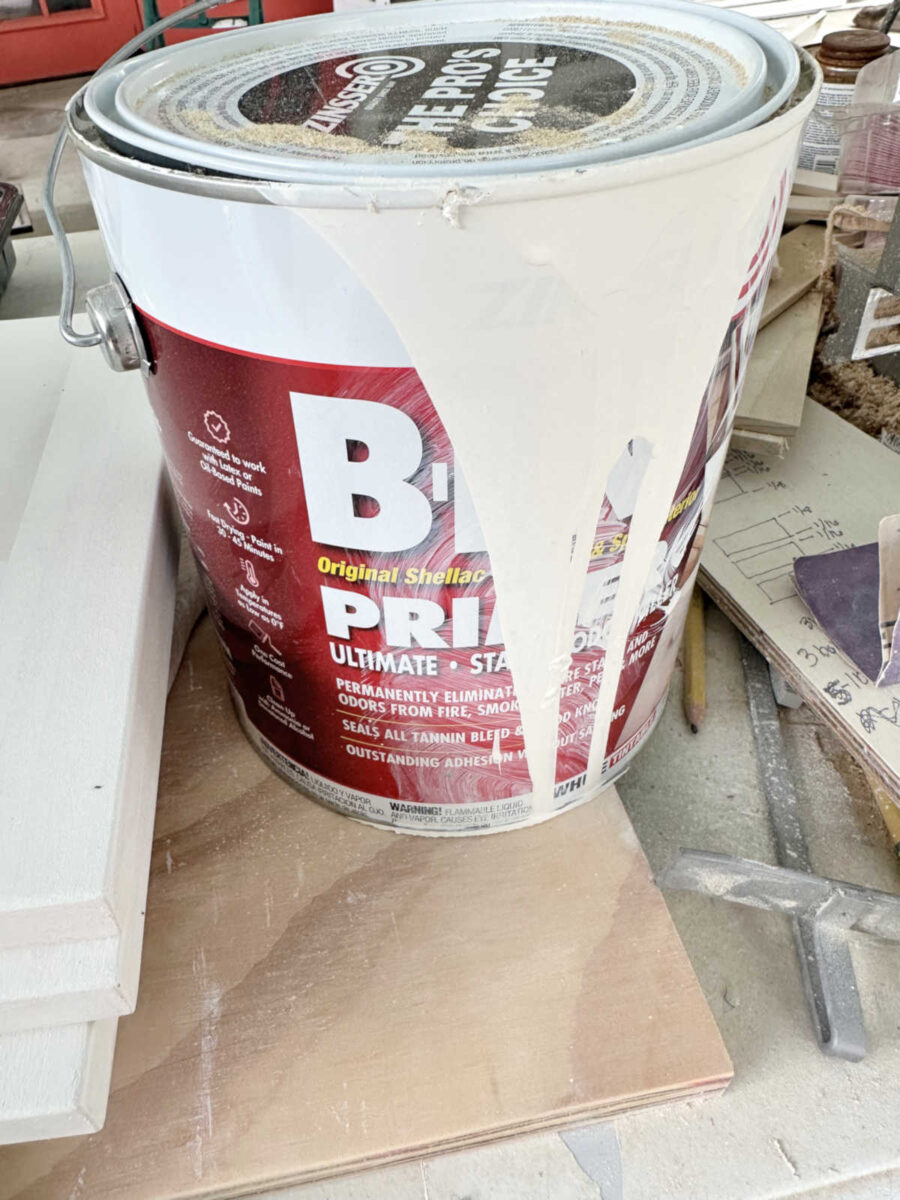
I love this primer, and it’s now the only one I’ll use when I’m painting raw, unfinished wood. It’s the same primer I used on the wood floor in the studio before I painted it, and that floor has held up amazingly well, even with a hyper 100-pound dog who loves to play in there — the same dog who won’t let me touch his feet to cut his claws.
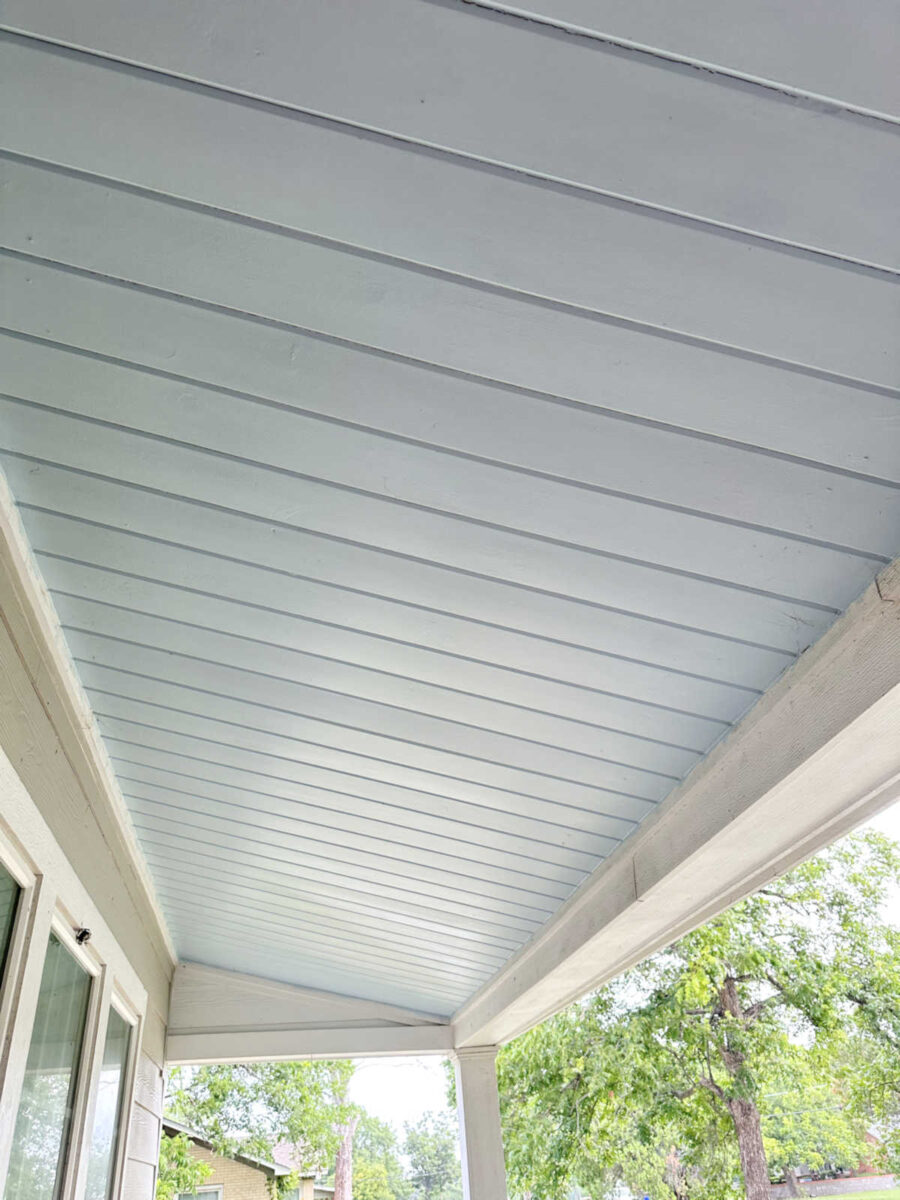
It’s also the same primer I used on the porch ceiling that used to look like this…

And then two years ago, I primed it with the shellac-based primer and repainted it, and as of this morning, two years later, there’s still not a single knot bleeding through. (There is, however, some trim that needs to be cleaned. 😀 )
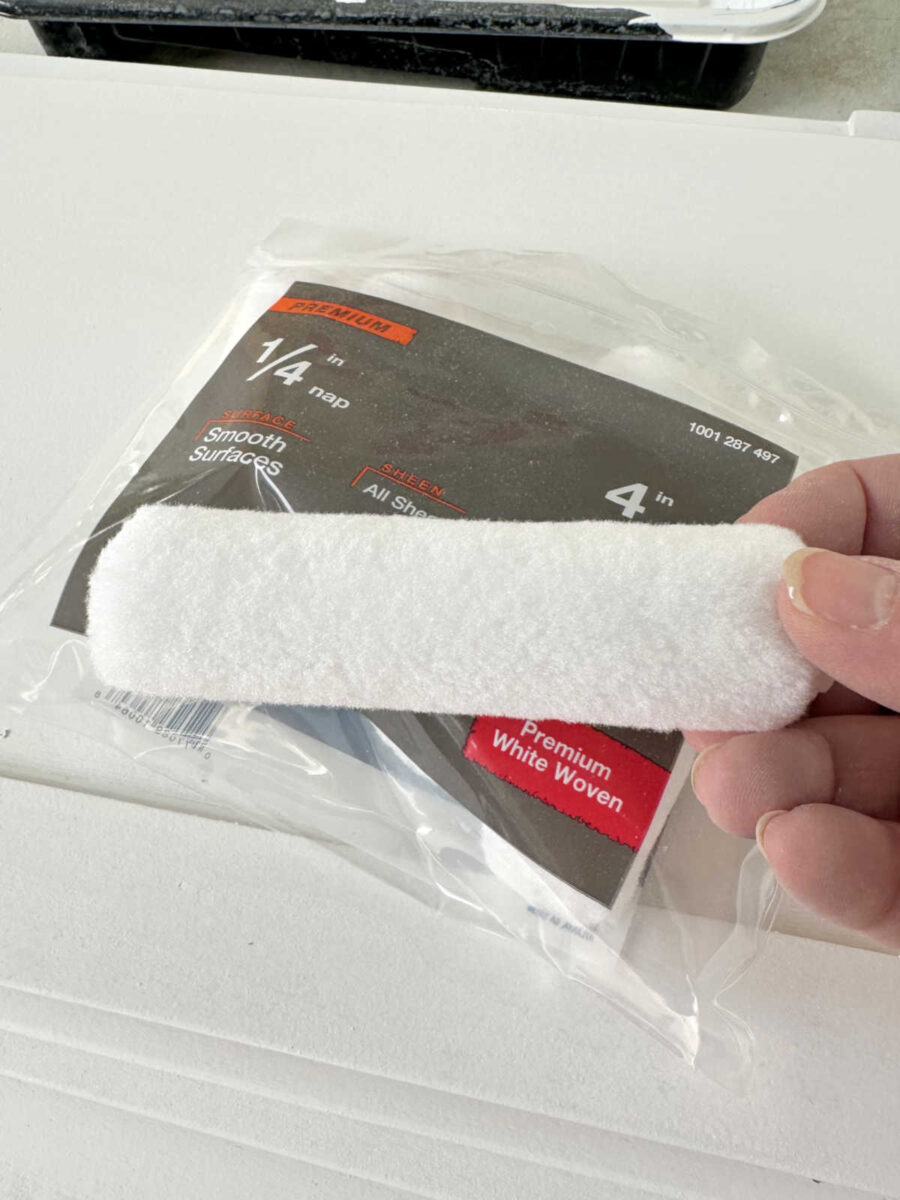
Anyway, like I said, it’s now the only primer I’ll use on raw, unfinished wood that I want to paint. The one problem with the shellac-based primer is that I don’t like putting it into my paint sprayer because it required chemicals to clean. So I apply it with a brush and/or a roller. For my closet island drawer fronts and doors, I used these 4-inch rollers for smooth surfaces.
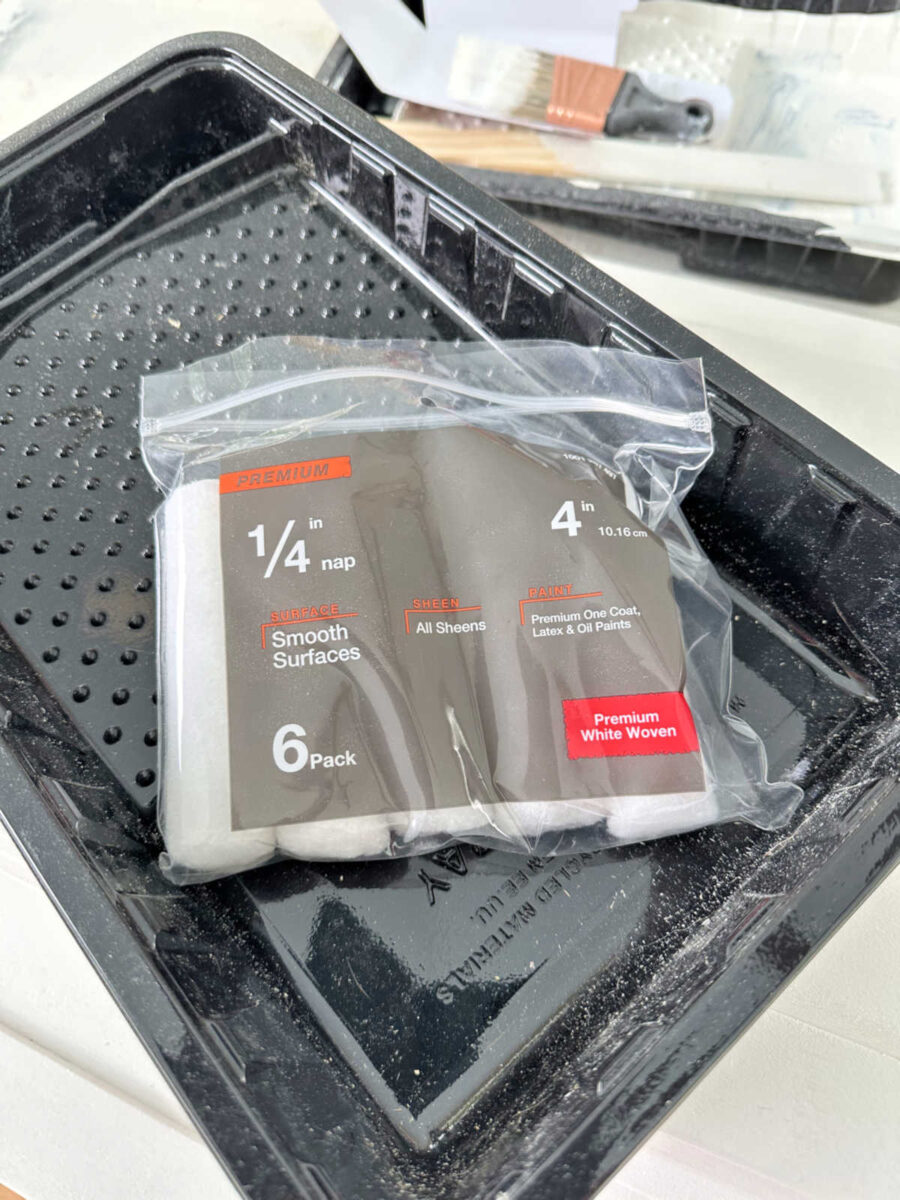
I generally use the 6-inch rollers if I can, but since these drawer fronts are kind of small, I went with the 4-inch rollers instead.
I got all of them primed, and then they all needed to be sanded before they can be painted. The primer dries very quickly (within an hour), and then I sanded them by hand using 220-grit sandpaper for a super smooth finish. Here’s one of the sections primed, sanded, and ready for paint.
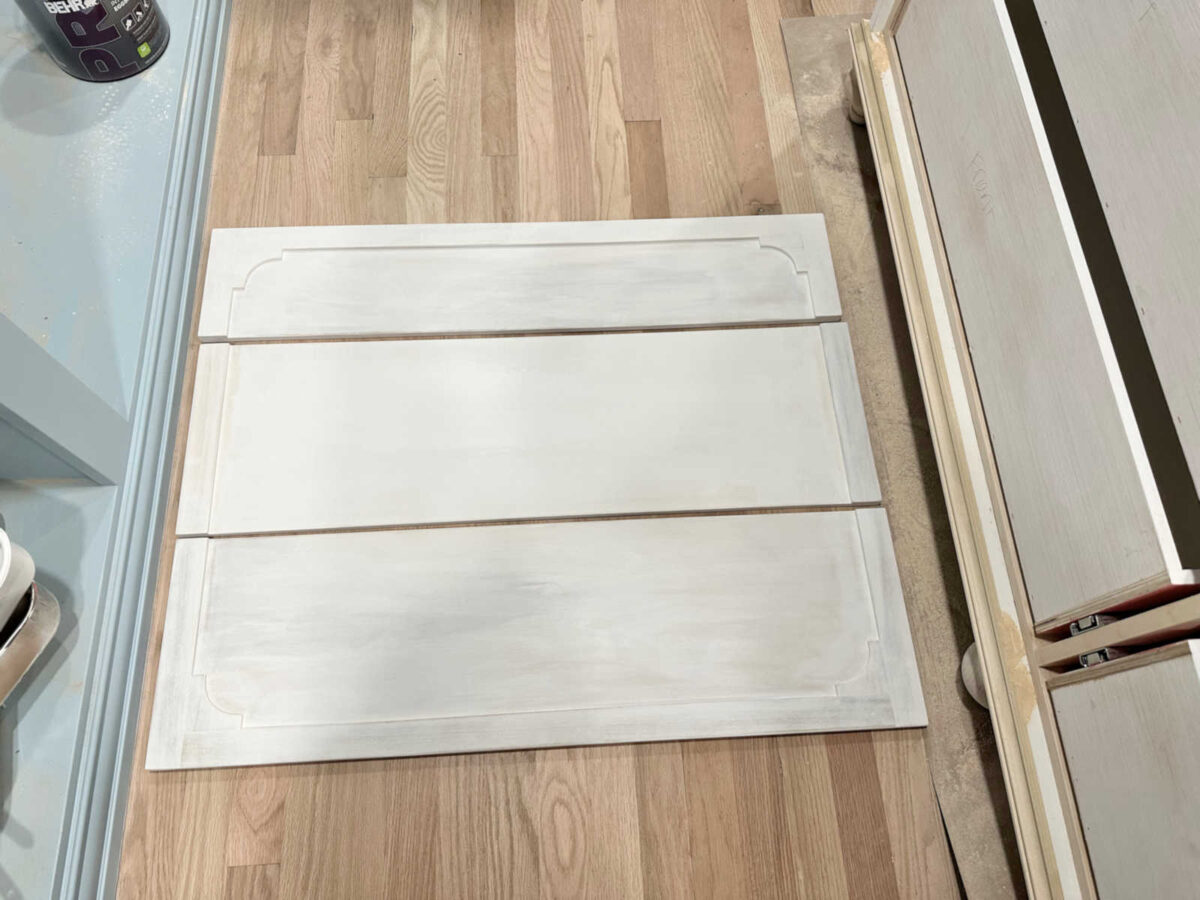
I want to stress that primer doesn’t have to look pretty to be effective. I never do more than one coat of primer. There’s absolutely no need for the primer to be solid white. As long as every area is covered, and it feels smooth once it’s sanded with the 220-grit sandpaper, the primer will do its job and the paint (as long as you’re using a good quality paint) will cover beautifully.
Anyway, that’s as far as I got yesterday, but at least I’m ready to load up my sprayer with actual paint today and get these drawer fronts and doors painted!! FINALLY!!!! I still need to prime the actual island, but I’m not going to paint the inside, so that will go pretty quickly. I just need to prime the ends, the little bit of trim above and below where the doors and drawers will go, and then the feet. The inside will stay the plywood color, and it’ll just get a clear coat. At least that’s the plan for now. I reserve the right to change my mind. 😀
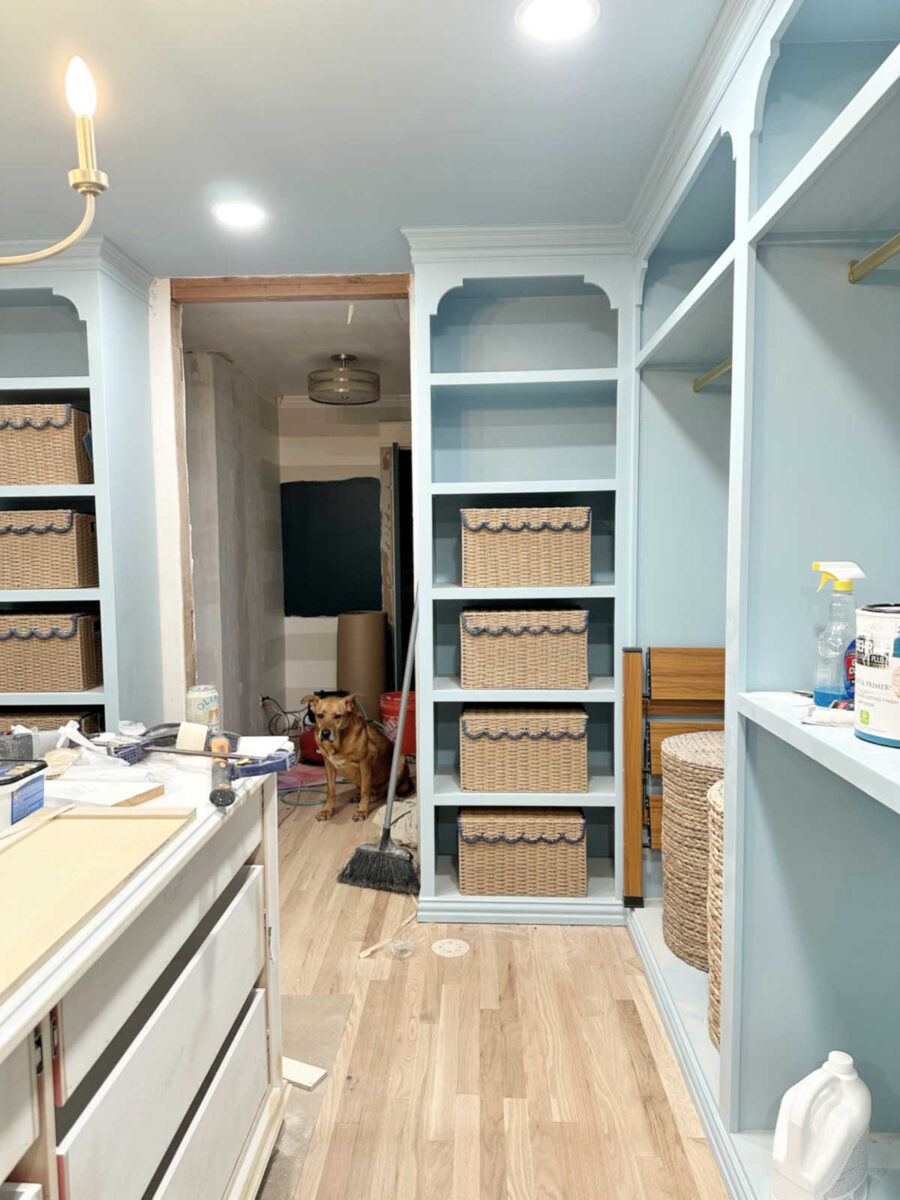
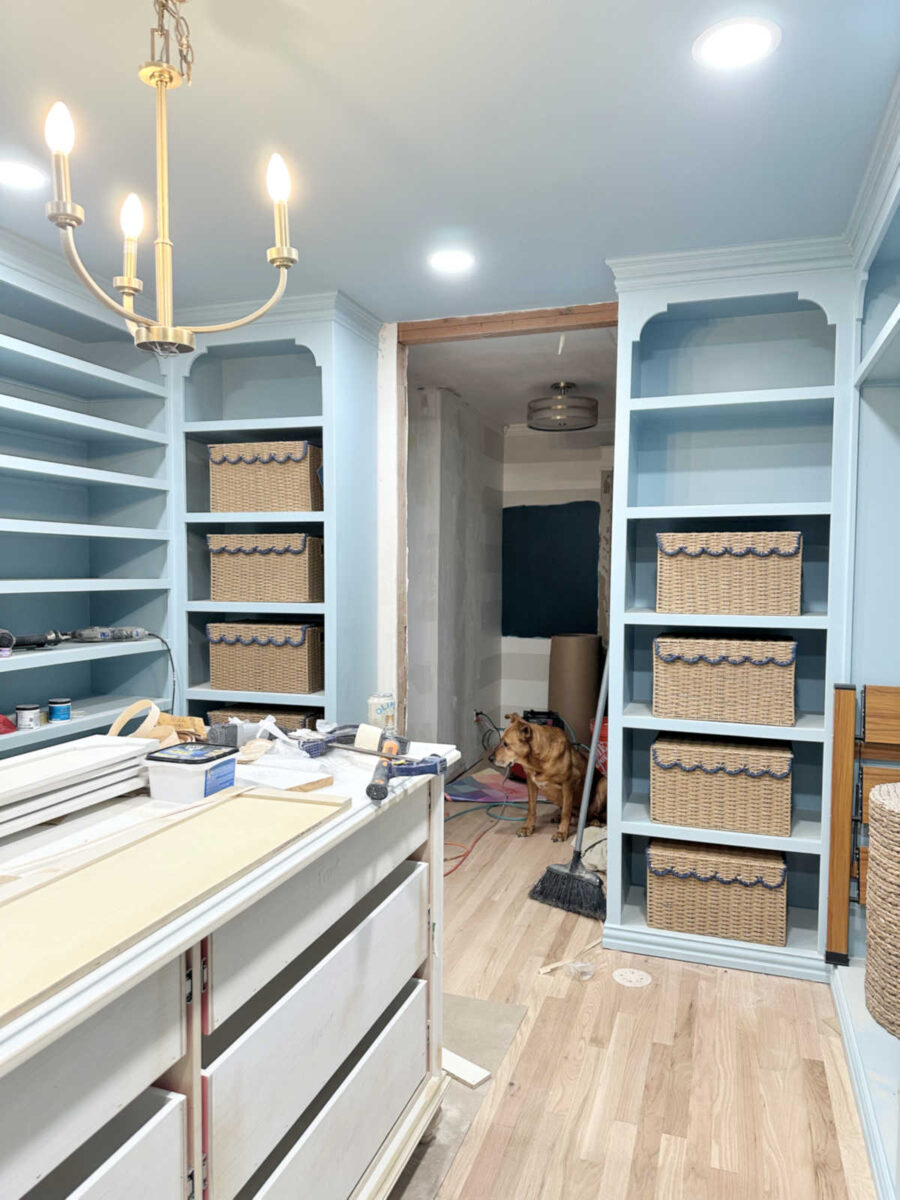
In other news, I got baskets!! I didn’t find these myself. Someone found them and left a comment on my last post about needing to find baskets (or make something) for these shelves. But once I saw these, I knew I had to snatch them up immediately. They’re perfect!
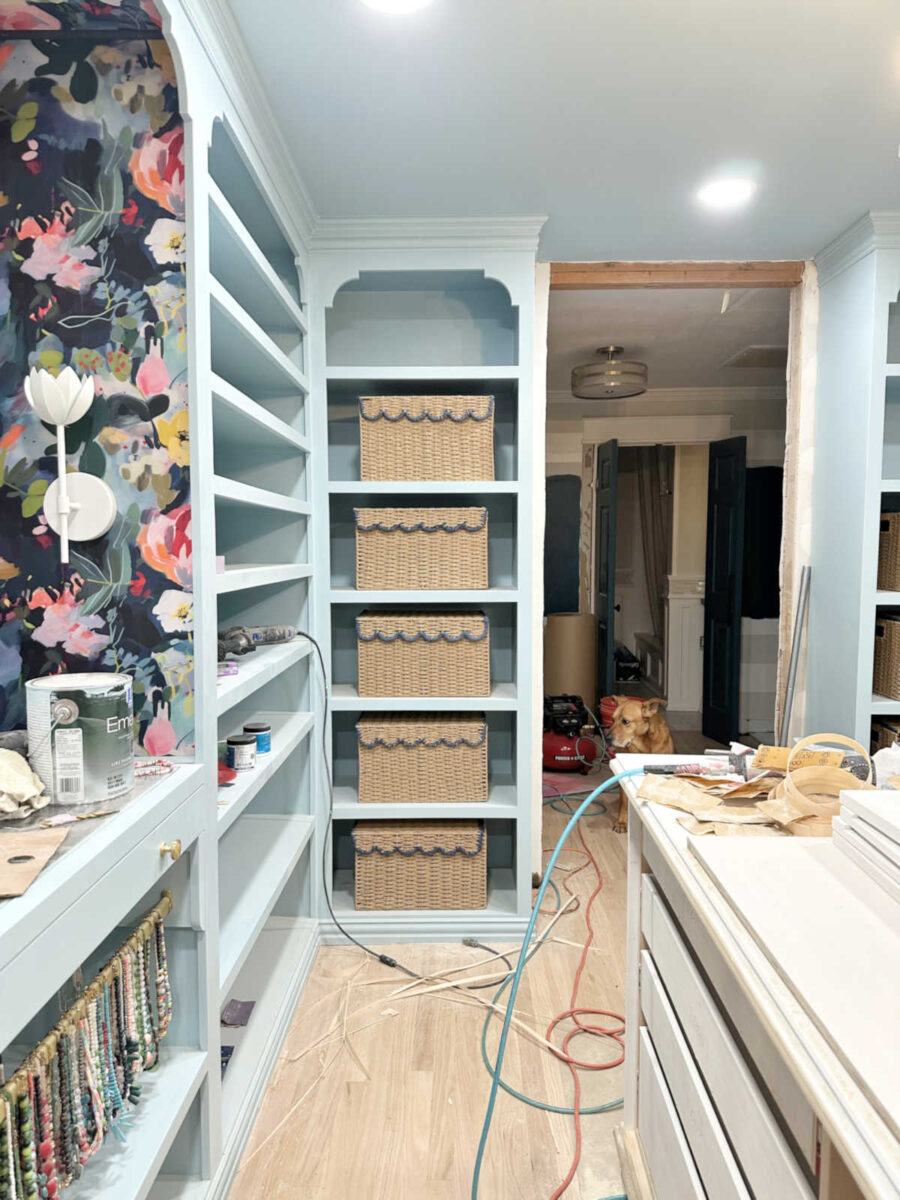
The bummer is that I ordered ten, and I only got nine. And I got these nine in three different shipments over the course of two weeks.
I did get a tenth item, but they sent me this instead. In a separate shipment. All by itself. Yeah, I don’t think this will work. 🤣
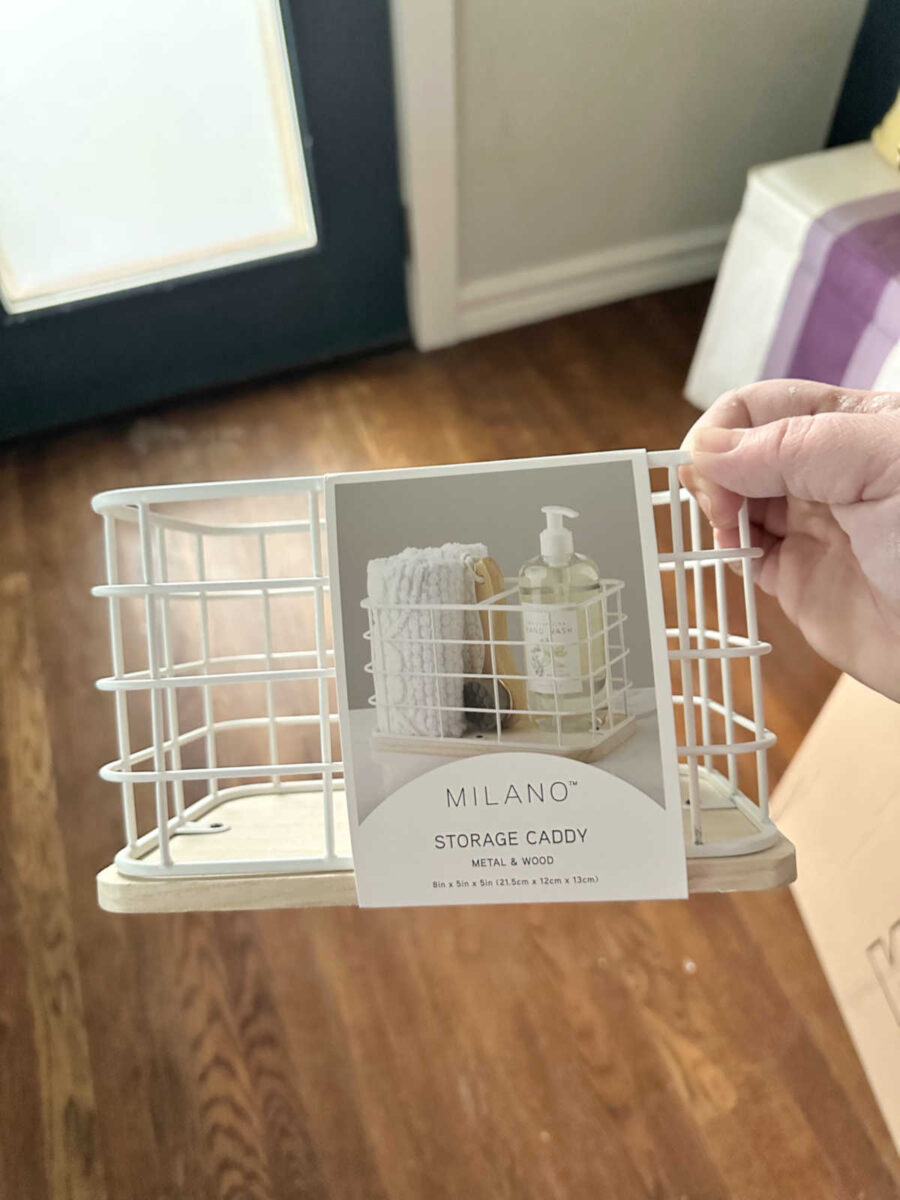
So I need to get that straightened out and get my tenth basket, but I think these will work perfectly!
Before I saw these baskets, I had planned on building my own boxes, and I purchased these label holders for them.
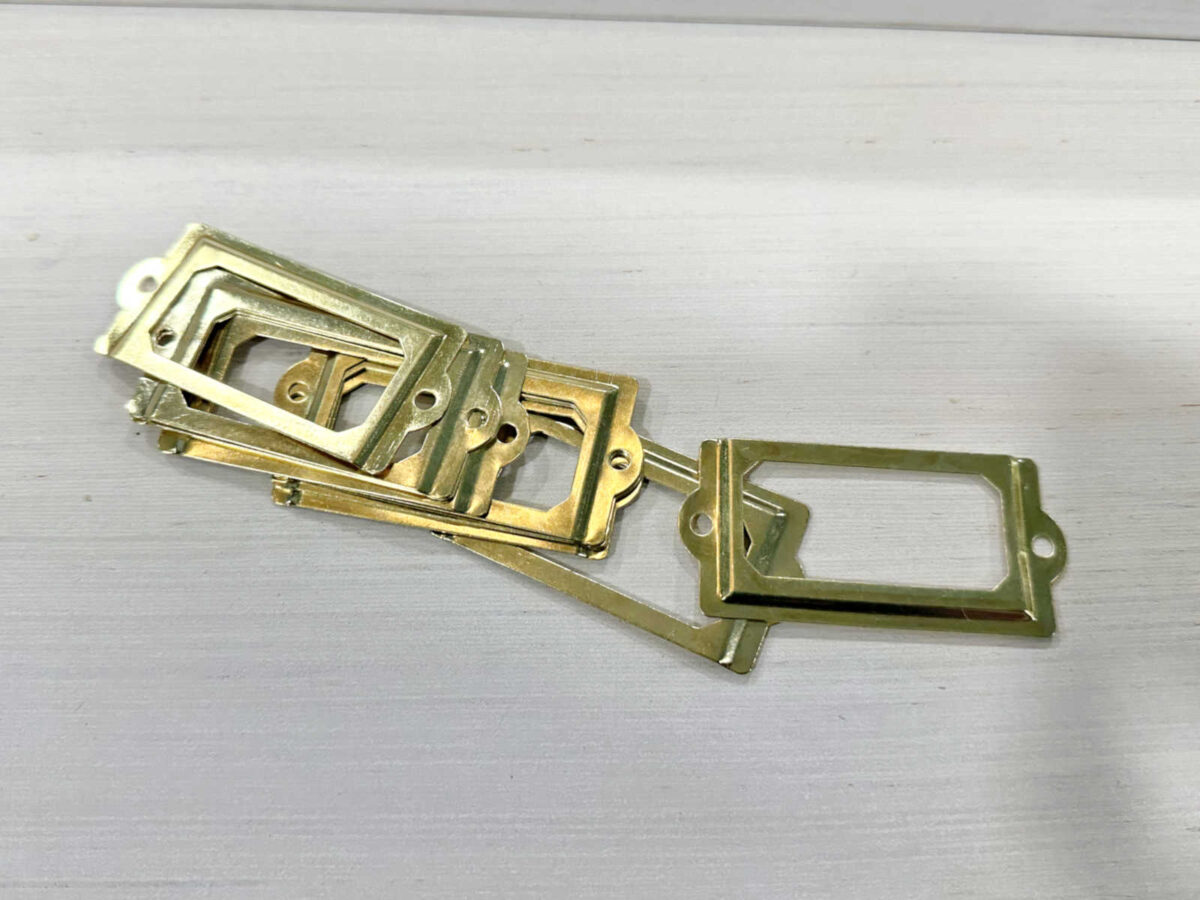
I’m still going to use them, but they get a little bit lost on their own once they’re against the baskets.

So I’m going to cut a little piece of 1/4-inch wood to use as a backplate for the label holders. I’ll paint them dark blue to match the dark blue trim on the baskets.
That’s the progress, y’all! I have so much hope that I’ll finish the island this weekend, but I’m really trying not to get my hopes too high because…well…I thought it was going to be done two weeks ago, and I’m still working on it. But now that I’m actually at the paint stage with the doors and drawer fronts, I really don’t see any reason that I can’t get it done this weekend. Barring any unforeseen circumstances, I really do expect to have a finished island to show you on Monday. I know. You’ve heard that before. But this time, I think it really might happen. 😁
More About My Walk-In Closet/Laundry Room

see all walk-in
closet diy projects

read all walk-in
closet blog posts

Addicted 2 Decorating is where I share my DIY and decorating journey as I remodel and decorate the 1948 fixer upper that my husband, Matt, and I bought in 2013. Matt has M.S. and is unable to do physical work, so I do the majority of the work on the house by myself. You can learn more about me here.