")
I made quite a bit of progress yesterday on adding the additional lighting to my walk-in closet, but I didn’t get it finished because I ran into a pretty big problem and had to find a workaround for it. Until now, this room has only had one light in the ceiling, and that was the light attached to the ceiling fan. I don’t want a ceiling fan in this closet, so the plan was to remove the fan and replace it with a chandelier and then add several recessed lights to give additional lighting to the room.
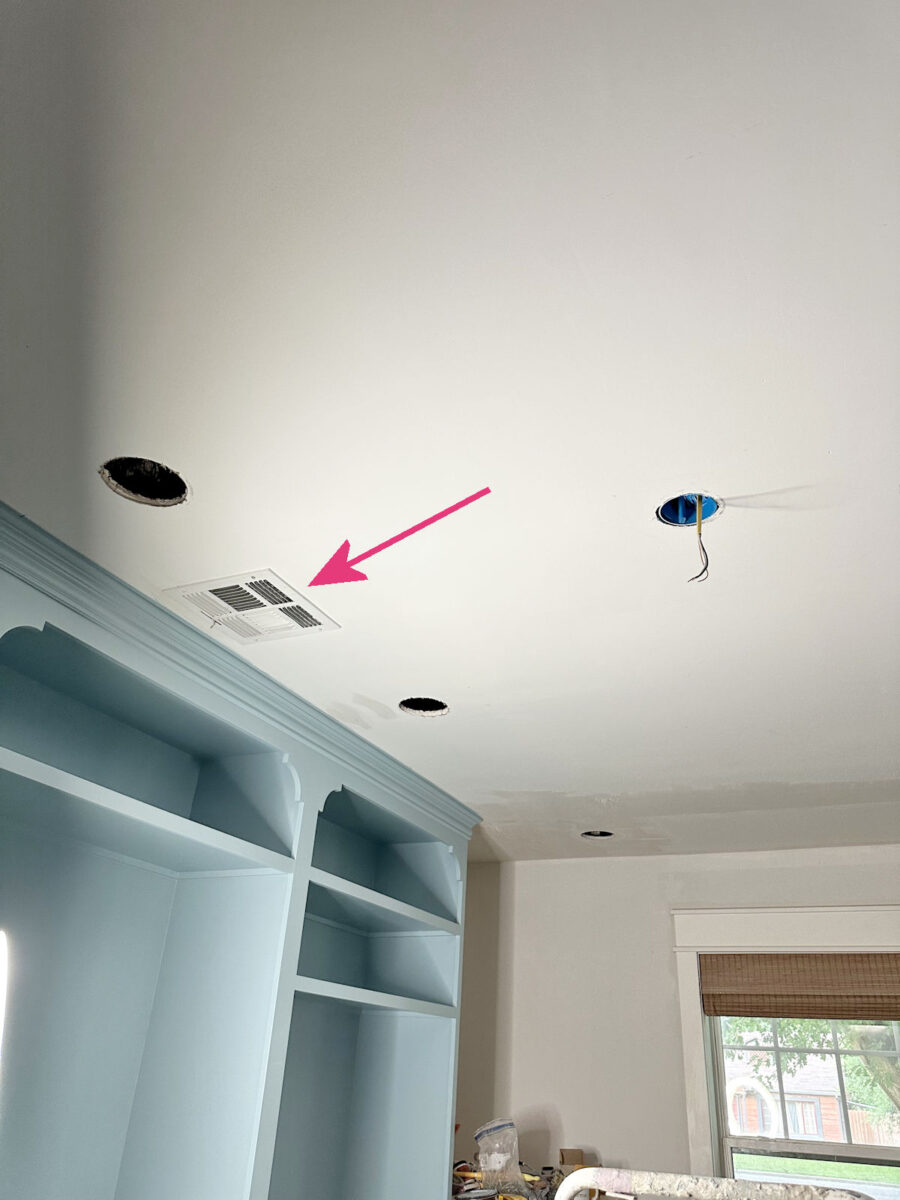
Here’s the one single light on the ceiling fan that I’ve been working with until now…
Not only is the lighting insufficient, but it’s also a yellow light, so it makes the cabinet a wallpaper colors look dingy. I can’t stand yellow lighting for that very reason. I love color, and I don’t like my colors to look washed out, so I prefer white lighting.
My workday started off smoothly. I had all of the holes cut for the lights by lunchtime.

This was pretty easy to do with this Mikwaukee adjustable hole cutter (affiliate link). It adjusts to cut holes from 2″ to 7″, and it comes with this plastic shield that catches the dust as you cut.
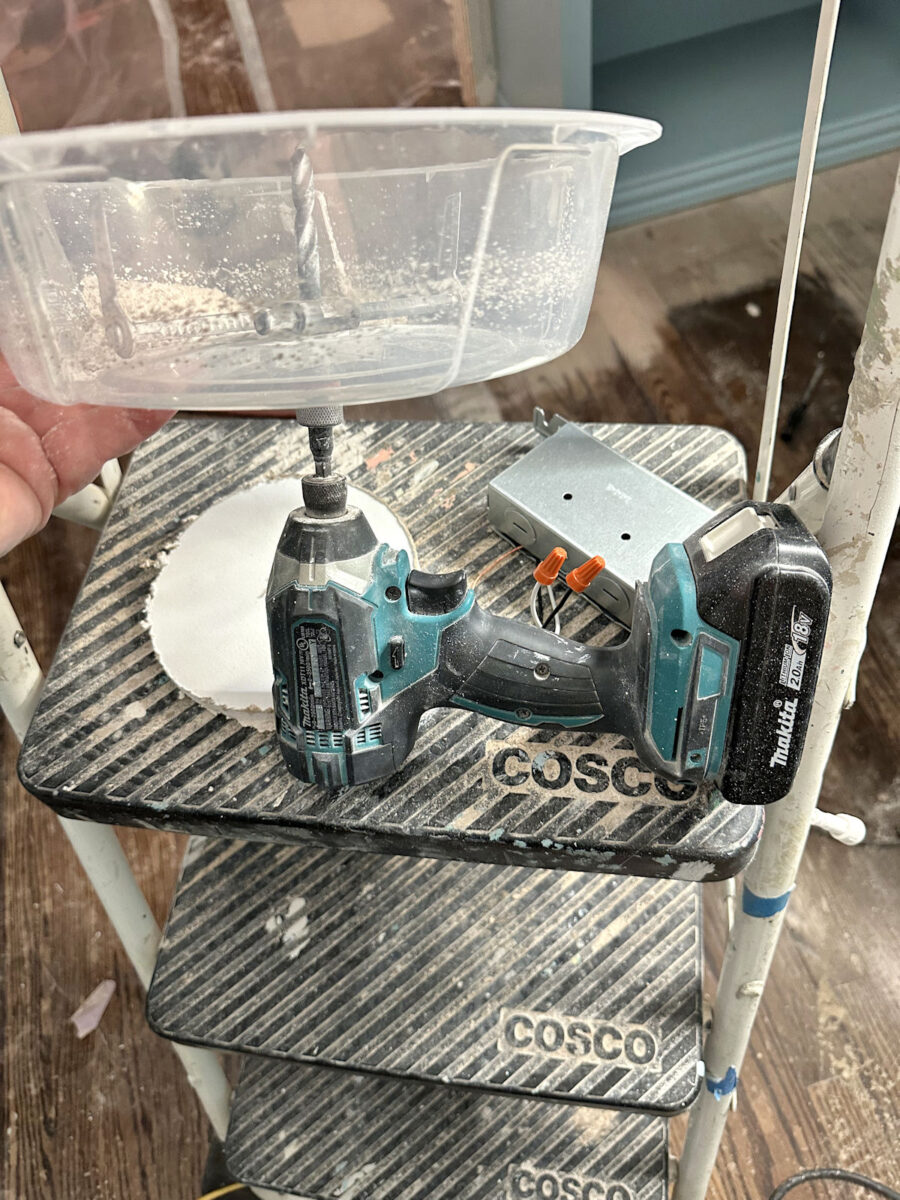
It definitely made the process faster and easier, but if I’m being honest, I’d rate it 4 out of 5 stars. While the plastic shield caught about 95% of the dust, it definitely didn’t catch all of it.
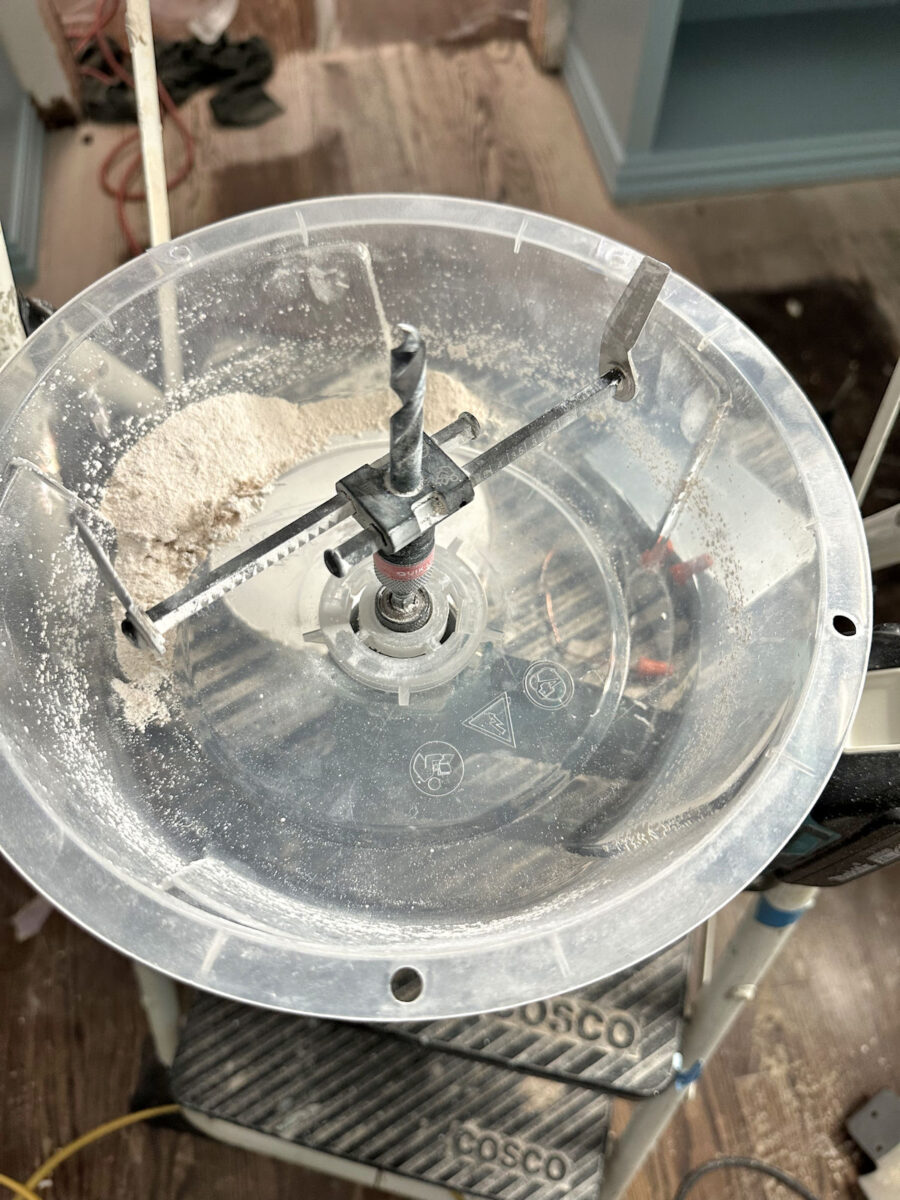
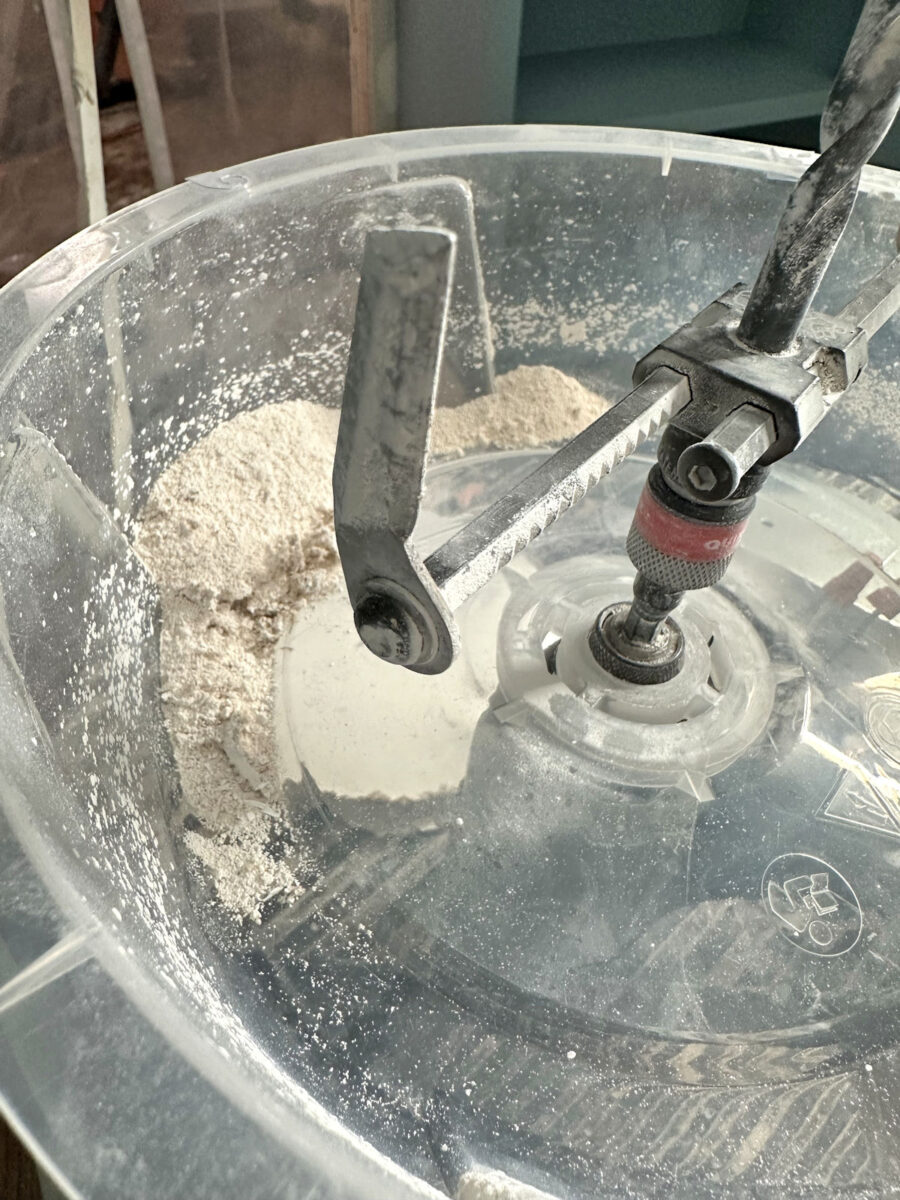
Also, these blades seemed to dull fairly quickly. I was able to cut all of the holes I needed, but after about four holes, the cuts seemed to start getting rougher and rougher with each additional hole. And the blades kept coming loose, so I’d have to use an Allen wrench to tighten the blades after I cut each hole.
I think the tool could use some improvement, but it did the job. And it did it much faster and easier than any other tool or process I’ve used in the past to cut holes for lights.
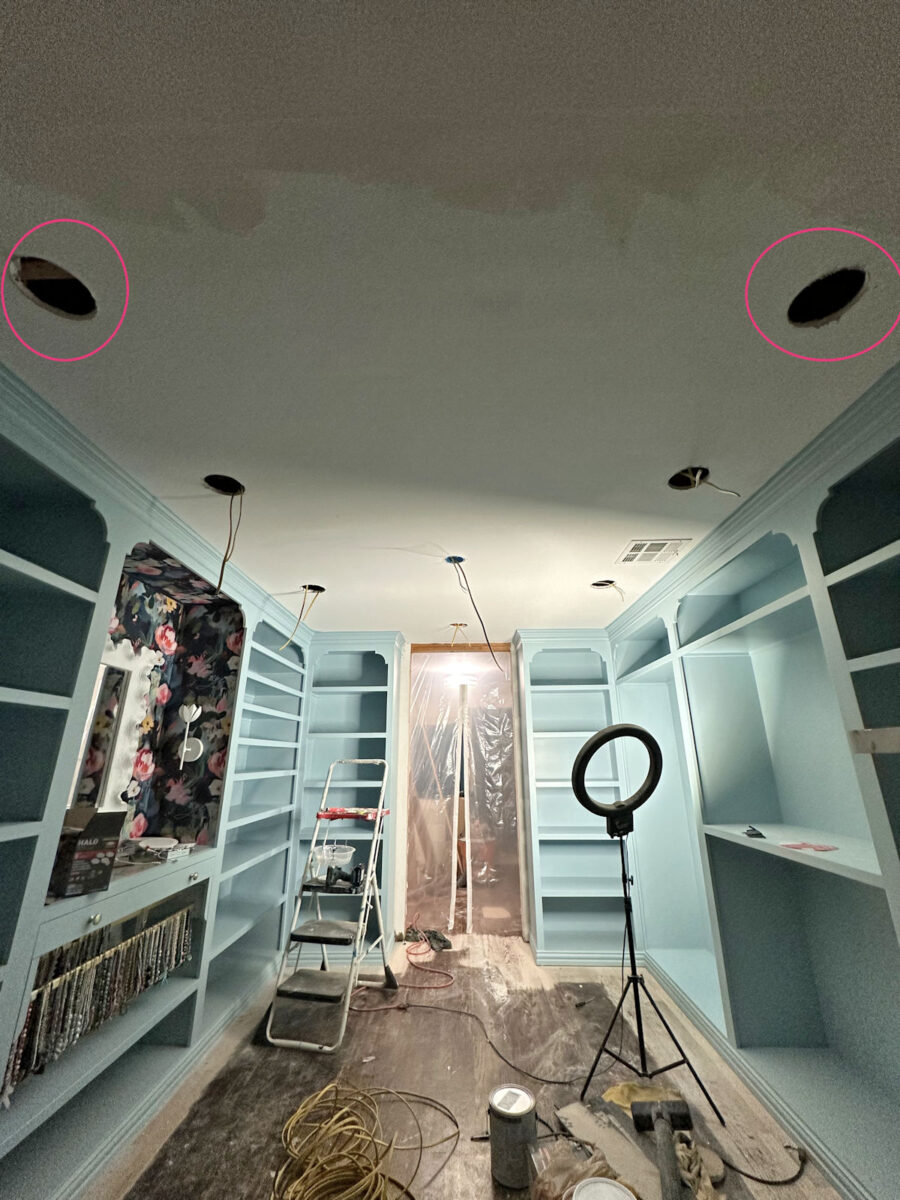
I ended up cutting holes for two lights on each side by the cabinets, and one hole over each appliance.
I had someone ask me why I didn’t plan on adding three lights to each side in the cabinet area. The reason is because of this air conditioner vent on the left side which is right where I would need to put a light if I had added three to each side. And I did not want to move a vent.
But I did add one additional light centered on the doorway. So the closet cabinet area will have five additional lights plus the center chandelier when all is said and done. That will be plenty of light.

Things were going so smoothly at this point that I expected to break for lunch, and then come back and take about 15 minutes to climb up into the attic and run the wiring from each hole to the next. In theory, this step should have been incredibly simple. What I hadn’t realized is that all of the area from the pink line to the window wall was in that area that juts out from the front of the house, and the roof over that area is incredibly low.

I had three wires that I needed to add in that section, but once I got up into the attic, I realized that it wasn’t going to be as easy as I thought. In fact, it took me a while to even find those two holes over the washer and dryer. I couldn’t even see them until I was looking at that area head on. And then I realized that in order to get to them, I’d have to lie on my stomach, shimmy into that area under the super low roof about 10 feet, hoping that I could get all the way to the end while dragging three wires in my hand, and then shimmying back without being able to turn around. And, of course, I’d have to do all of that without putting a foot or knee through the drywall.

Not only did I question the practicality of that and my ability to do it, but in order to do that, I also had to deal with my phobia of enclosed spaces. I sat there in the more open space of the attic staring at that low area for a good five minutes trying to calm myself and make myself do it. But the longer I was up there staring at that area, the more panicked I felt. Mentally, I was going in the opposite direction than I needed to go in order to get this done. By the time I made myself get out of the attic, I felt like I was on the verge of a full-blown panic attack. My fear of small, enclosed spaces is why I’ve never even once crawled under our house. I won’t ever go under there.
I remember years ago when Matt and I used to watch the show Fear Factor. I loved watching people do all of those crazy challenges like eating bugs, putting their heads in clear acrylic boxes that were filled with bugs, etc. But any time a challenge involved a small, enclosed space, I had a hard time watching. And if any challenge included a small, enclosed space with the added element of water, that was a hard no for me. Those would send me into a full-on panic. During those challenges, Matt would always look at me, as I buried my face in my hands, and ask, “You okay? You gonna make it?” He has always made fun of me and joked that I’m the only person he knows who could drown while watching a TV show and without a single drop of water around me. 😀
And while I wasn’t dealing with any water in this situation, I was dealing with other factors that I just couldn’t get past in my mind. Like, what if I got stuck in there, panicking so much that I couldn’t move? Can you imagine me having to call 911 and explaining the situation to them? “I’m stuck in my attic, panicking, and I need someone to come rescue me!” 😀 I just couldn’t do it.
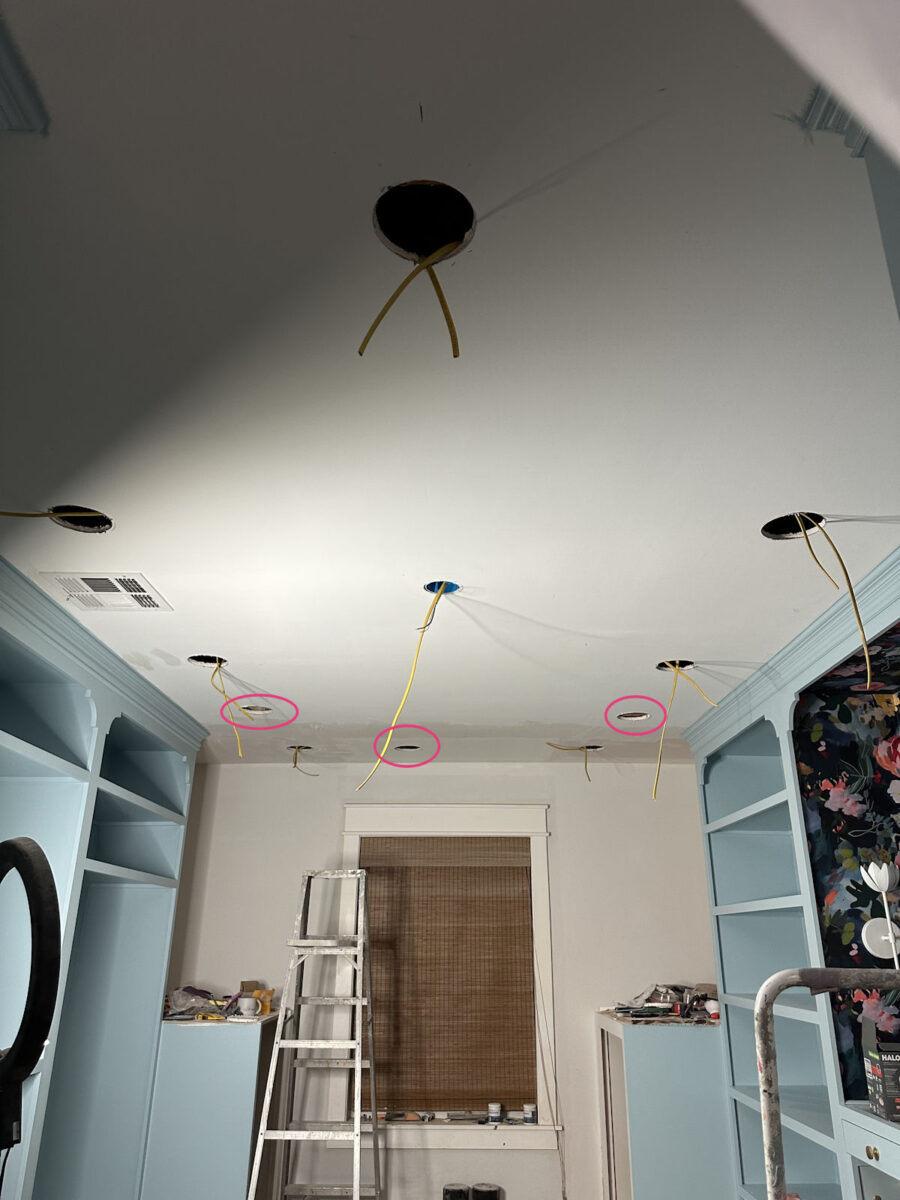
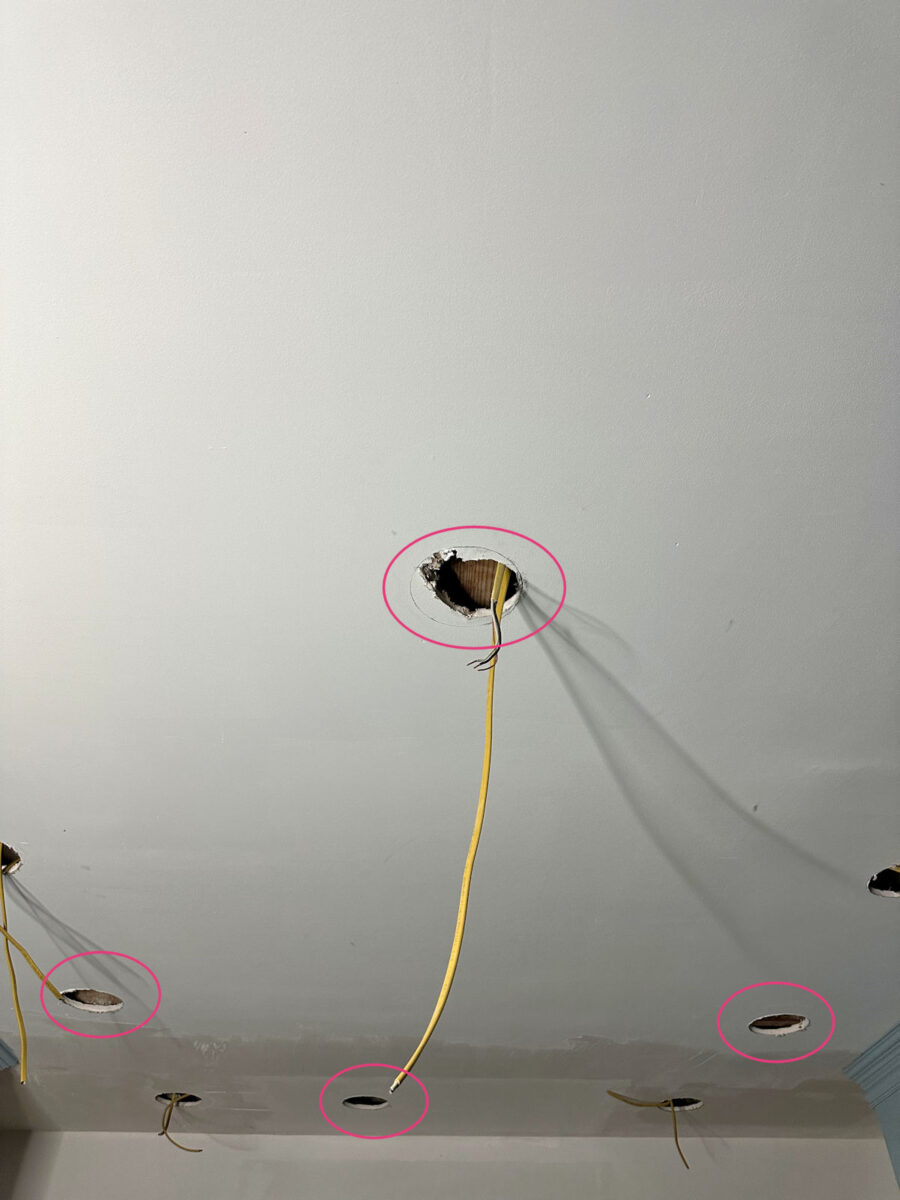
So I ended up reassessing the situation to figure out how to get the wires from hole to hole, around and above all of the ceiling joists and other framing. I finally ended up having to cut three additional holes that will have to be patched.
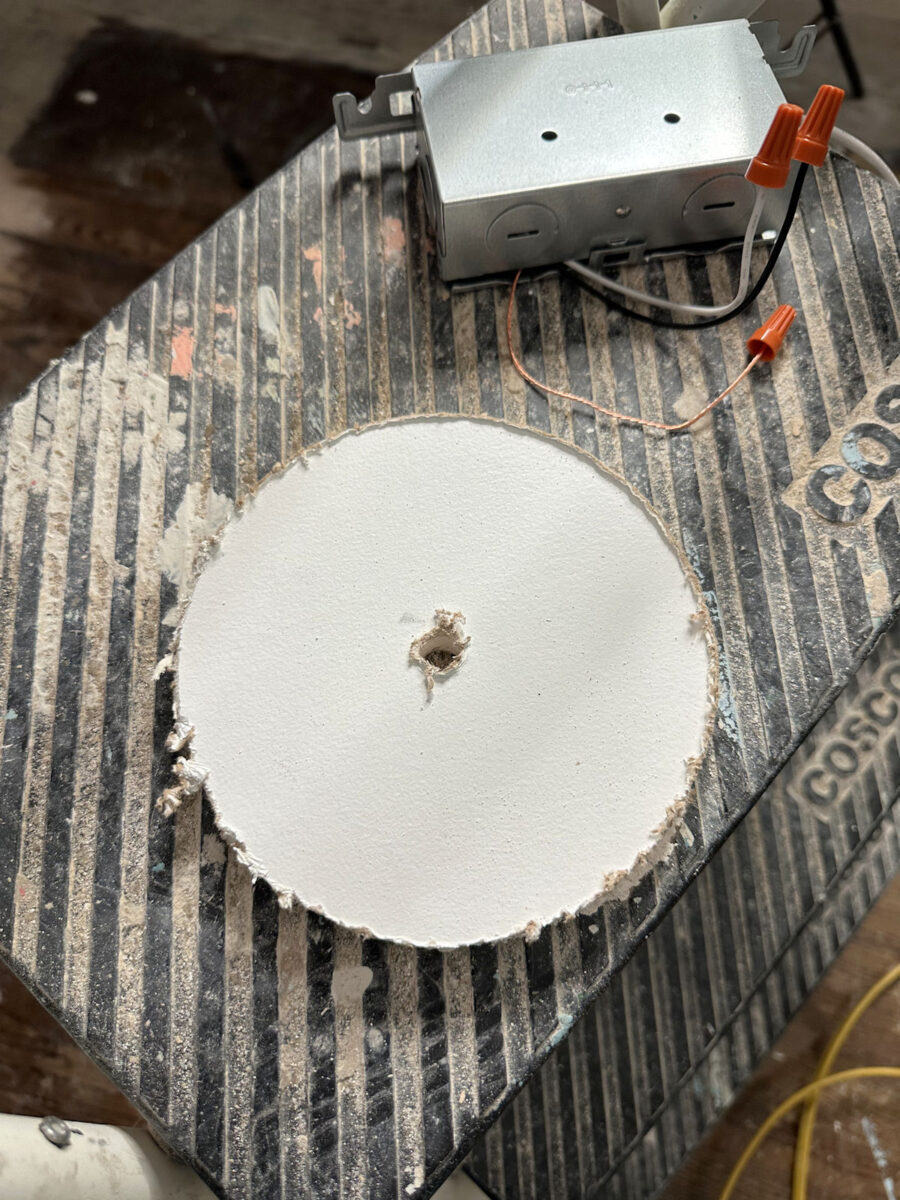
The good news is that patching those holes will be pretty simple because I have all of these perfect little circles of drywall that I can use to fill them.
Anyway, these are the lights that I’m going to use. They’re not technically recessed lights. They sit flush to the ceiling.
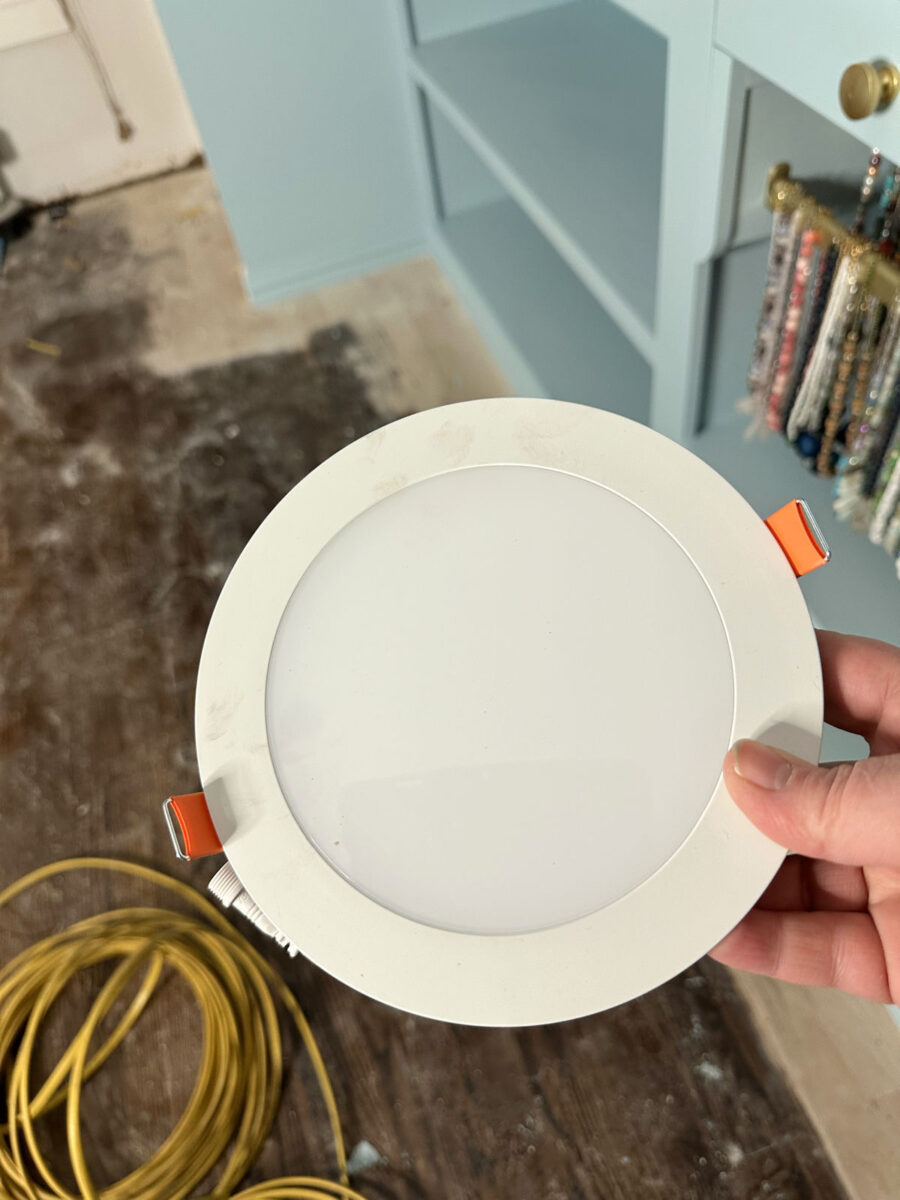
And since they’re only 1/2-inch thick, and they’re LED so they don’t get hot, you can put them virtually anywhere, even directly under a ceiling joist.

This is the brand I use. They have five different temperature settings, and I always set mine to the 5000K (daylight) setting.

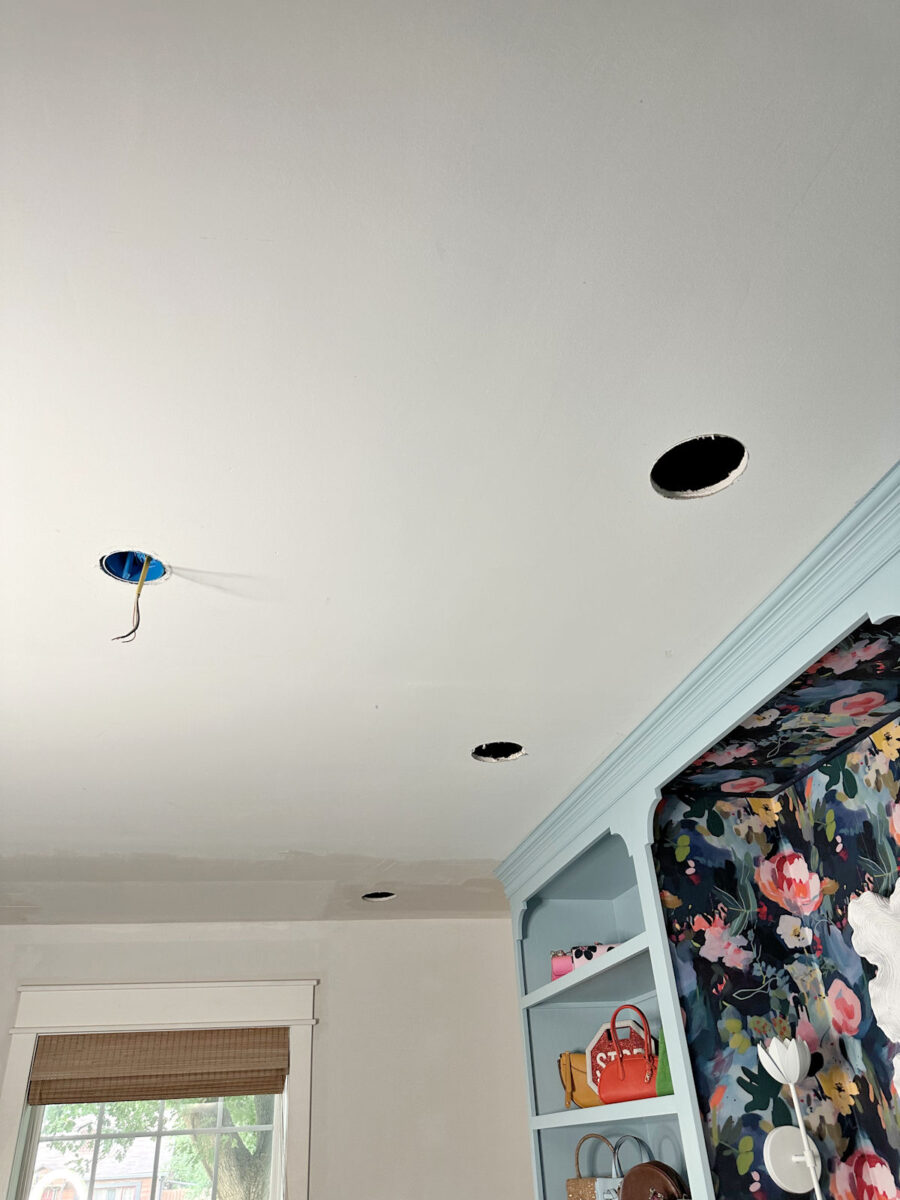
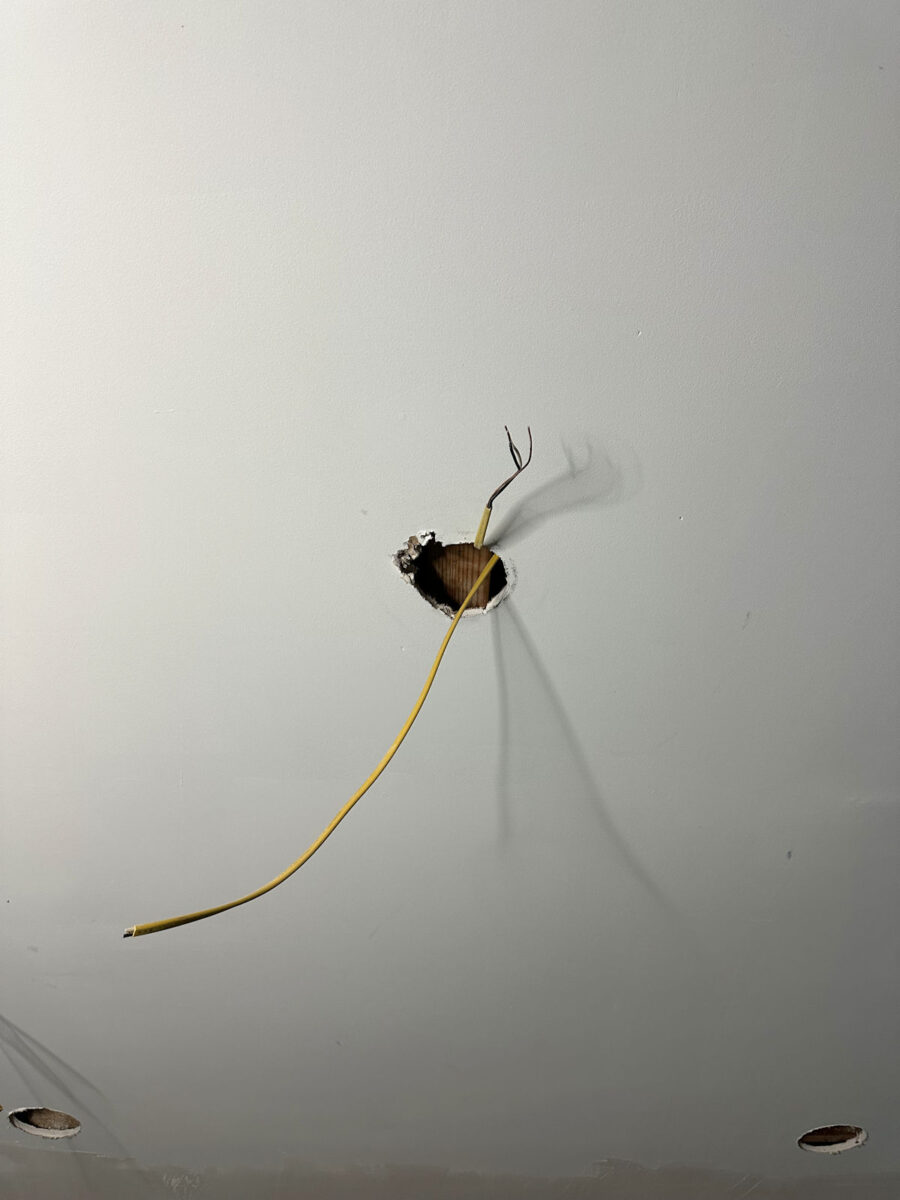
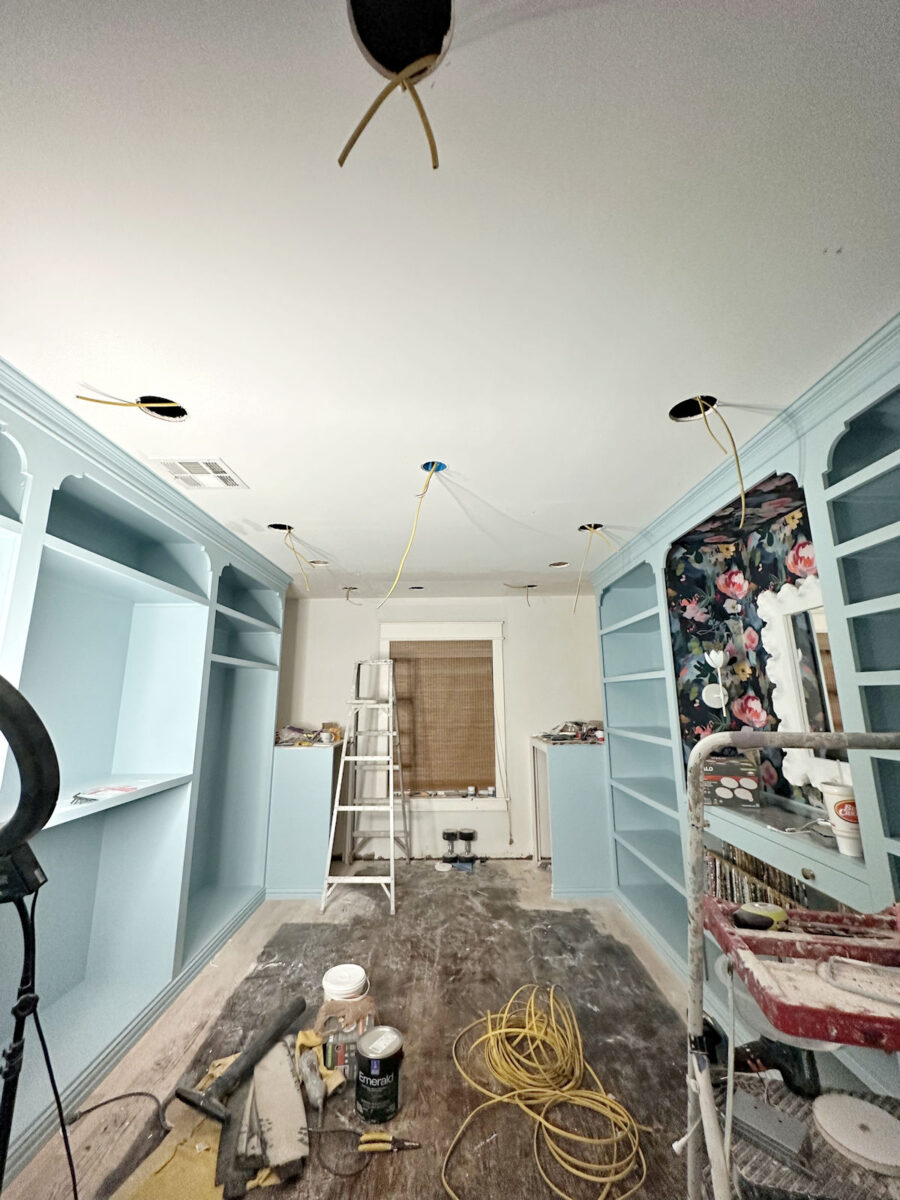
So by the time I got all of that done, I was pretty much wiped out both physically and mentally. You can see the holes that need to be patched here.
Also, by the time I got all of that done, I almost talked myself into leaving the center light right where it is. The challenge here is that the wire that comes from the switch is too short to move that junction box back six inches.

I tried to make myself be okay with it, but about an hour later, after my nerves had calmed a bit, I decided that I’m just not okay with it. You can see how off-center it is with the center sections on the side walls.

So I went ahead and removed the junction box. I thought that would be pretty simple, but it was a bit of a challenge getting it off since it had these side areas that jut out with the nails.
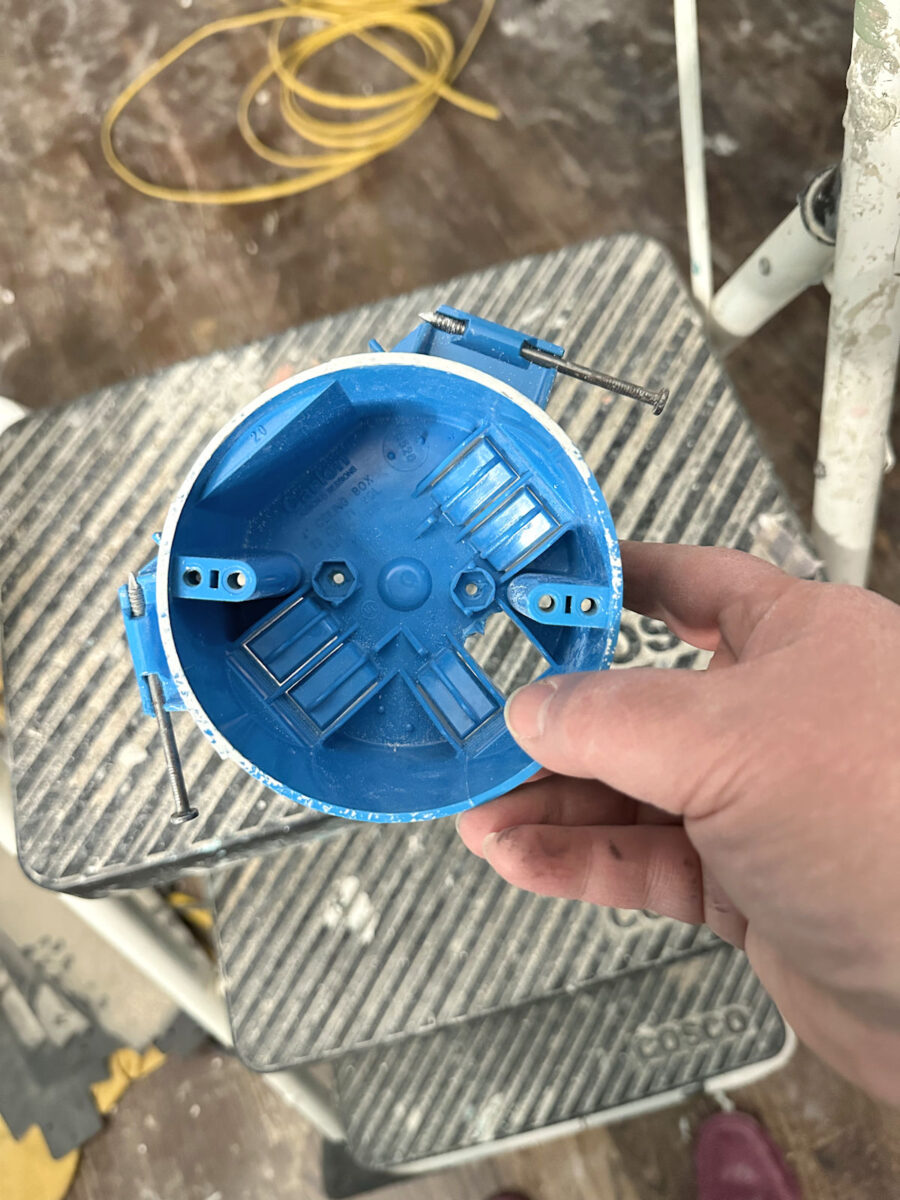
I mangled the drywall a bit getting those out of there.
Fortunately, I’ll be able to cut a six-inch hole and then use one of the circles of drywall that I have to patch that area.

And I’ll need to run a new wire from the switch to this center junction box, which I hadn’t planned on having to do.
So in the end, I’ll have four holes that I need to patched.
But patching four holes in drywall is a small price to pay for avoiding getting stuck on my belly in my attic in a full-blown panic as the low roof closes in on me and having to call 911 to rescue me. 😀
It’s not how I had hoped this project would go, but at least the wires are in place. And I should have all of the lighting installed by the end of the day. It’ll be nice to see what this room looks like with proper lighting.

Addicted 2 Decorating is where I share my DIY and decorating journey as I remodel and decorate the 1948 fixer upper that my husband, Matt, and I bought in 2013. Matt has M.S. and is unable to do physical work, so I do the majority of the work on the house by myself. You can learn more about me here.