
Spoiler alert: I didn’t get any cabinets built this weekend. But that doesn’t mean I didn’t work! I worked my tail off this weekend getting all of the pieces ready and brought inside so that I can be ready to start building today. The prep work took way longer than I thought it would. Plus, I wasn’t feeling great, so I was working at a slower pace than I normally would have. But I was determined to get all of the main pieces prepped and ready to start building today, so I pushed through.
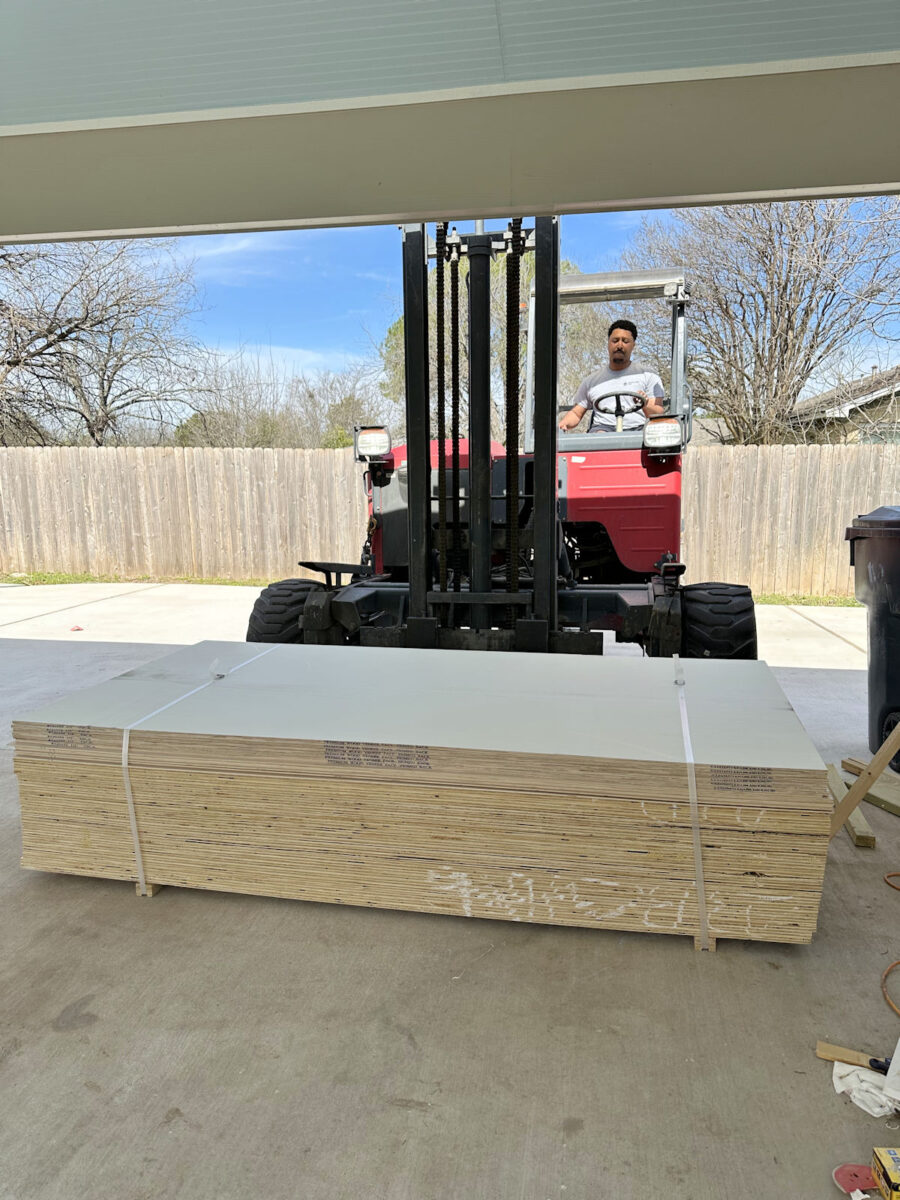
Last Thursday, all of my plywood was delivered for the closet cabinets. I have to admit that seeing that big stack of 39 pieces of plywood being delivered was a bit intimidating. This closet will be the biggest build I’ve ever done. To date, the biggest build I’ve done is the pantry, but that was about 1/3 the size of the closet.
So seeing that big stack of plywood being delivered was a moment of realization at the huge task before me.
But I got right to work on Thursday and started ripping down plywood. By the end of the day Thursday, I had about ten sheets of the 3/4-inch plywood ripped down, but I still needed to rip down the other 11 sheets of 3/4-inch plywood, cut all of the pieces to length for the main cabinet boxes, and then cut the 1/4-inch plywood for the backing to size before I could even get started building.
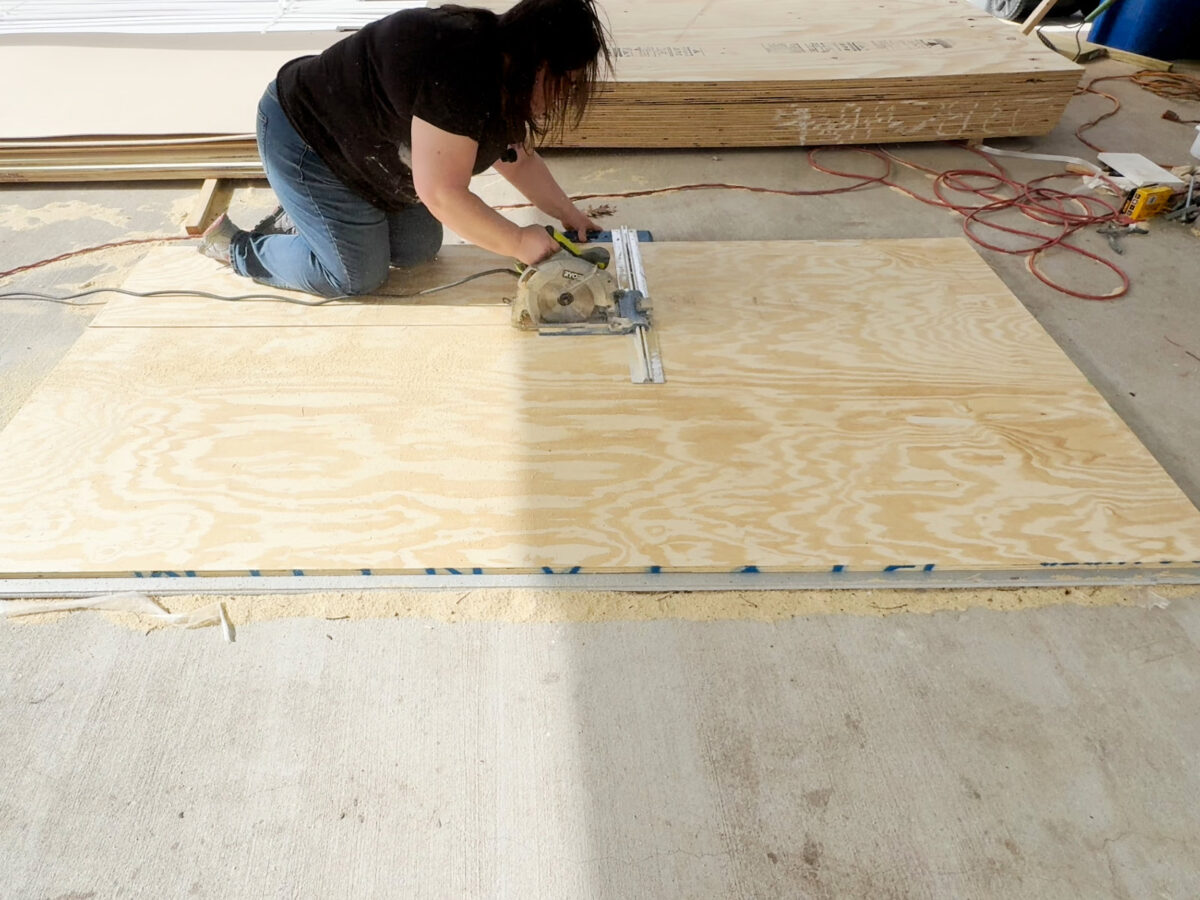
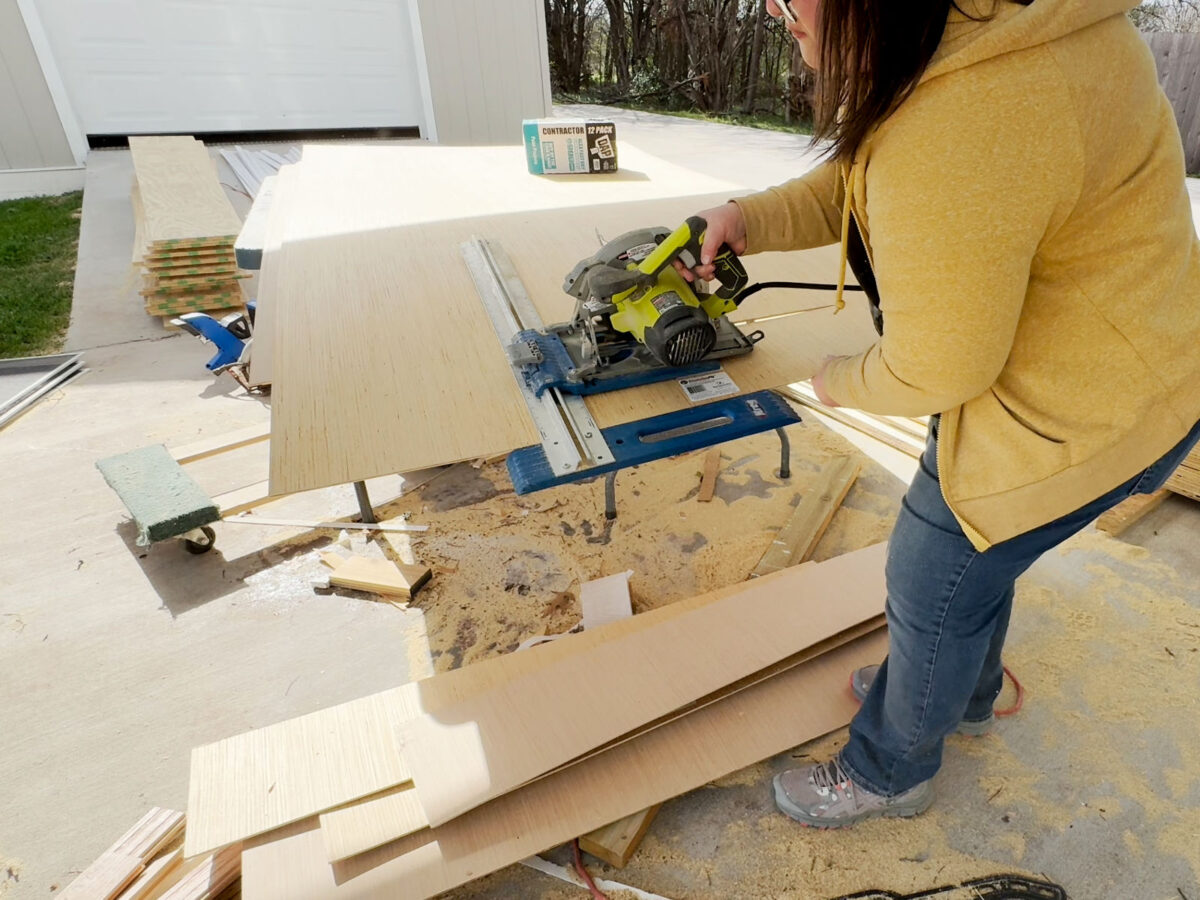
So that is how I spent my weekend. To rip the 3/4-inch plywood, I placed the plywood on top of a 1-inch piece of solid foam insulation board, and used my Kreg Rip-Cut Circular Saw Guide (affiliate link) to rip the pieces to 17 inches wide.
I cut two pieces from each piece of plywood, so I ended up with 42 pieces. Most of these will end up being shelves and separators between drawer sections. So I didn’t have to cut all of these to their proper length this weekend. As of this morning, I still have a large stack that needs to be cut to the proper length later.

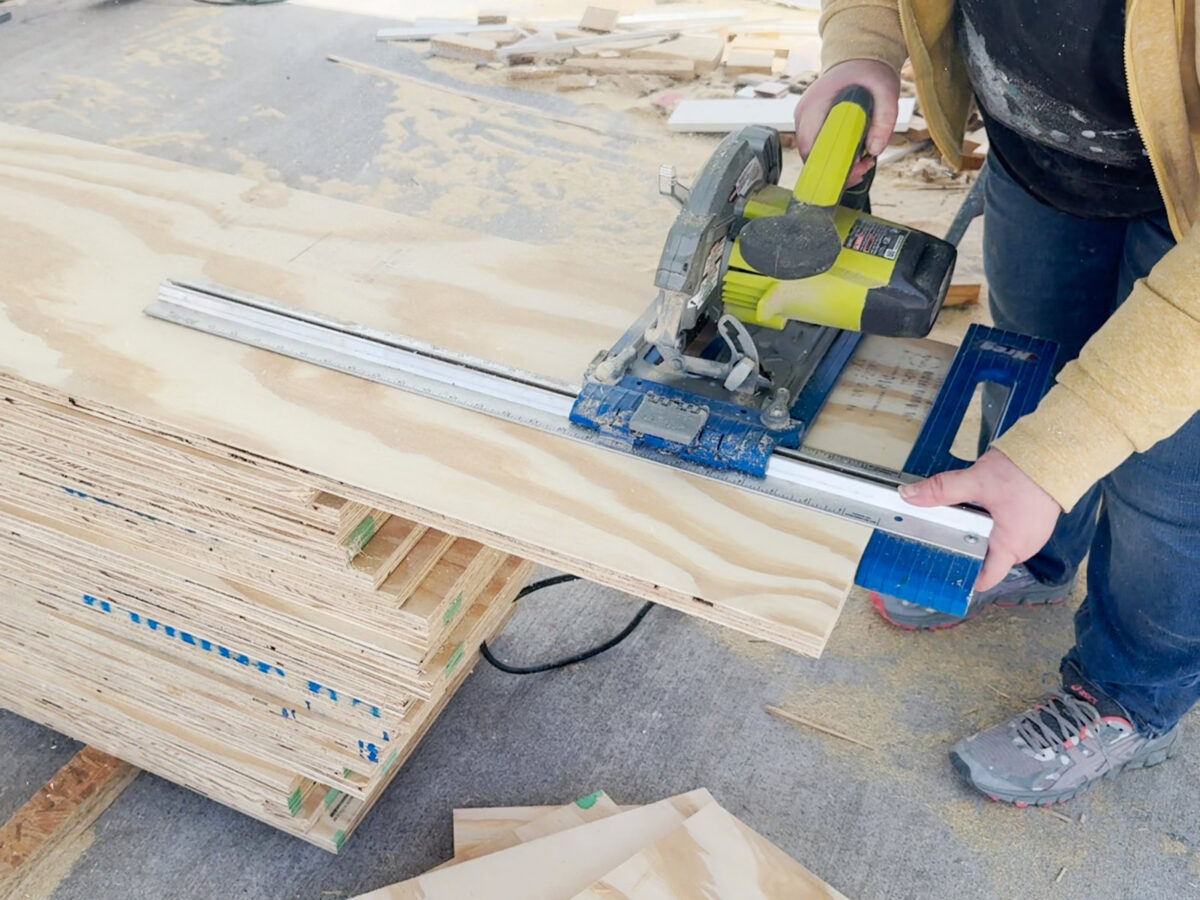
But I did need 16 pieces cut to 87.5 inches long. Again, I used my Kreg Rip-Cut Circular Saw Guide for this, and it was easy to slide each piece off of the stack a bit and cut it in place.
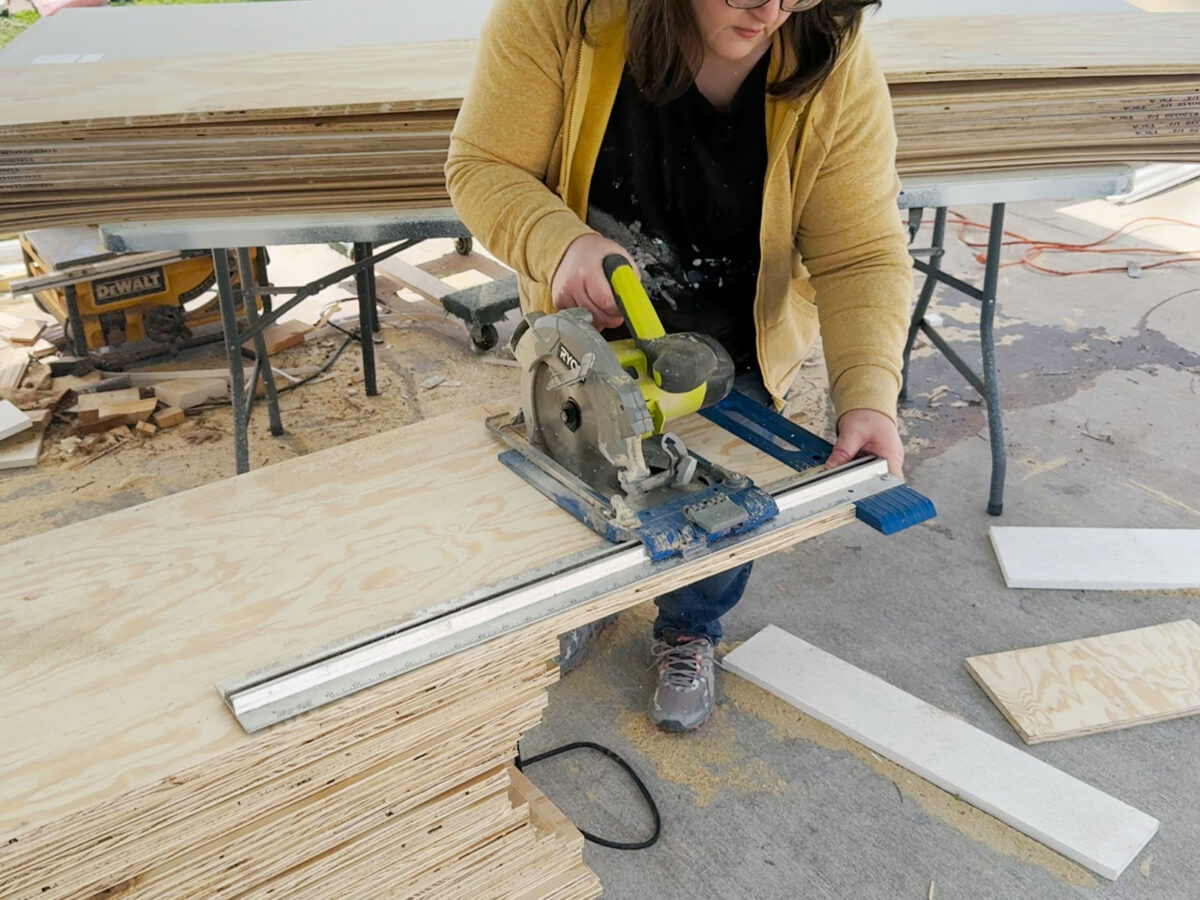
This was the easy part because I could do this part standing up.
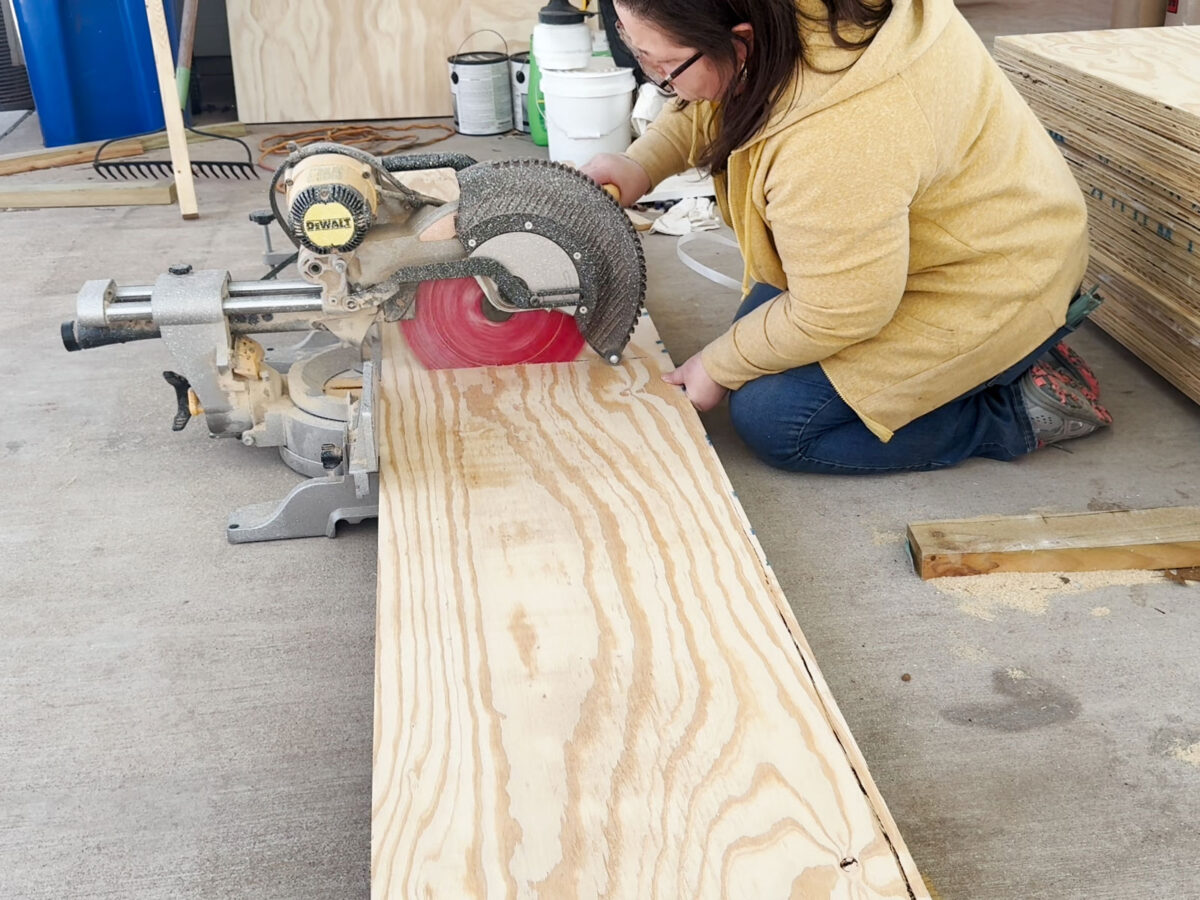
But then I had to cut the smaller pieces for the tops and bottoms of each cabinet unit, and my rip-cut guide isn’t long enough for that. So I decided to use my miter saw for this. I had run out of table space by this point, so I just worked on the ground. Since each piece is 17 inches, and my sliding miter saw only cuts 12 inches, I had to cut as far as I could going one direction, and then flip the board over to finish the cut.
The hardest part of this whole process was cutting the 1/4-inch plywood that I’ll use for the backing on each unit. Again, I used my rip-cut circular saw guide for this, but since the 1/4-inch plywood is thin and floppy, this part was a challenge. I needed to cut eight pieces in total, and I had to cut both the length and the width. I almost used my table saw for this, but it was a very windy day, and I was scared that the wind would be a problem if I tried to feed these through my table saw. This felt much safer to me.
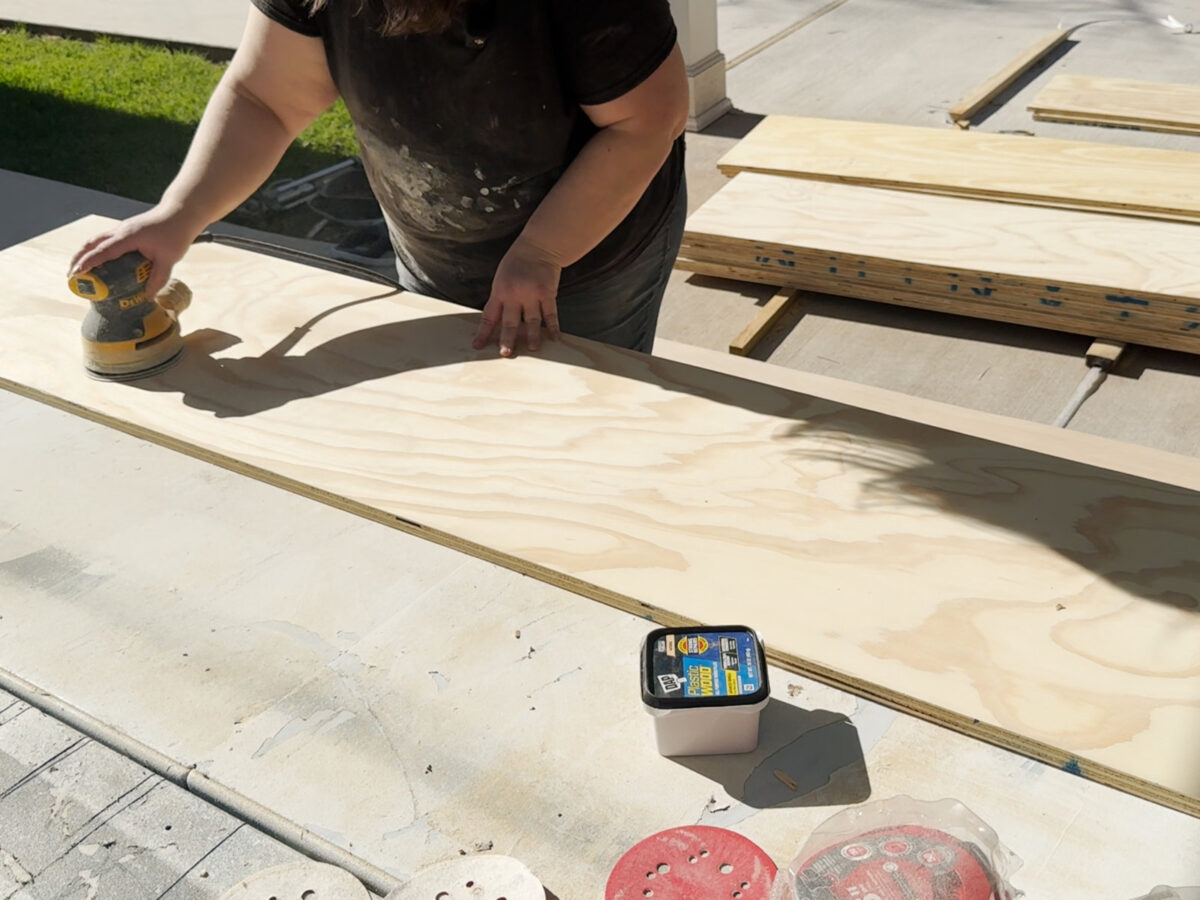
And then came the longest (but also the most satisfying) part of the process. Before bringing the pieces inside, I decided to sand every single piece first. In my effort to save money, I had used a cheaper plywood that is really intended for underlayment. One side is sanded, but it isn’t nearly as smooth as cabinet-grade plywood. I didn’t want to pay for the higher priced plywood since my cabinets will be painted and not stained, so I saved quite a bit of money using this plywood. But I did have to do quite a bit of wood filling and sanding to get it ready for paint.
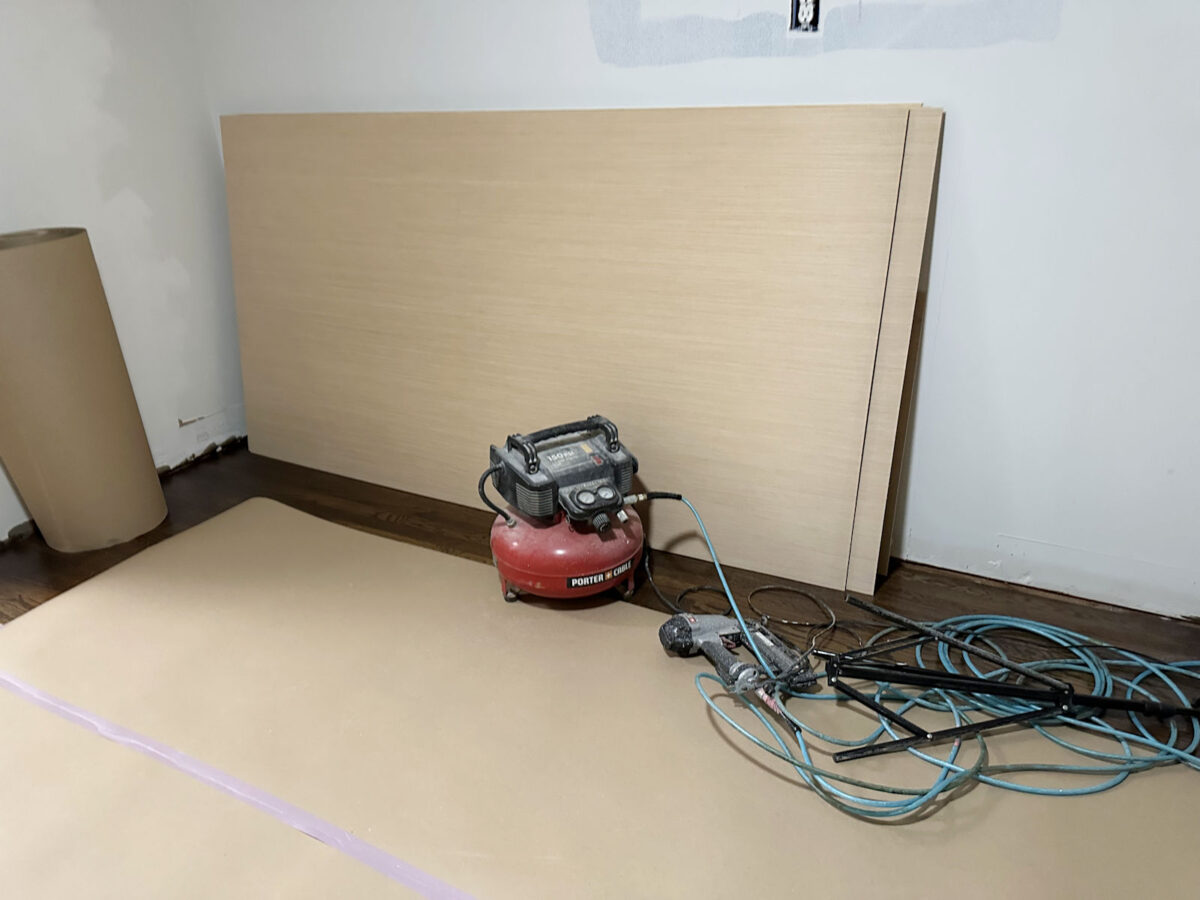
I finished up all of the sanding just after 8:00 last night, and then had to make 33 trips from the carport to the closet to bring all of the pieces inside. Since these units will be so big, I have to build them inside the room. There’s no way I could have built them outside and then maneuvered the fully built pieces through the house and into the room. So after 33 trips, I had all of the pieces inside and ready to start building today. I have a total of 16 long side pieces.
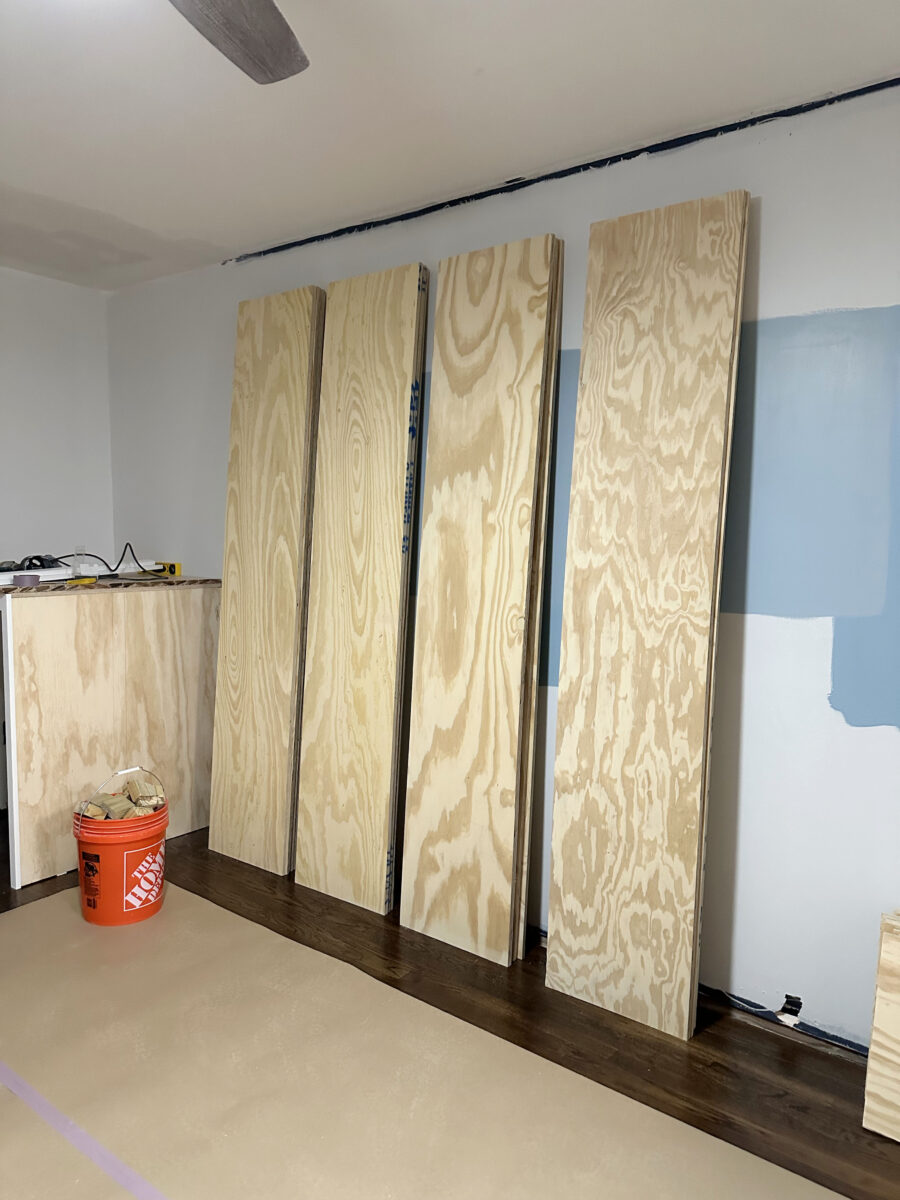
Twelve pieces for the top and bottom of the wide units, and four pieces for the top and bottom of the narrower units that will flank the door.

Eight of the 1/4-inch plywood backers for each unit.
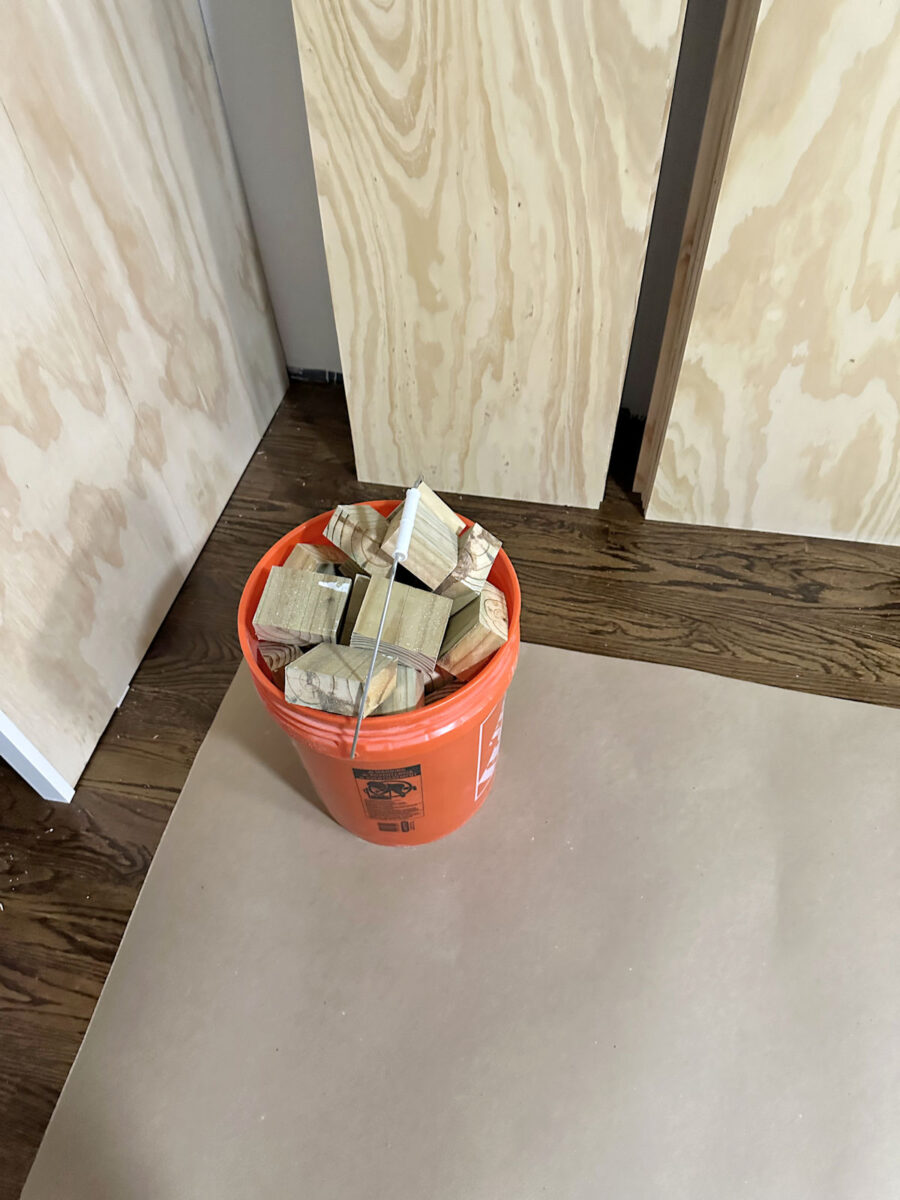
And then 40 pieces of 2×4 cut to 2.75″ in length that I’ll use for the feet for each unit.
So with all of the pieces cut, prepped, and brought inside, I’m ready to get started building out the closet today. Barring any unforeseen circumstances, I should have some actual closet cabinets built by the end of the day today, and this room should start taking shape very quickly!

Addicted 2 Decorating is where I share my DIY and decorating journey as I remodel and decorate the 1948 fixer upper that my husband, Matt, and I bought in 2013. Matt has M.S. and is unable to do physical work, so I do the majority of the work on the house by myself. You can learn more about me here.