
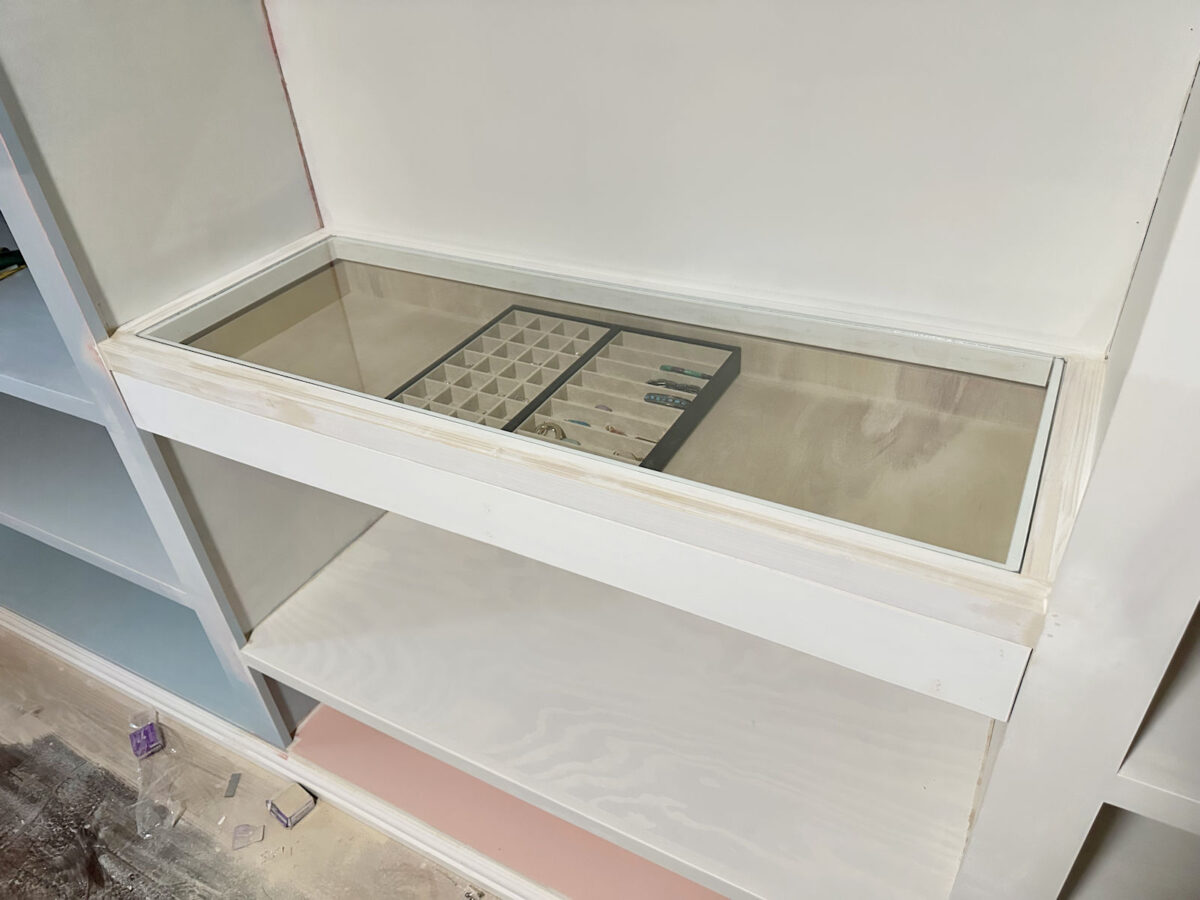
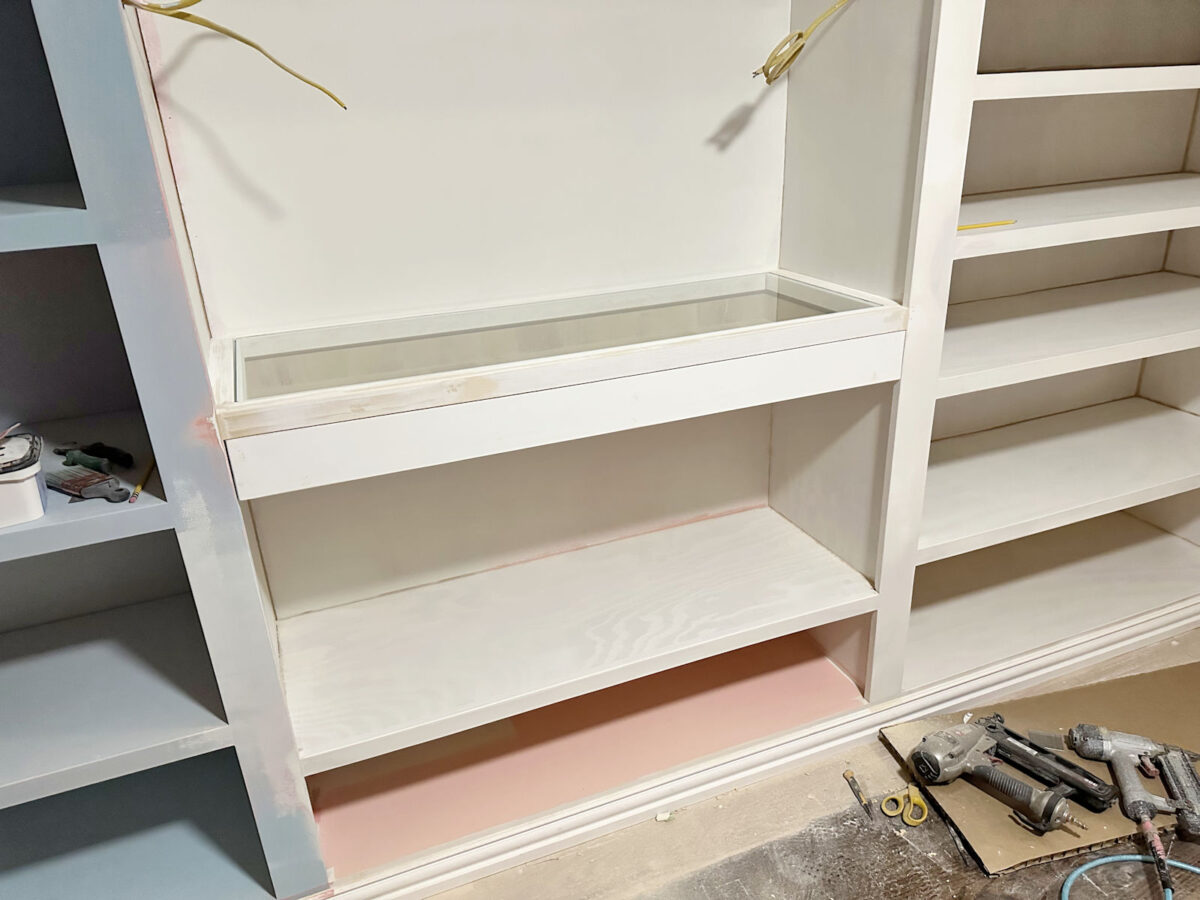
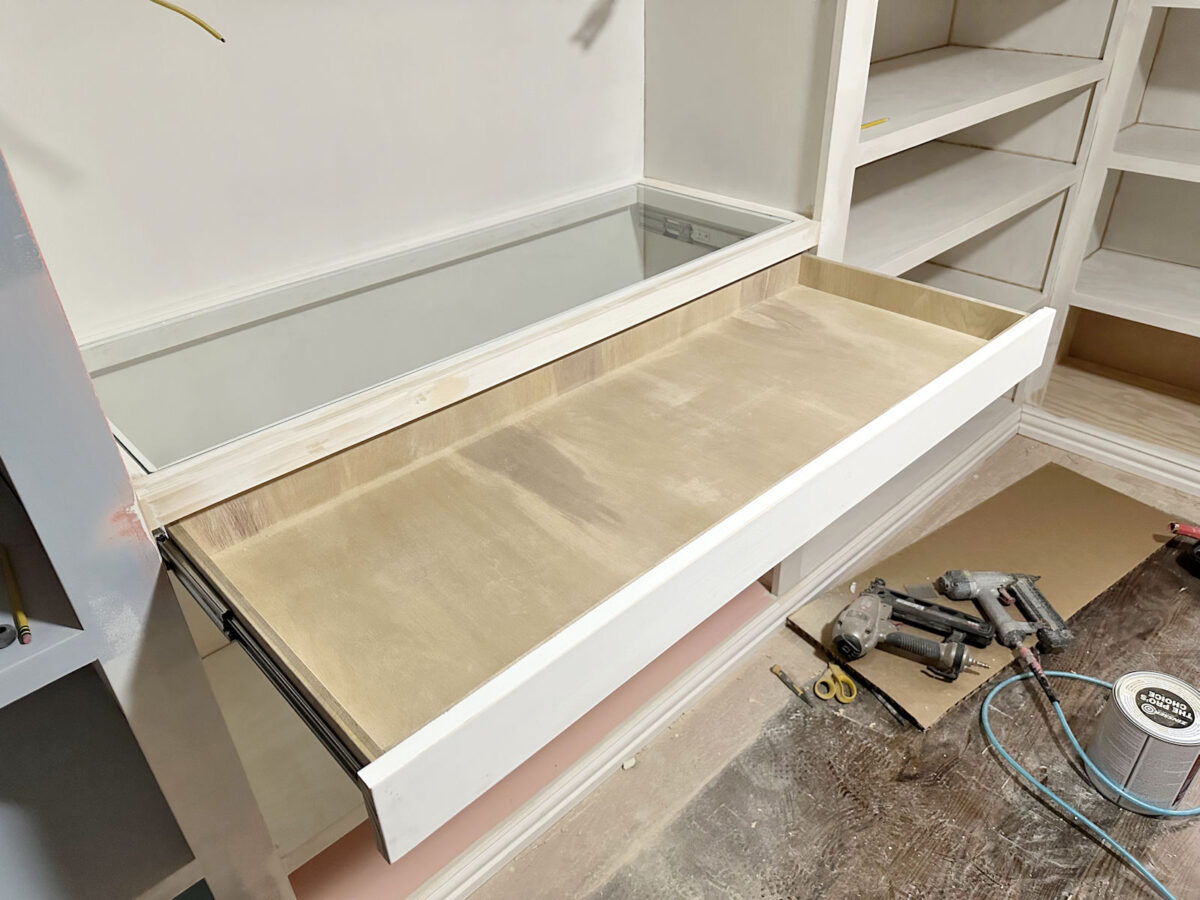
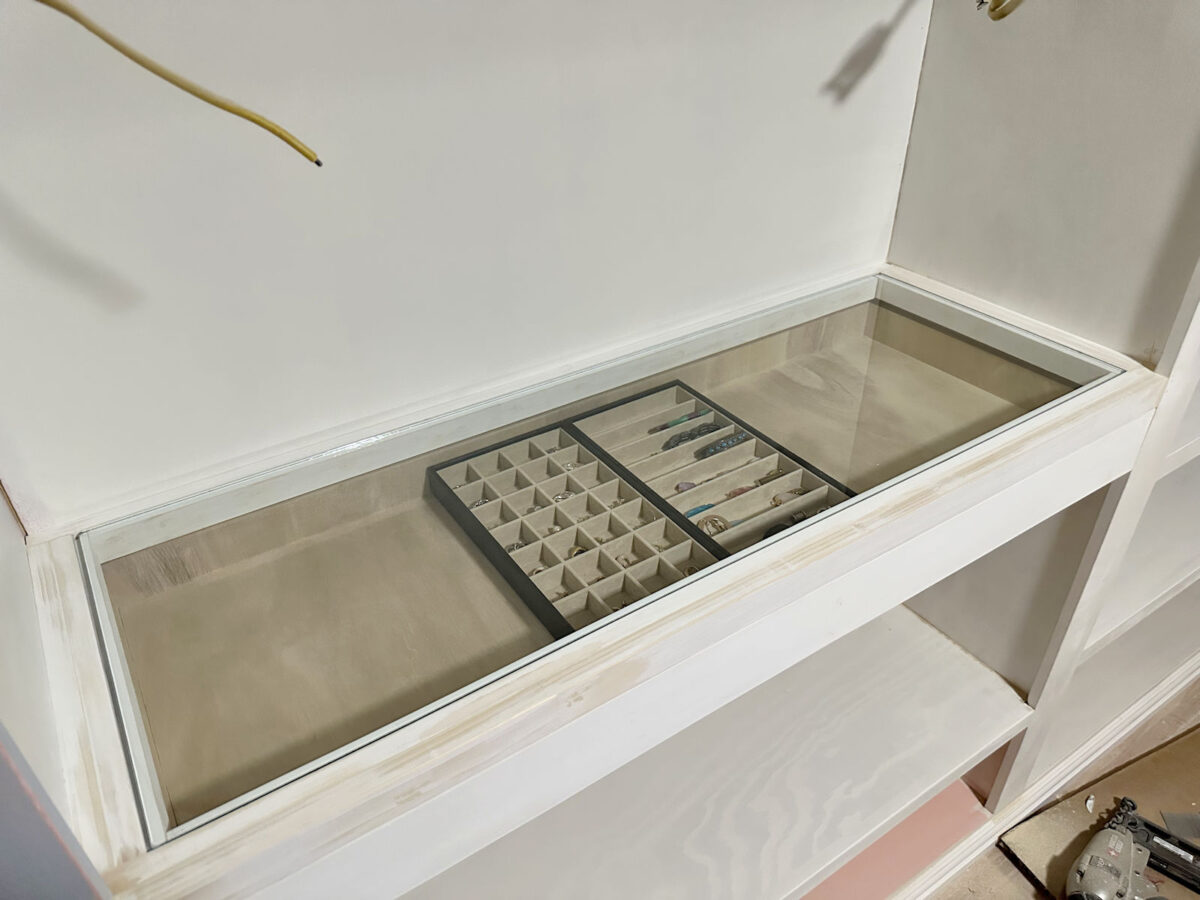
Yesterday, I finished one of the last remaining projects on the perimeter cabinets of my walk-in closet. I built the first part of my DIY jewelry organizer — the jewelry drawer with the glass top. This drawer is specifically for earrings, rings, bracelets, pendants, etc. I haven’t yet added the individual compartments to the drawer, so I put a couple of my current jewelry organizers in the drawer so we could get an idea of how it will look. And of course, it still needs to be primed, caulked, and painted, along with the rest of the cabinets.
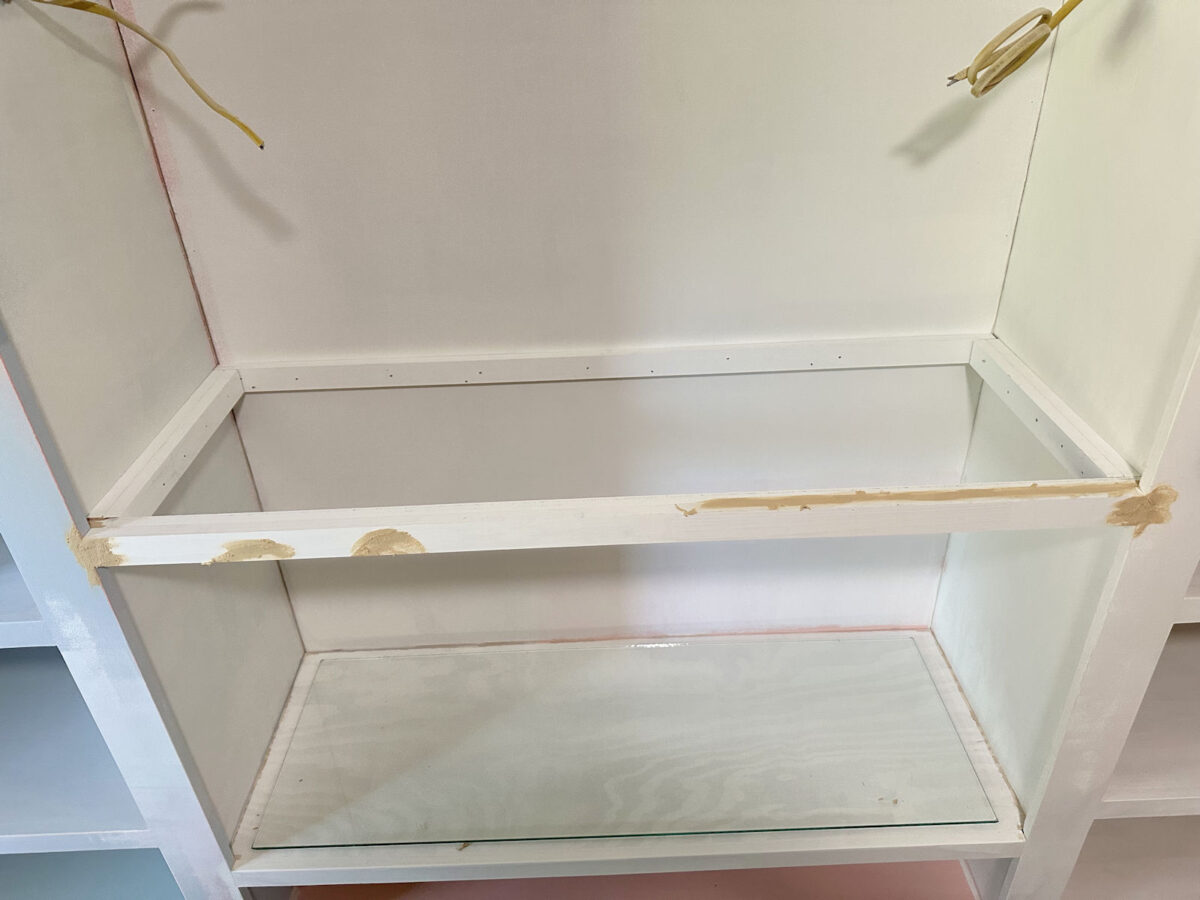
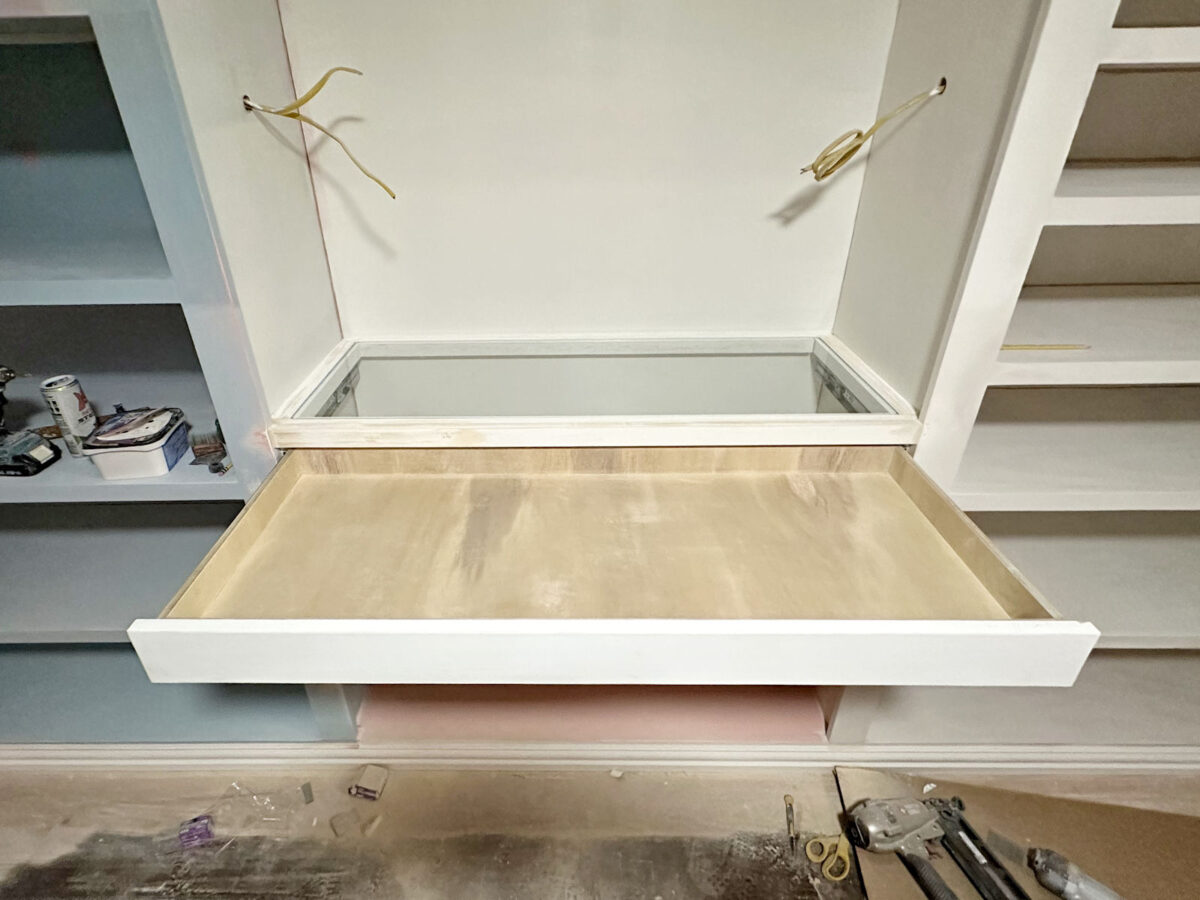
So with that in mind, here’s how the whole setup looks right now.
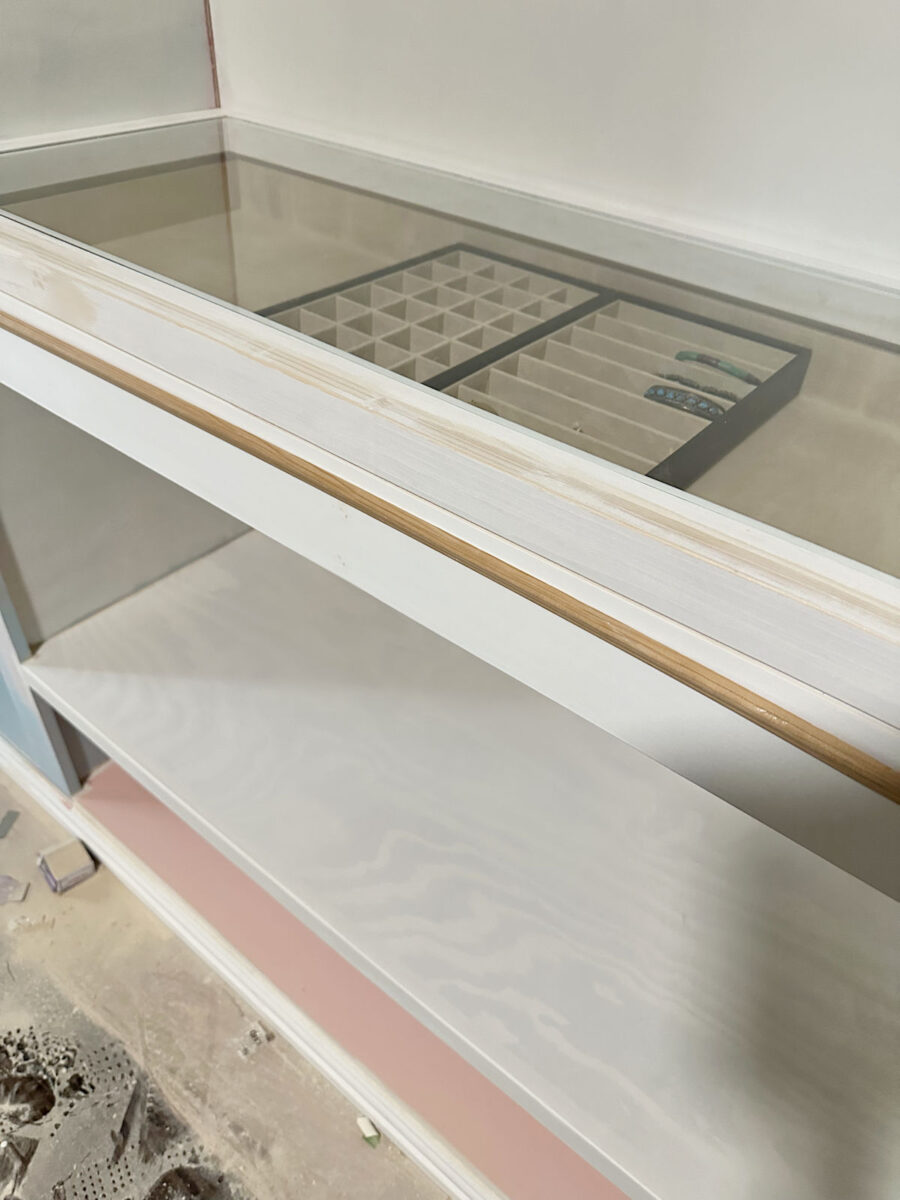
When I finished building the drawer last night, I wasn’t sure if I wanted to add trim to the front. But this morning, I decided that I’ll probably add this tiny trim to the drawer just to give it a little something extra.
And I also haven’t picked out drawer and cabinet hardware for the room, so once I pick that out, I’ll add two pulls or two knobs to the drawer. I can’t decide if I want to use something really special, or if I want to keep it simple with the drawer and door pulls. I’m still looking.
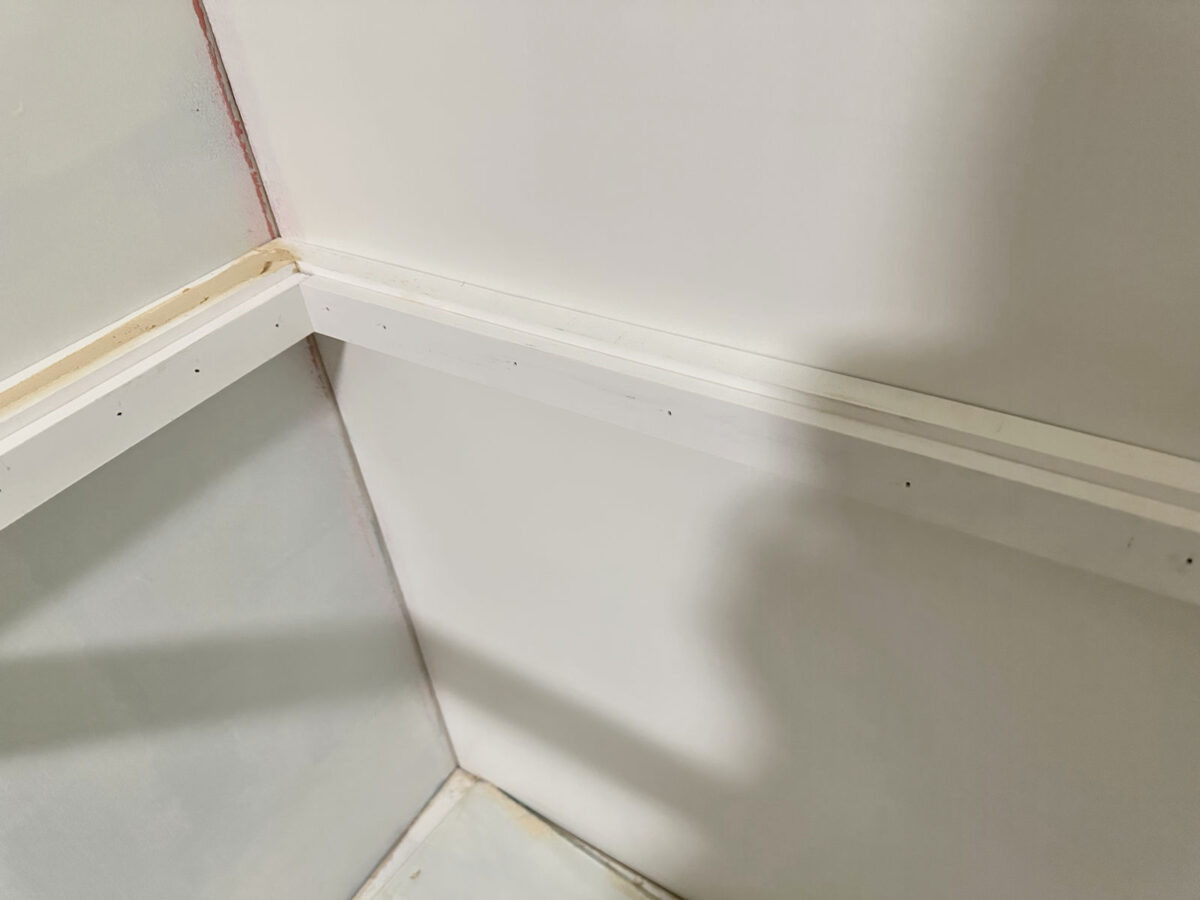
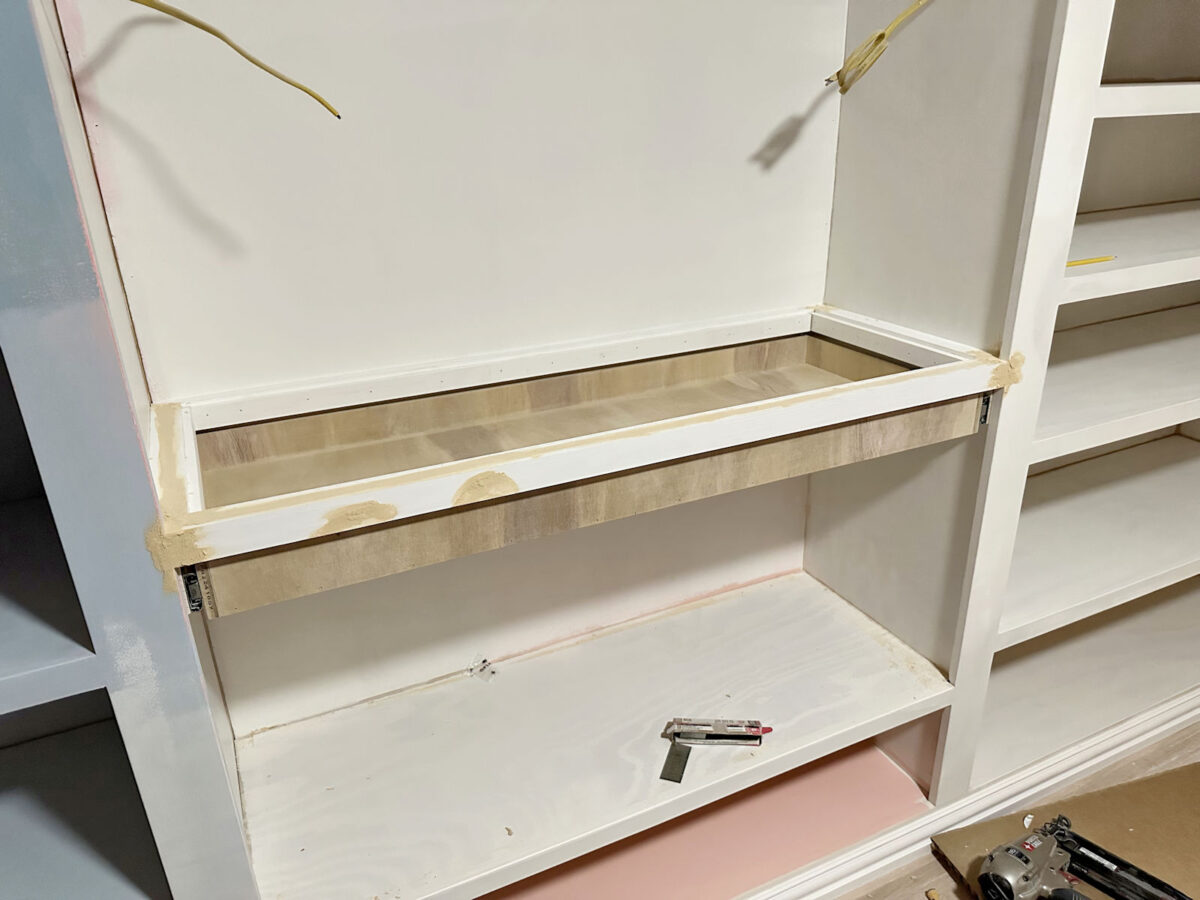
So let me show you how I built this jewelry organizer. I started by determining the height of the glass shelf, and I cut and nailed a 1″x2″ just behind the cabinet trim in that cabinet.

And then using more 1″x2″ lumber, I continued adding the frame around the sides and the back of the cabinets. To construct the entire frame, I used two layers of 1″x2″ lumber on the front, two layers of 1″x2″ lumber on each side, and just one 1″x2″ on the back of the cabinet. I nailed all of these in place using 16-gauge nails in my nail gun. And you can see that the second 1″x2″ piece on the front of the frame sat flush with the front trim on the cabinet.
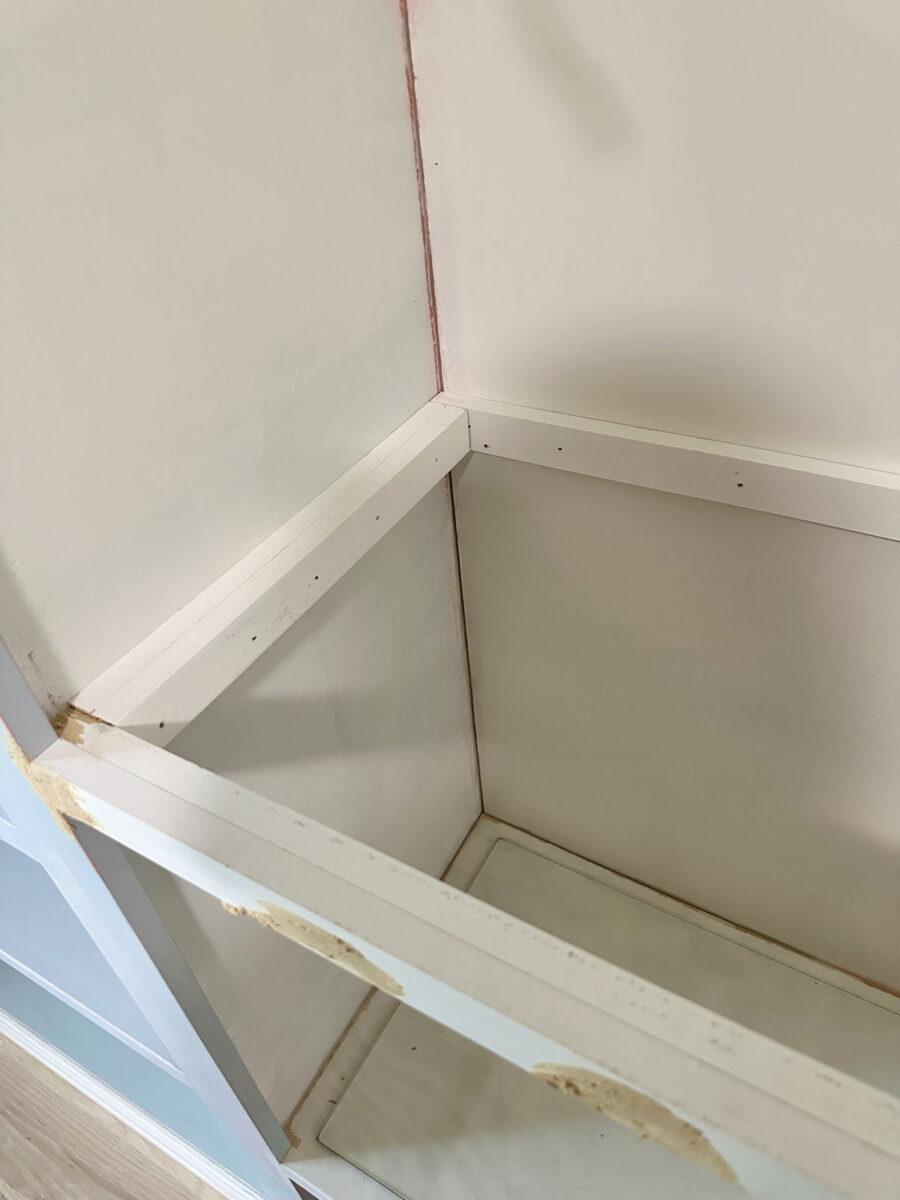
I got a little ahead of myself and started adding wood filler before I took the pictures, but you can still see the general construction.
With that basic frame in place, here’s how it looked inside the cabinet. The opening inside that frame is the exact size of the glass that I ordered, plus about 1/8-inch in each direction so that I’d have 1/16-inch wiggle room on all four sides of the glass…
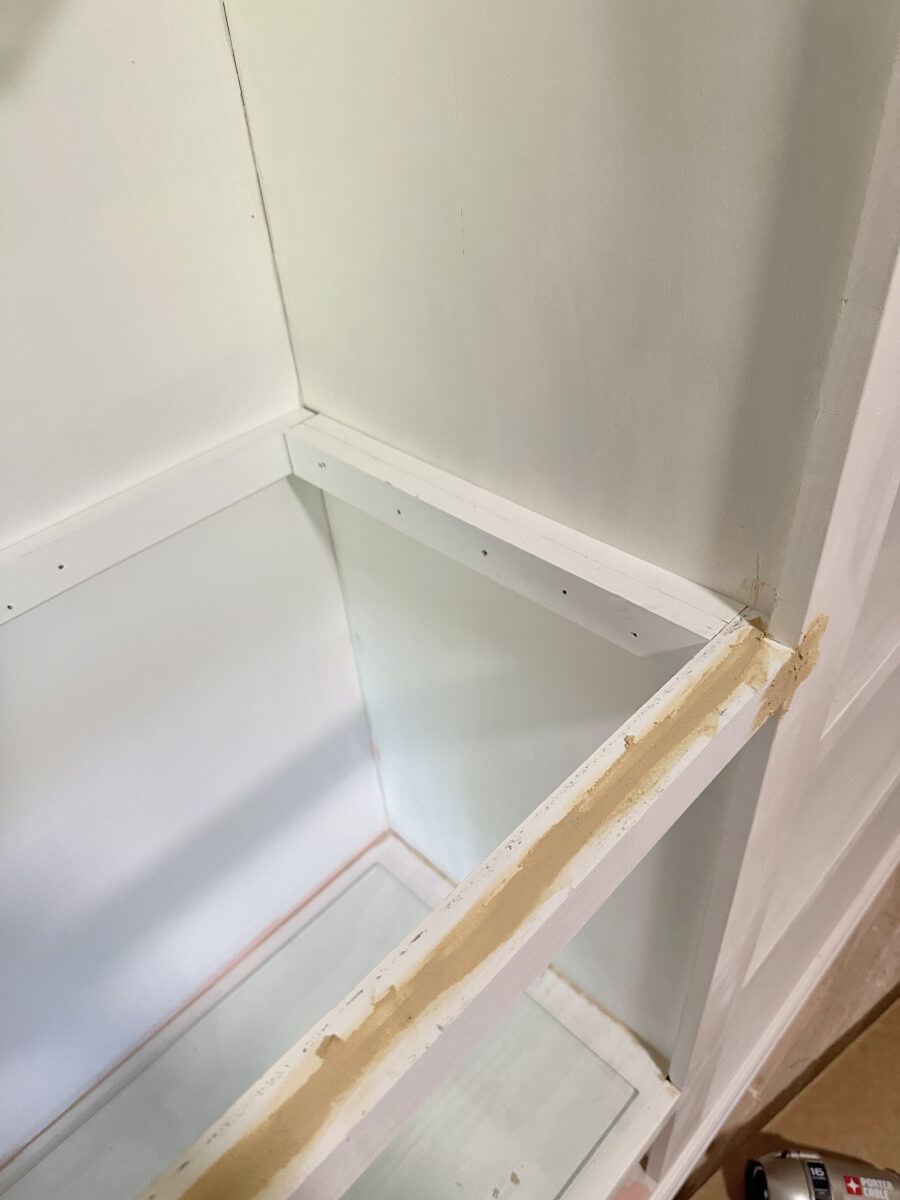
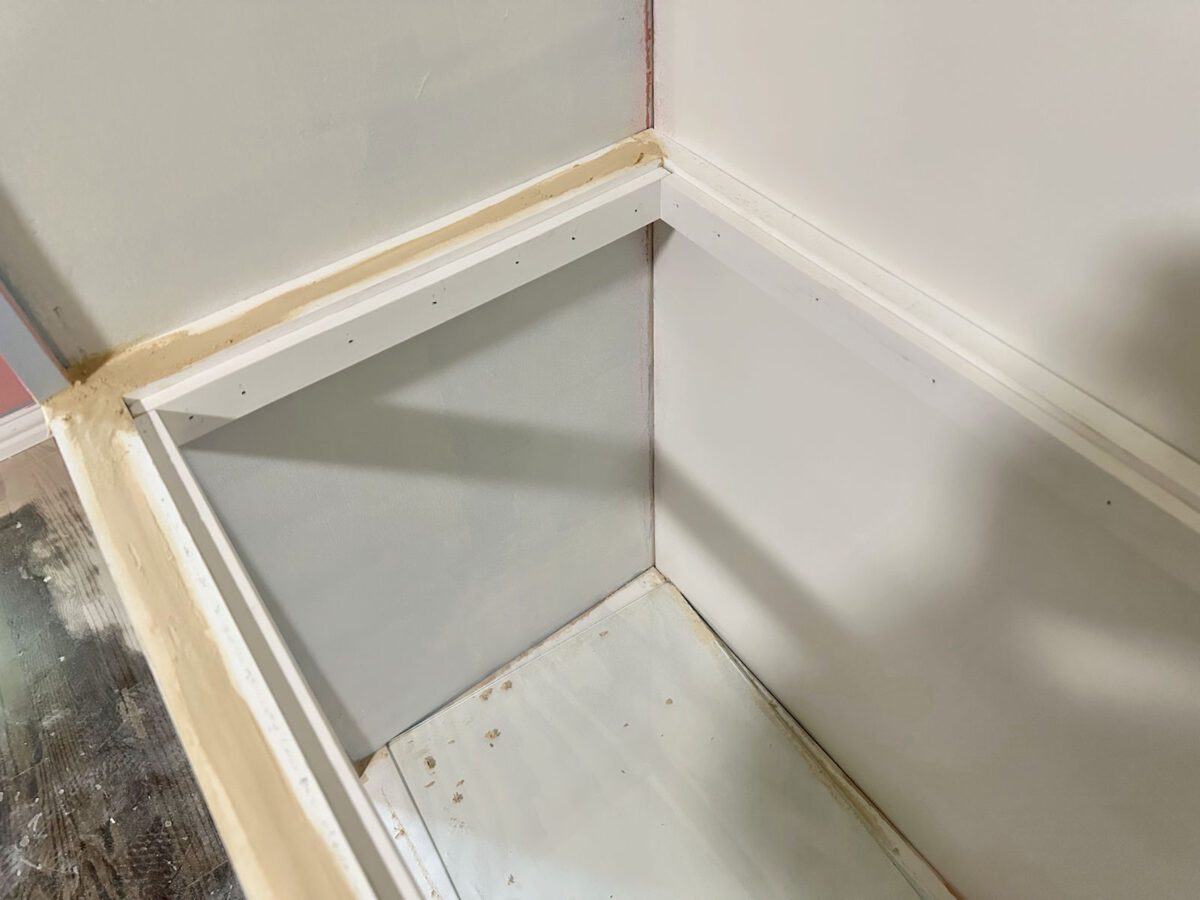
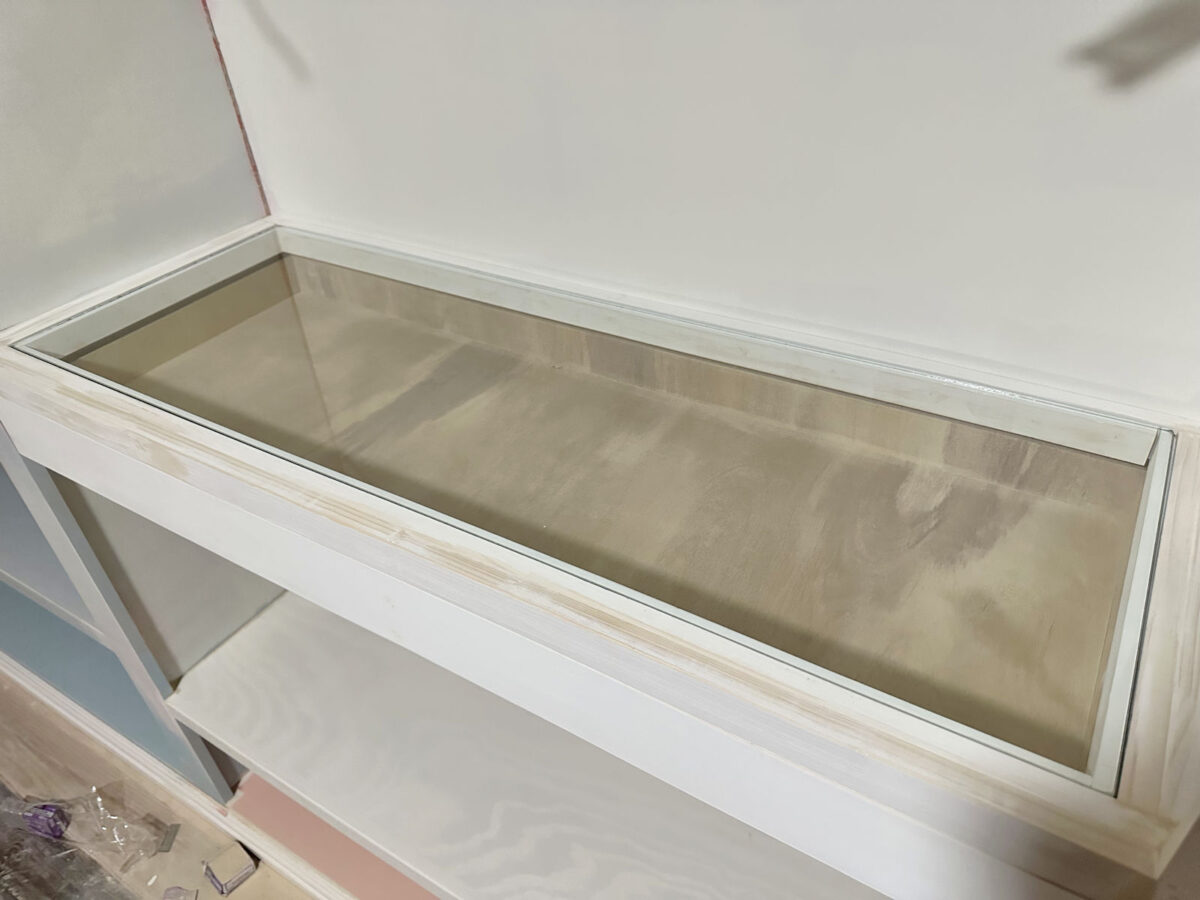
And then I needed to add the support for the glass. For this, I used my table saw to rip pieces of 1″x2″ lumber (which are actually 1.5 inches wide and not 2 inches wide) so that they were 1.25″ wide and 1/2″ thick. I cut those with my miter saw to the correct lengths to fit inside that frame, and then I attached them so that the bottom edges of those pieces were flush with the bottom edges of the frame pieces, leaving a 1/4-inch rabbet on top to support my 1/4-inch tempered glass.
Again, I got a little ahead of myself with the wood filler, but I think you can still see the overall construction. So again, on the front and sides, I had two layers of 1″x2″ lumber (which are actually 1.5 inches wide), and just inside those I attached one layer of strips ripped to 1.25″ x .5″.
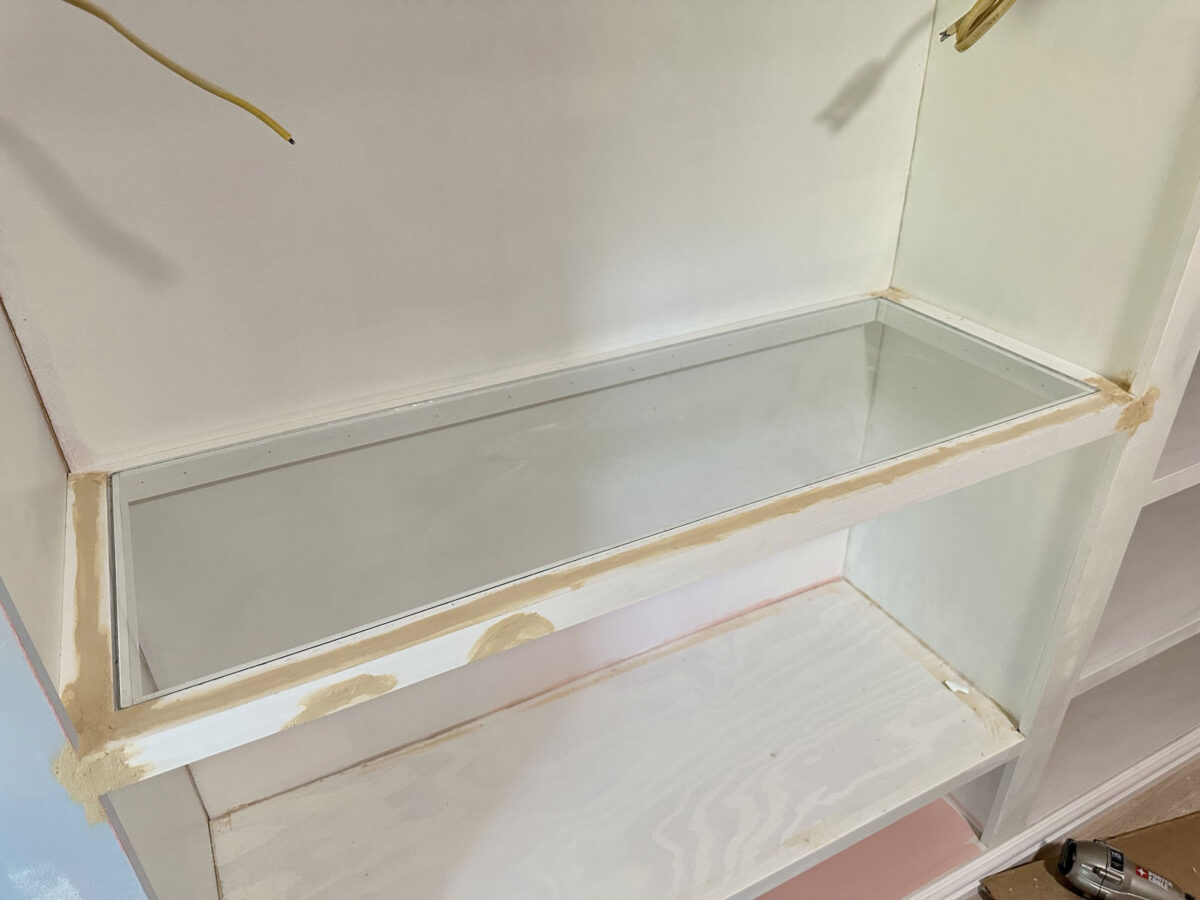
Once that frame with the rabbet was built, I tested the fit of the glass. It was perfect!
After testing the fit of the glass, I removed it for safe storage and built the drawer, which I made out of 1/2-inch plywood.
I didn’t take pictures of the process for building the drawer simply because I’ve built so many drawers in the past that you can refer back to if you need that info.
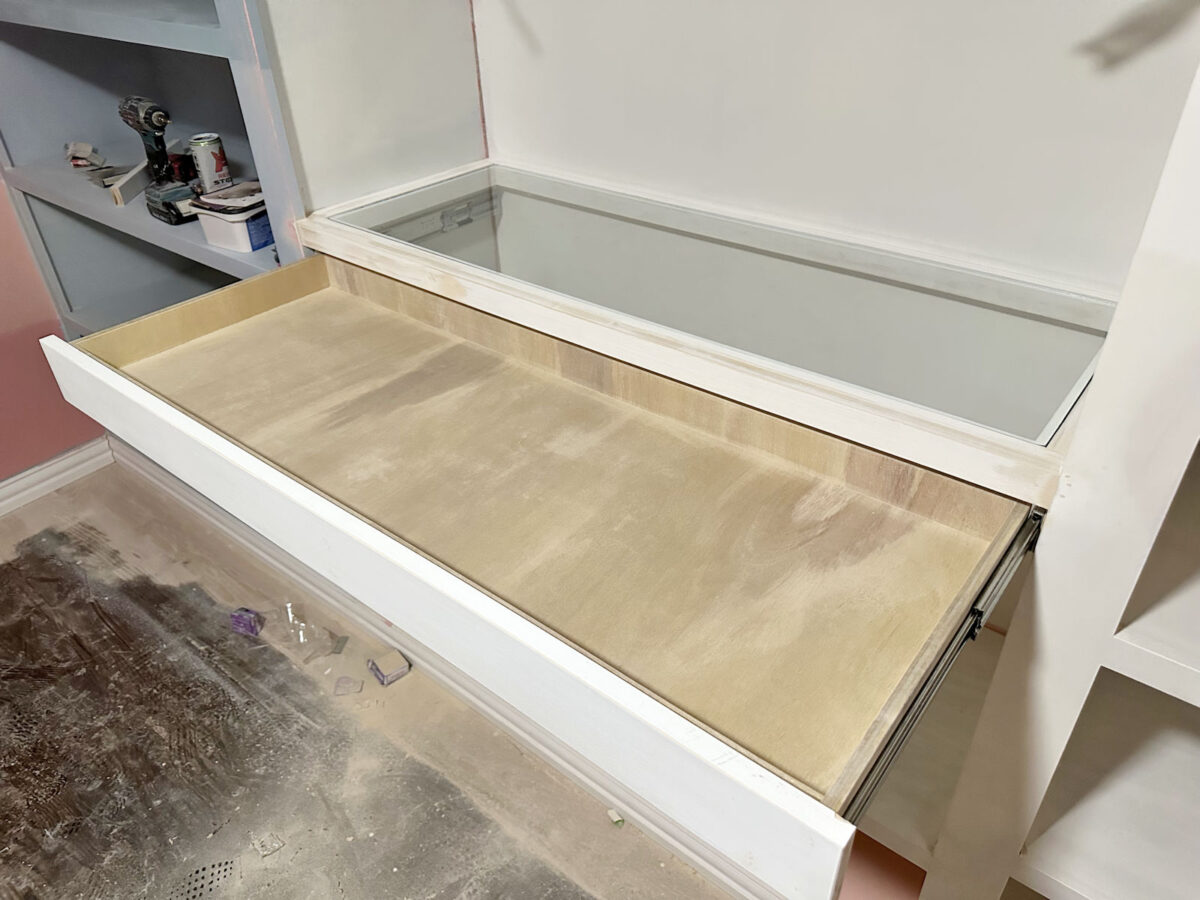
Before building the drawer, I installed the drawer slides. To make sure that my drawer slides would clear the side trim on the cabinets, I first attached pieces of 1″x3″ lumber (which is actually 3/4″ x 2.5″) behind the front cabinet trim just below the glass countertop frame, nailed in place using 16-guage nails, and then I installed the drawer slides on top of those 1″x3″ pieces. Then I measured the distance between the drawer slides (that distance for this drawer was 42 5/8″), and I built my drawer to fit that width. So the outside dimensions of the finished drawer box is 42 5/8″ x 16″.
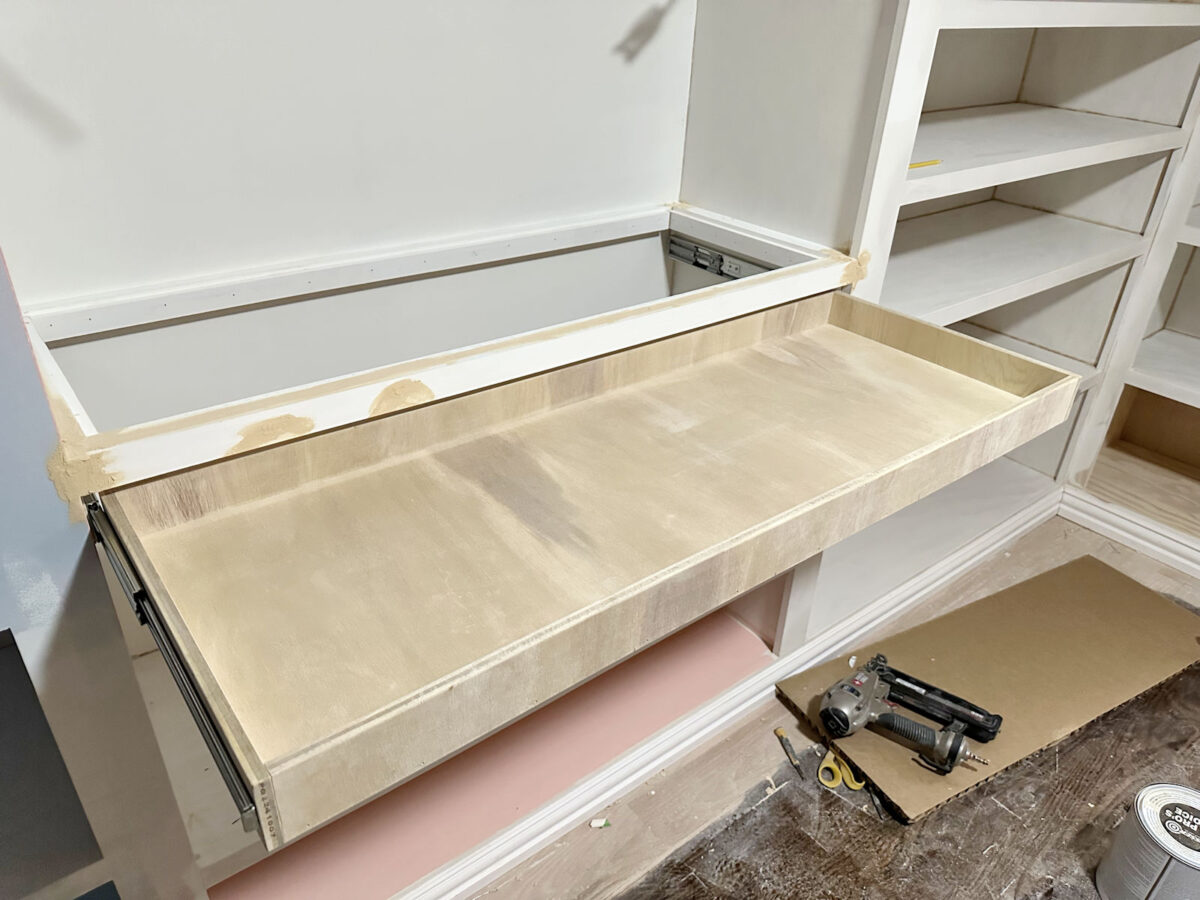
And finally, I cut a piece of 1″x4″ (actual size is 3/4″ x 3.5″) pre-primed lumber to use as the drawer front, and I attached it to the front of the drawer box, first tacking it into place using 18-gauge nails, and then screwing it to the drawer front using 1″ wood screws that are screwed through the inside of the drawer box and into the back of the drawer front to secure it into place.
And with that, the basic build of my jewelry drawer with the glass countertop was finished!

I’m so proud of how this turned out. I have to admit that I was nervous about this project because I’ve never built anything like this before, and I knew it had to be just right so that it didn’t look like an obvious DIY project. But it turned out exactly as I envisioned it.
And, of course, it’ll look even better once everything is caulked and painted. I haven’t decided exactly how I want to finish the inside of the drawer yet. I know that most custom jewelry drawers are lined with velvet or something fancy like that, but I really don’t have the patience or the desire to spend days of my time covering tiny pieces of wood to create small velvet-lined compartments. It’s just not that important to me. So I’ve considered just lining the bottom of the drawer with velvet or velveteen or something like that (if I can even find a good coordinating color) and then painting the wood that makes up the small compartments in the same color.
Or I could just paint the whole thing and forgo the fancy velvet altogether. If I paint it the whole thing, I thought it might be fun to paint it one of the corals that I tested out for the cabinets just to add a touch of a coordinating color to this area. After all, the section of cabinet just above this glass-top countertop will be wallpapered, so it might look great to bring that coral color in with this drawer.
I’m so excited about how this turned out. This project was actually so much easier than I thought it would be.
But I do think I need to add some trim to the drawer front just to make it obvious that it’s a drawer. Of course, adding drawer pulls will also make it obvious that it’s a drawer.
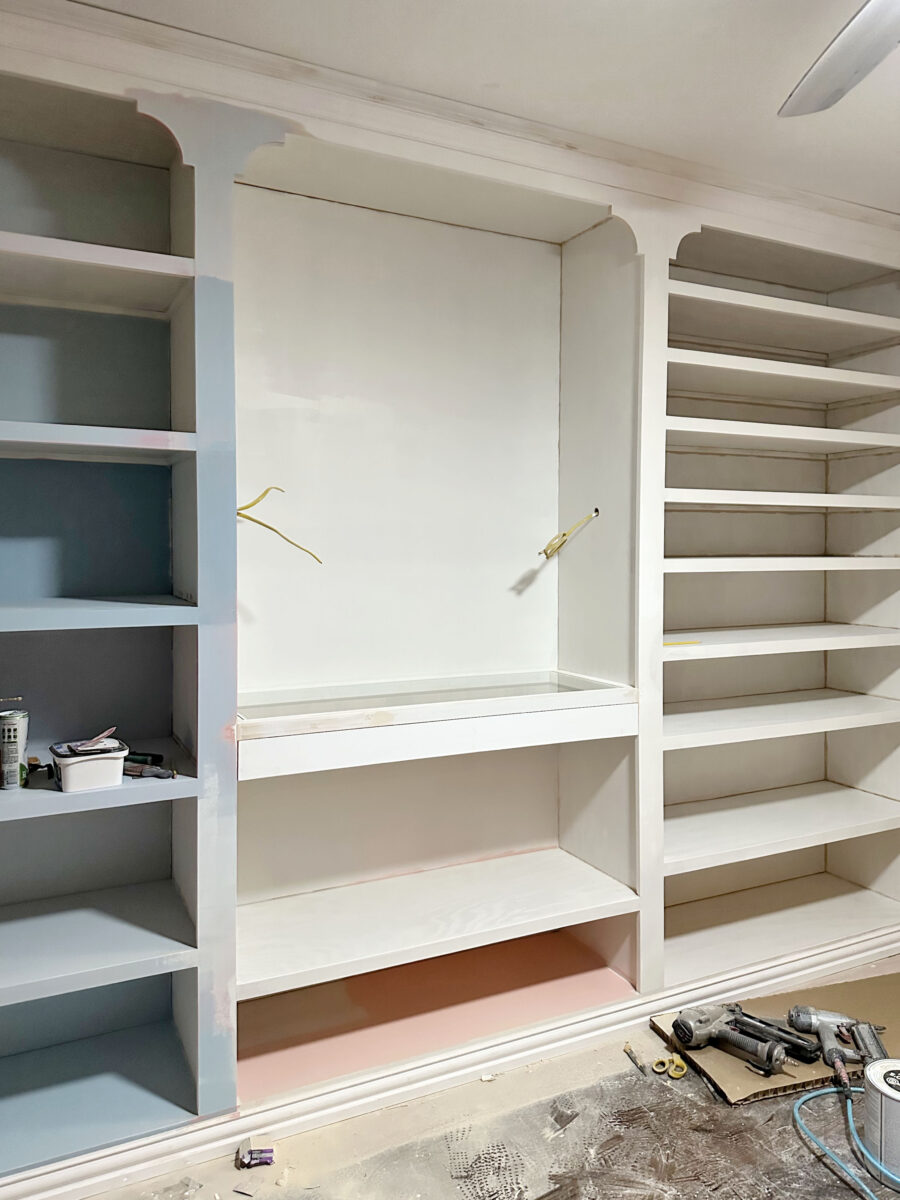
And now the final thing that I need to build is the necklace storage that will go in the open section just below the jewelry drawer. I’m still trying to work out the details of that. I think I almost have it, but I’m not quite there yet.

And I also need to figure out the details of how I want to finish the inside of this drawer — how many compartments, how many of each size, what color/finish, etc. But the hardest part is done.
The A2D Daily:

Addicted 2 Decorating is where I share my DIY and decorating journey as I remodel and decorate the 1948 fixer upper that my husband, Matt, and I bought in 2013. Matt has M.S. and is unable to do physical work, so I do the majority of the work on the house by myself. You can learn more about me here.