")
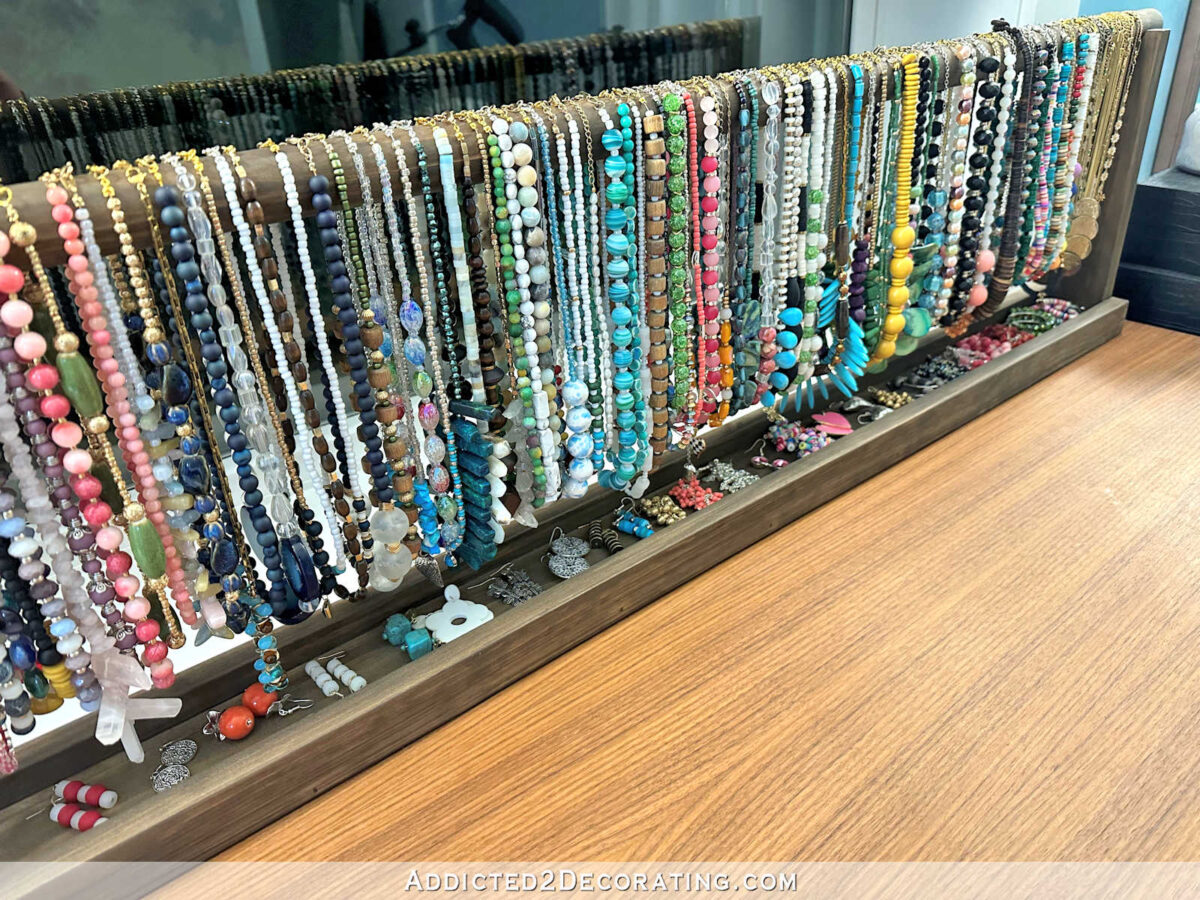
Yesterday, I worked on building the final piece of the perimeter cabinets in my walk-in closet — a DIY necklace organizer. For the last year, I’ve been using this very simple DIY jewelry organizer that I made to sit on the countertop in our bathroom.

I have loved this design. All of my necklaces, which I make myself, have clasps on them because I like the versatility of having clasps on my necklaces so that I can add extenders when I want them to be longer for a particular outfit. So this design has worked perfectly for me. I simply unhook the clasp to remove it from the necklace holder.
So I wanted the same type of design for the closet, minus the little tray on the bottom for earrings. I don’t need that little earring tray anymore since I now have an entire glass-top drawer for small items like that.
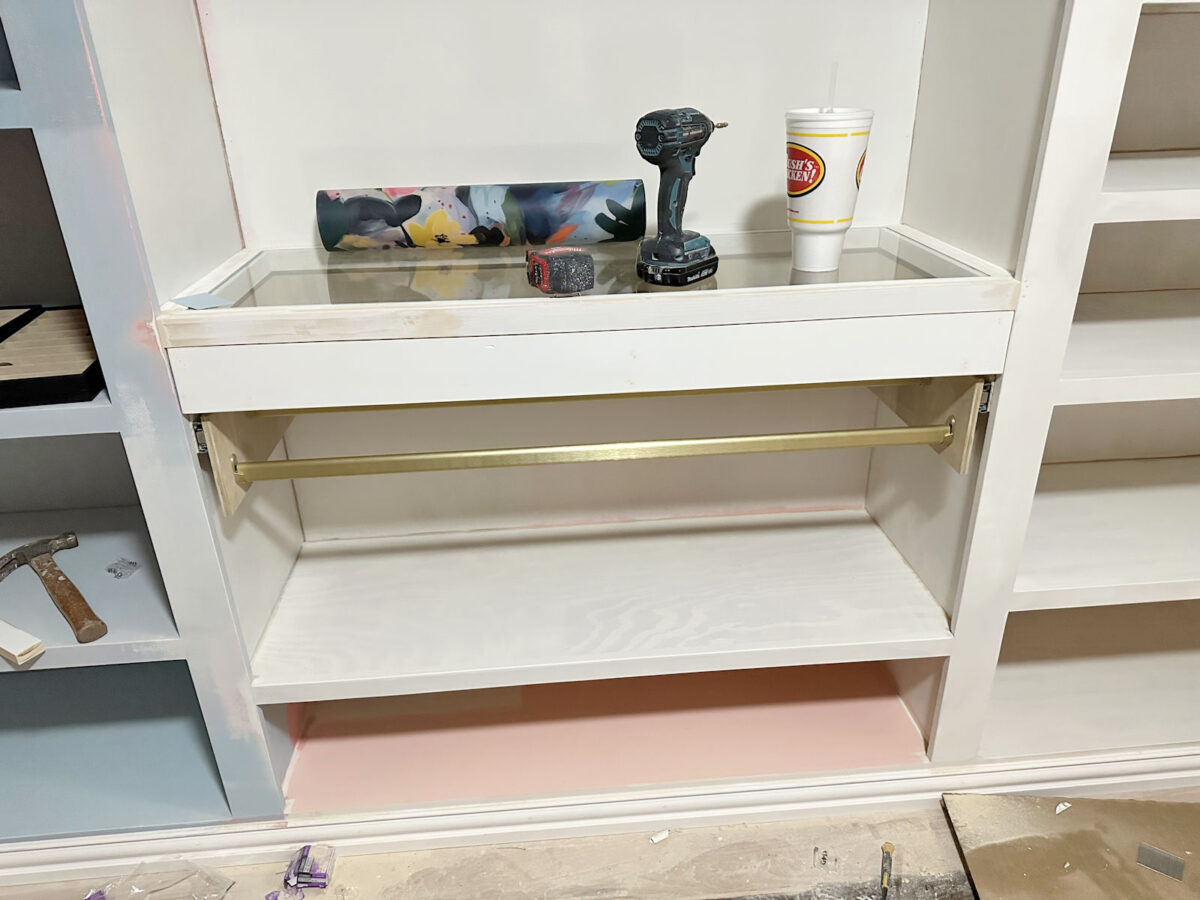
So with that in mind, here is what I came up with. I built a drawer-type structure that doesn’t have a bottom on it, put it on drawer slides, and added two closet rods inside the structure. When it’s pushed into the cabinet, it looks like this…
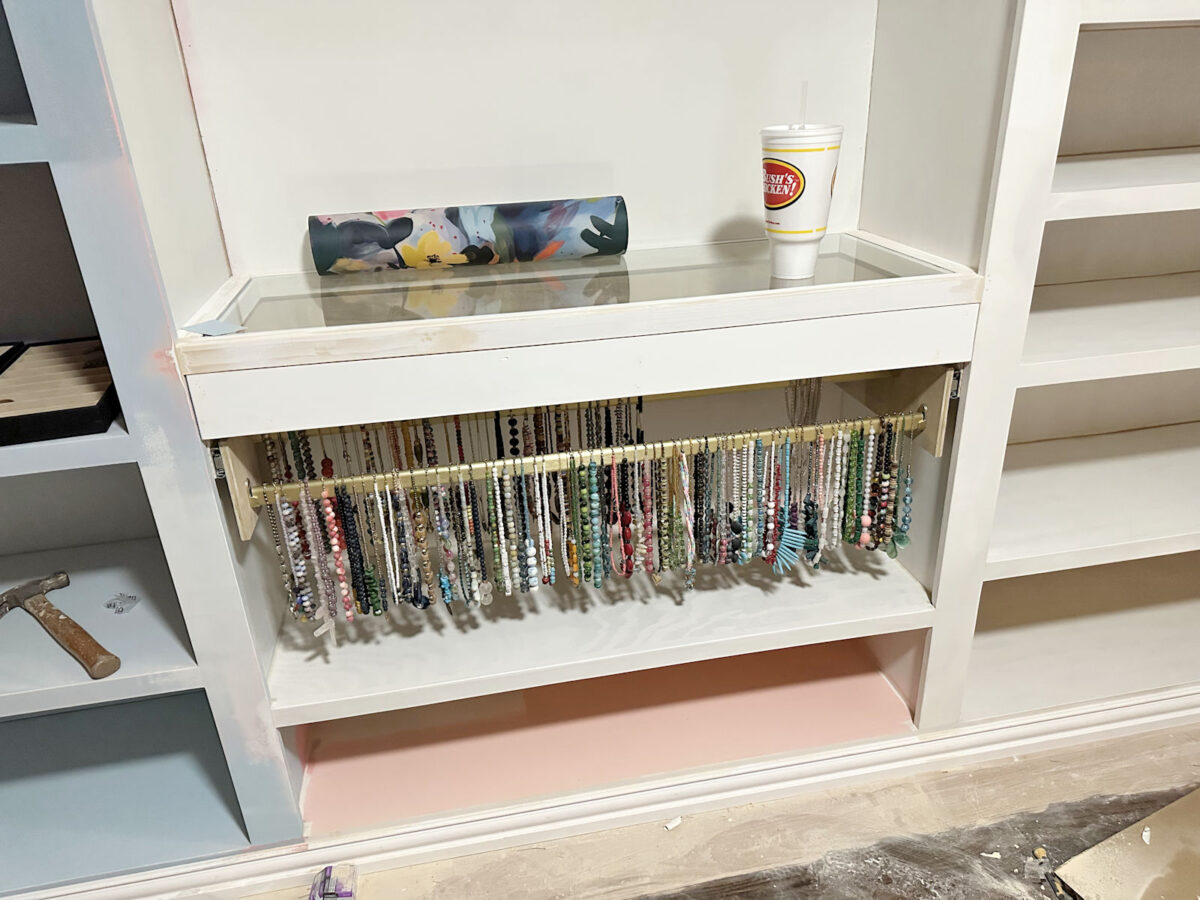
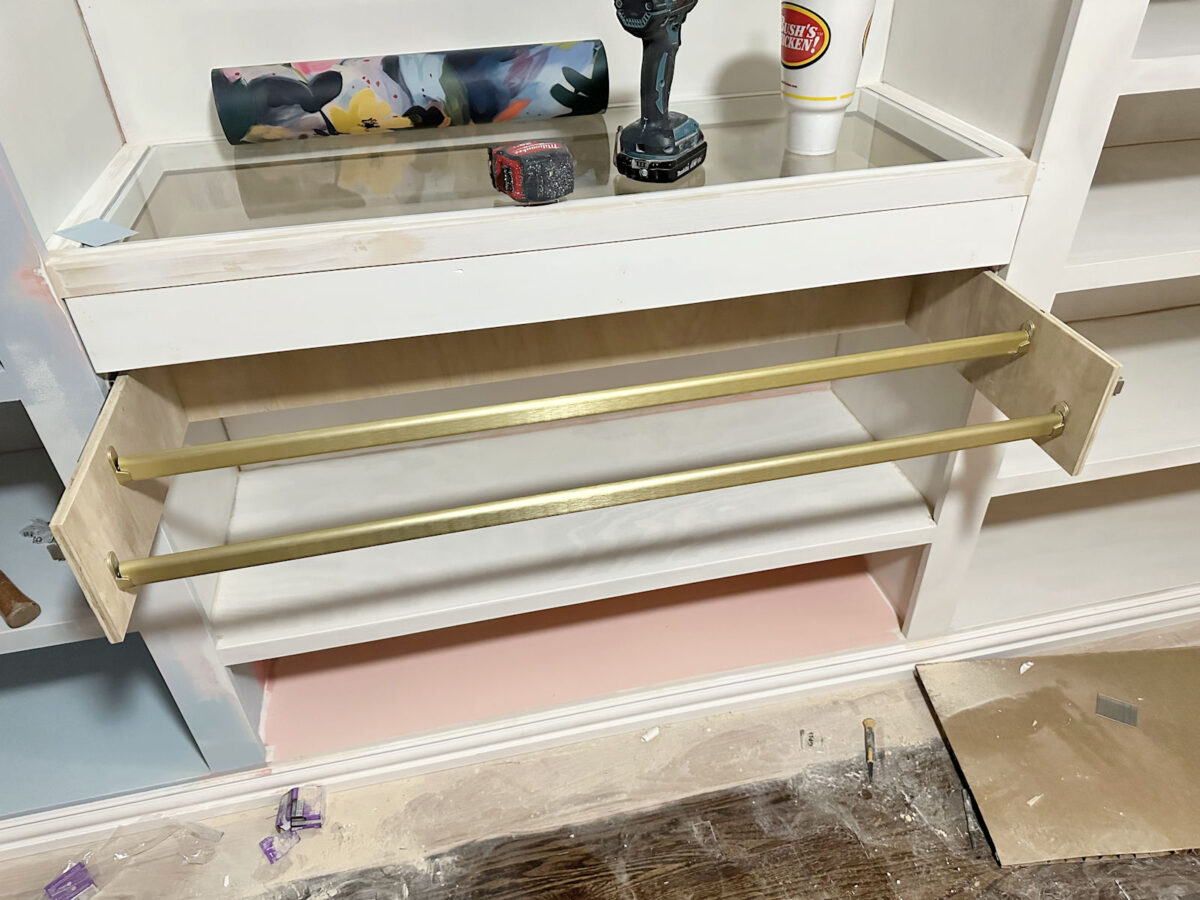
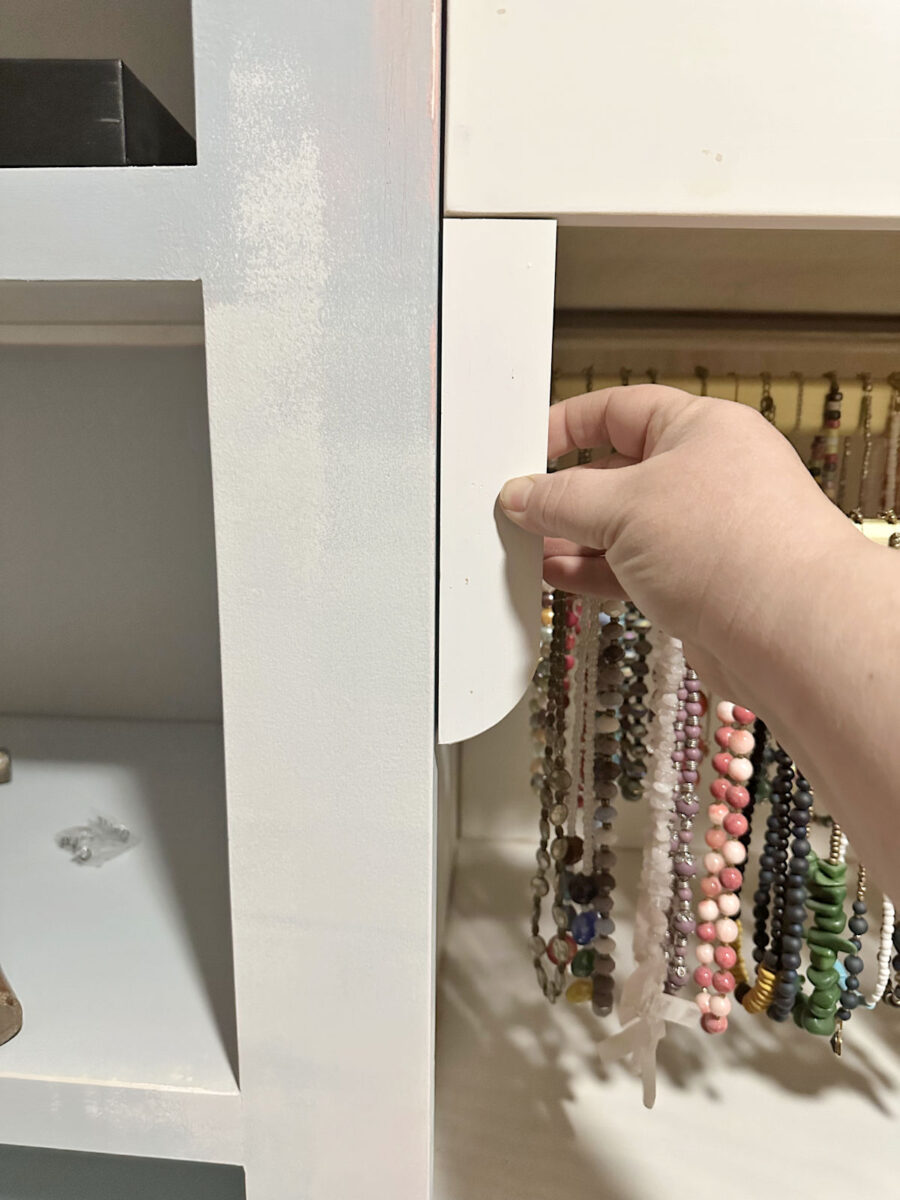
And then it pulls out like a drawer so I can easily access the necklaces…

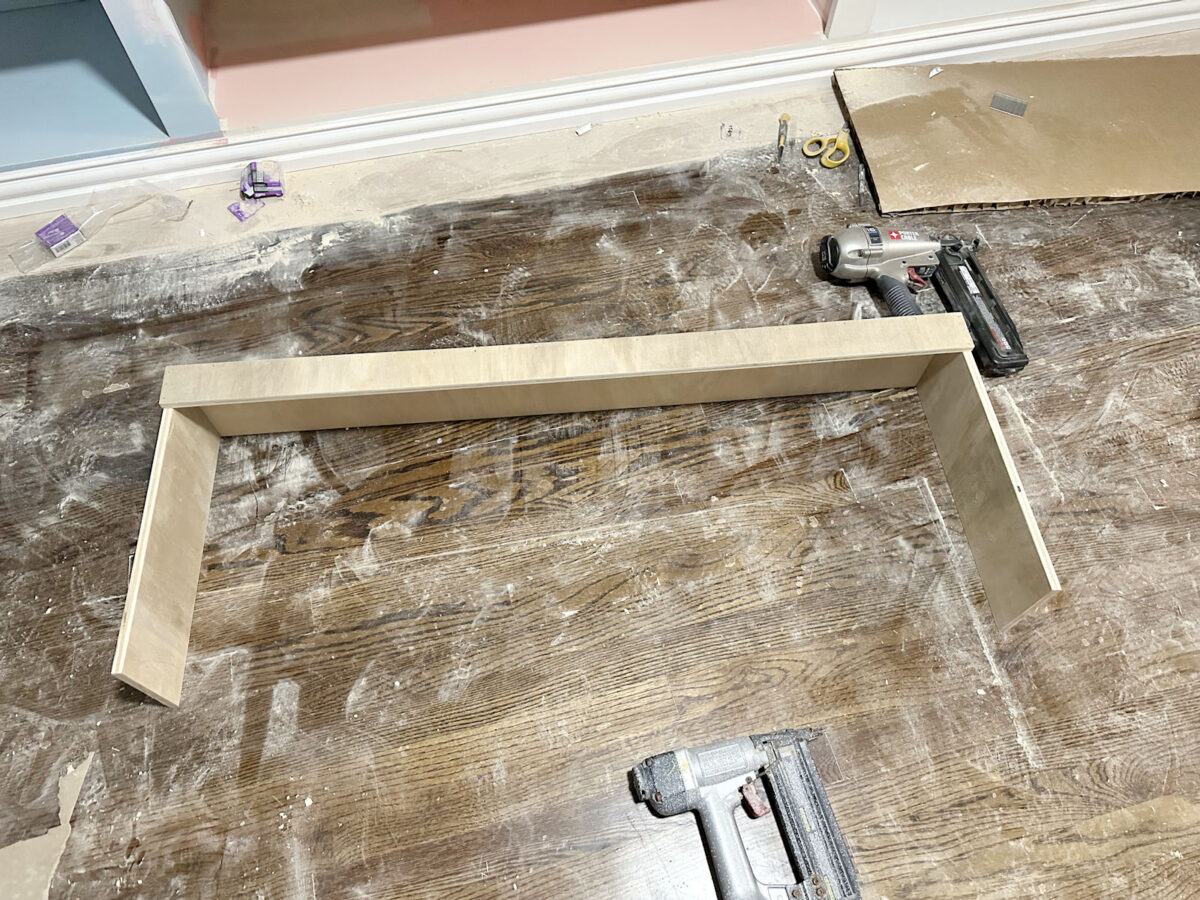
The building process was incredibly simple. I ripped some 1/2-inch plywood (the same plywood I used to build my jewelry drawer) to six inches wide, and then I cut a long piece for the back, and two short pieces for the sides. I nailed those together using 1.5-inch 18-gauge nails.
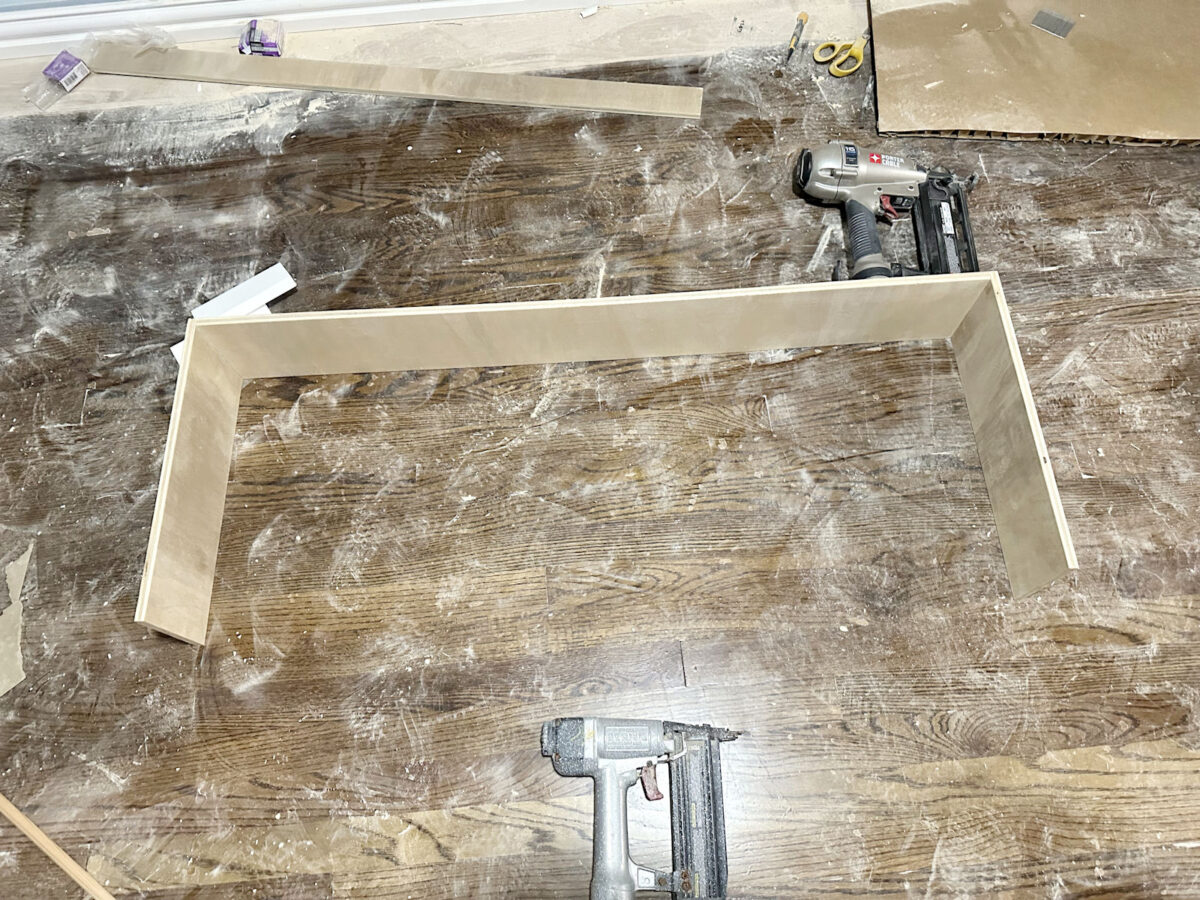
And then, to keep those pieces square, I ripped another strip of 1/2-inch plywood to 2.5 inches wide, cut it to the proper length on my miter saw, and nailed that to the top at the back so that it was nailed into the top edges of the sides pieces and the back piece.
And then I added the drawer slides, slid the structure into the cabinet, and added the closet rods. I used the same closet rods that I’ll be using for the hanging storage in the closet. You can find those here (affiliate link).
And of course, I’ll be painting the whole thing the same color as the cabinets, so it’ll blend in once it’s painted.
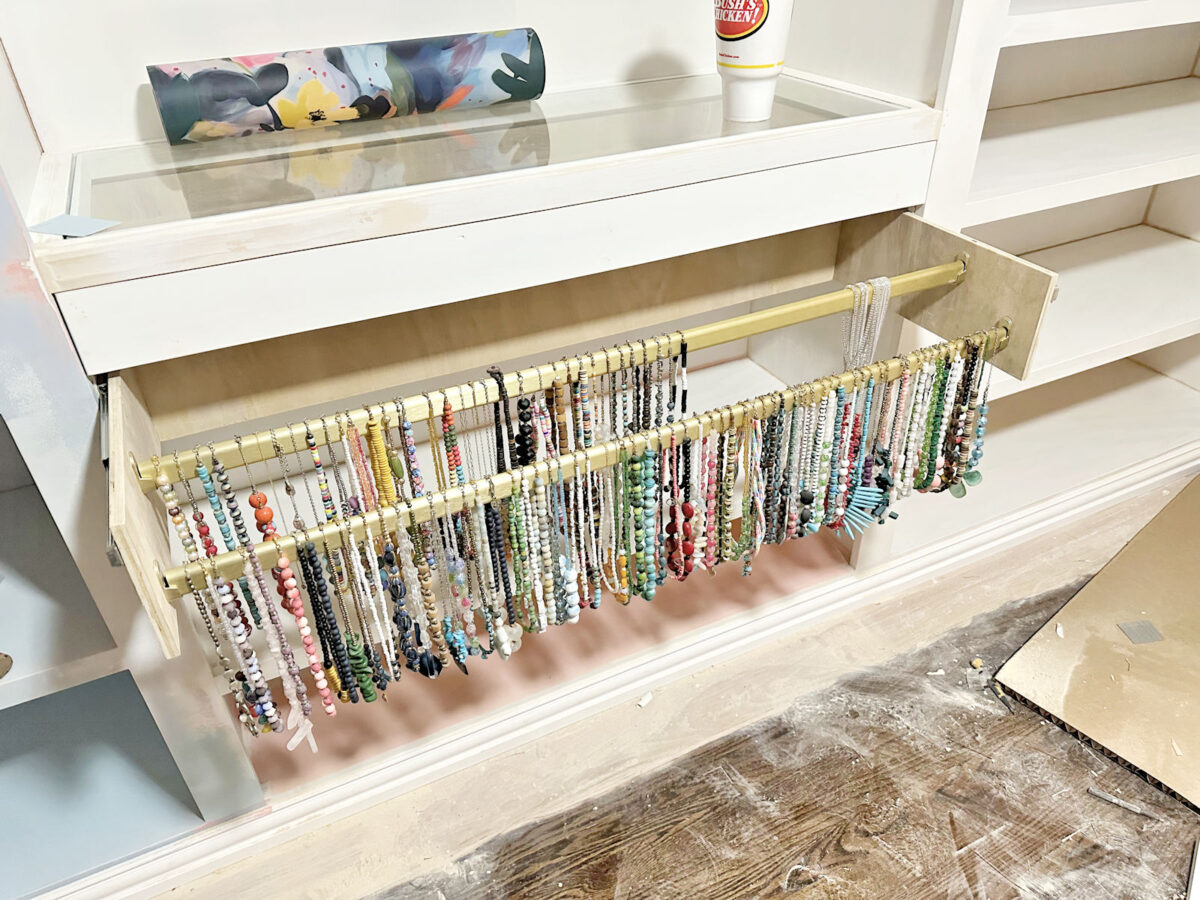
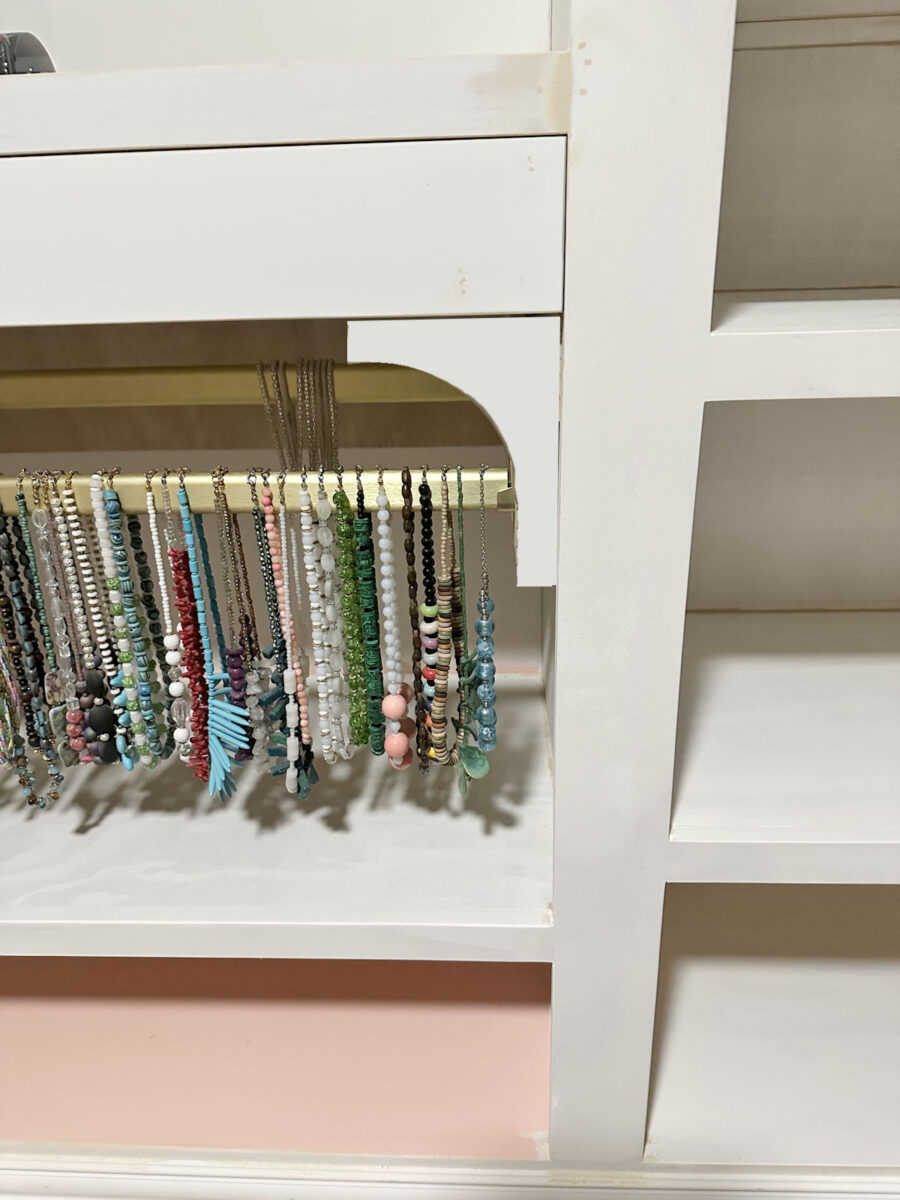
I was anxious to see how it would look with all of my necklaces hanging on it, so I went ahead and added those. I staggered the height of the two bars, with the back bar about two inches higher than the front bar. And I do want to figure out a way to add tape lights under there. I think it will look amazing to have those lit from the back.
And here’s what it looks like when they’re pulled out for easy access.
Overall, I really love the simplicity of the design. And it pulls out easily just by grabbing the bar and pulling. So there’s no need to figure out a way to add any additional pulls.
I know many people suggested that I find a way to bring the necklaces up to eye level, but really, I’m so short that this will work out perfectly for me. I intentionally installed the glass countertop a bit higher than countertop height so that the necklaces could be up a couple of inches higher than I had originally planned.

My height, plus the fact that it pulls out for easy access, makes this design work out perfectly for me.

The one thing I’m unsure about is how to finish off these edges. Obviously, I can’t leave it like this with the edge of the plywood and the drawer slide showing.

I’ve had two ideas for finishing off those edges. The first is to repeat the design that I used at the top of the cabinets…
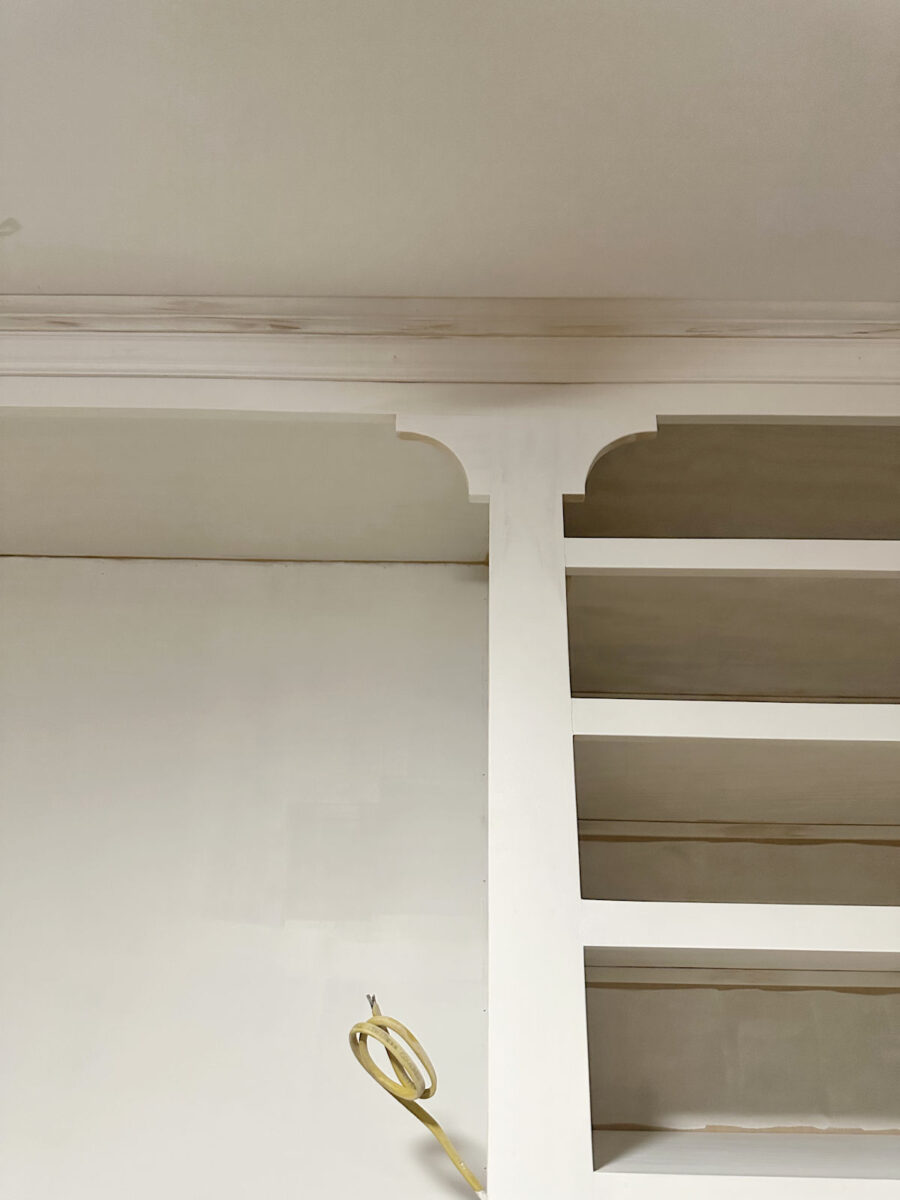
There are a couple of issues with that, but maybe I could figure them out. First, those corbels at the top are 4.5 inches square. The frame for the necklace organizer is six inches high. So if I try to repeat that design, the bottom tail on it would have to be longer. I’m not sure if that would throw off the continuity of the design, or if it would work. Also, there’s nothing to nail that top edge to, so it would just be free. I’m not sure if it would stay put. The only thing I have to nail it to is the six-inch-high edge of the 1/2-inch plywood. Here’s a mock-up I did of that potential design.
The simplest way to finish it off would be to use a narrow piece of wood attached to the edge of that plywood. I tested out this idea using a 1″x2″ (which is actually 1.5″ wide), but if I go this direction, I would rip that down to only 1″ wide, which is all that I need to cover the edge of the plywood. I used my band saw to round off the bottom corner of the piece to see what that would look like.
So those are the two ideas I had, but I know that y’all are incredibly creative and may have a better idea. If anything comes to mind, let me know! I want to keep it simple, and I don’t want anything to cover the front of the necklaces.
If I can figure out that final piece, I will officially have every single part of the perimeter cabinets built. This necklace storage was the last thing I had to figure out and build, and those finishing touches on the necklace storage are the final pieces of the puzzle.


Addicted 2 Decorating is where I share my DIY and decorating journey as I remodel and decorate the 1948 fixer upper that my husband, Matt, and I bought in 2013. Matt has M.S. and is unable to do physical work, so I do the majority of the work on the house by myself. You can learn more about me here.