")
Yesterday, I worked on some really boring stuff in my walk-in closet, like sanding the drywall mud on the ceiling and getting it ready for primer and paint. I realized that this really did need to be done before I start on the floors, so the floors will have to wait until Thursday. Anyway, after working on the ceiling for a while, my back needed a break, and I desperately wanted to work on something fun. So I decided to add the tape lighting to the jewelry drawer and necklace bar area.
I’ve been so excited about doing this. In my mind’s eye, I thought it would be amazing and really take that area to the next level. Sadly, that’s not quite how it turned out. Let me show you the issues I ran into and you can tell me your thoughts.
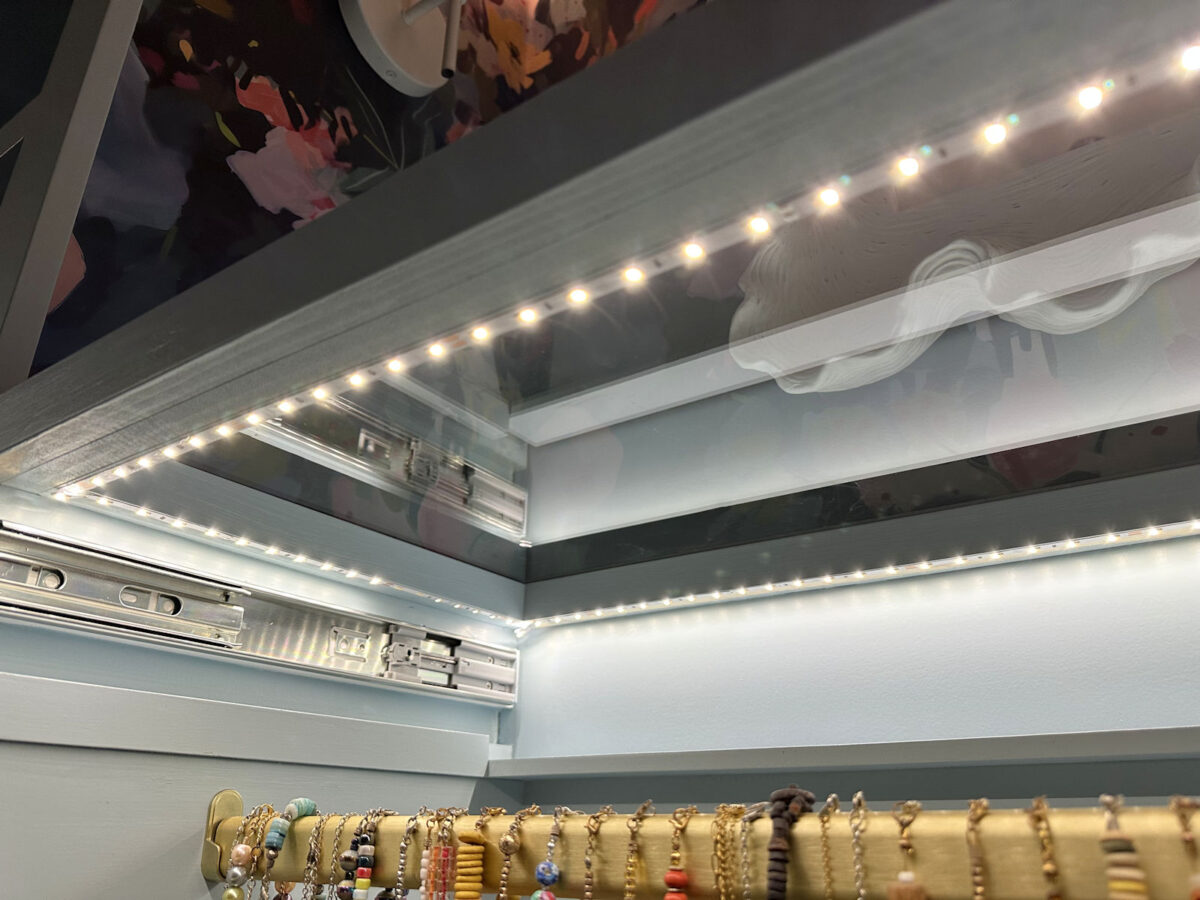
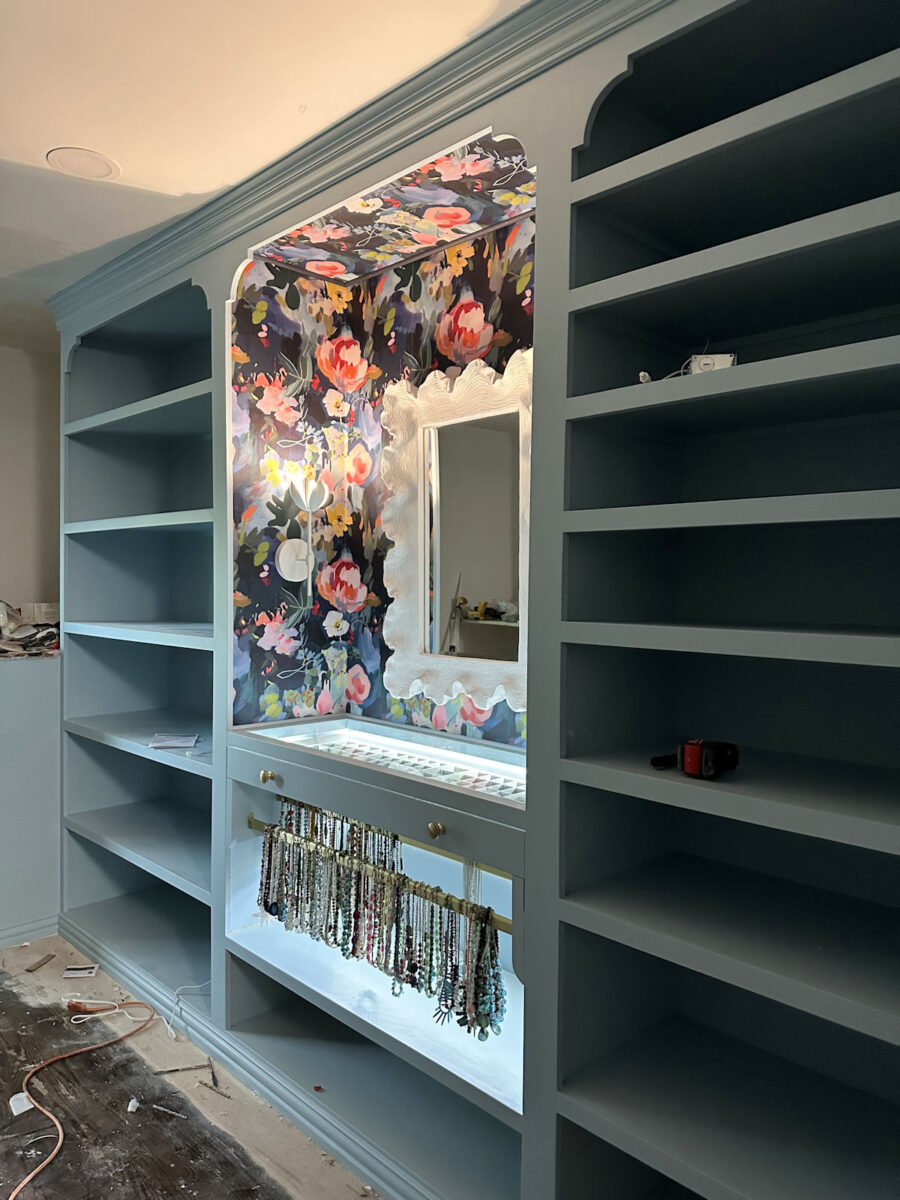
I started by adding lights just to the back wall of the necklace area and then running them around the whole perimeter of the glass-top jewelry drawer.
On this attempt, I put the tape lights underneath the wood frame for the glass countertop as close to the edge as I could get without them showing through the glass.
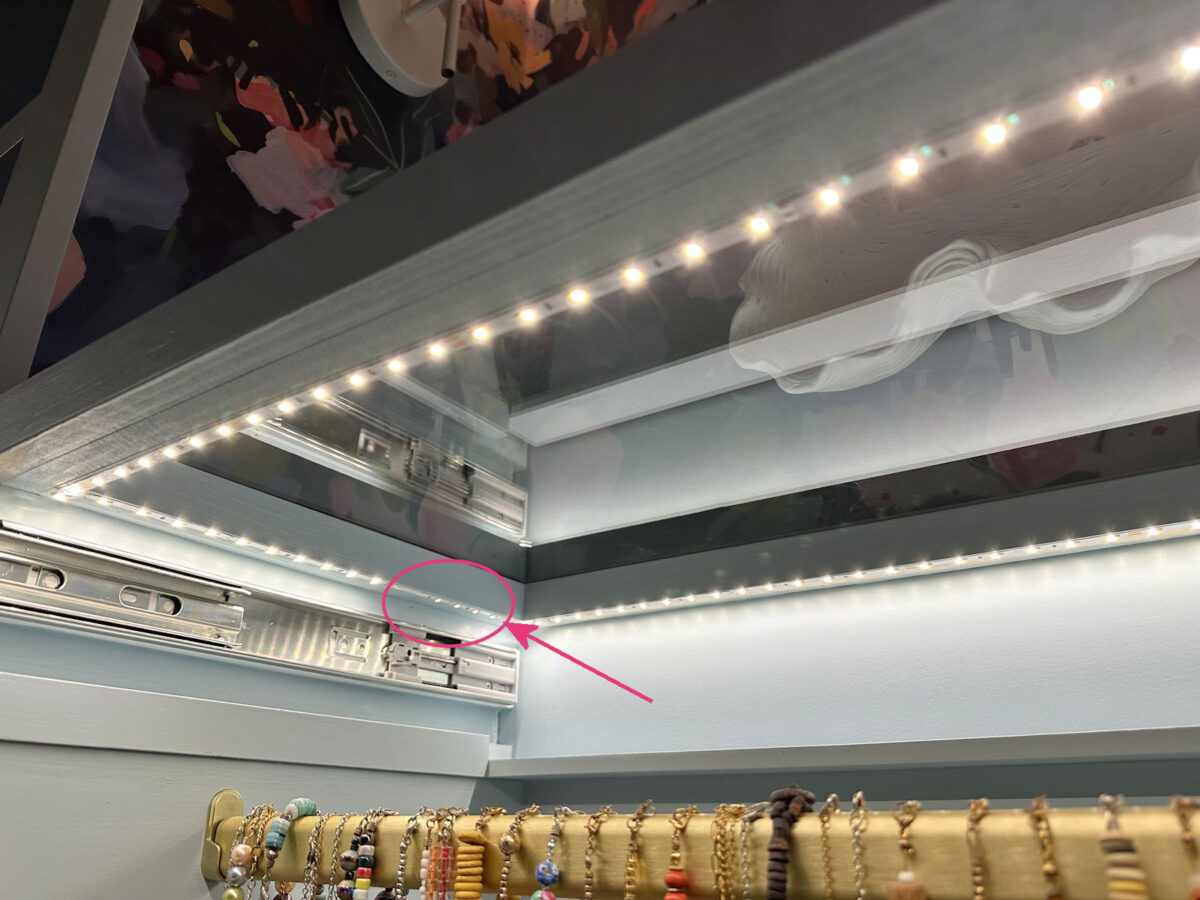
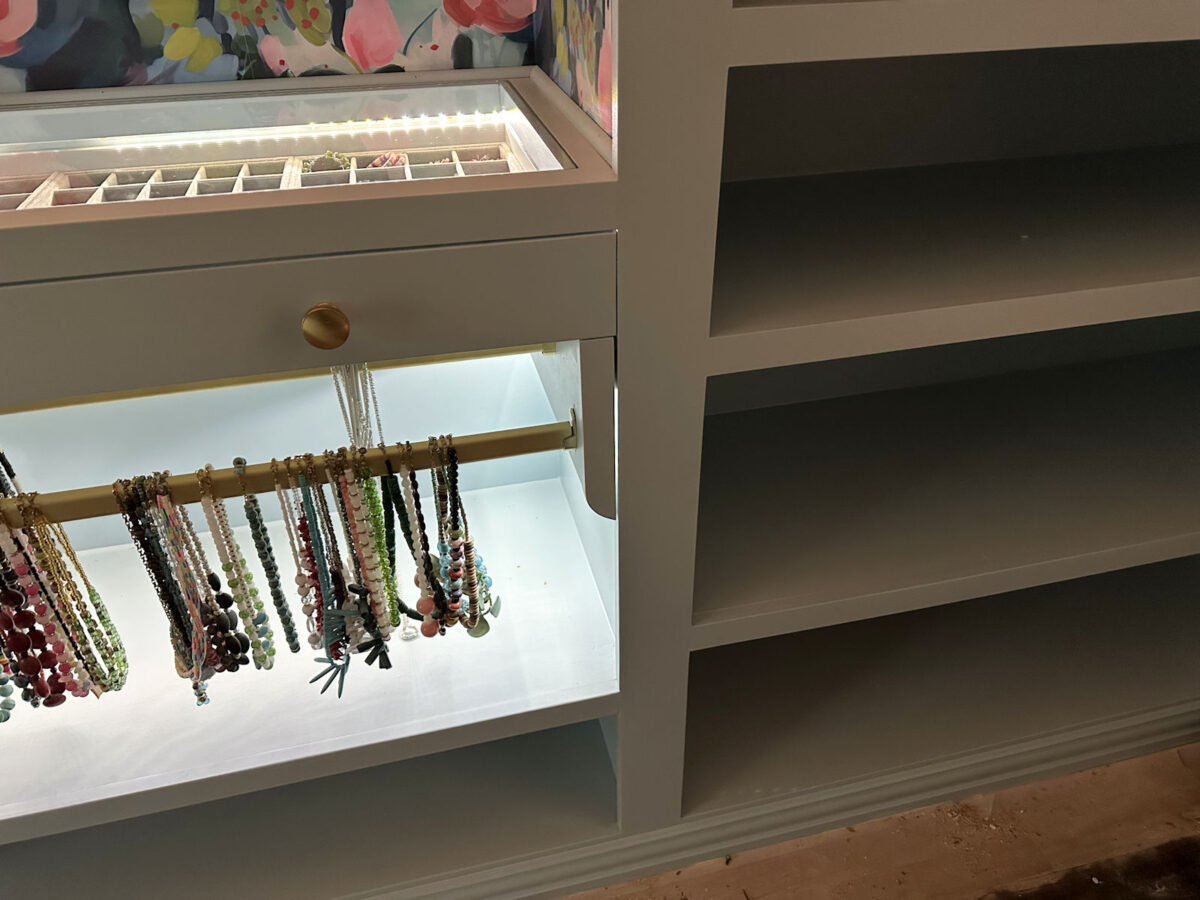
But when I stood back and looked at it, I didn’t love it. The first problem was actually a defective section in the strip of lighting. There are two dead lights followed by four very dim lights. I have no idea why that would happen. All of the lights before those and after those work perfectly. I didn’t cut the strip anywhere near that section, and I only cut the excess off in the area where it says you can cut the lights. But that dead spot is very noticeable, especially in person.
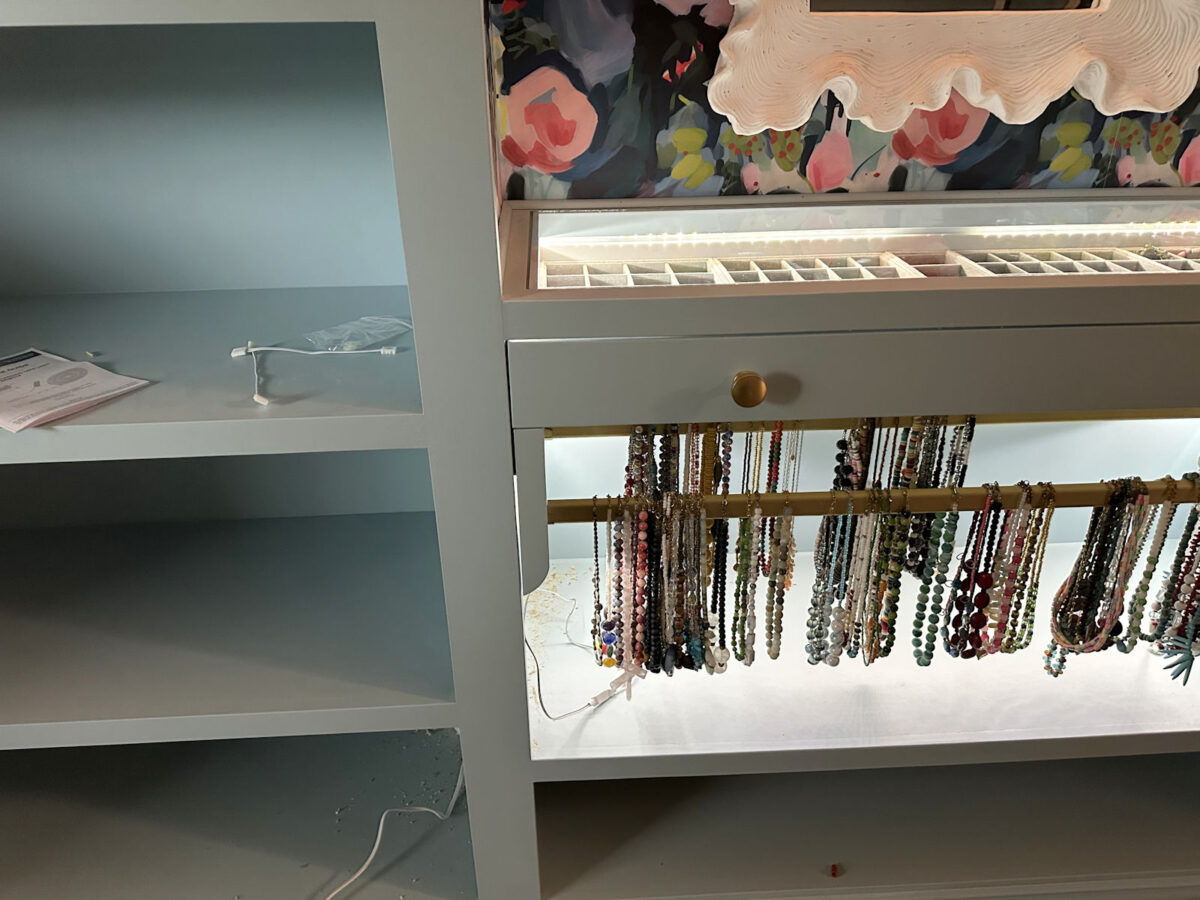
You can see here, when you’re standing right at the drawer, the dead area followed by the dim area is very noticeable. So that was disappointing right off the bat. Also, I was disappointed that they only really lit up the outer sections of the jewelry organizers. The other sections were still pretty dark.
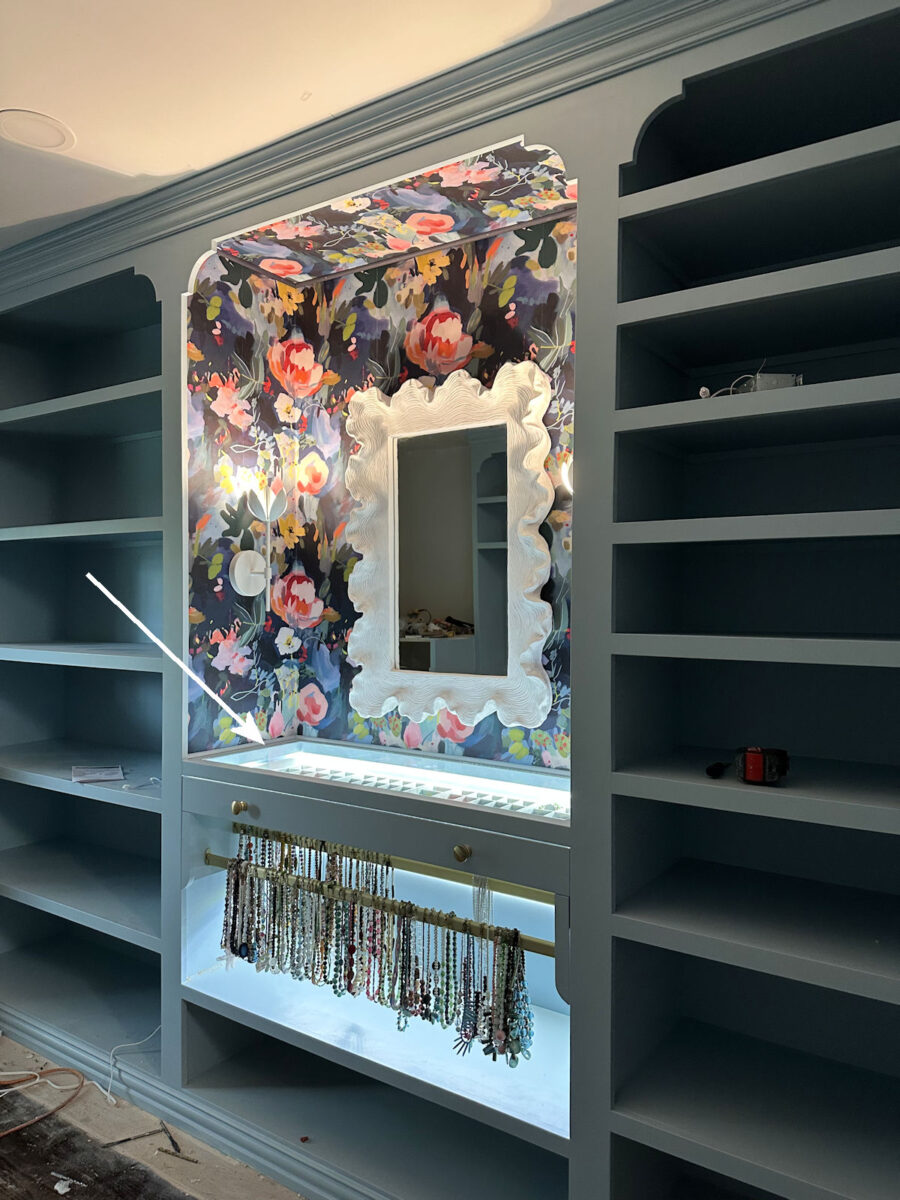
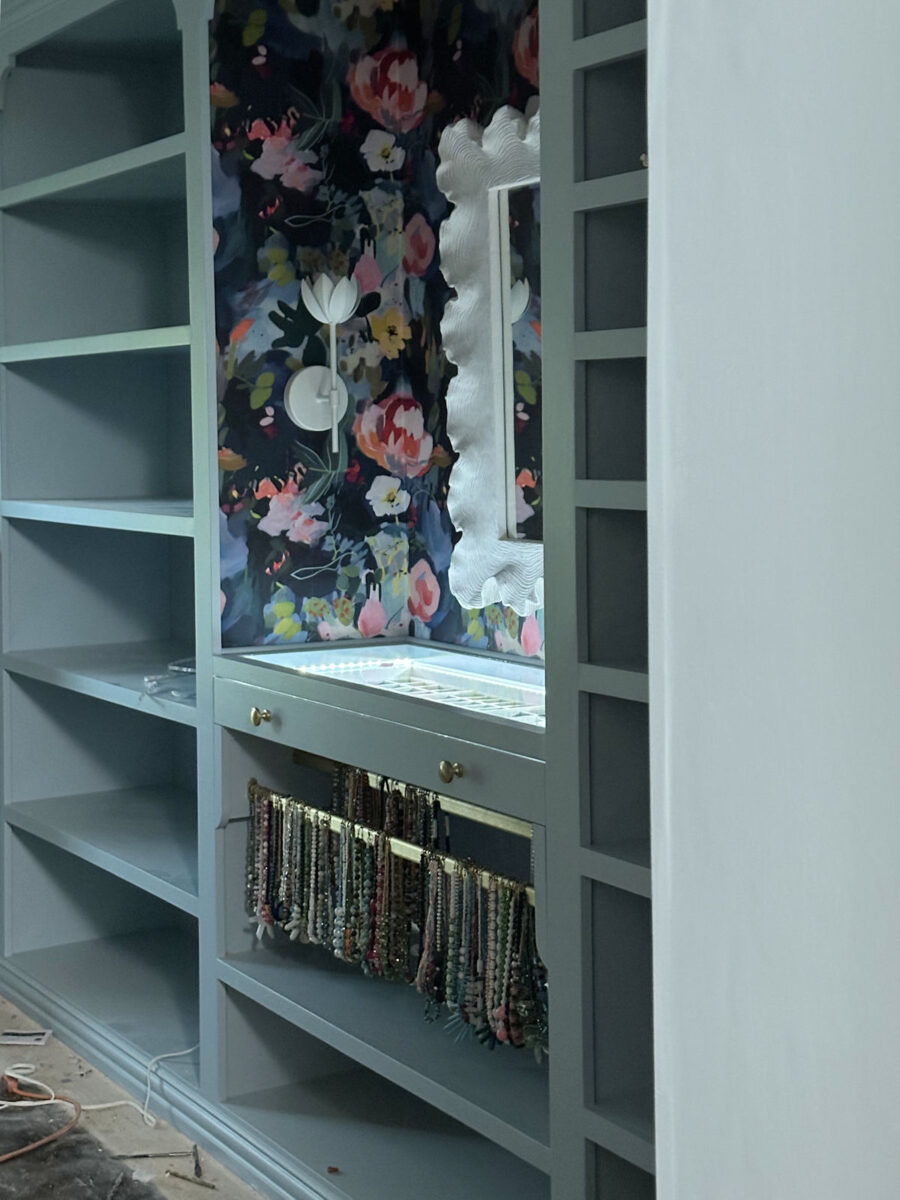
But also, lighting the back of the necklace area didn’t look anything like how I had envisioned it in my mind. I thought the lights would make the sparkly necklaces sparkle. That didn’t happen. Instead, they just all look like dark silhouettes.
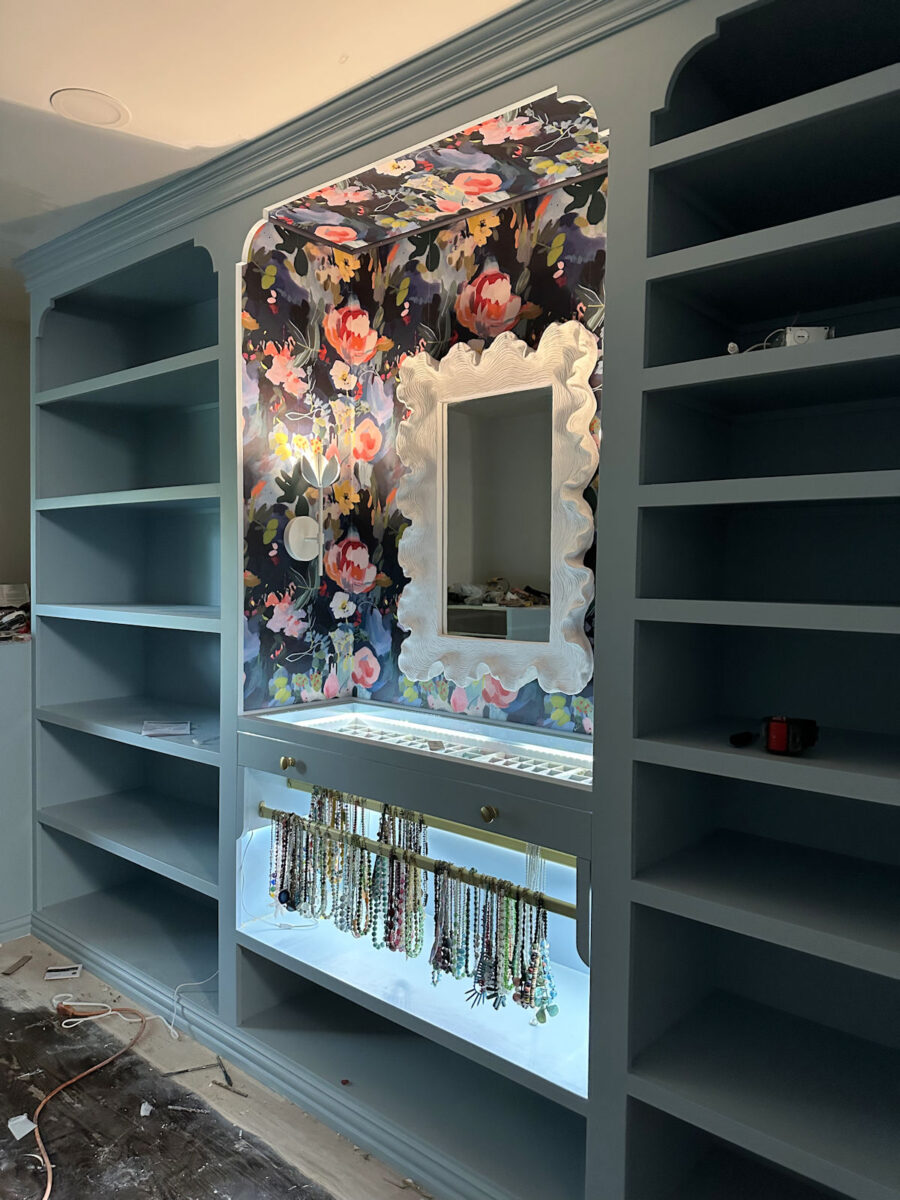
So I removed all of the tape lighting and redid it. The tape is very sticky, but I imagine that you can only remove and reposition it once or twice before it starts to lose its stickiness. This time, I thought it might help if I wrapped the lights around the sides of the necklace area. I also decided to add the lights along the sides and back of the cabinet just under the jewelry drawer countertop rather than having them underneath the glass top frame. I thought that with the lights shing out instead of down, that may shed some more light into the center of the drawer rather than just lighting up the perimeter sections of the jewelry organizers.
But when I stood back to look at that, it really didn’t improve the look. Plus, that put the dead lights right in the center of the back of the jewelry drawer. In other words, those dead lights were now in the most visible spot. Of course, if I liked the idea, I could have just exchanged this strand of lights for one that worked, but I still wasn’t sold on the overall look. Wrapping the lights around to the sides of the necklace area still didn’t have the effect I was hoping for.
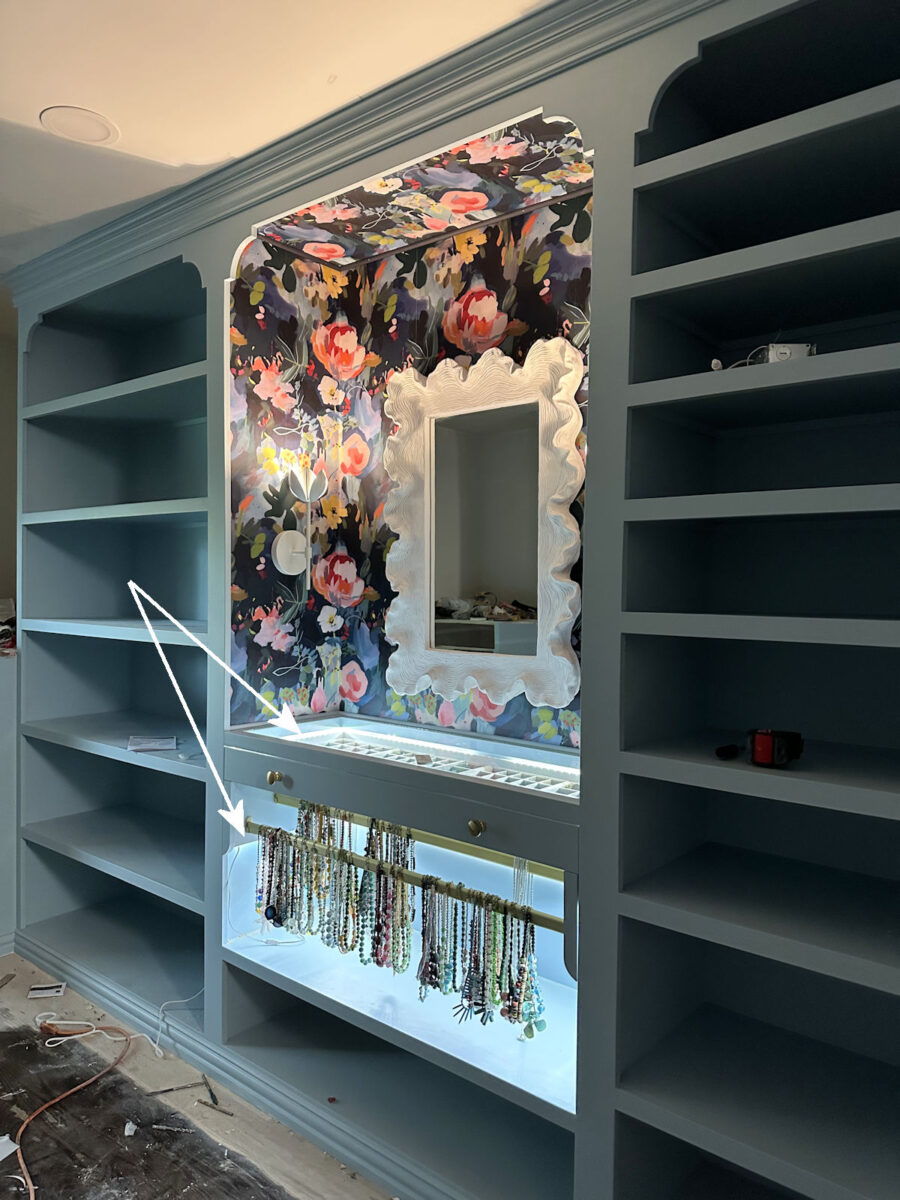
I also didn’t like that the light shines through above the jewelry drawer…

And it also lights up the area between the necklace pull out and the cabinet. I don’t necessarily want those areas emphasized.
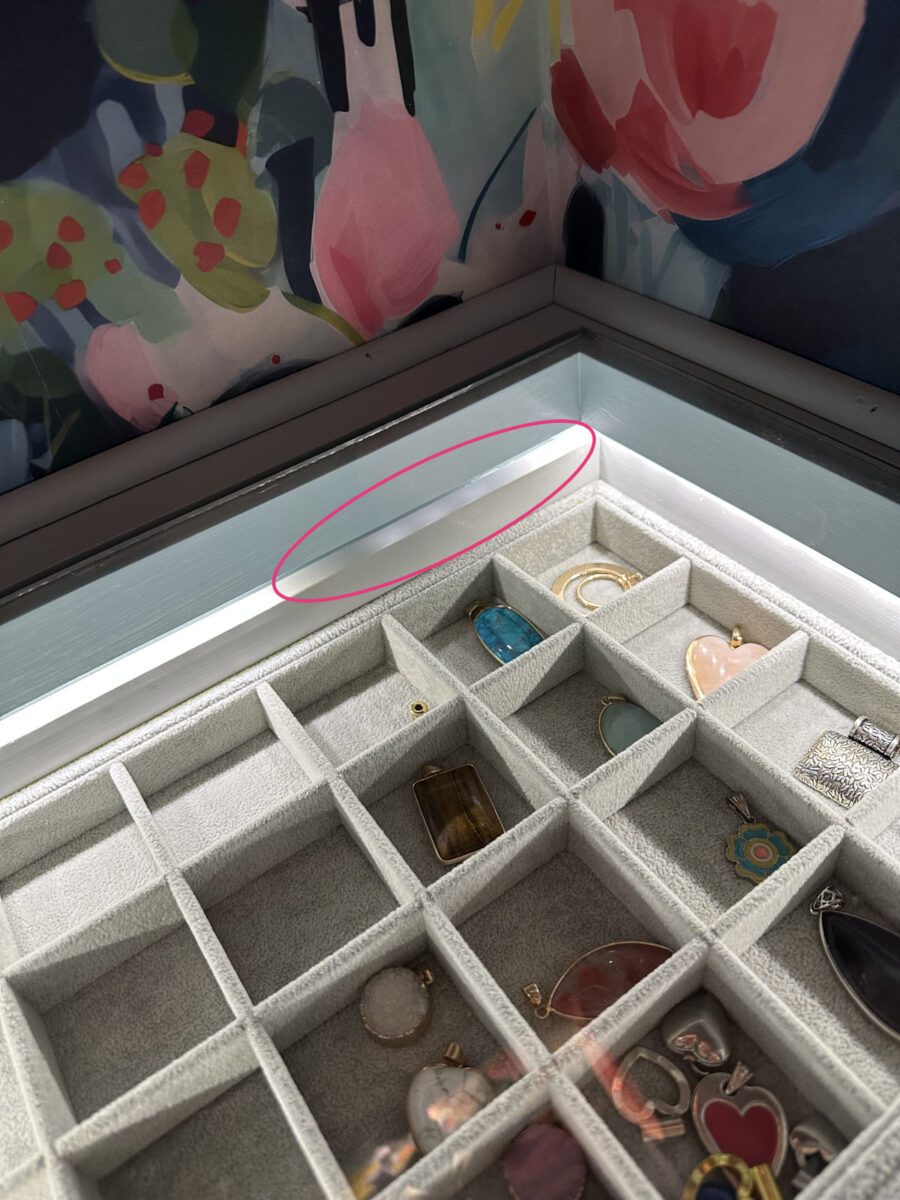
So I decided to try one more thing. This time, I abandoned the idea of lighting up the necklace area since that wasn’t turning out like I had envisioned it. Instead, I just added the lights to the jewelry drawer. I liked that better, and the good thing is that this arrangement only required the section of lights right up to that dead spot in the light strand, so I was able to cut those off completely.
But I still didn’t love the light shining through just above the drawer.

So I just don’t know. It’s disappointing to have an idea that looks so good in my mind but just doesn’t work out in reality like I had envisioned it. Should I abandon the idea completely? Do you have any suggestions? Am I just not doing it right? Should I be using different lights?

I do still really like the idea of lighting the necklace section somehow, but lighting from the back isn’t the answer. It seems to me that lighting them from the top is the way to go, but that means that lights would have to be attached to the underside of the drawer since that’s the only thing above the necklaces. And if I attach lights to the underside of the drawer, they can’t be corded since I have to be able to pull the drawer out. I could try some sort of battery-operated lights so that the whole thing can be attached to the underside of the drawer with no need to plug in lights, but then I think it’s all getting way too complicated. Battery-operated lights wouldn’t last very long, and then I’d be stuck changing batteries regularly. That seems silly.
So at this point, I’m tempted to abandon the idea completely unless someone has a great suggestion for how I can salvage this idea. Maybe the answer is obvious, and I just can’t see it. What say you?
In the meantime, I’ll be priming and painting the ceiling, prepping the back wall for wallpaper (it needs a bit of sanding as well), and getting the whole bedroom suite cleared out and cleaned up and ready for the floor to be sanded. Since I missed my opportunity to do the sanding yesterday, the next opportunity I’ll have to do that will the Thursday since that’s my next full, uninterrupted workday. I really don’t want to rent the sanders for longer than 24 hours, so the day I do it, I need to have everything ready the night before so that I can be at Home Depot first thing in the morning to rent the sanders and be able to use them all day long. I’m aiming for Thursday, but if I don’t have everything ready by the time I go to bed Wednesday night, then I’ll aim for Friday. That’s the plan, at least. But y’all know how plans go. 😀

Addicted 2 Decorating is where I share my DIY and decorating journey as I remodel and decorate the 1948 fixer upper that my husband, Matt, and I bought in 2013. Matt has M.S. and is unable to do physical work, so I do the majority of the work on the house by myself. You can learn more about me here.