")
I spent my whole day yesterday trying to get the island doors and drawer fronts finished so that I could get them all attached by the time I went to bed last night, but I didn’t quite make it. Let me just say that all of the details — ironing on and trimming all of the veneer edge banding, getting everything sanded (which all has to be done by hand), took way longer than I had anticipated. So by the time I went to bed last night, I had everything cut, all of the trim attached, and about 2/3 of the edge banding ironed on, trimmed, and sanded.
But at least now, I can show you why I chose to trim out the doors and drawer fronts that way I did. I had initially planned to trim out each drawer and door separately. This was the trim I had planned to use…
But the more I thought about it, the more I wanted to come up with a plan that would look more uniform from one section to another. Trimming out each individual drawer and door front separately would bring more attention to the fact that out of the four sections, I have three different configurations.
On this side, the two sections are the same, with each section having three drawers each.
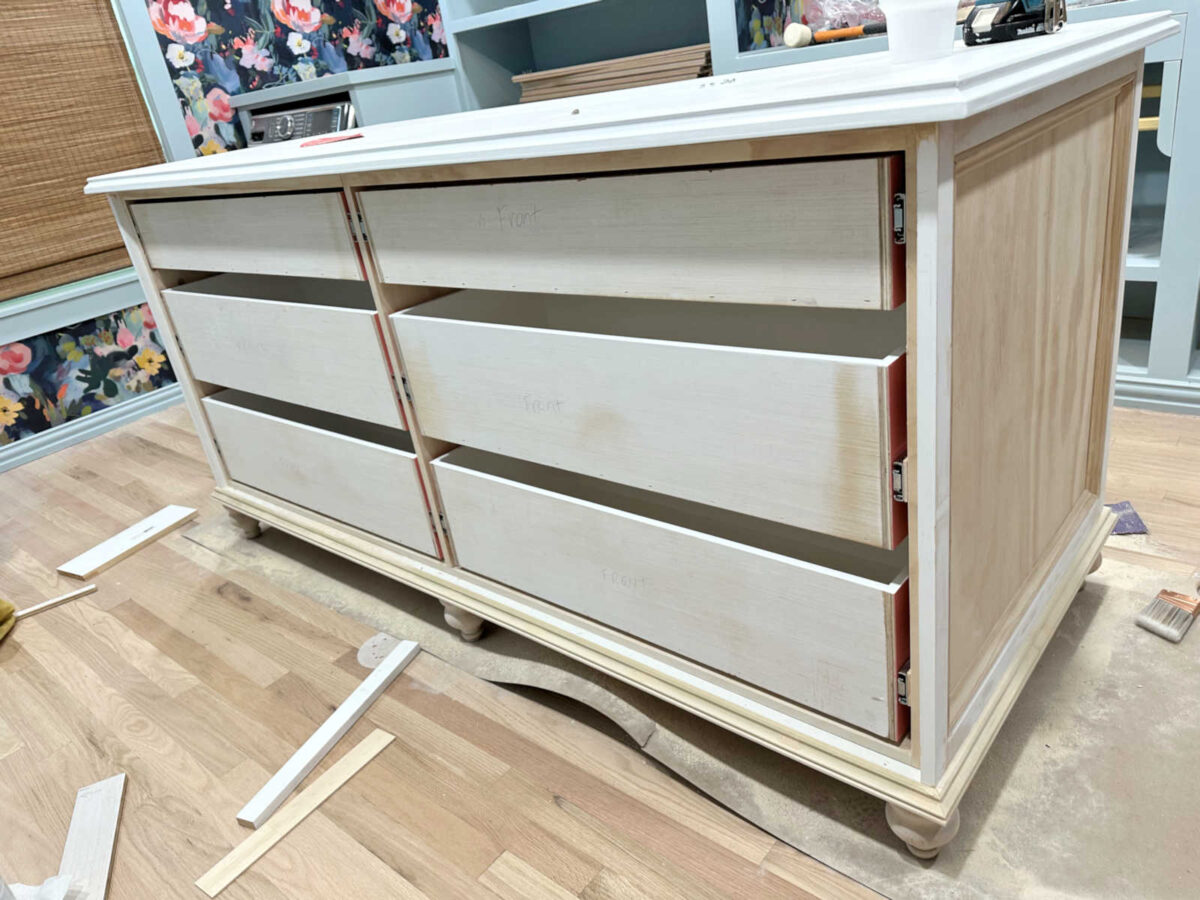
But then on the other side, I had two more configurations, with one section having four drawers and another section having two cabinet doors.

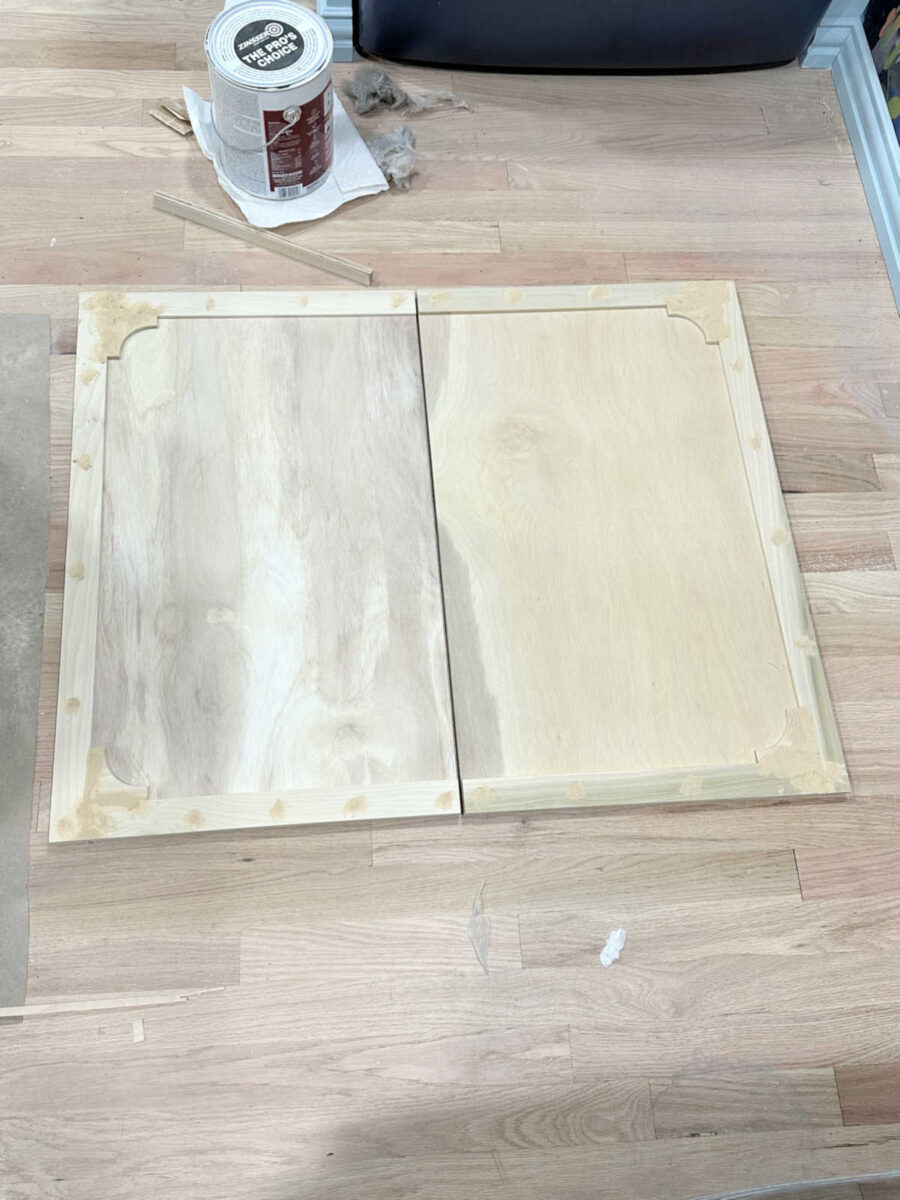
So I wanted a design that would make all four sections look more unified, regardless of the number of drawers, and regardless of whether it had drawers or doors. With that in mind, I decided to trim out each section as one whole section. And you’ll notice that I also added a little corner detail to tie it in with the cabinets around the perimeter of the closet. Here’s what the sections with three drawers look like. This section is completely finished (edge banding and sanding) and ready to be primed…
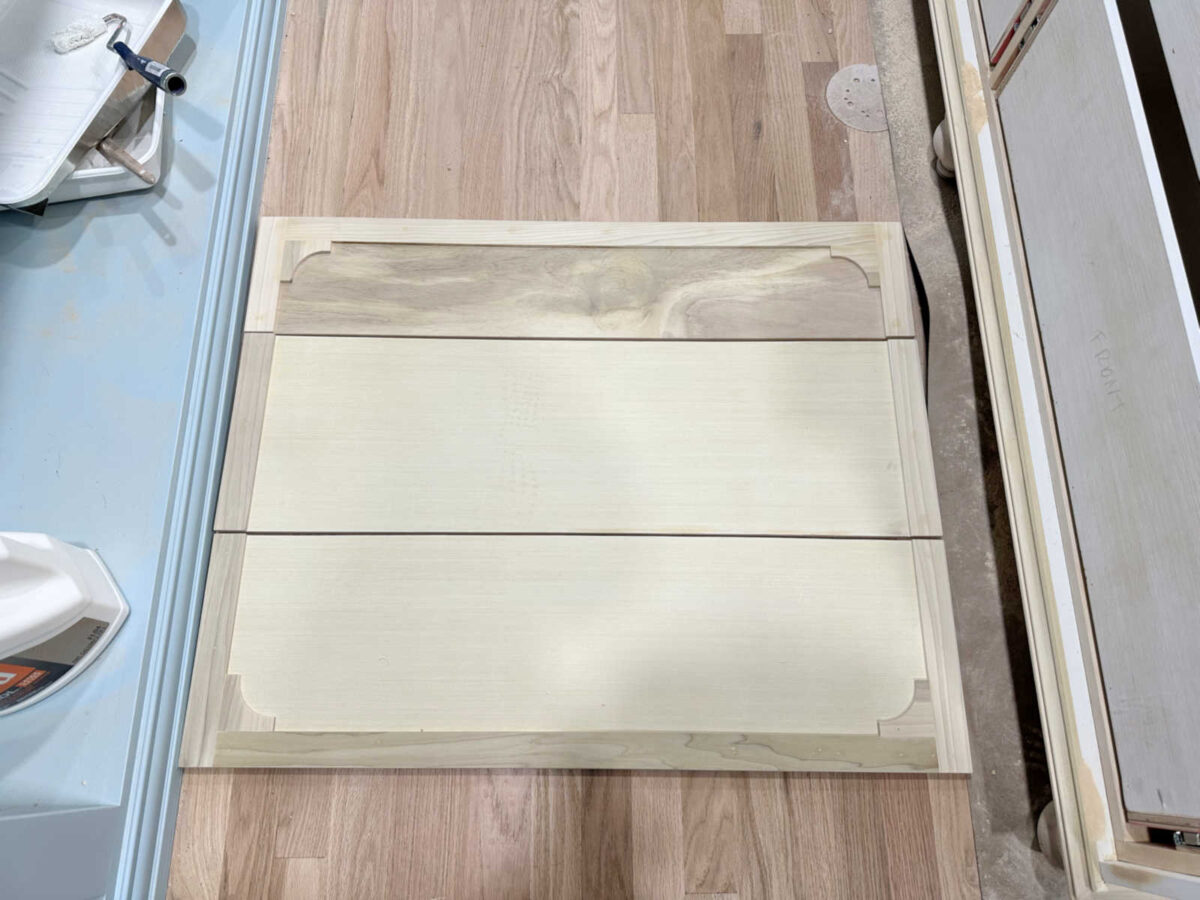
And again, on this side, the two sections will be identical. But this second section still needs some sanding before it’s ready to be primed…
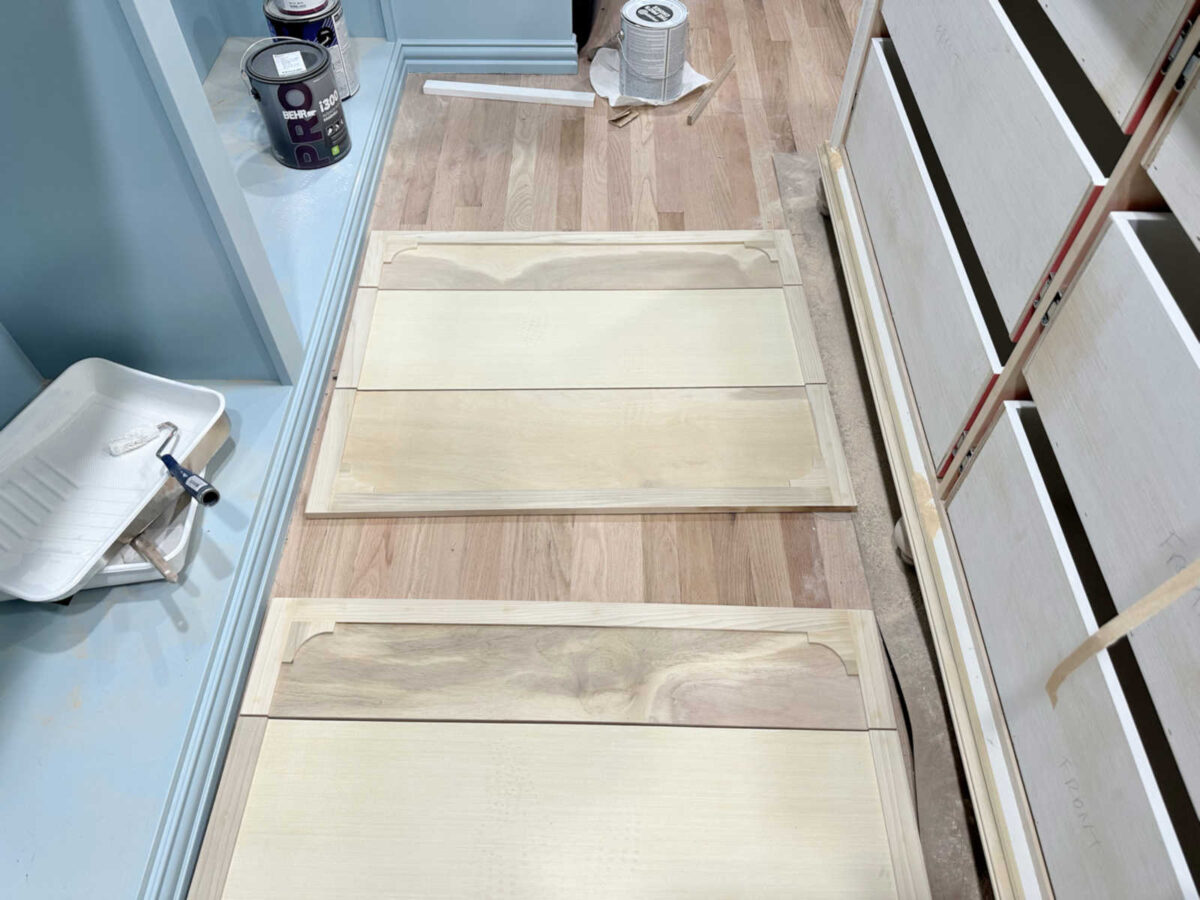
And then for the other side of the island, this is what the cabinet doors look like. They still need edge banding and sanding…
And then this is the final section with the four drawers. Two of these drawer fronts still need edge banding, and three of them still need to be sanded before I can prime them…
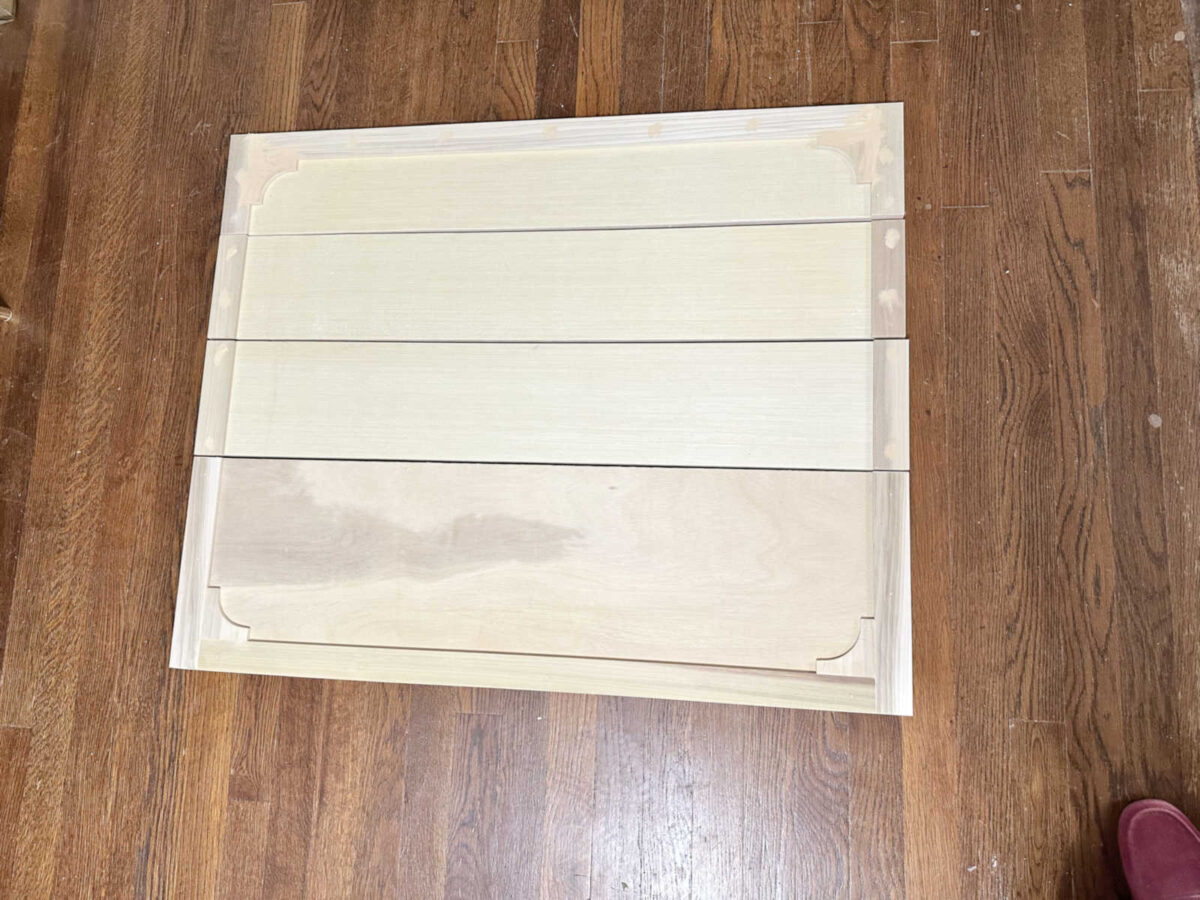
But you can see that all four sections will have the same overall dimensions and one unifying design on each section.
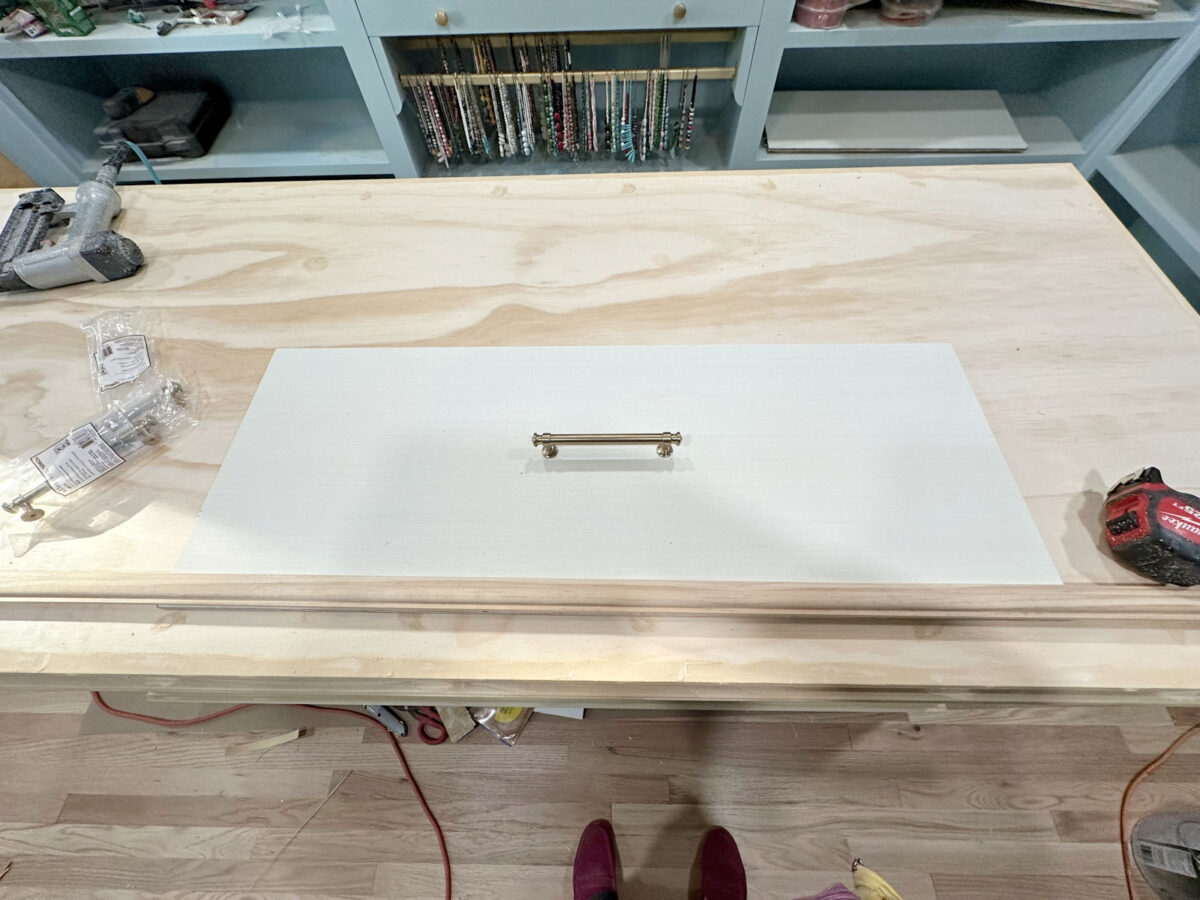
And then these are the pulls I decided to go with…

I decided to return the original ones I had purchased because they had those little finials on each end that can catch on clothing as you walk past them, and in a tight space like a closet, that can get old really quickly. And I decided that using two pulls per drawer would also be a hassle. So I opted for one long, sleek, finial-less pull for each drawer instead.
I got these pulls on Amazon (affiliate link), and they come in seven different lengths. If they look familiar to you, it’s because these are the same pulls I used on my studio cabinets.

I haven’t decided yet if I’m going to use these on the doors or if I’m going to use the round knobs on the doors like I did in the studio.

In other news, I finally made my decision on the lighting to go above the artwork that will go in the washer and dryer sections. I went with these gold 16.5″ picture lights (affiliate link).
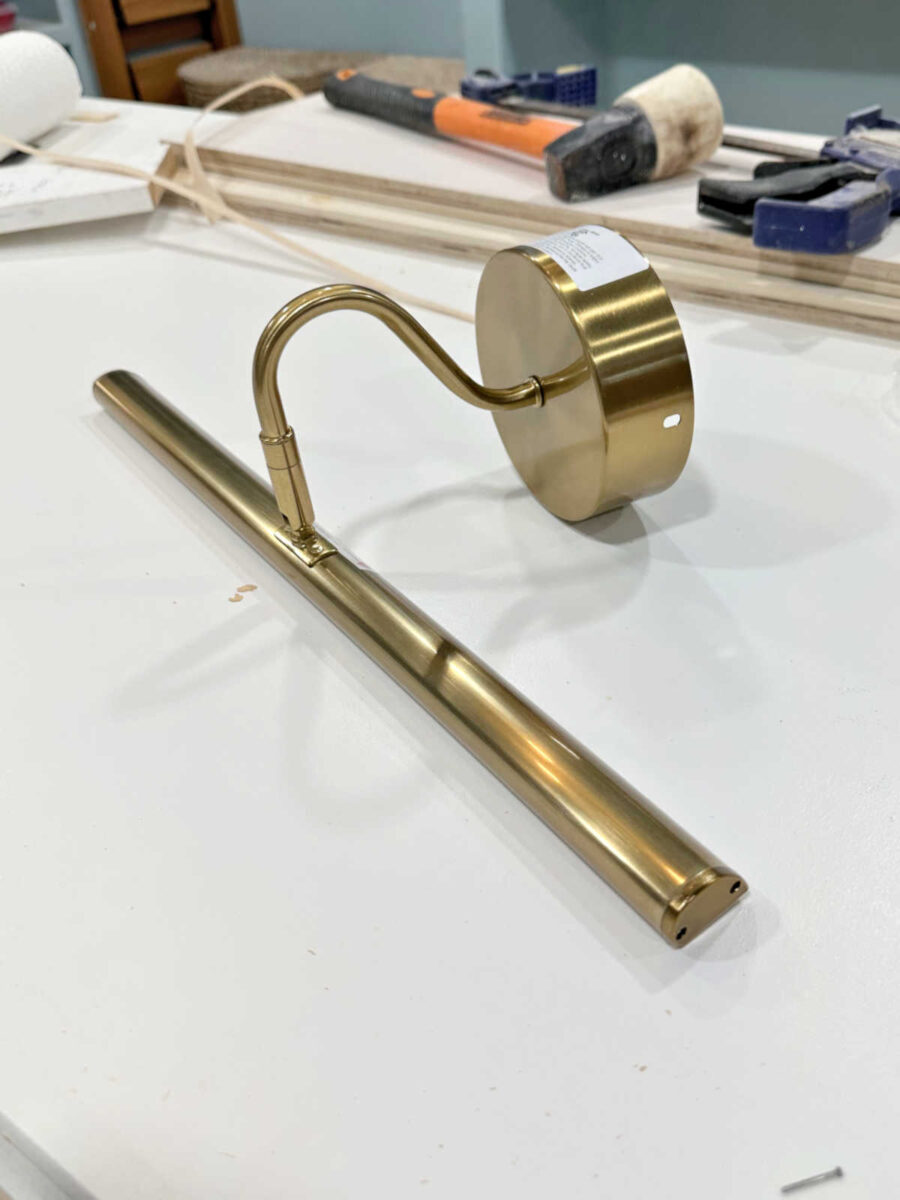
I didn’t want anything battery operated because I don’t want to have to recharge lights regularly. And while these are intended for hardwiring, the reason I bought these particular lights is because they have these little holes on the metal backplate that allow them to easily be wired so that they can plug in.
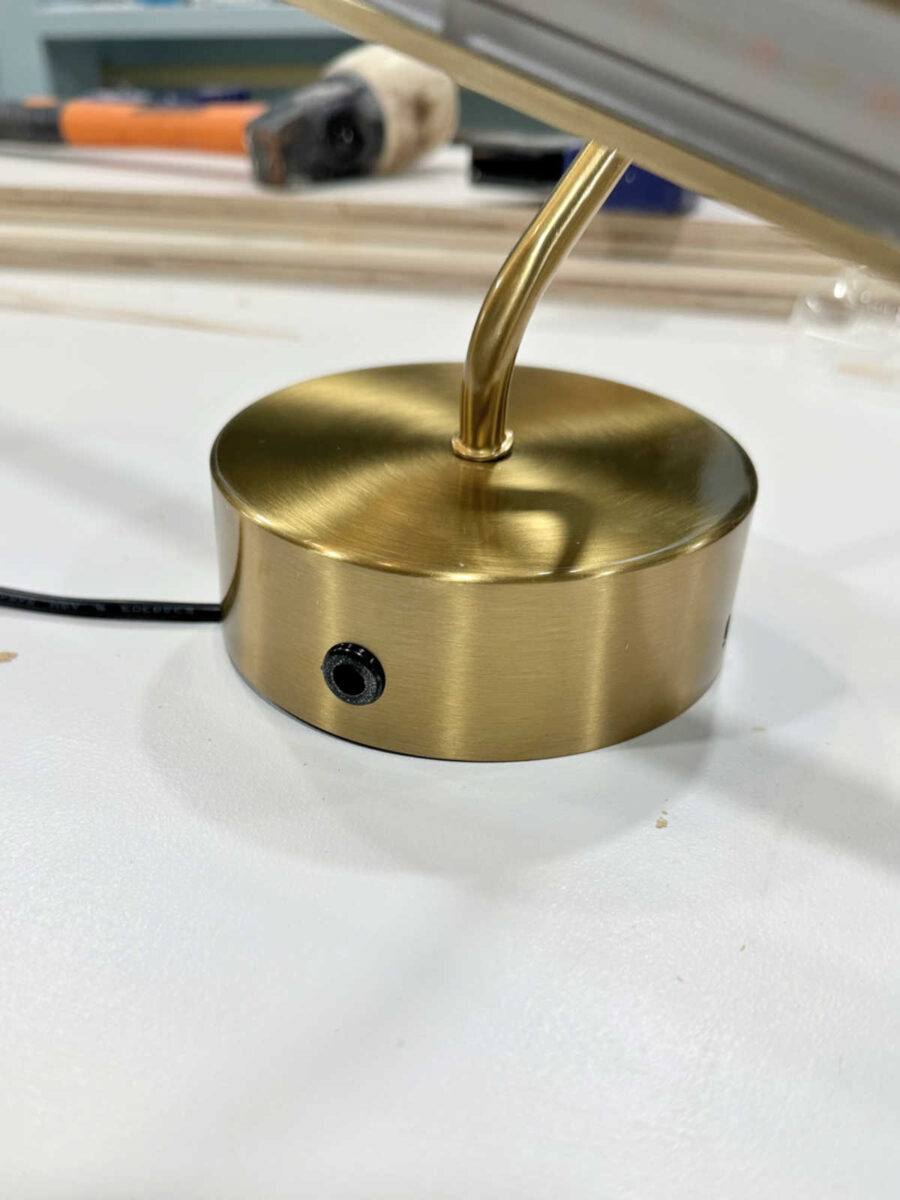
They also have a remote that has different light settings on them, so these will work out perfectly. They’re a little more yellow than I prefer my golds to me, but it’s fine. I can live with that. 🙂 Now I just have to get frames for those canvases, and I can get those areas finished up pretty quickly.
ETA: Our HVAC did get fixed yesterday, so all is well. 🙂 We only had to go Sunday night and Monday morning without it. It was fixed and cooling at 12:30, but it took a very long time to cool down the house after being off that many hours, so I kept the plastic up between the breakfast room and the kitchen for quite a while so keep the cool air from the studio in the breakfast room. It actually worked out really well, and Matt never struggled at all. I was finally able to take the plastic down completely by bedtime when the two sides of the house finally reached the same temperature.
More About My Walk-In Closet/Laundry Room

see all walk-in
closet diy projects

read all walk-in
closet blog posts

Addicted 2 Decorating is where I share my DIY and decorating journey as I remodel and decorate the 1948 fixer upper that my husband, Matt, and I bought in 2013. Matt has M.S. and is unable to do physical work, so I do the majority of the work on the house by myself. You can learn more about me here.