
I got so close to finishing the closet island this weekend. In fact, I came home from church yesterday, had lunch with Matt, and then got right to work, thinking that I would have it finished by the time I went to bed. Around 7:30, after finishing the last coat of paint on the doors and drawer fronts, and finishing the last coat of paint on the sides of the island (with the ends still needing another coat of paint), I decided to take a break, grab some dinner, and then come back and install the drawer fronts and doors, give those ends a second coat of paint, and be finished! I had even told Matt that I was going to work as late as I needed to work to get it finished before I went to bed.
And then, as I was eating dinner, I realized that I still had to paint the top. I still want to marble the top, and I hadn’t even given it a second thought or started on it. It had been covered with brown paper as I was painting the doors and drawer fronts, so it was out of sight, out of mind, and I had completely forgotten about it. So I decided to abandon my mission to finish the whole thing last night and finish it up today.
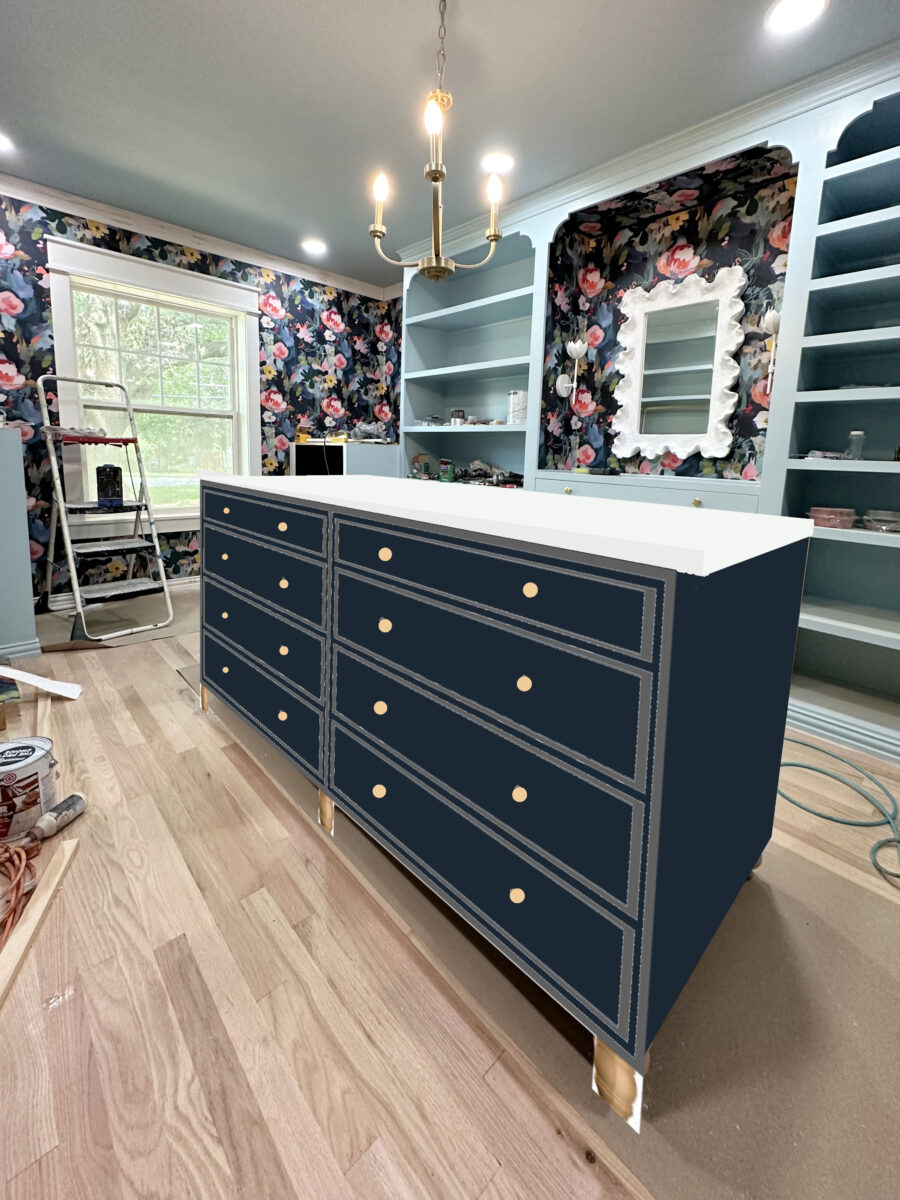
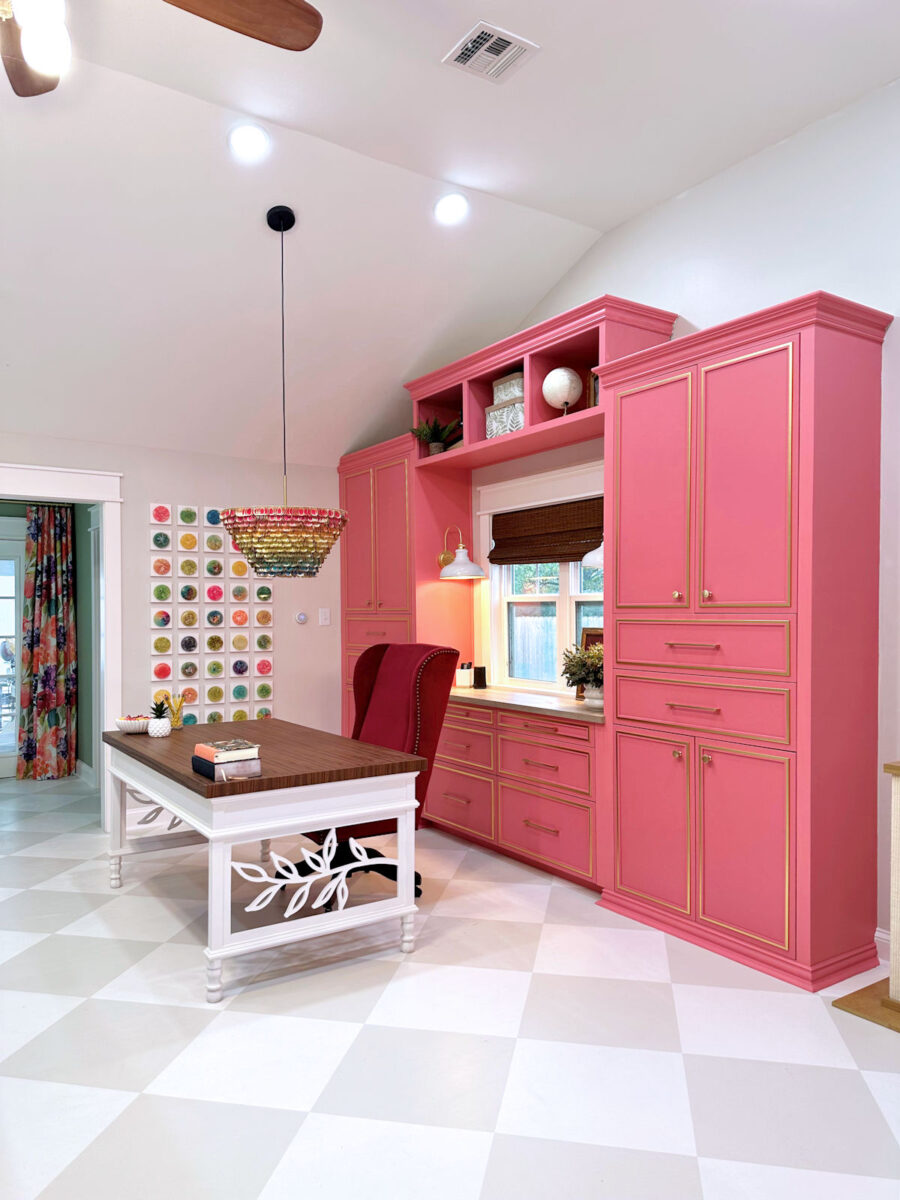
But I wanted to share my progress and finally reveal the paint color that I chose. I decided to go with…dark blue. Of all of the mockups I did with the various colors, the dark blue really was my favorite. To me, it looks the most cohesive, and I love it with the white top.
My hesitation with this color was that it would be so close to the foyer, which will have dark teal grasscloth. I was afraid that the two colors so close together would clash. But I decided to throw caution to the wind and go with it anyway.
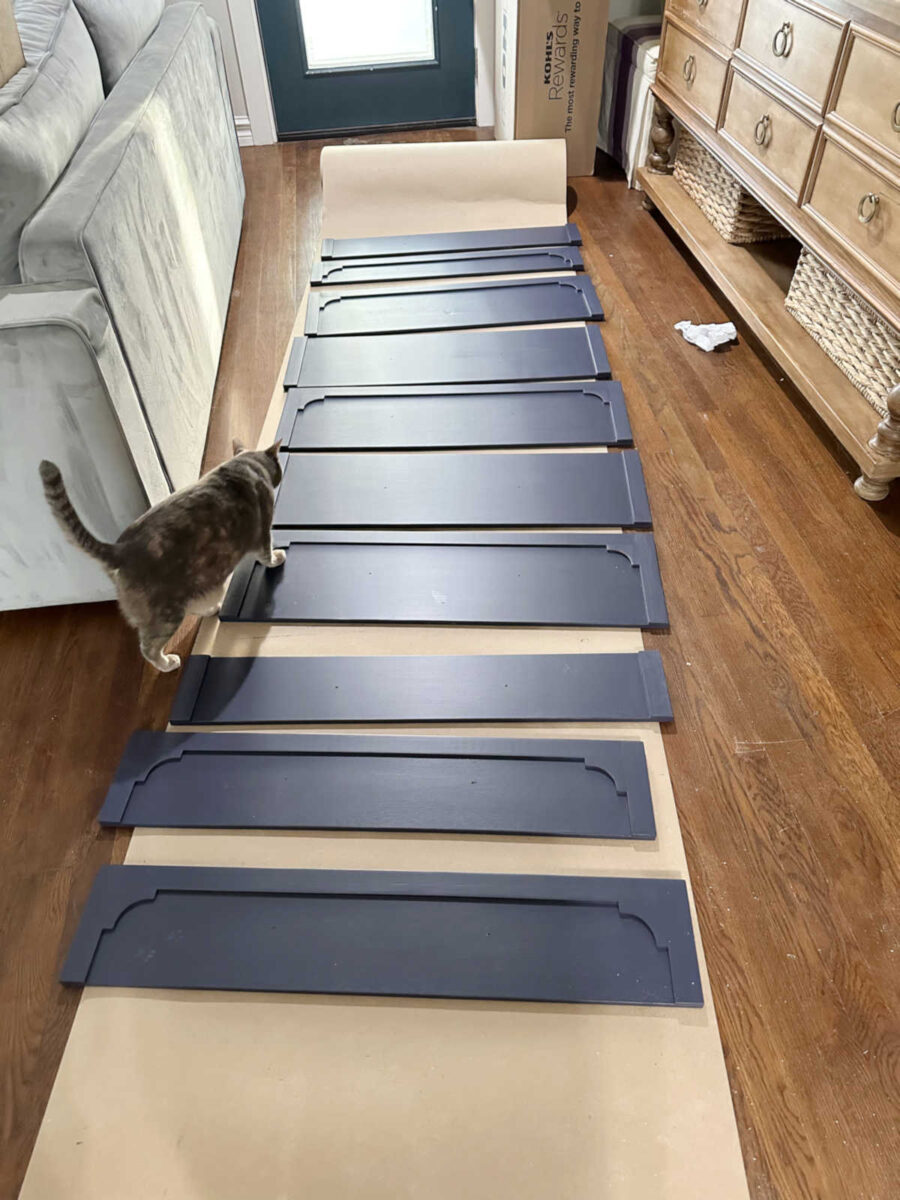
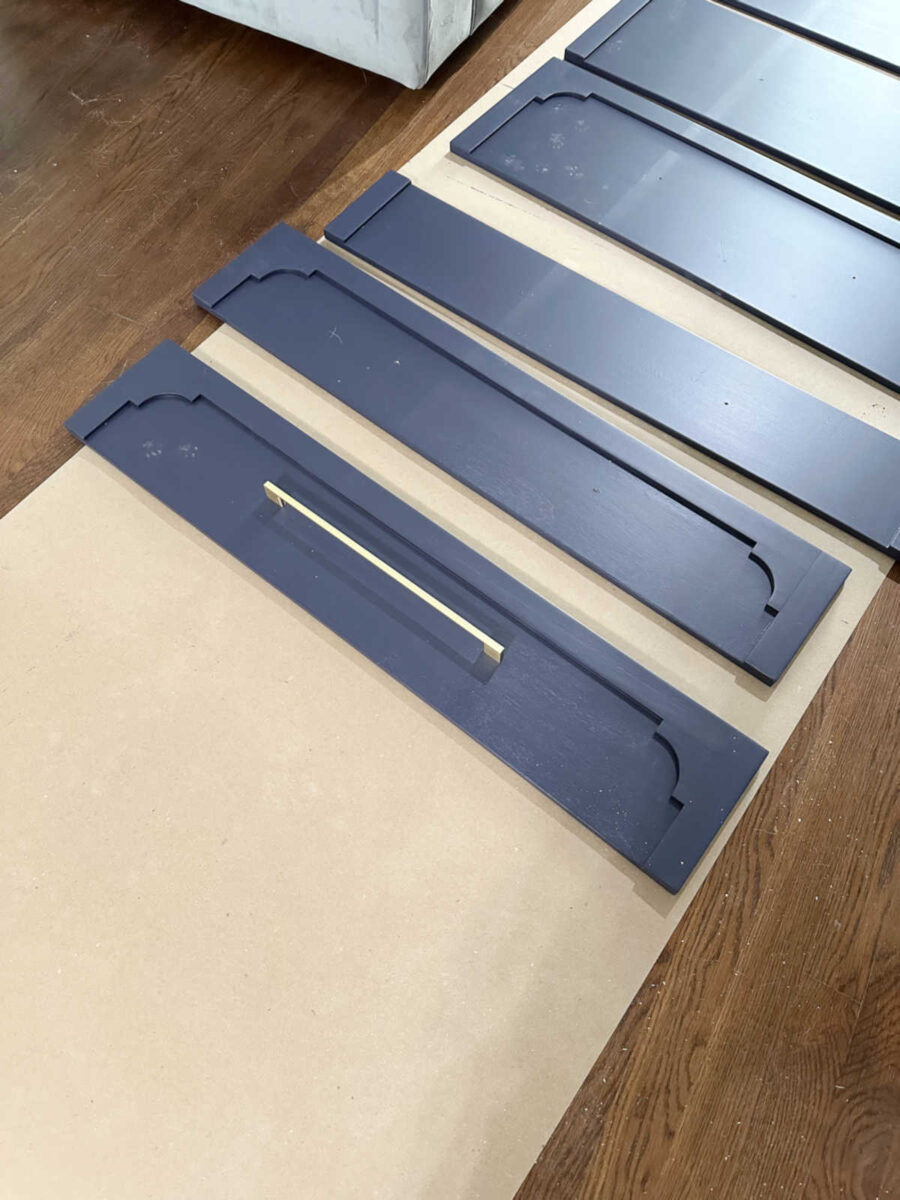
So I took the wallpaper to Home Depot and had them color match the darkest blue, and that’s what I used. I got all of the drawer fronts and doors completely painted. And you’ll notice that Felicity decided to add her own touch to some of the drawer fronts. Thankfully, they were completely dry before she discovered them, so those little paw prints will wipe off. She loves being in my closet, which is very dusty right now, so she tracks her little dusty paw prints all over the house, and they really show up on this dark blue.
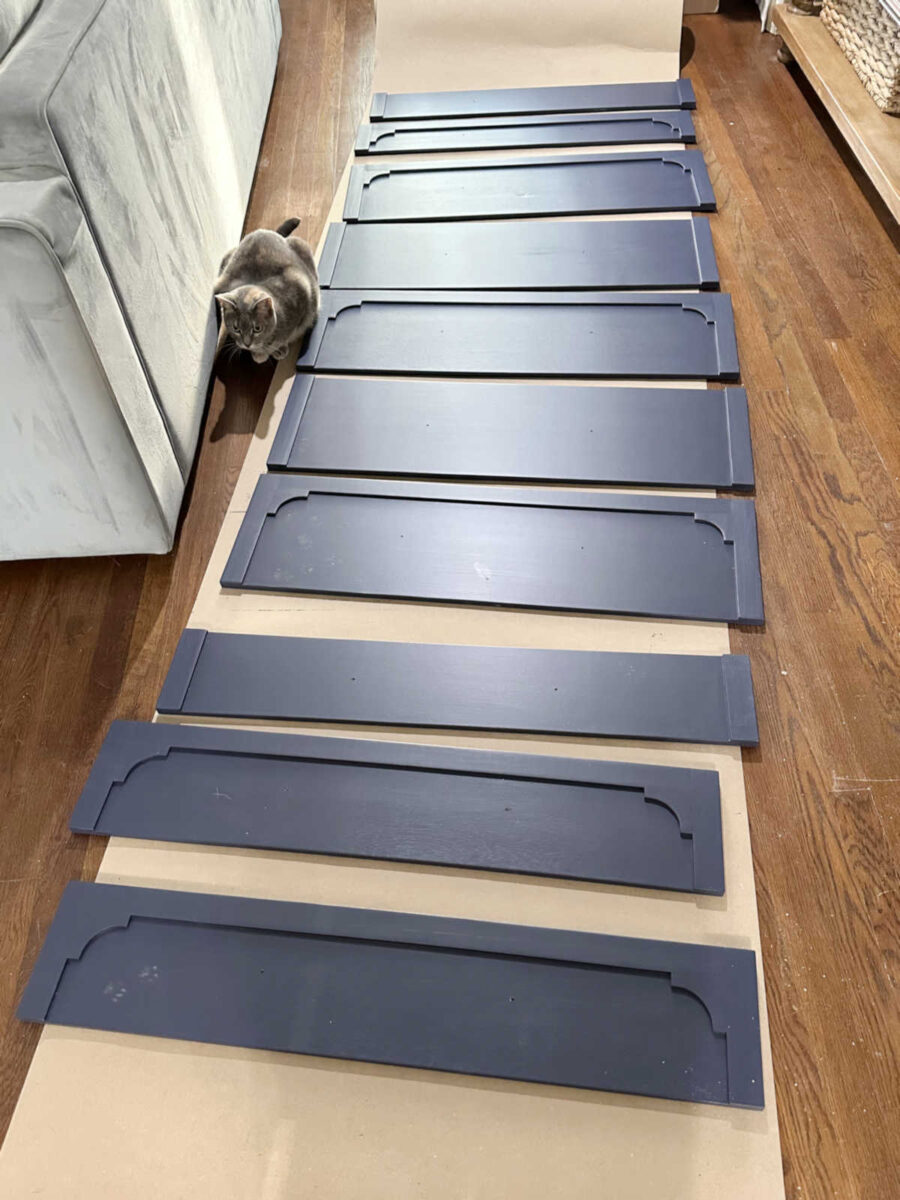
Cats. Ugh. They have no respect for others’ property. 🤣
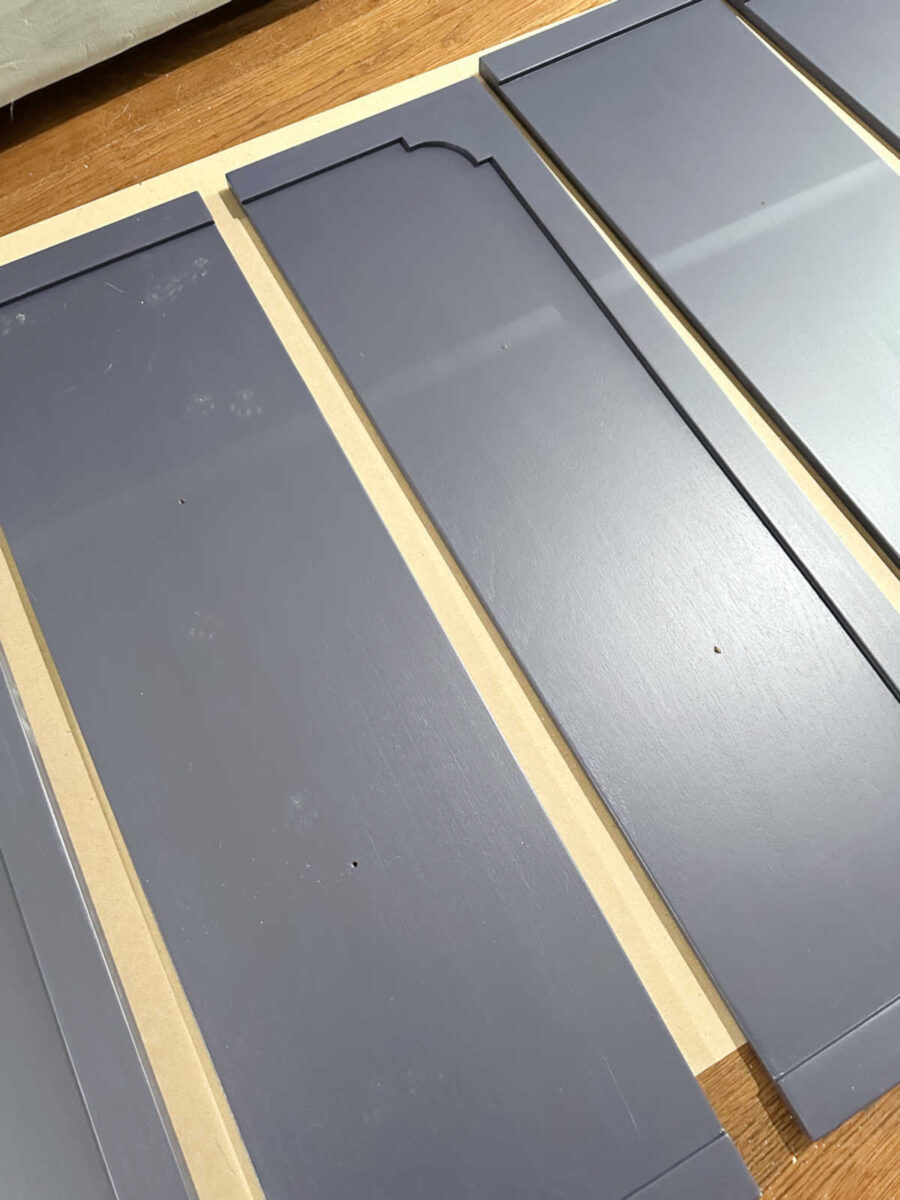
Before I did the last coat of paint, I got all of the holes drilled for the drawer pulls. I always like to drill the holes before the last coat to eliminate any possibility of the drill bit taking off paint and having to do any touching up of the paint.
And here’s what the gold pulls will look like on the dark blue. I think that looks so pretty!
I painted everything with a brush instead of using my sprayer. The reason I did that is because I wasn’t planning on doing a clear coat over the paint, and if you paint part of a project with a brush and part with a sprayer, they will have a slightly different sheen, even if you’re using the exact same paint out of the same can. And that difference is even more noticeable on dark colors. Those slightly different sheens in dark colors can actually make it look like two slightly different colors.
I don’t know if you’ve ever noticed that on my studio cabinets, and maybe I shouldn’t even point it out. But I do think this is something that every DIYer should be aware of. Different methods of application of paint will give you slightly different sheens, and the more saturated the color, the more those different sheens can make the two applications look like slightly different colors. See if you notice that here, where I sprayed the doors and drawer fronts, but painted the actual cabinets with a brush. Same color, same can of paint, slightly different sheens/colors on the finished product.
Anyway, I don’t have a paint color for you because, as I said, I had this one color matched to the wallpaper. But this is the formula for Behr paint.

I did get the sides of the island painted with the final coat of paint. So the doors, drawer fronts, and sides are finished.
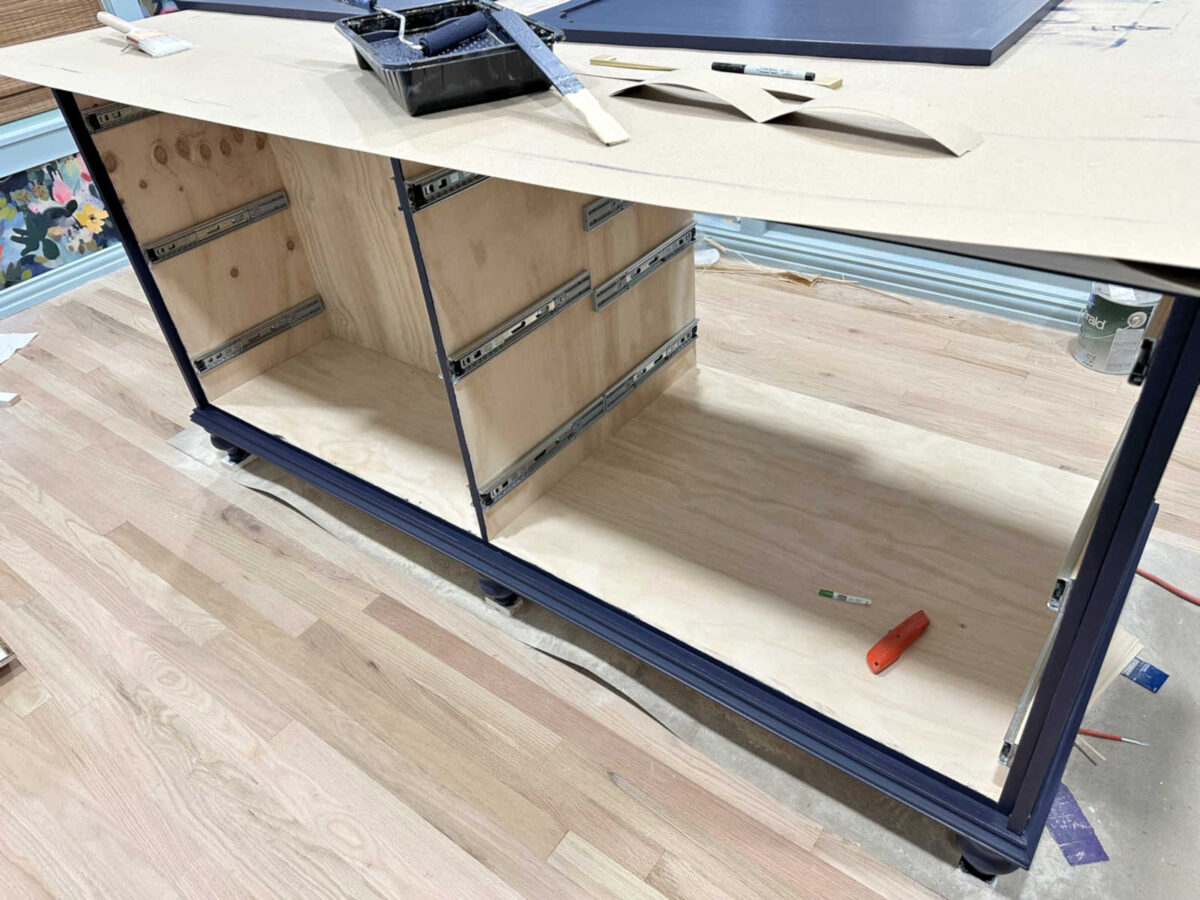
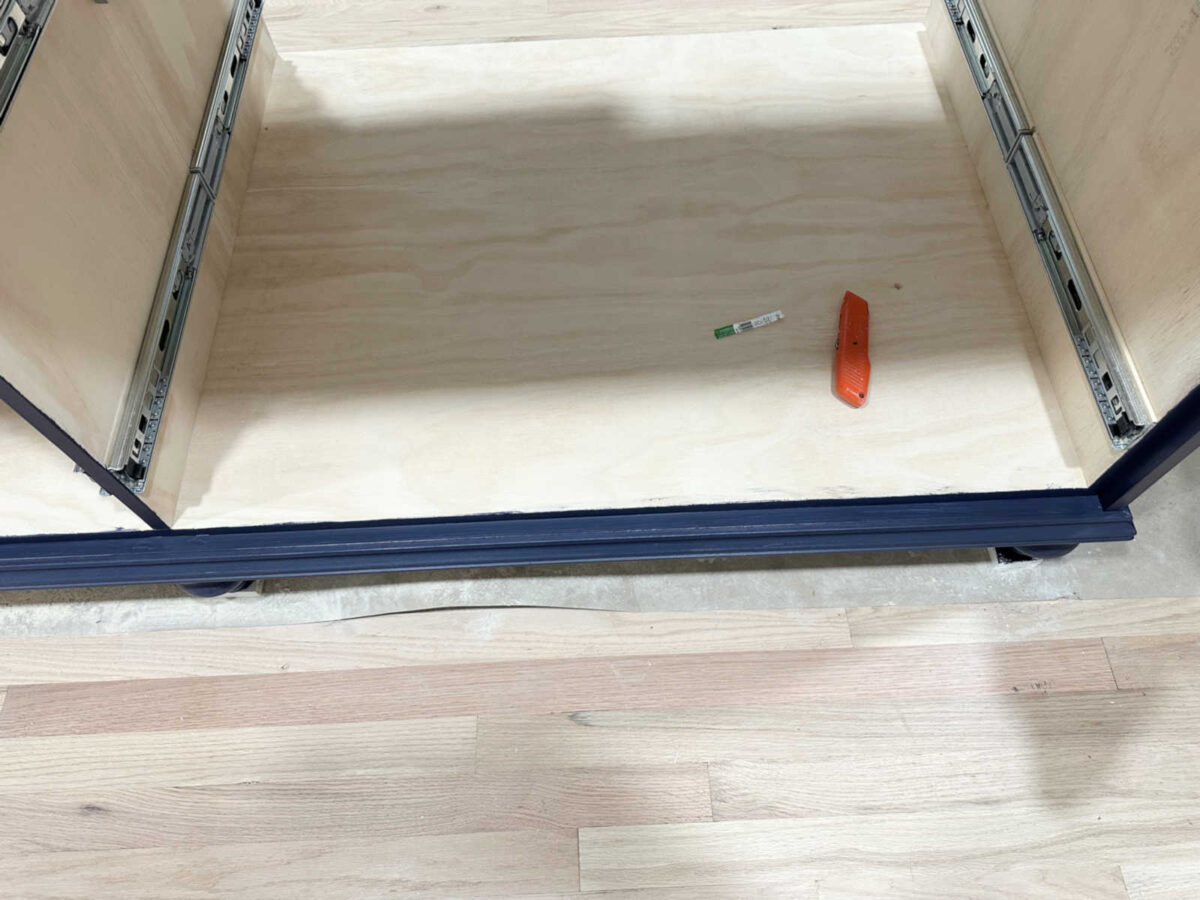
I didn’t tape off the inside before painting (i.e., the parts that I don’t plan to paint) because I can remove those rogue bits of paint with sandpaper before clear coating the insides of the island, which I still need to do.

But I did try to paint those edges as carefully as possible to minimize the amount of sanding I’ll have to do before I clear coat the inside. I think I did a fairly good job, but those edges will look much cleaner and sharper with a bit of sanding.
And again, I only have one coat of paint on the ends so far. So I need to do just a bit of sanding with 220-grit sandpaper, and then do one more coat of paint to get rid of the streaky look. But here’s a glimpse of what the dark blue looks like in the room with the wallpaper.
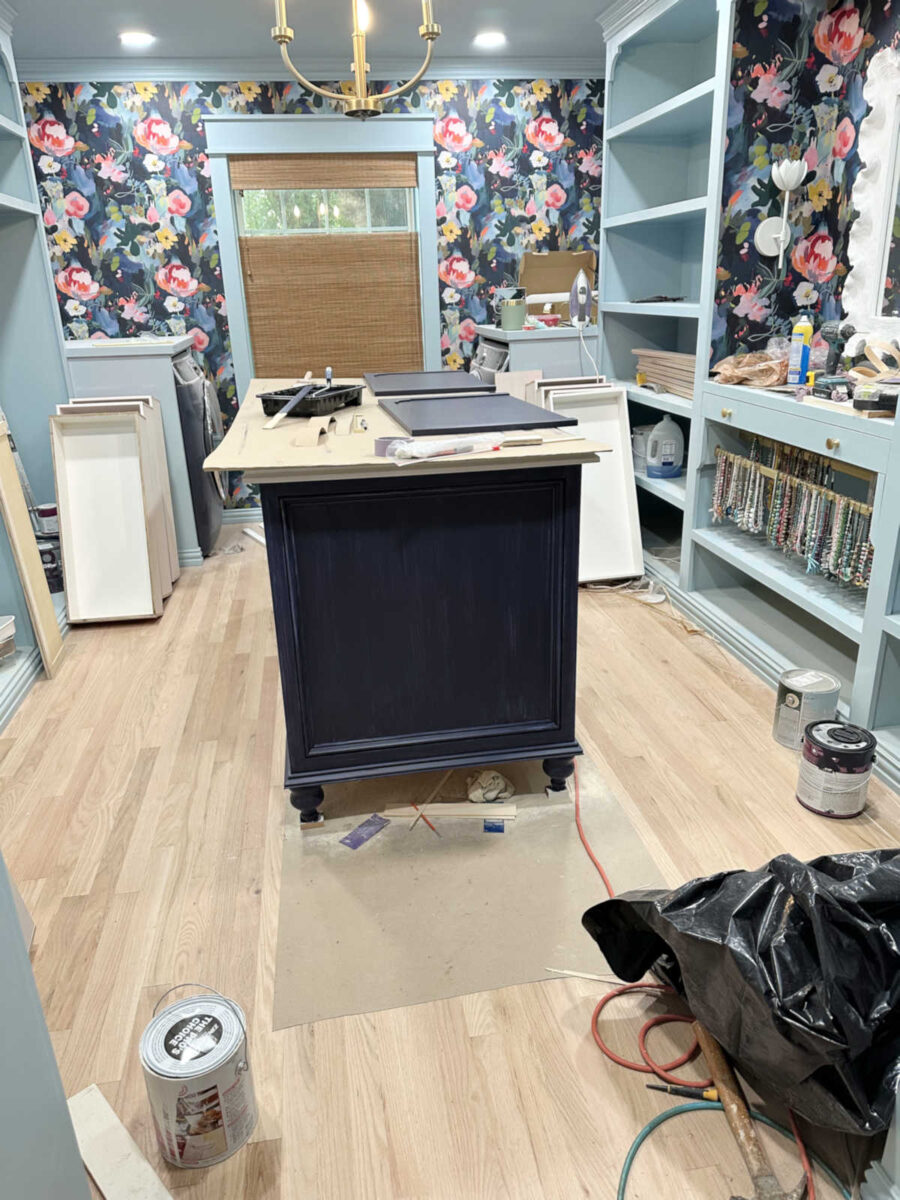
It’s almost there, y’all. It’s almost there!!! I can’t wait to see my finished dark blue island with the white marbled top sitting on a clean wood floor without all of the mess around it! I just have a little bit more sanding to do on the top before I can paint it, and that’s all of the sanding that needs to be done in the room. You know what that means? That means that once it’s sanded and all of the dust is cleaned up, I can finally load up this closet with my clothes, handbags and shoes!! I’m almost there!!!
More About My Walk-In Closet/Laundry Room

see all walk-in
closet diy projects

read all walk-in
closet blog posts

Addicted 2 Decorating is where I share my DIY and decorating journey as I remodel and decorate the 1948 fixer upper that my husband, Matt, and I bought in 2013. Matt has M.S. and is unable to do physical work, so I do the majority of the work on the house by myself. You can learn more about me here.