")
I spent all weekend finishing up the lighting in my walk-in closet. This turned out to be a much more involved process than I had initially thought it would be, but the payoff is pretty amazing!! I ended up having to crawl into the attic about ten more times to get it all finished, but it’s done!
I shared the first part of this lighting installation process last Friday where I cut the holes for the new slim canless LED downlights that I wanted to install. I love these lights because they’re only 1/2-inch thick. And since they don’t include that big housing that extends into the attic like the old school recessed lighting does, you can install them virtually anywhere, including directly under a ceiling joist.
I like the Halo brand, but there are several brands of canless LED downlights to choose from. And I always buy the ones that have several different light/temperature settings because I like to set mine to the daylight (5000K) setting so that my colors aren’t distorted. Here’s what the lights look like.
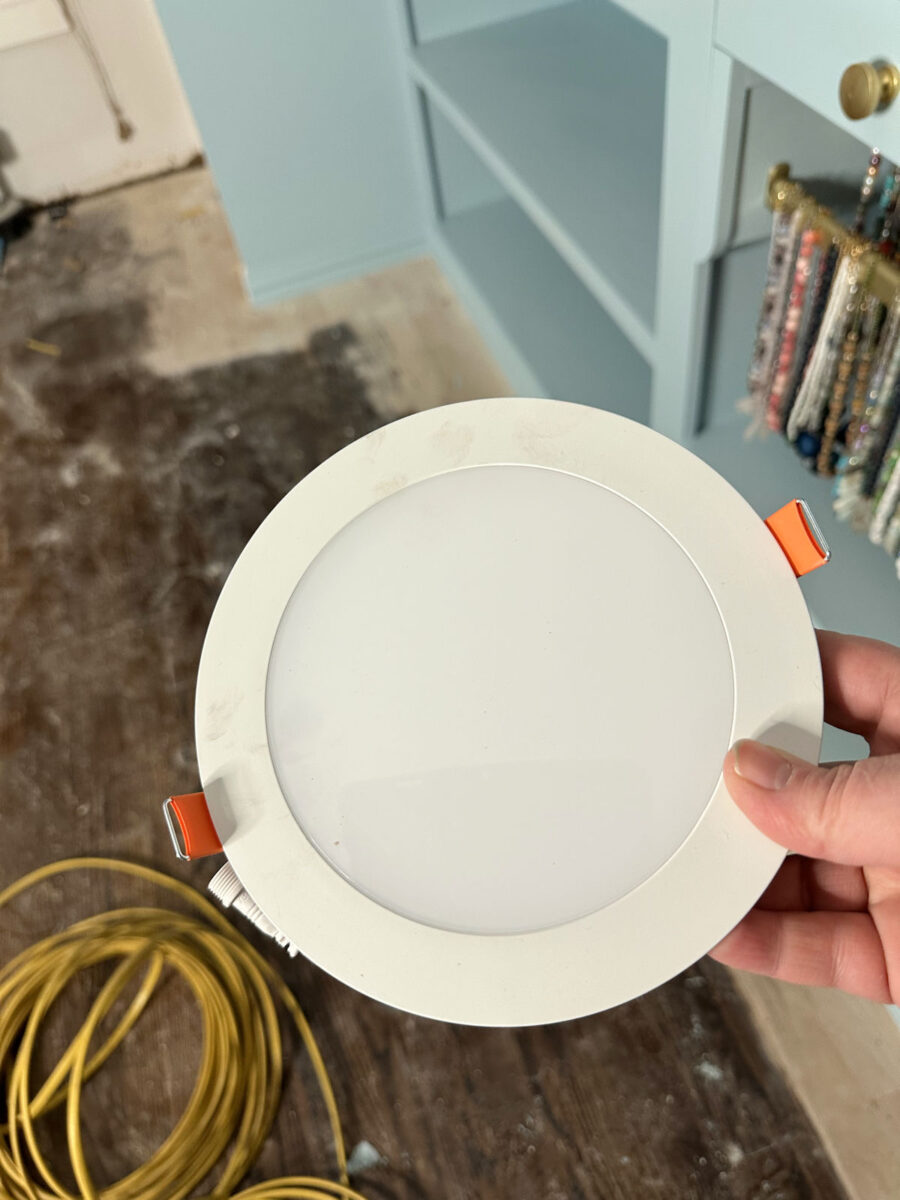
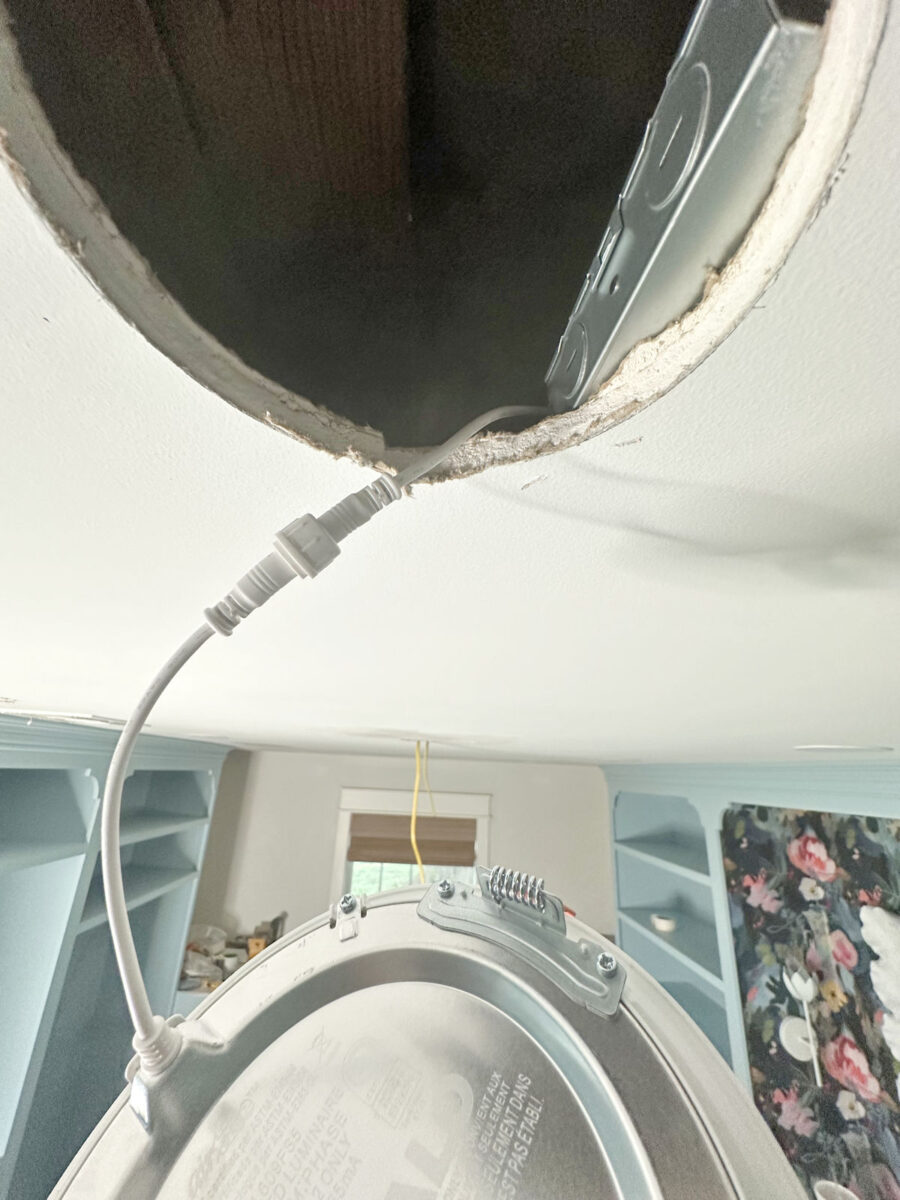
And once you cut the hole in the drywall, the light is held in place inside that hole with those two metal spring clamps (the orange tabs).
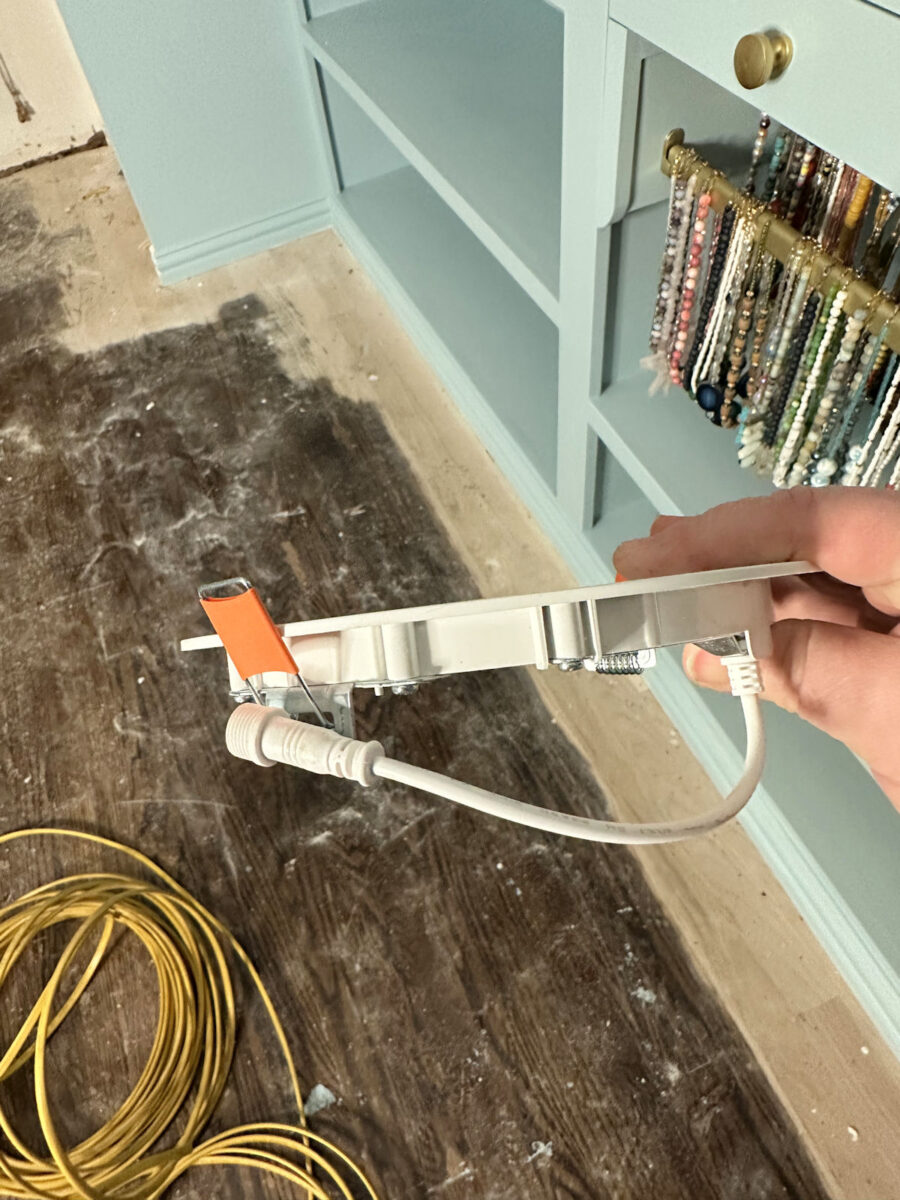
Each light comes with this metal housing for the wires. After removing one of the round metal knockout holes in the housing, I added a wire clamp to the hole (which I had to purchase separately). And after stripping the yellow plastic sheathing from the wires, and then stripping about 5/8″ of sheathing from the ends of the black and white wires, I inserted the wires into the housing through the wire clamp.
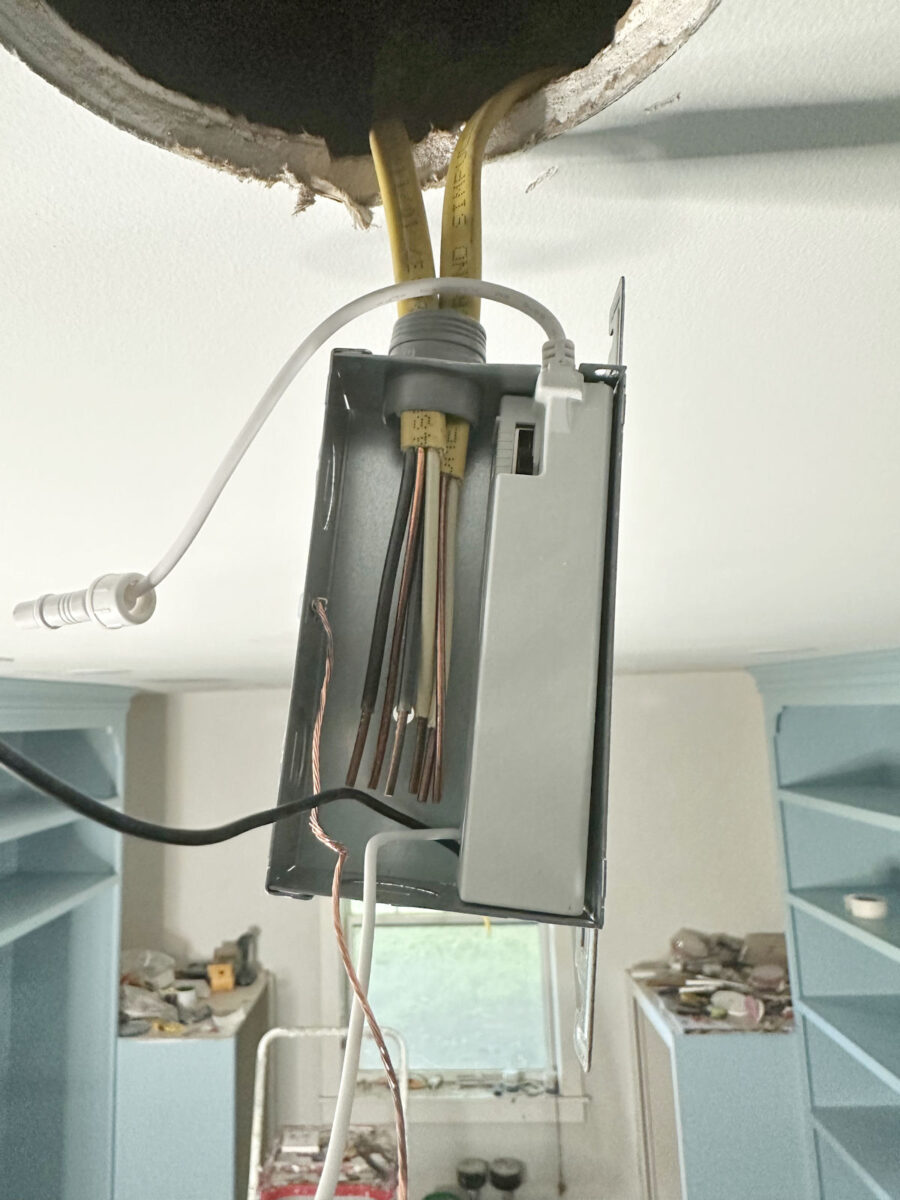
And then I separated out the wires so that the black wires were together, the white wires were together, and the bare copper wires were together. I have two of each coming from the ceiling because one wire is coming from the center light (i.e., the original light in this room) to feed electricity to this light, and the other wire is going from this light to feed power the next canless light.
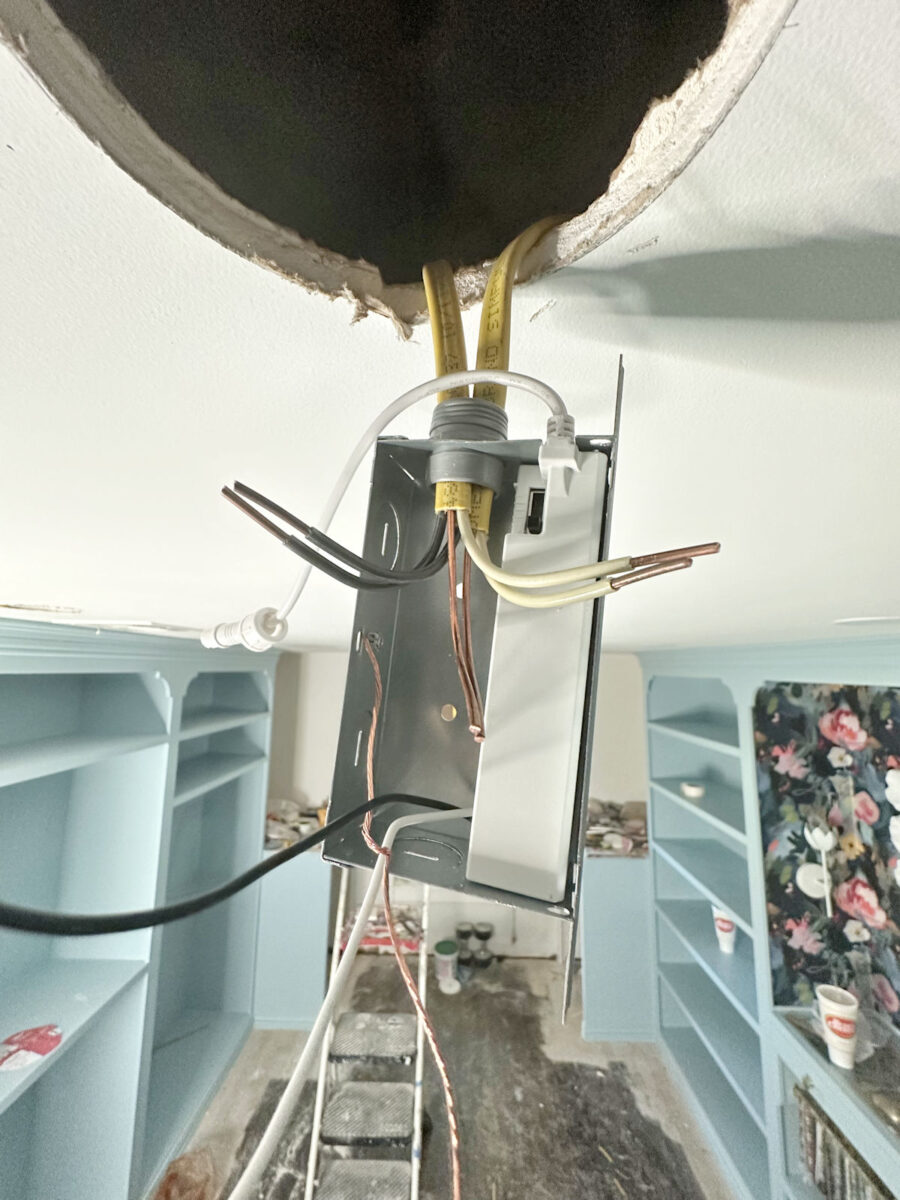
Then I a wire nut to attach all of the black wires together (three black wires — the black wire inside the canless light housing plus the two wires coming from the ceiling). Once I tighten the wire nut as tight as I can get it, I always give a little tug on the smaller black wire coming from the canless light housing to make sure that it’s secure. Sometimes those smaller wires don’t get securely twisted into the wire nut when wiring it with two 12-gauge wires. If it pulls out with a slight tug, I know I have to remove the wire nut and try again until it’s secure. I repeated that process for the white wires and the bare copper wires.
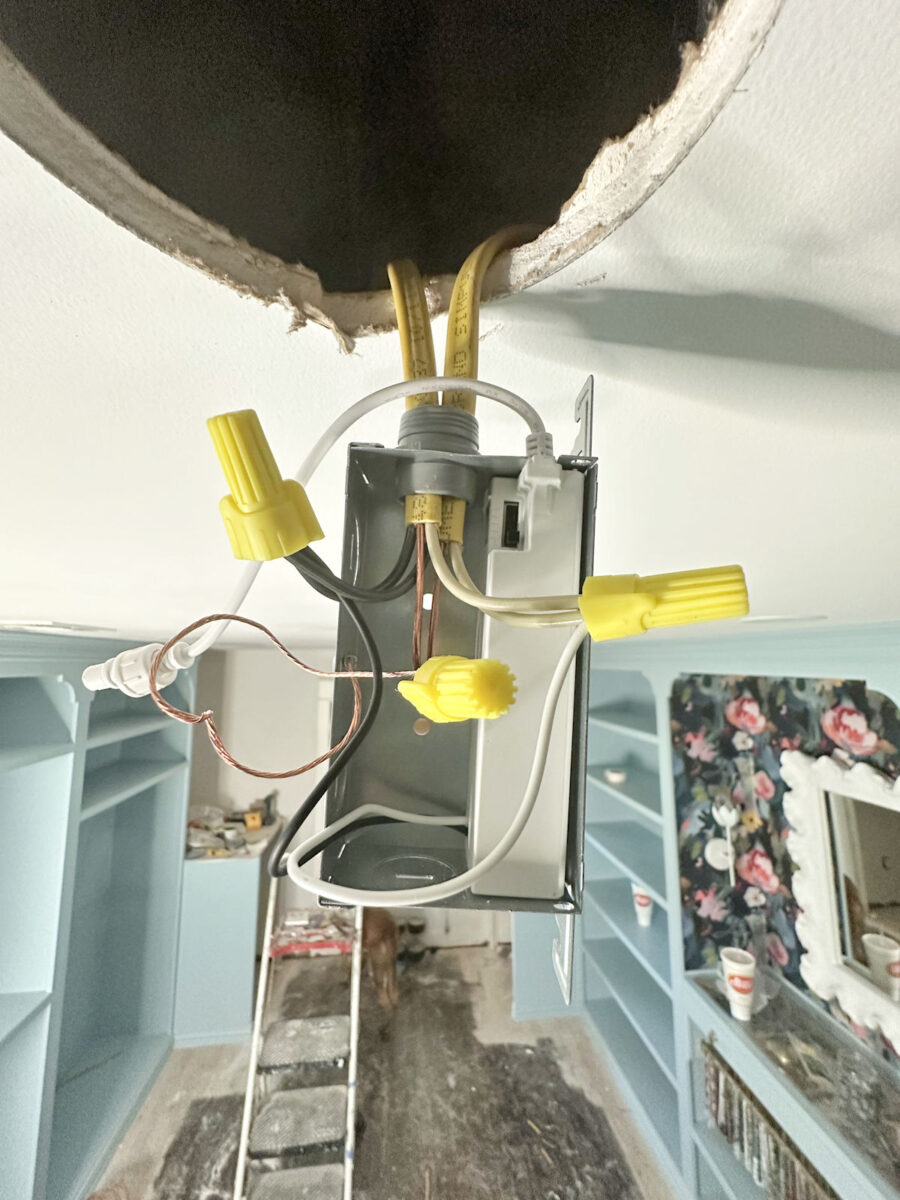
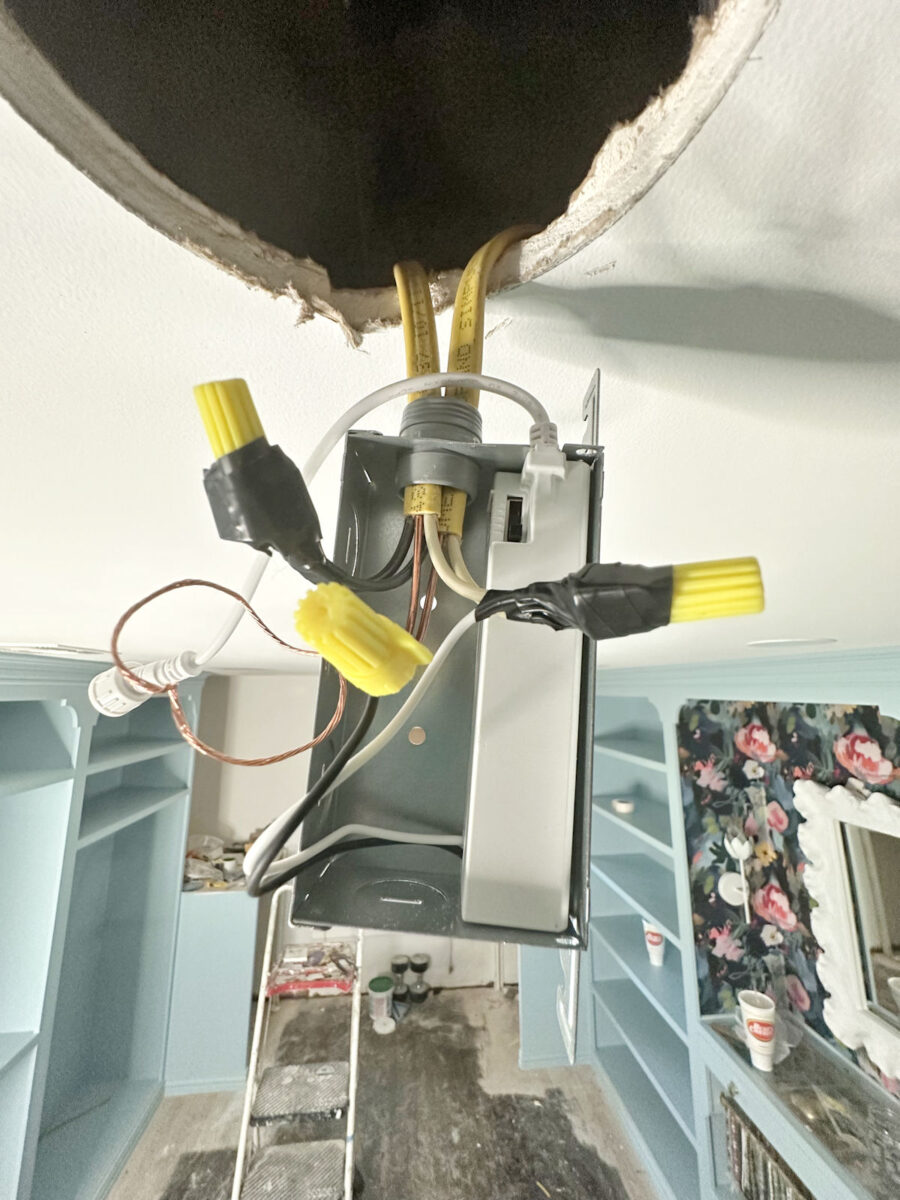
I always use electrical tape around the wires and the wire nut on the white wires and the black wires.
And then I carefully tucked all of the wires into the housing and put the cover on the housing.
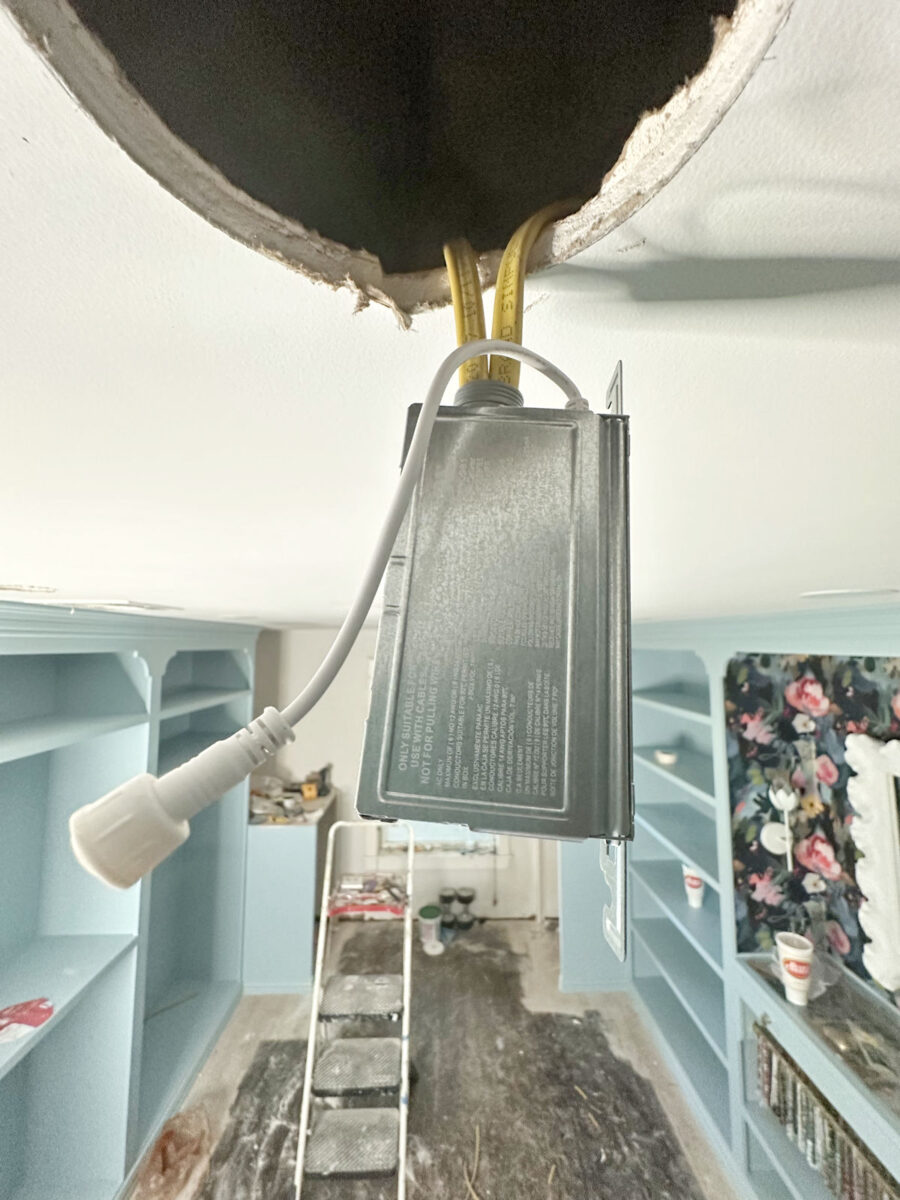
Then I placed the housing in the attic on top of the drywall and reconnected the light. Then I was ready to slip those two metal prongs up into the hole to secure the light to the ceiling.
How to repair a hole in drywall
If you’ll remember, I had to cut three additional holes in the drywall so that I could get the wires across to where they needed to go in this area of the room where the roof was too low for me to do the wiring from inside the attic. Plus, I moved the center light over about six inches. So that meant that I had four holes that needed to be repaired in the ceiling drywall.

Those holes were six inches in diameter, so I cut four pieces of scrap plywood that I had on hand to 10 inches long. You can use any scrap wood for this.
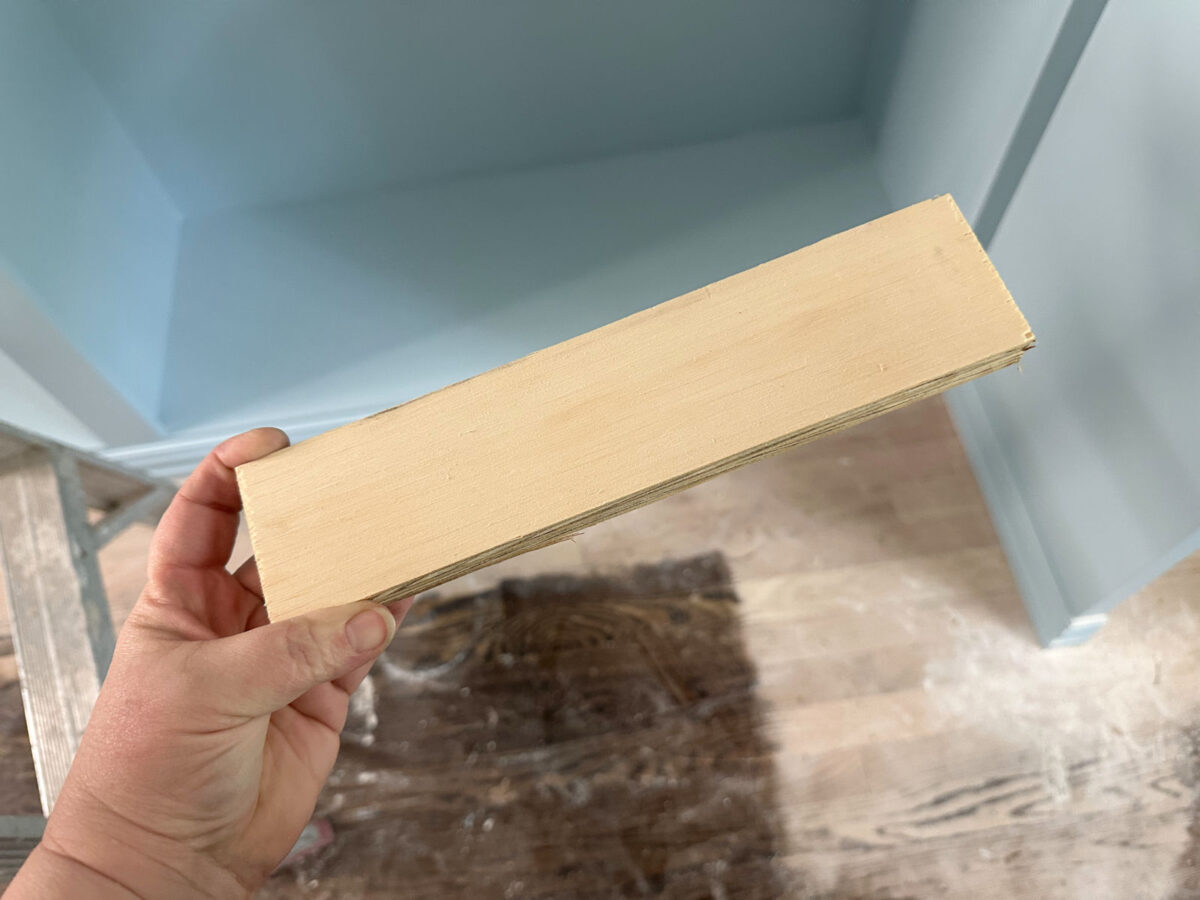
I placed it into the hole so that it spanned the center of the hole and extended two inches past the hole on each side.
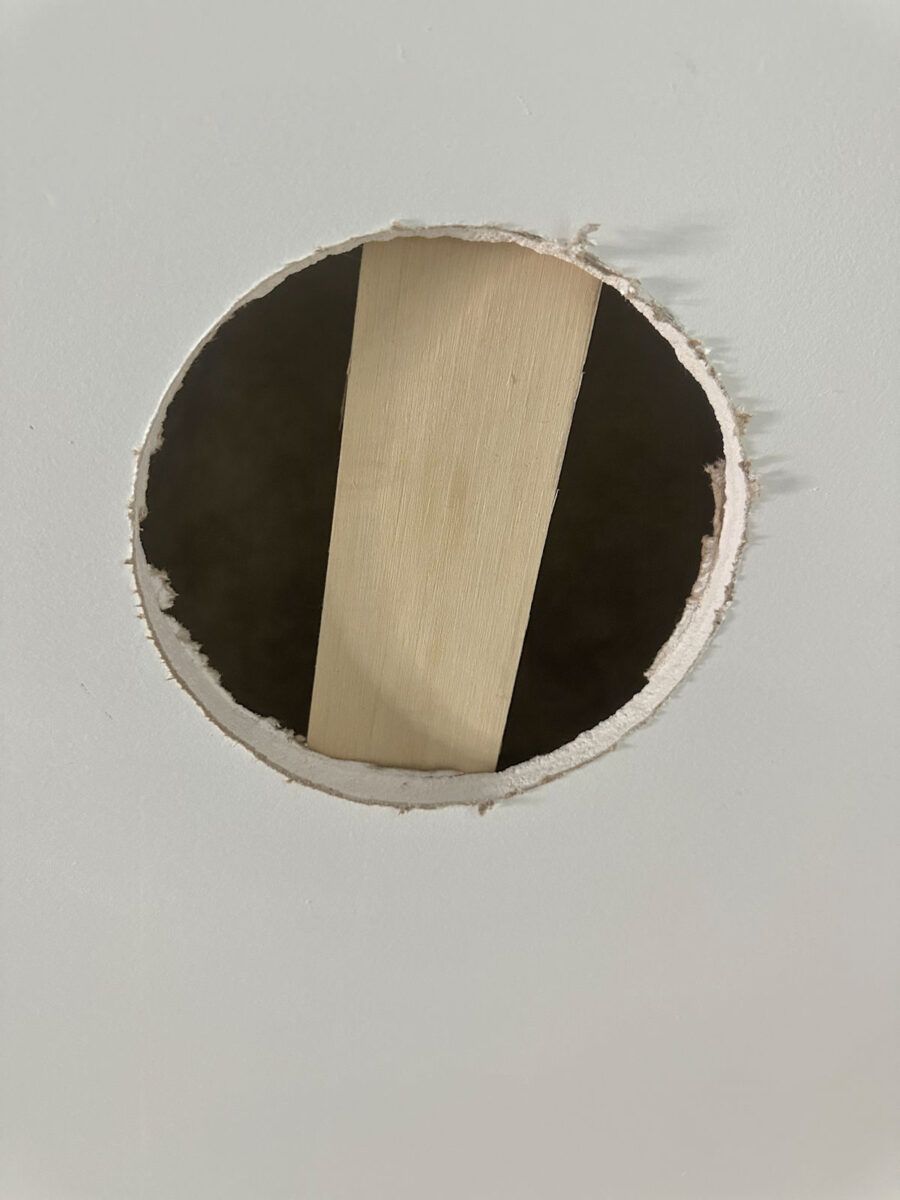
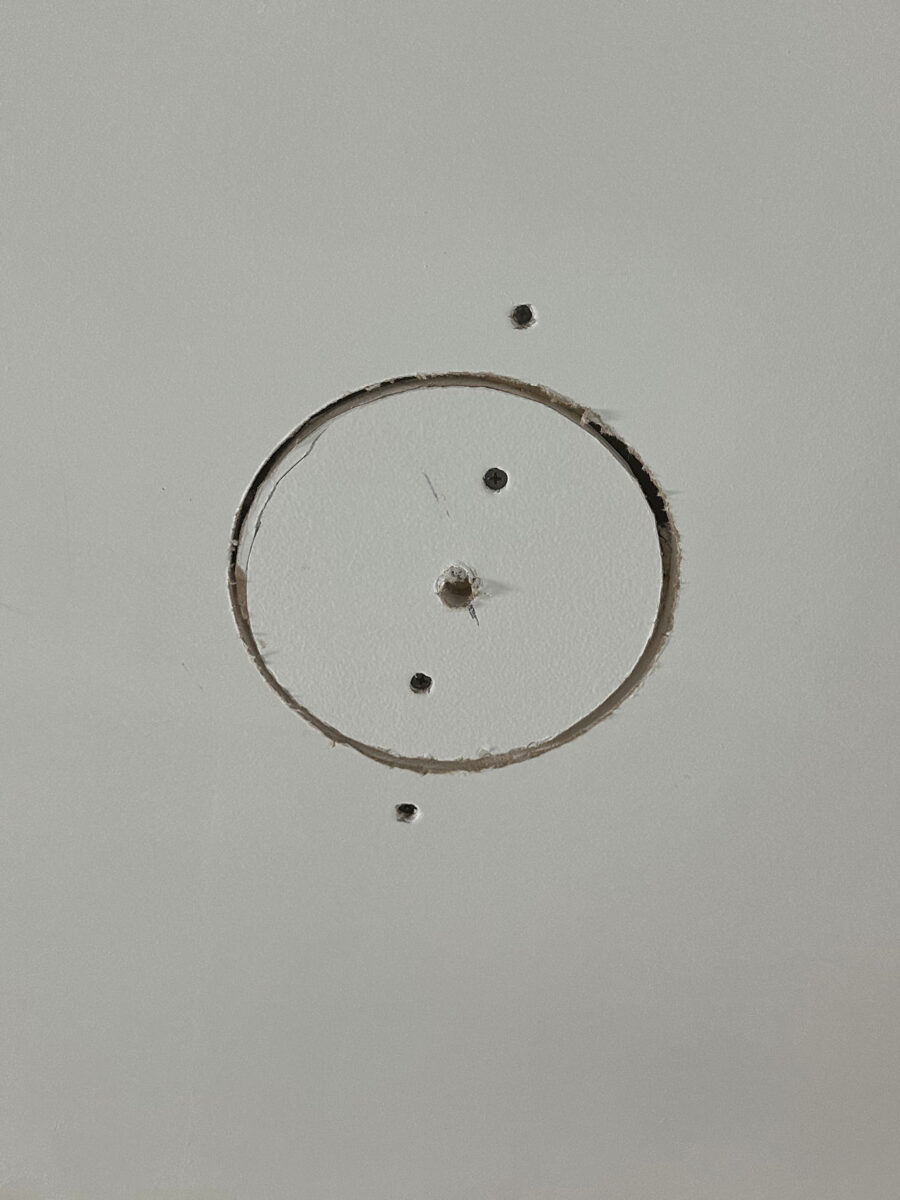
And then I secured that in place using two drywall screws.

That piece of wood gave me something to then screw the center drywall to. Fortunately, I didn’t have to cut new pieces of drywall for this. I had saved the round pieces that I had to cut out of the drywall, so I just used those. But if you’re repairing a random hole in your drywall, just cut the hole in the drywall so that it’s a very neat circle or rectangle and then cut a new piece of dywall to fit inside that circle or rectangle.
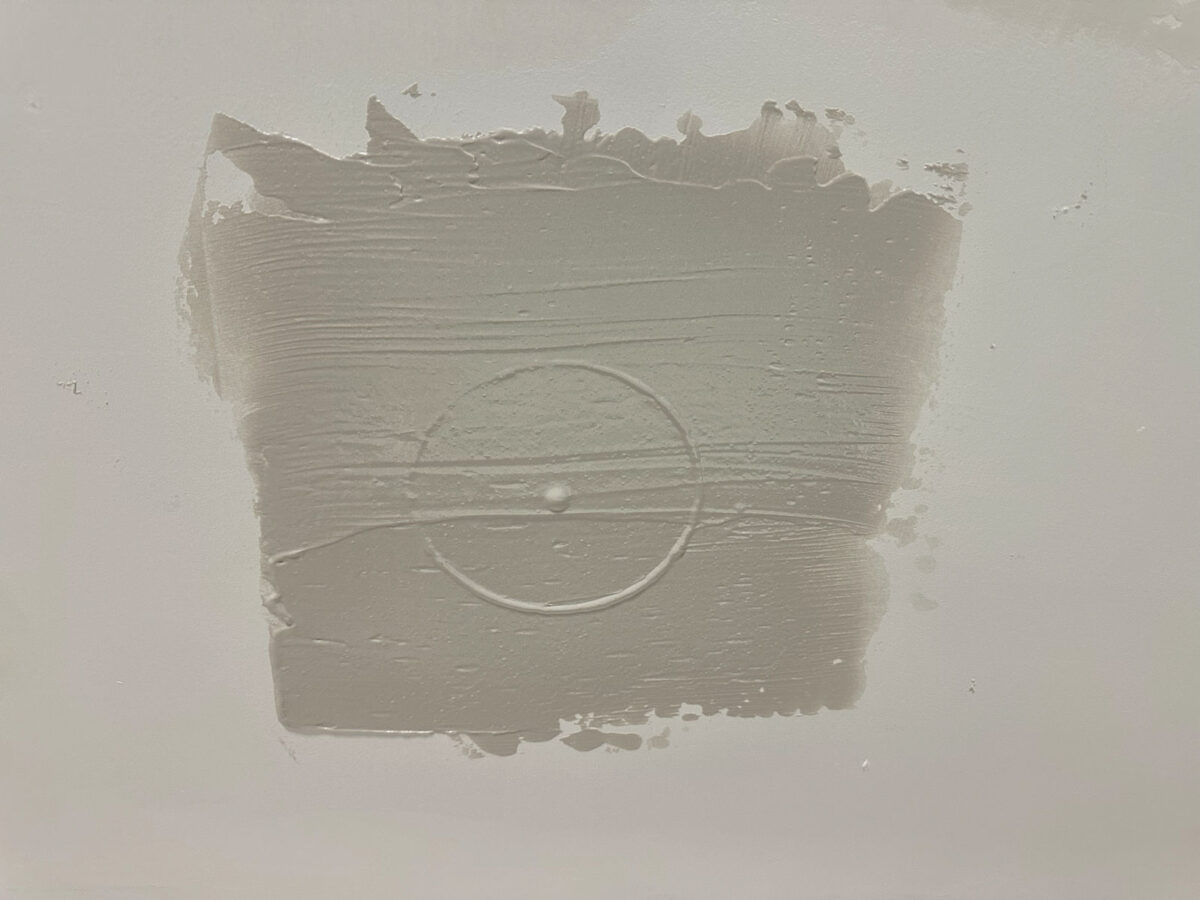
Then I used this 10-inch drywall mud knife…
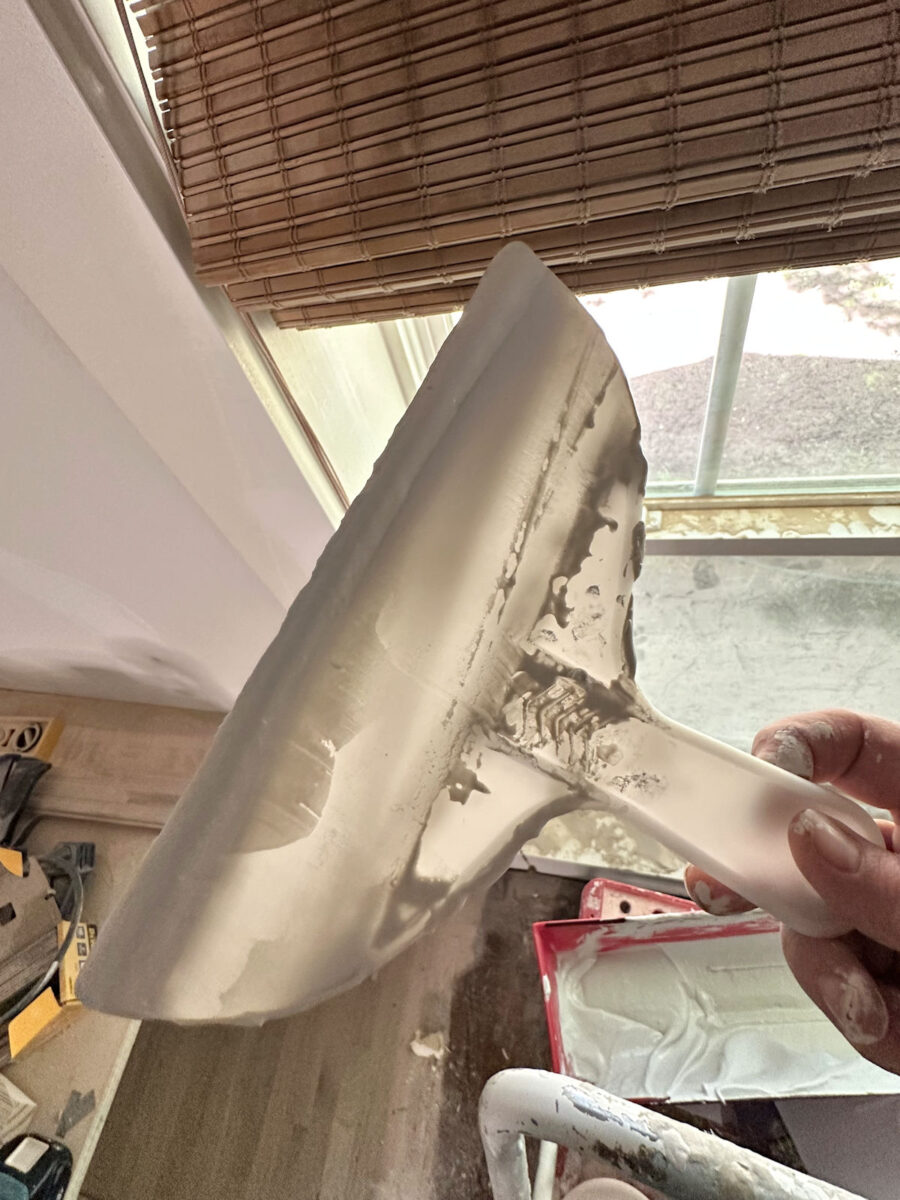
And I spread some pre-mixed drywall mud over and around the area I wanted to repair.
I placed four strips of drywall tape into that wet mud…
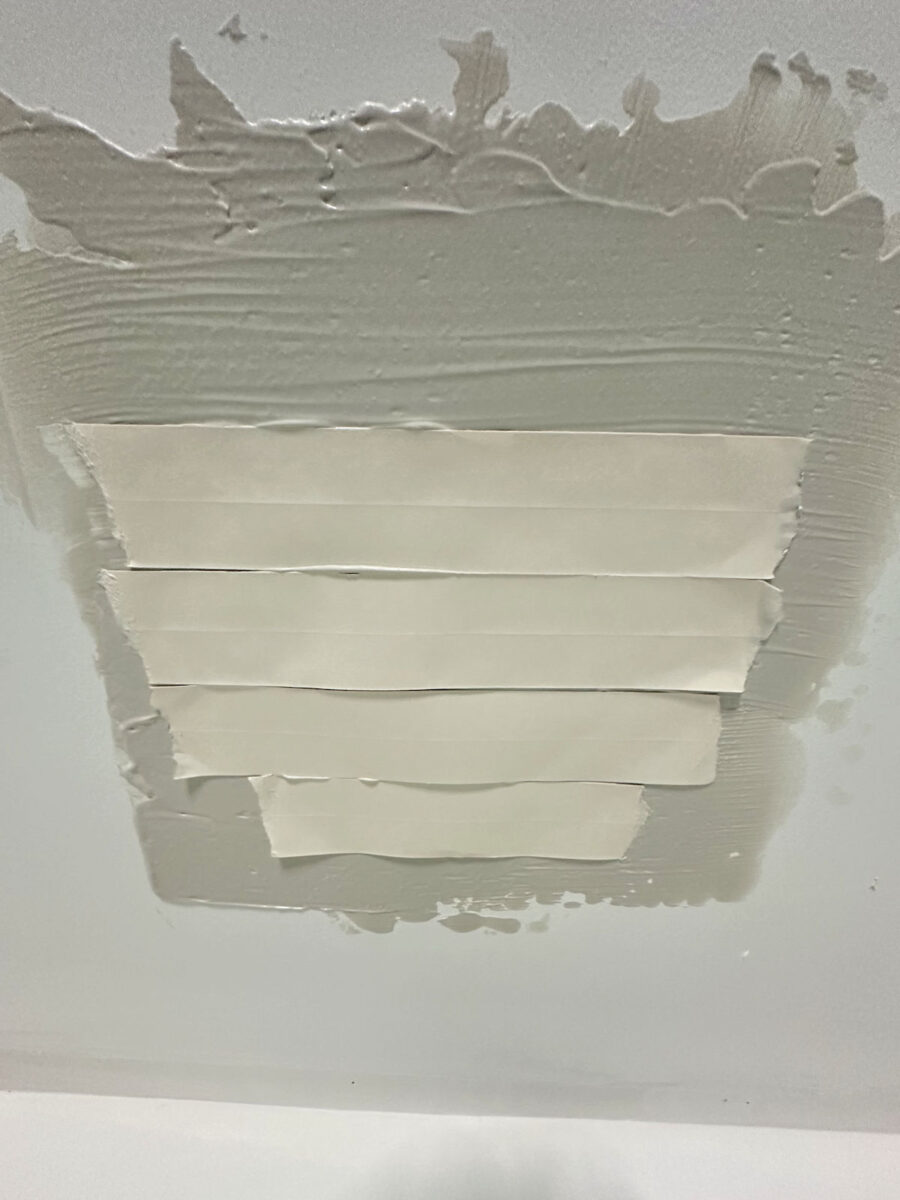
And then I used the drywall knife to smooth out and remove all of the excess mud.
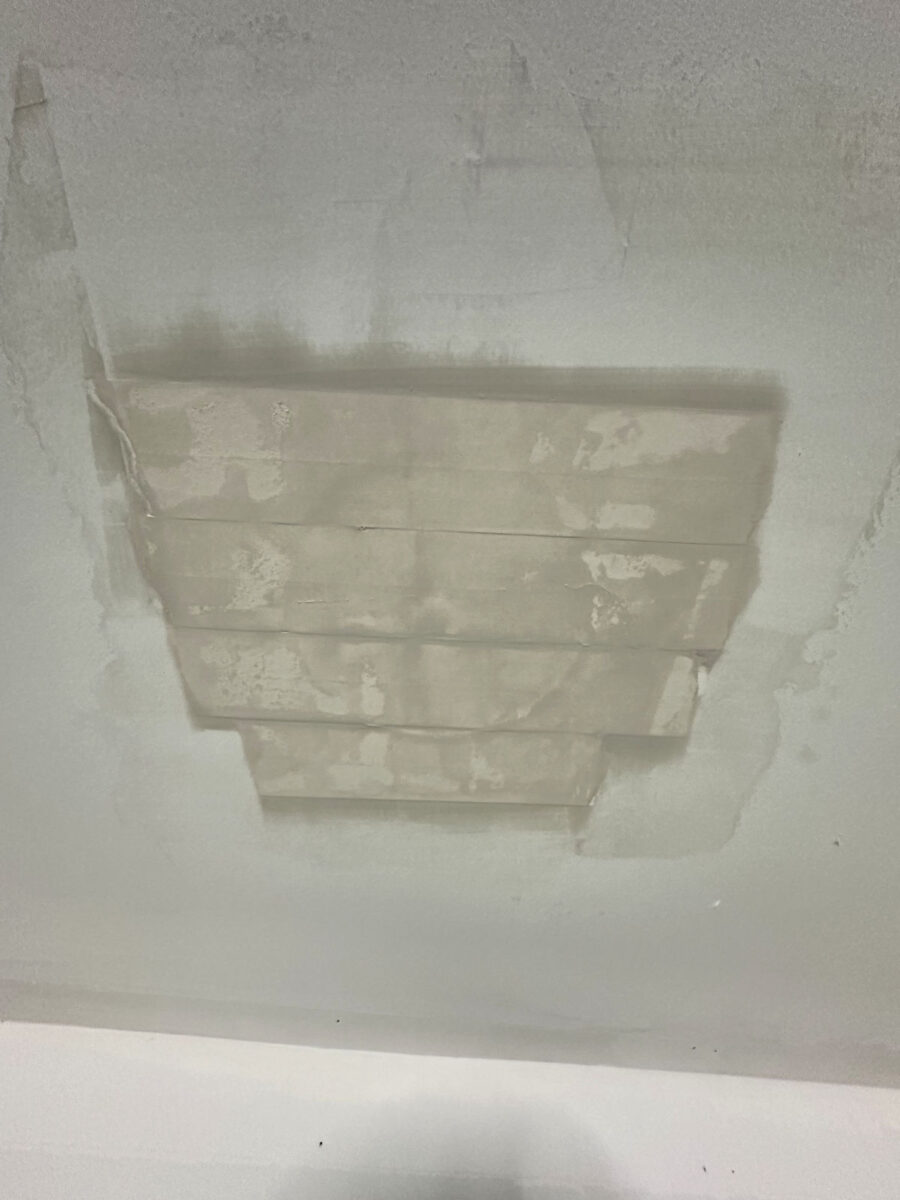
I left the repaired holes like that to dry for a few hours while I installed the lights.
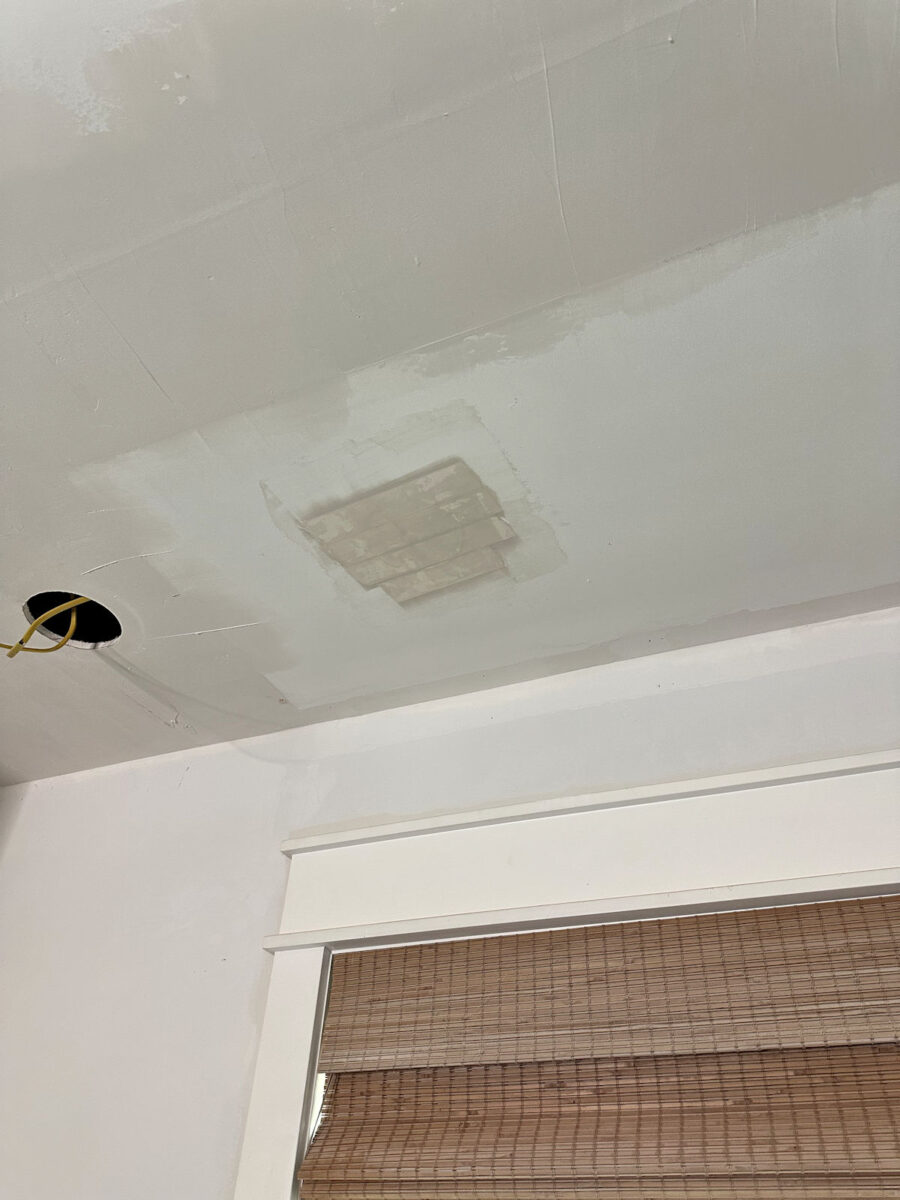
When I was finished installing the lights, the drywall mud on these repaired areas was dry, so I went back over them with another layer of drywall mud to cover over the tape. I still need to sand those areas smooth, but once they’re sanded, I don’t think anyone will ever know there were additional holes there.
I also swapped out the original switch for a dimmer switch, and then I added a separate switch for the sconces.
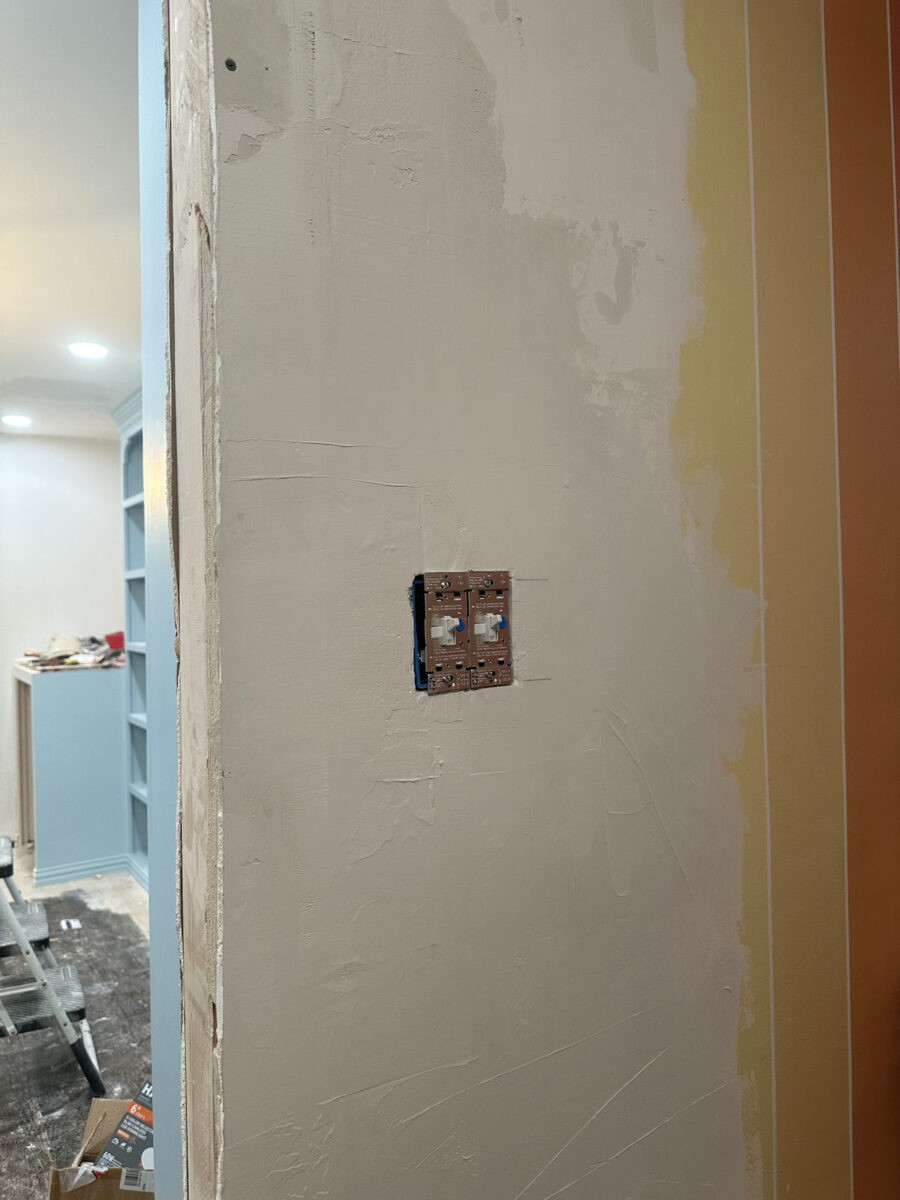
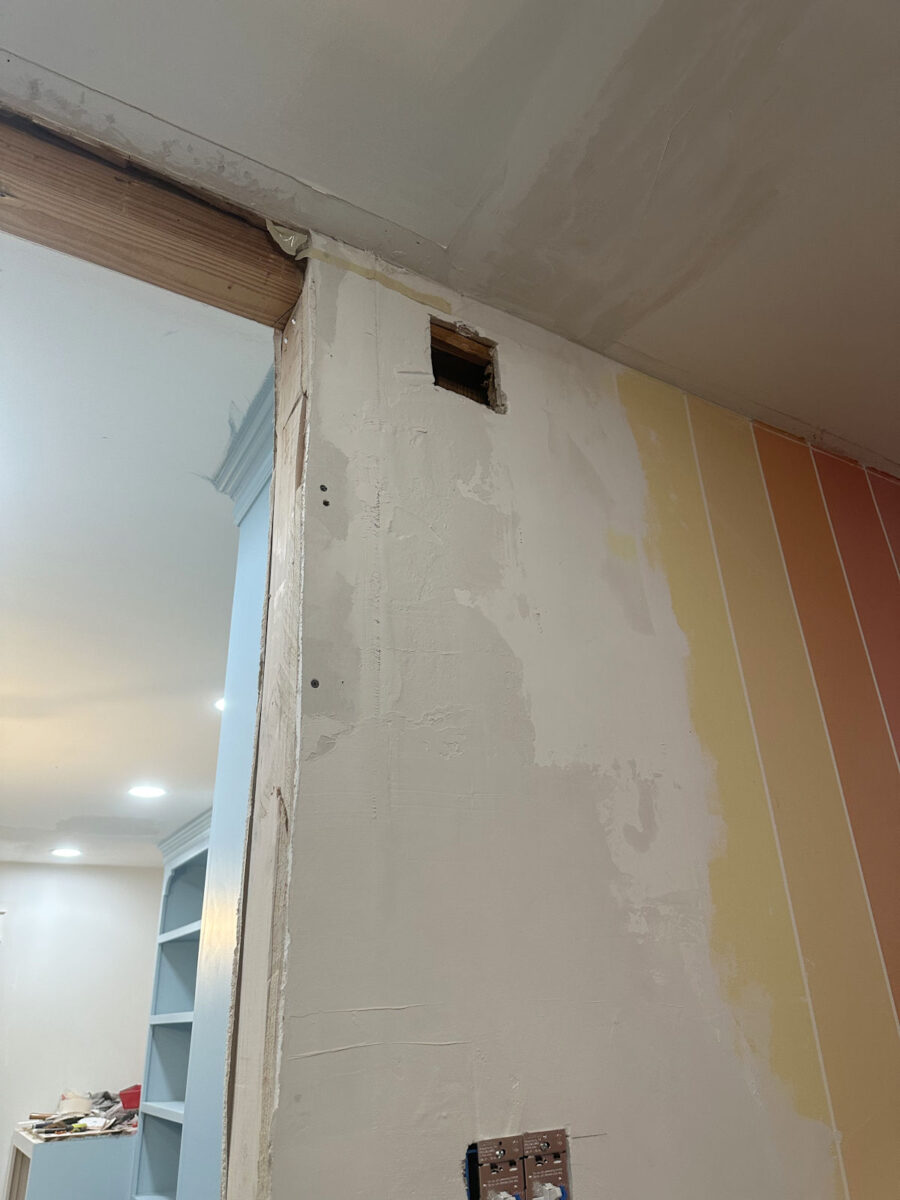
In order to run that new wire for the sconces, I had to cut another hole in the top of the wall to feed the wires through. I initially tried to feed the new wire down from the attic, but there was a random piece of wood in the way inside the wall that wouldn’t allow the wire to pass through. So I had to cut the hole in the wall to remove that rogue piece of wood (it was a random piece of shiplap that had splintered off and was blocking the hole) out of the way to make room for the new wire from the sconces to pass through the hole coming from the attic. So I now have yet another drywall repair to do. 😀
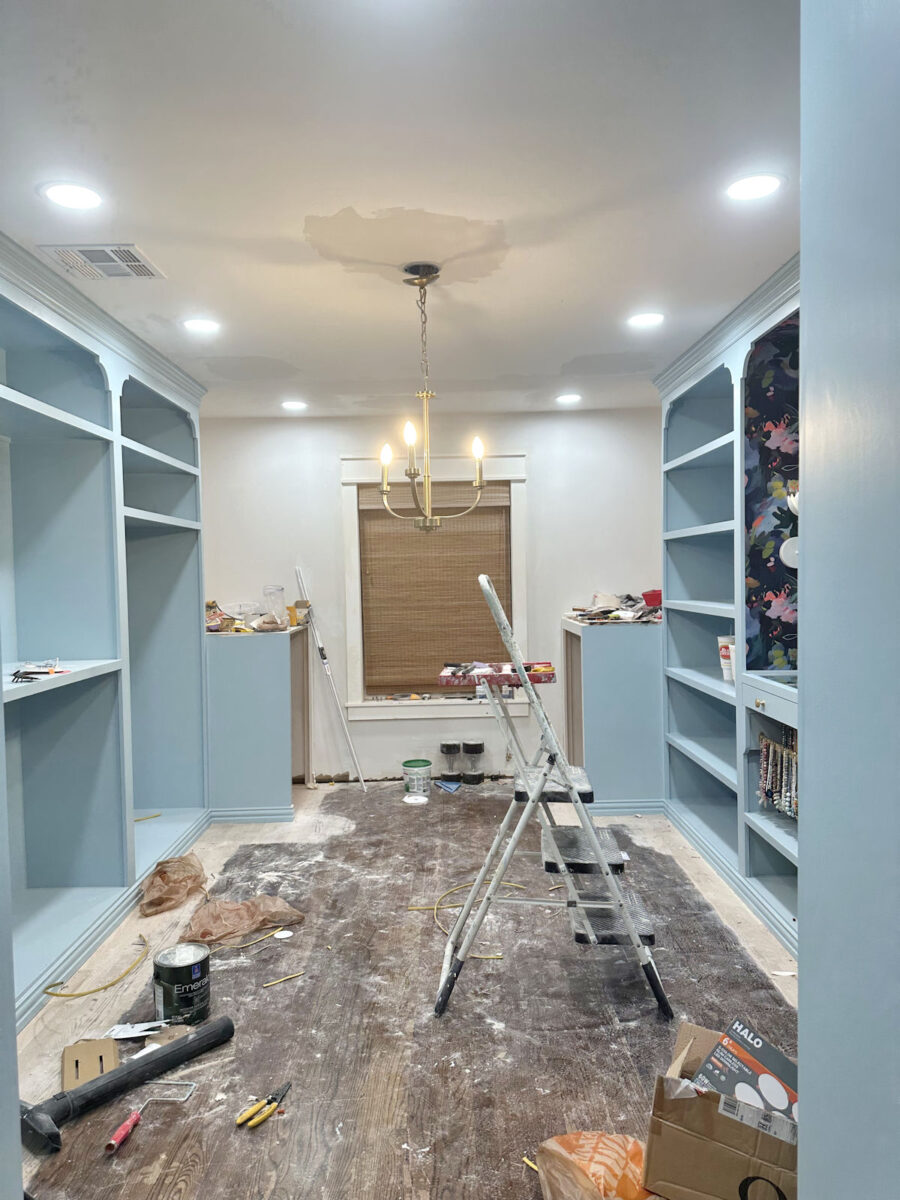
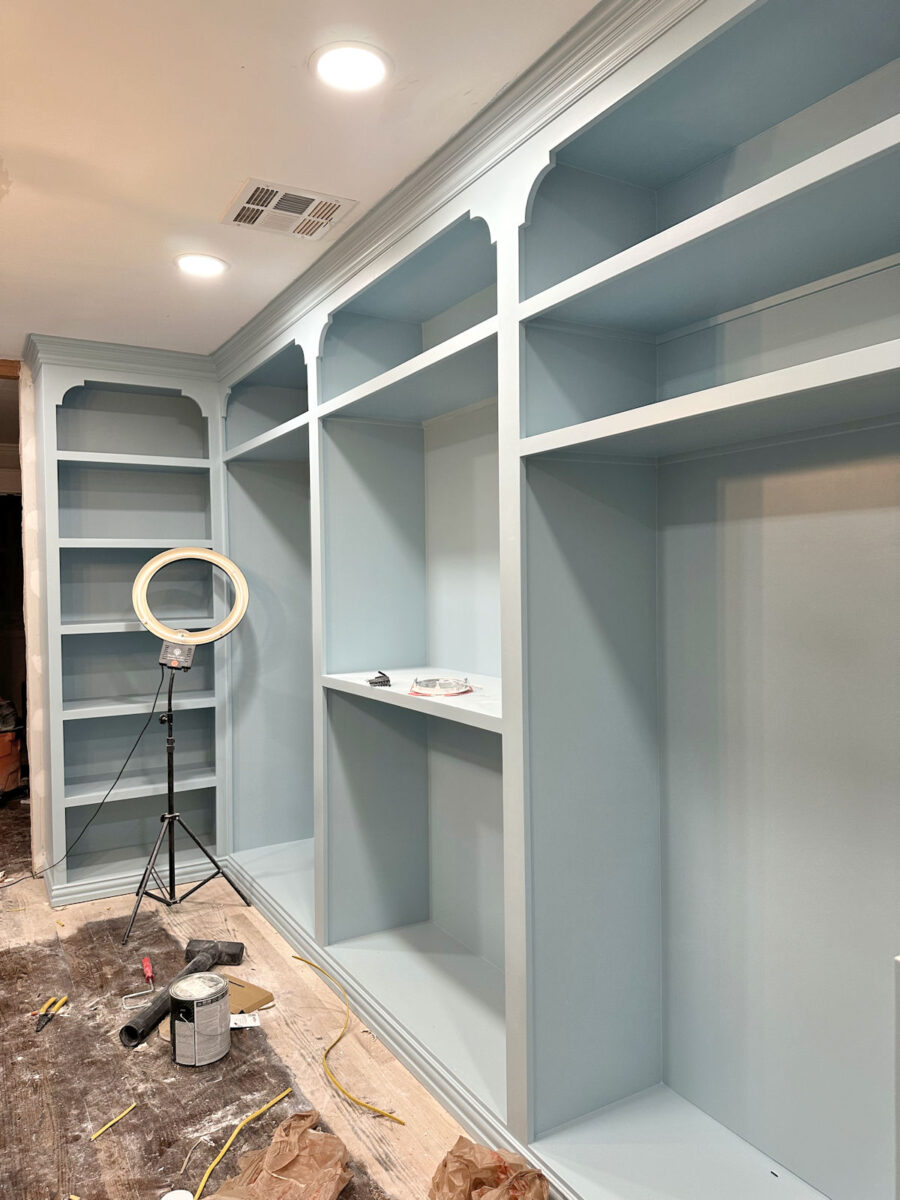
All of that took quite a bit of time but just look at the payoff! I went from having one dim light to light this room to now having all of this light!
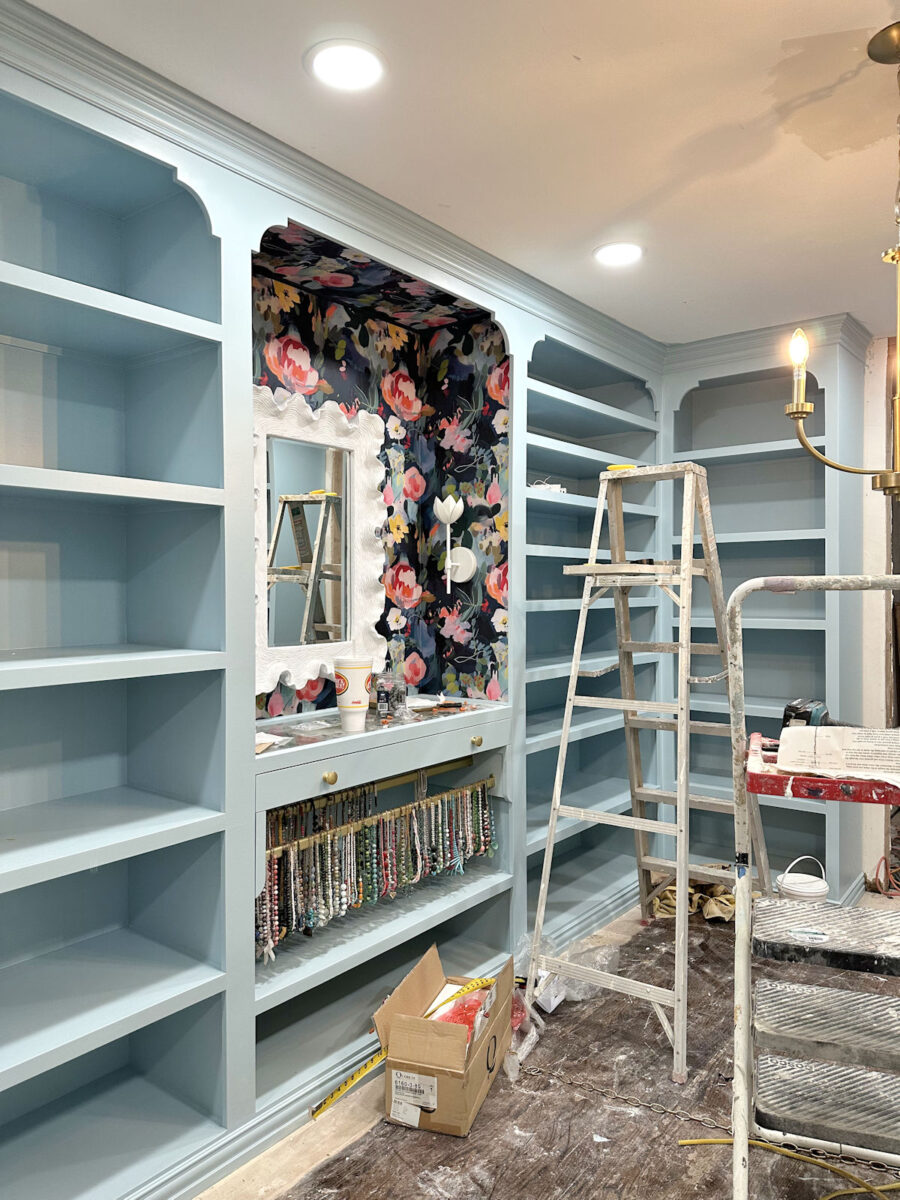
I also installed the center chandelier, but don’t pay much attention to that right now. That light is going to get a pretty big makeover, so it won’t look anything like that once it’s finished. And of course, it will be hanging over the center island, which I still have to build.
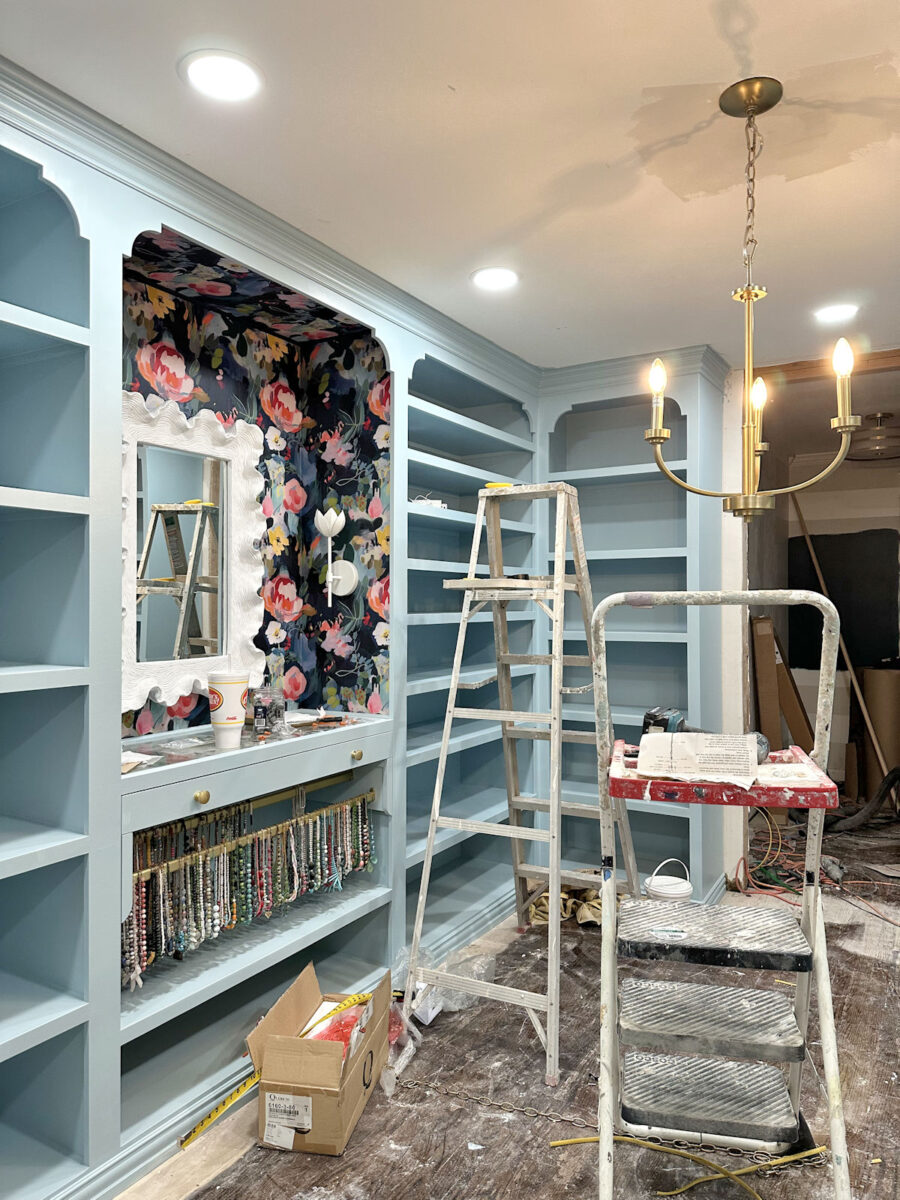
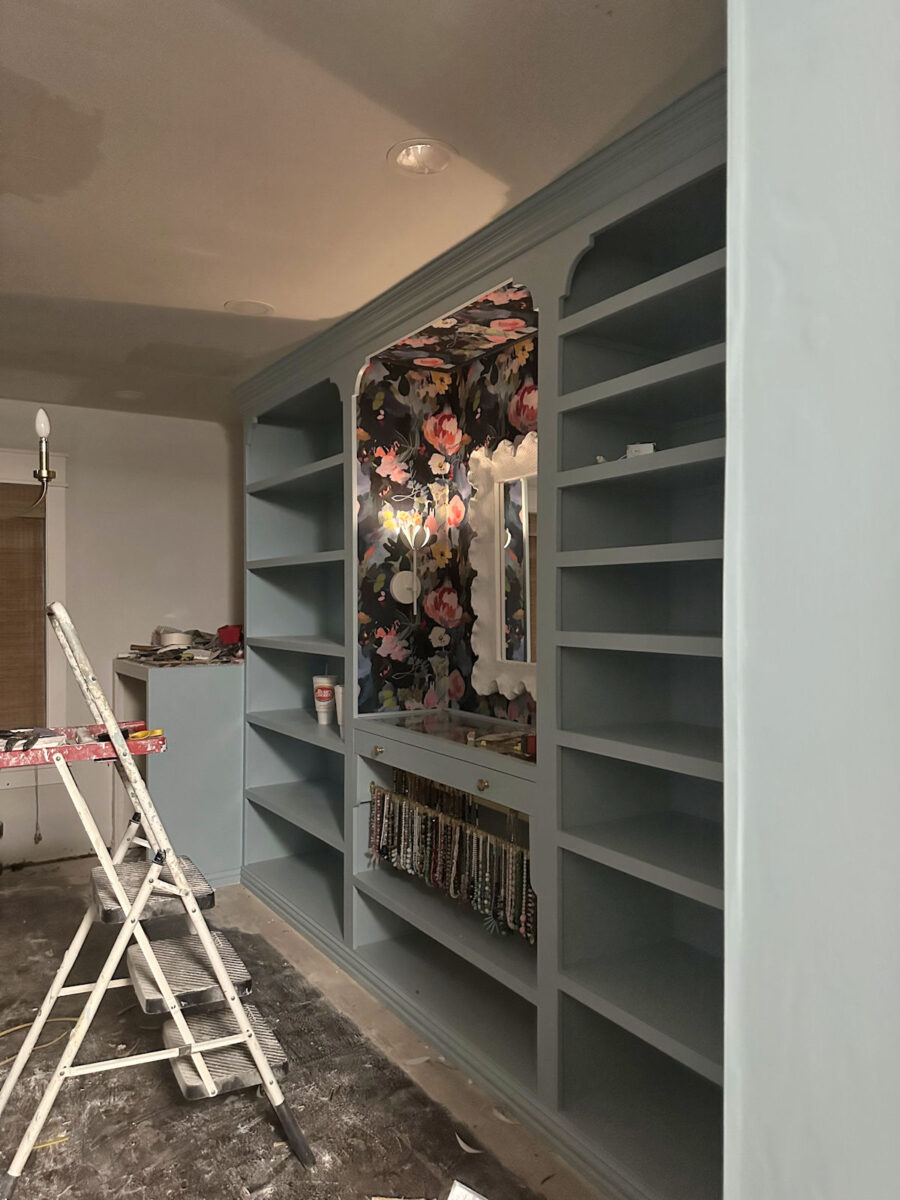
The sconces are on a separate dimmer switch, so I can keep those lights on as a nightlight if I want to. All of the lighting is LED, so they don’t use much electricity at all.
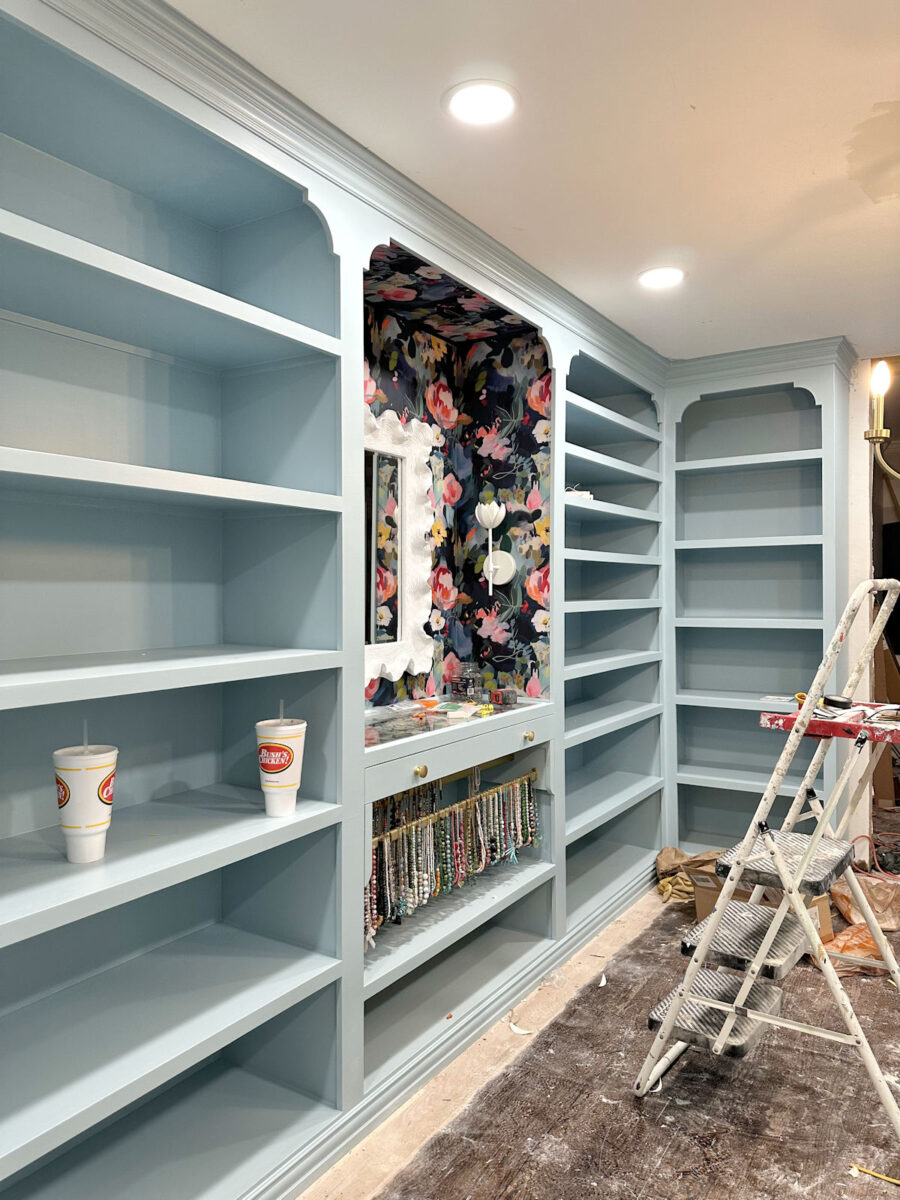
But y’all. Seriously. Check out all of this light!
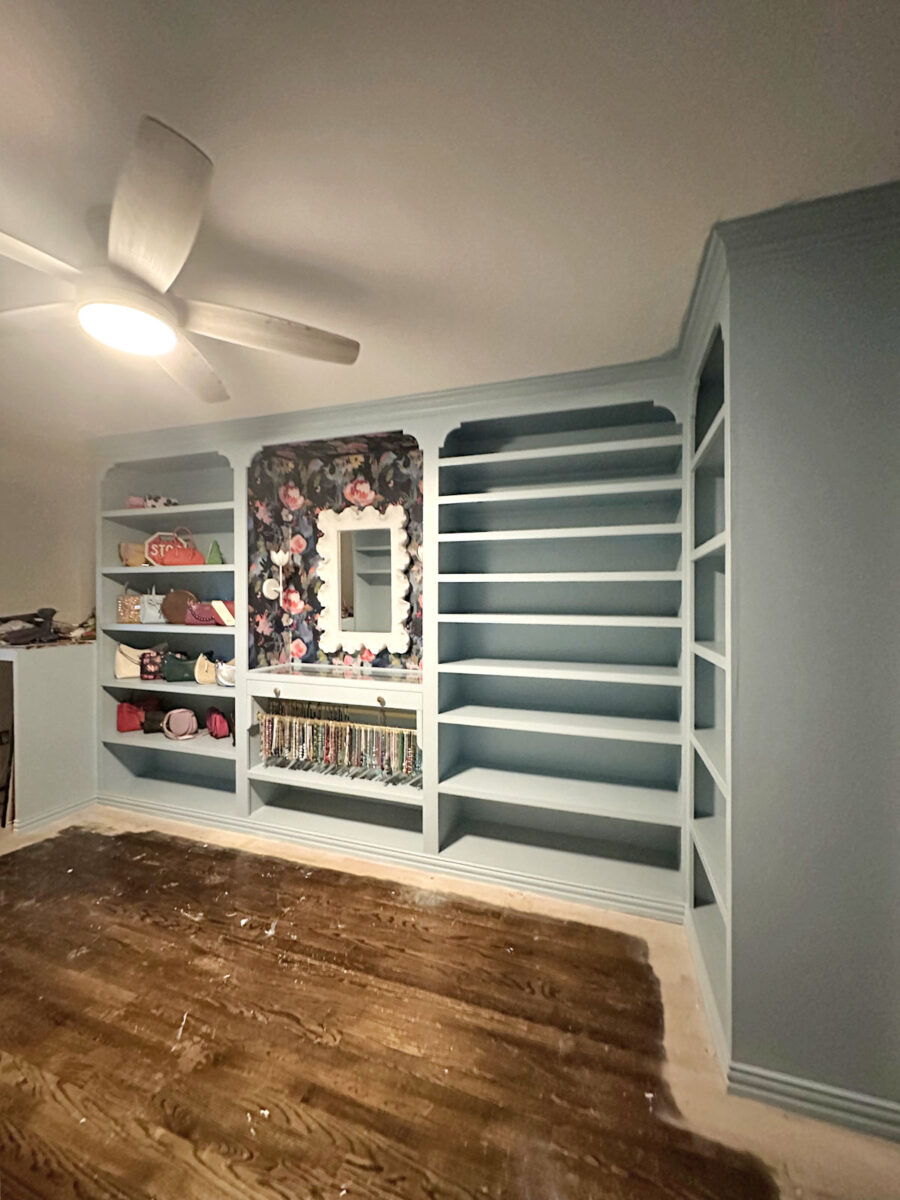
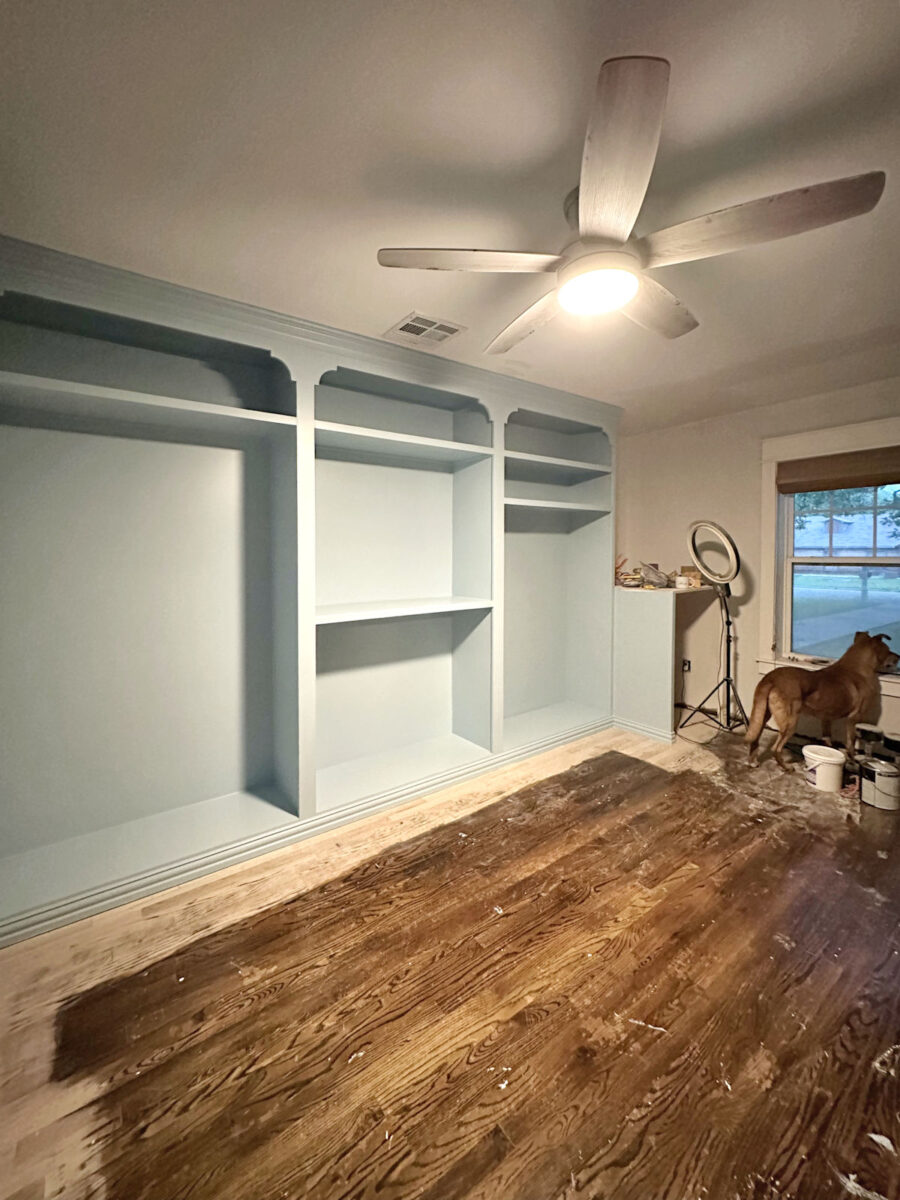
Here’s what it used to look like with that one awful light on the ceiling fan.
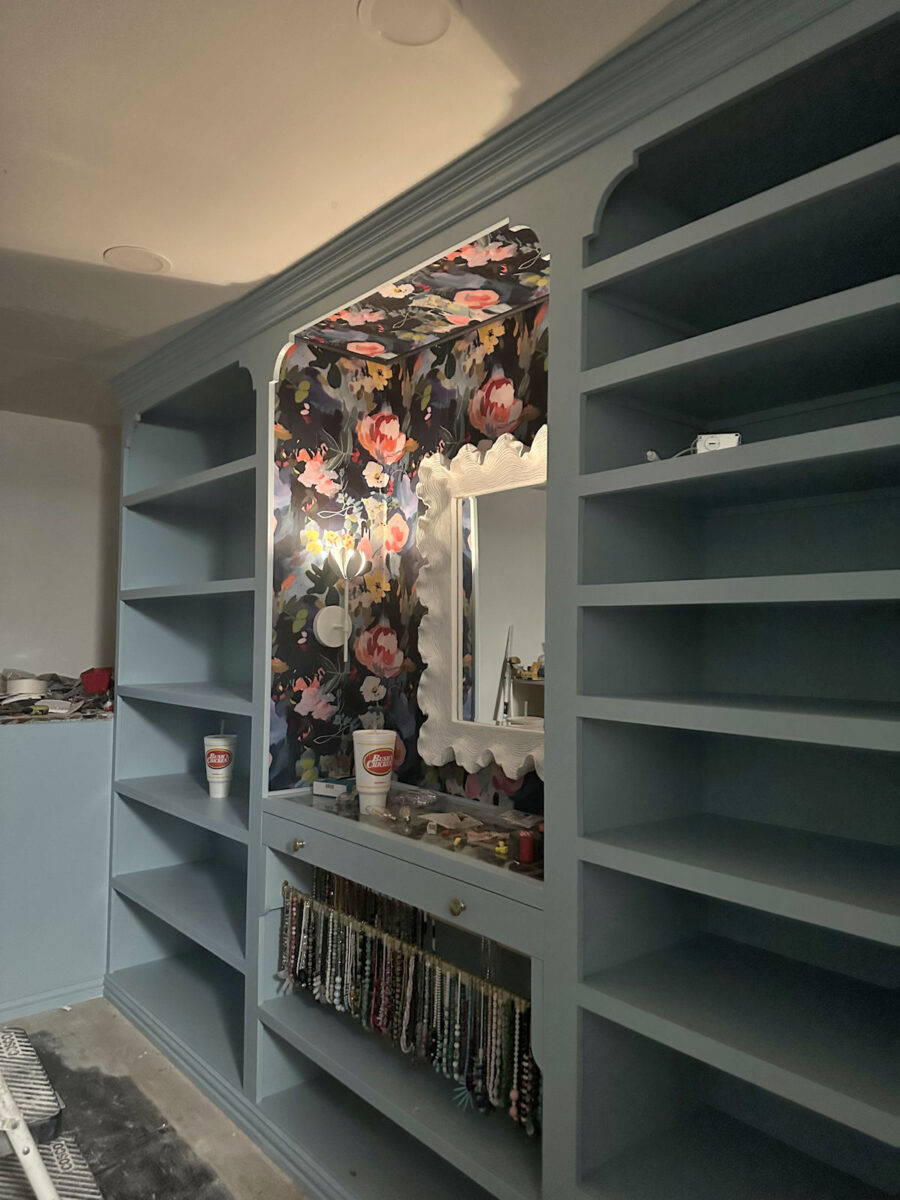
And here’s what it looks like now…
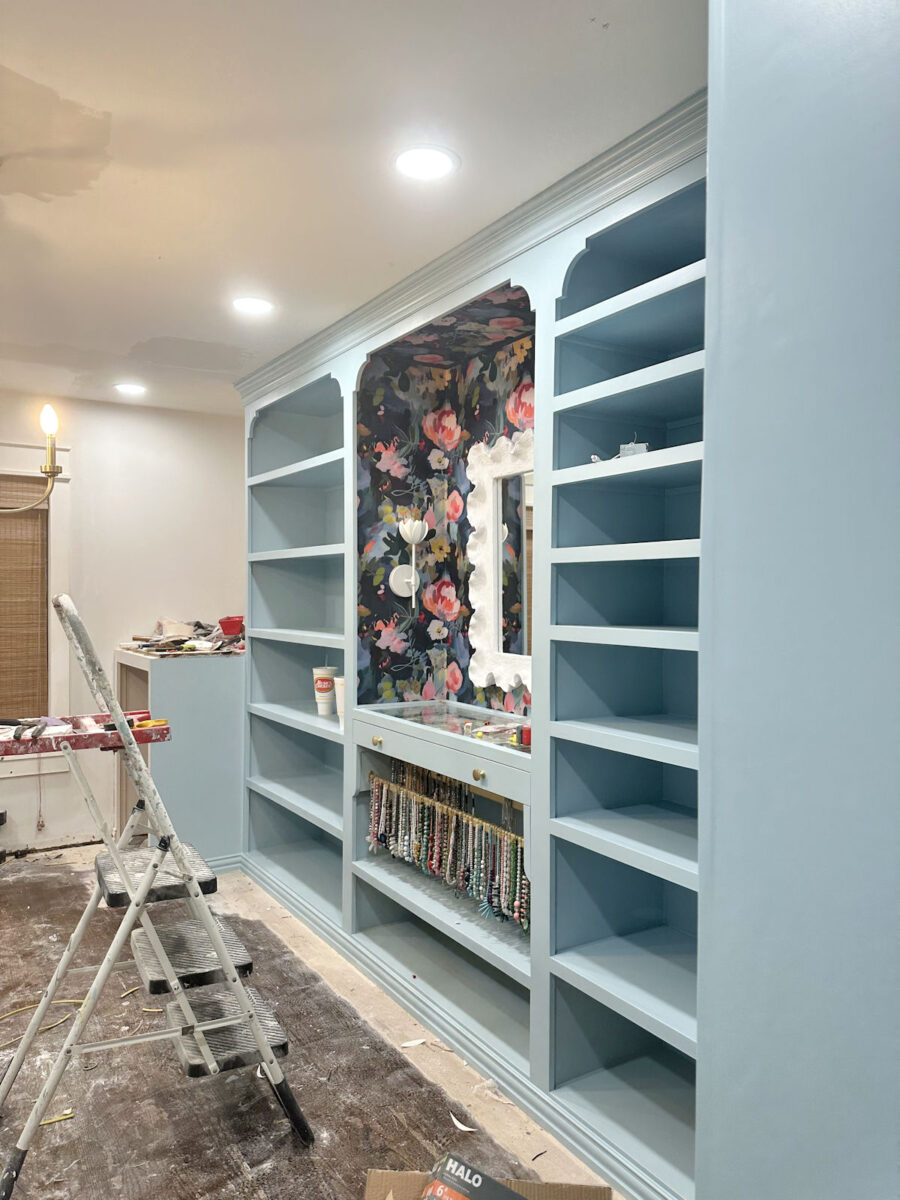
See how the old light makes the color of the cabinets looks so dingy?
That’s why I like daylight bulbs! I can’t stand for lighting to make my pretty colors look dingy. So there’s no more dingy colors in this room.
And I just love these little flower sconces.
I had originally planned to wire all of the lights to one light switch. I’m so glad I went to the trouble of putting these lights on a separate switch.

Anyway, I can mark off one more project from my list. And this was a pretty big project!

What an amazing difference good lighting makes!

Addicted 2 Decorating is where I share my DIY and decorating journey as I remodel and decorate the 1948 fixer upper that my husband, Matt, and I bought in 2013. Matt has M.S. and is unable to do physical work, so I do the majority of the work on the house by myself. You can learn more about me here.