")
Yesterday, I shared that I had a bit of a setback with my walk-in closet island build when I cut most of the pieces for the drawer boxes too wide. I had completely forgotten to subtract the one inch from my measurements to account for the drawer slides. Thankfully, I decided to check the fit after building the first box and realized my mistake rather than building all of the drawer boxes before realizing I had made them the wrong size. But that ended up being a blessing in disguise because as I was taking that drawer box apart, I realized that I wasn’t using the best method for assembly. Having that night of sleep between realizing that mistake and starting on the project again was good for me. So today, I’m going to show how to build drawers the easiest way, and the best method for doing that, in my humble opinion.
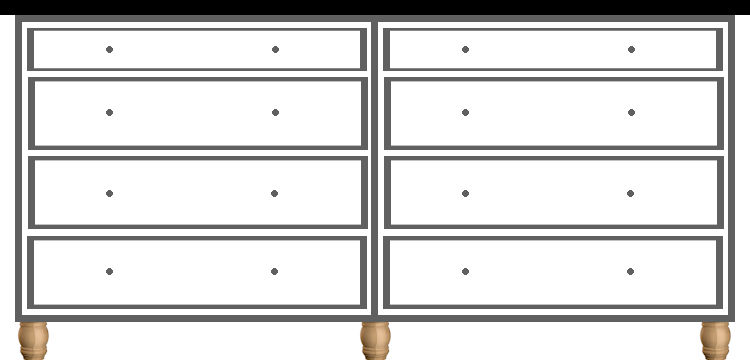
First, I wanted to show you that I made a bit of a design change. I had originally planned on putting four drawers in each section. This was the plan for the side that faces the hanging clothes side of the closet…
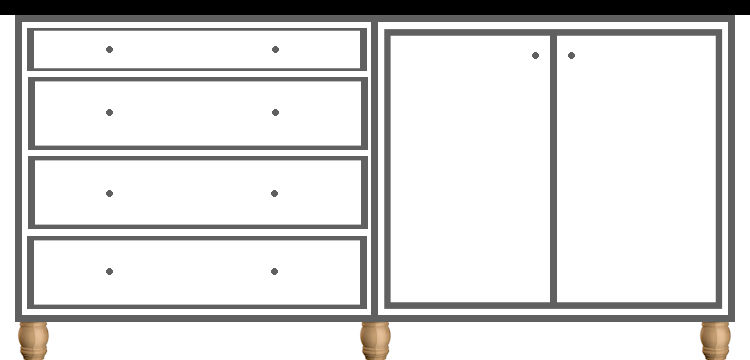
And then on the side that faces the jewelry/mirror side of the closet, I planned for this configuration, with four drawers on the left side and cabinets on the right side.
But as I started figuring the measurements for the drawers with each section having four drawers in it, I realized that the depth of those drawers wouldn’t really be practical for a closet. It would have been great for a kitchen or my studio, but in my closet, I needed deeper drawers. I need a place where I can store clothing items that I don’t hang, and that includes stacks of paint- and caulk-covered jeans, hoodies, t-shirts, sweatshirts, etc. In other words, all of the clothes I wear each day to work in. I have a lot of them, and stacks of jeans, hoodies, and sweatshirts won’t fit well in shallow drawers.
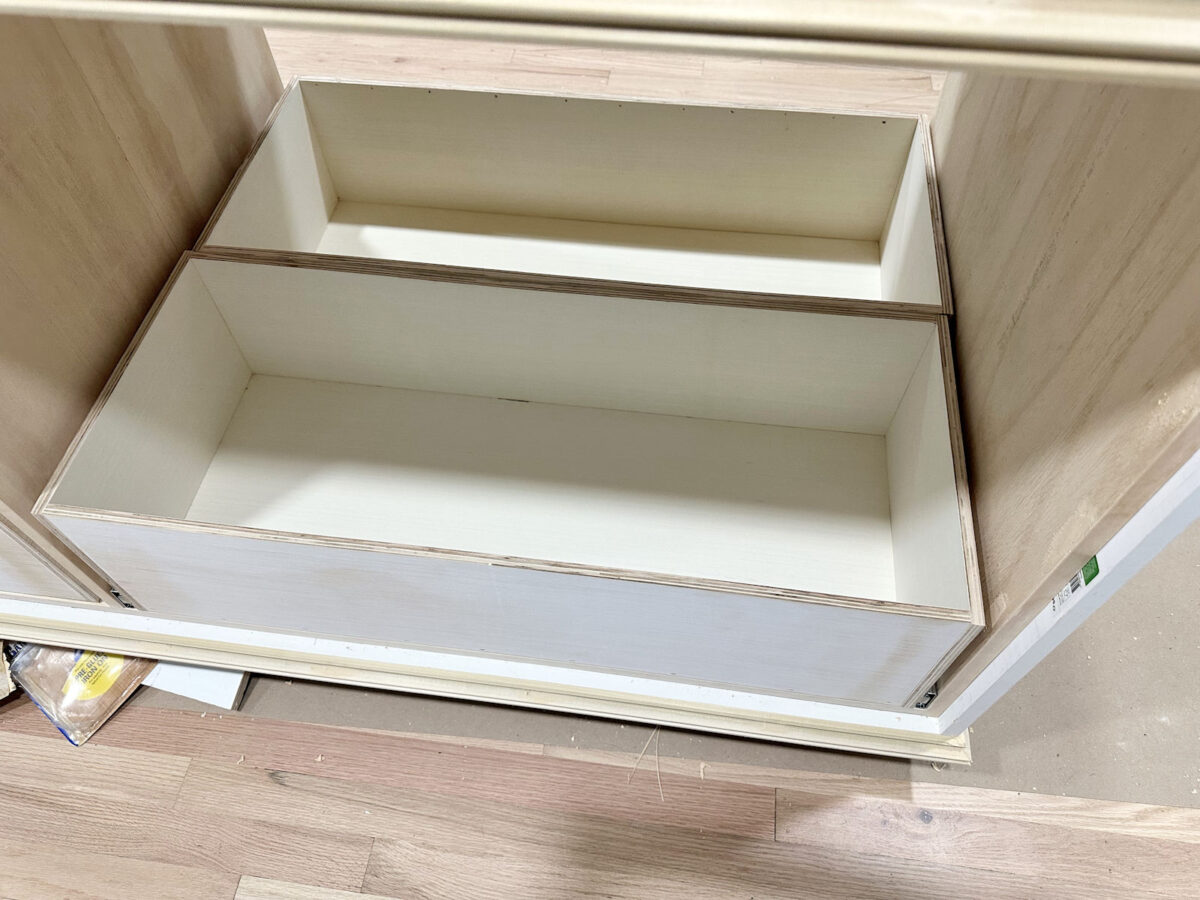
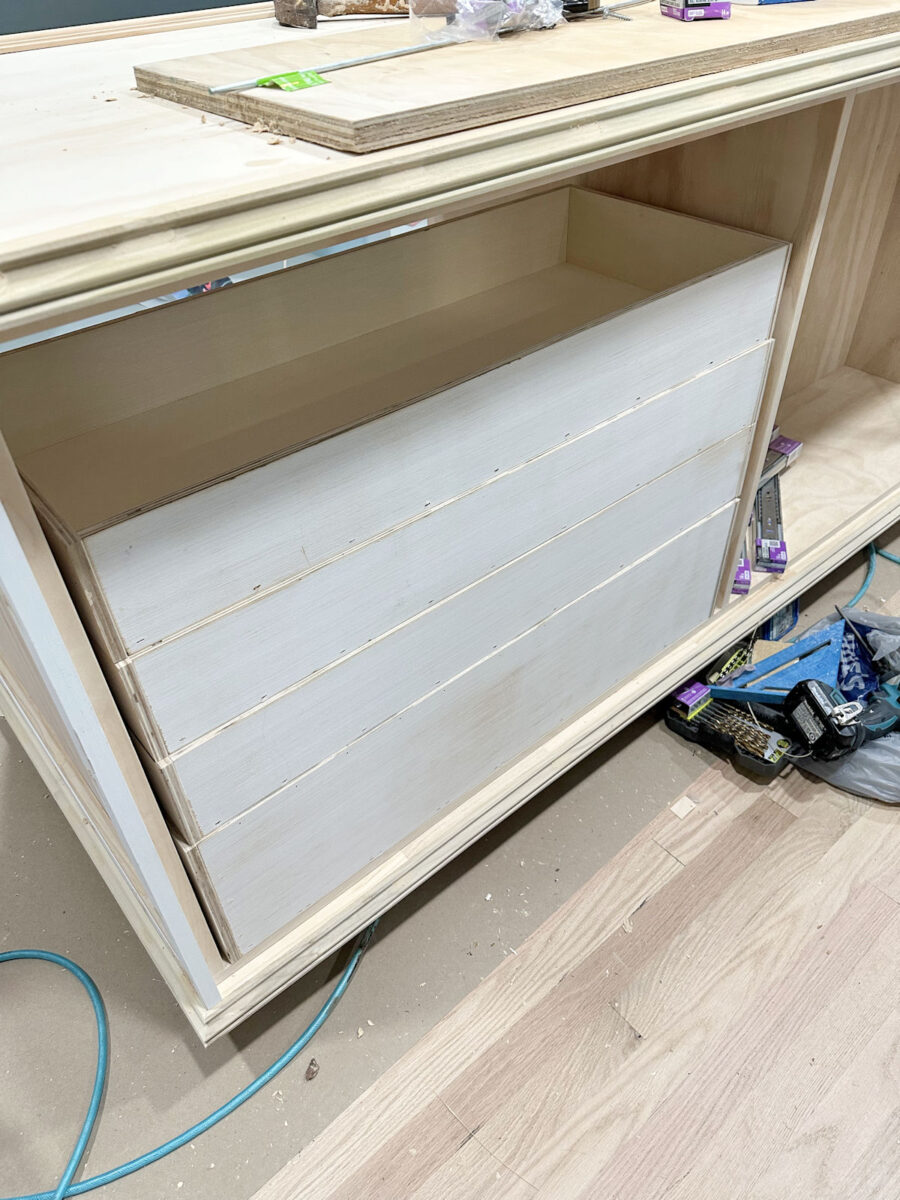
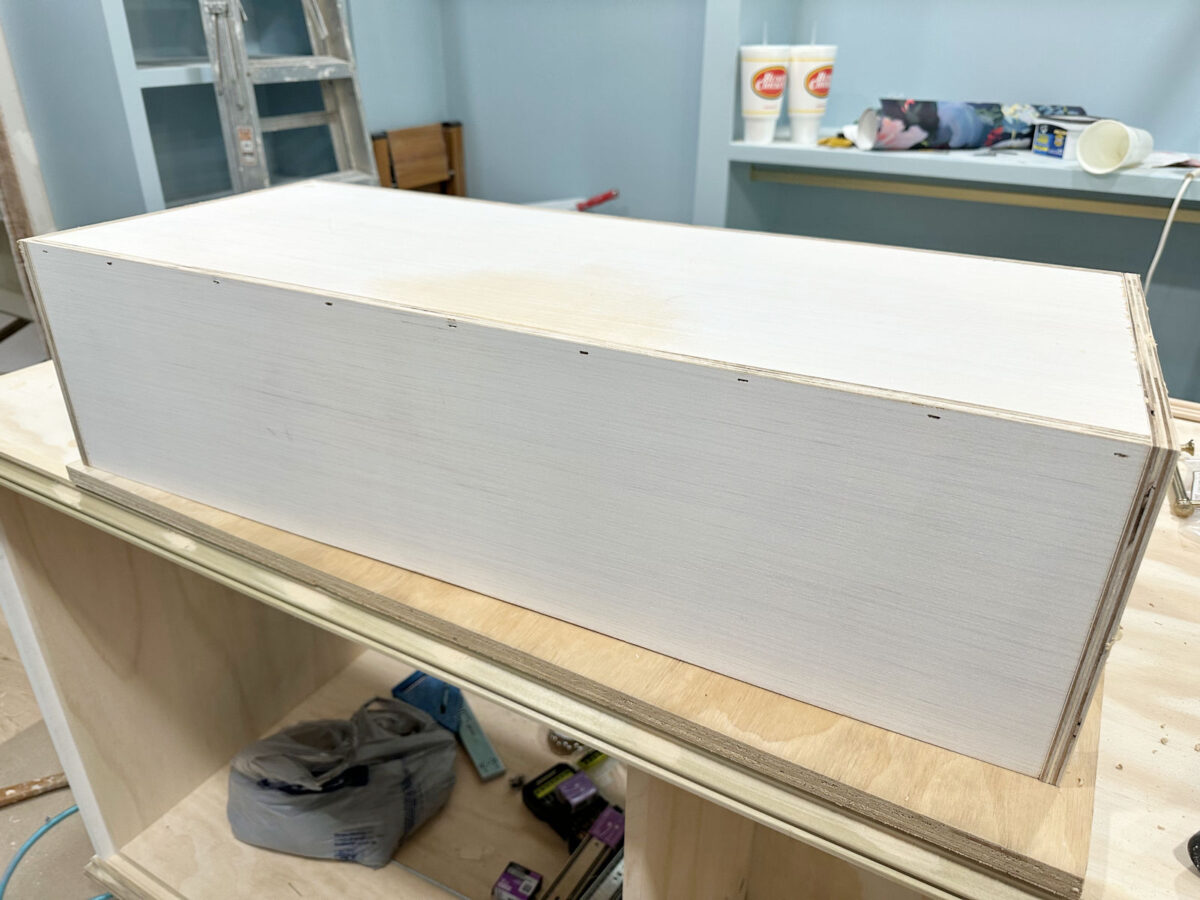
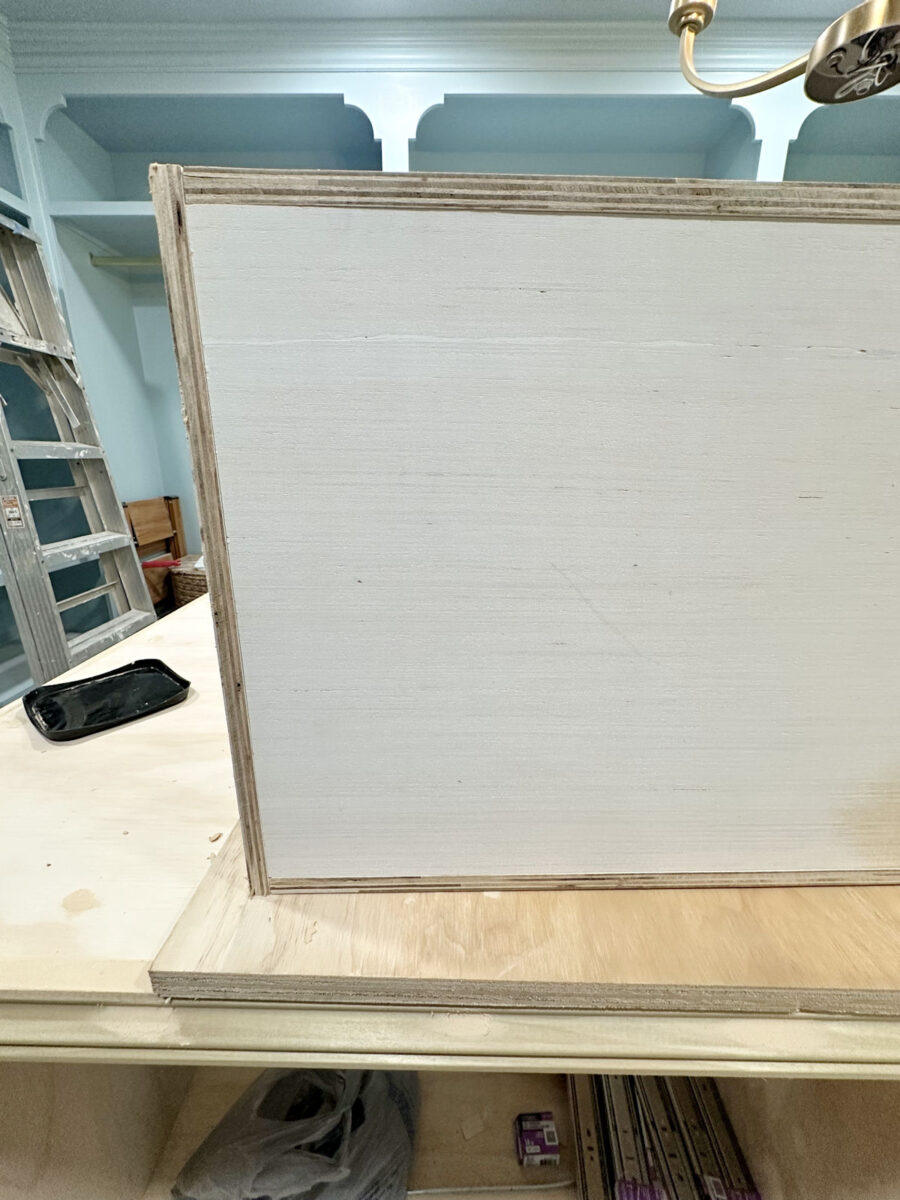
So I decided to make the two sections on the hanging clothes side of the closet deeper and only have three drawers in each section. The boxes themselves are 8.5 inches high, but there will be more space once the drawer front goes on. The drawer fronts on these will be about 9.25 inches high. Obviously, drawer boxes don’t sit right on top of each other in a dresser or cabinet. Here’s what those drawer boxes look like…
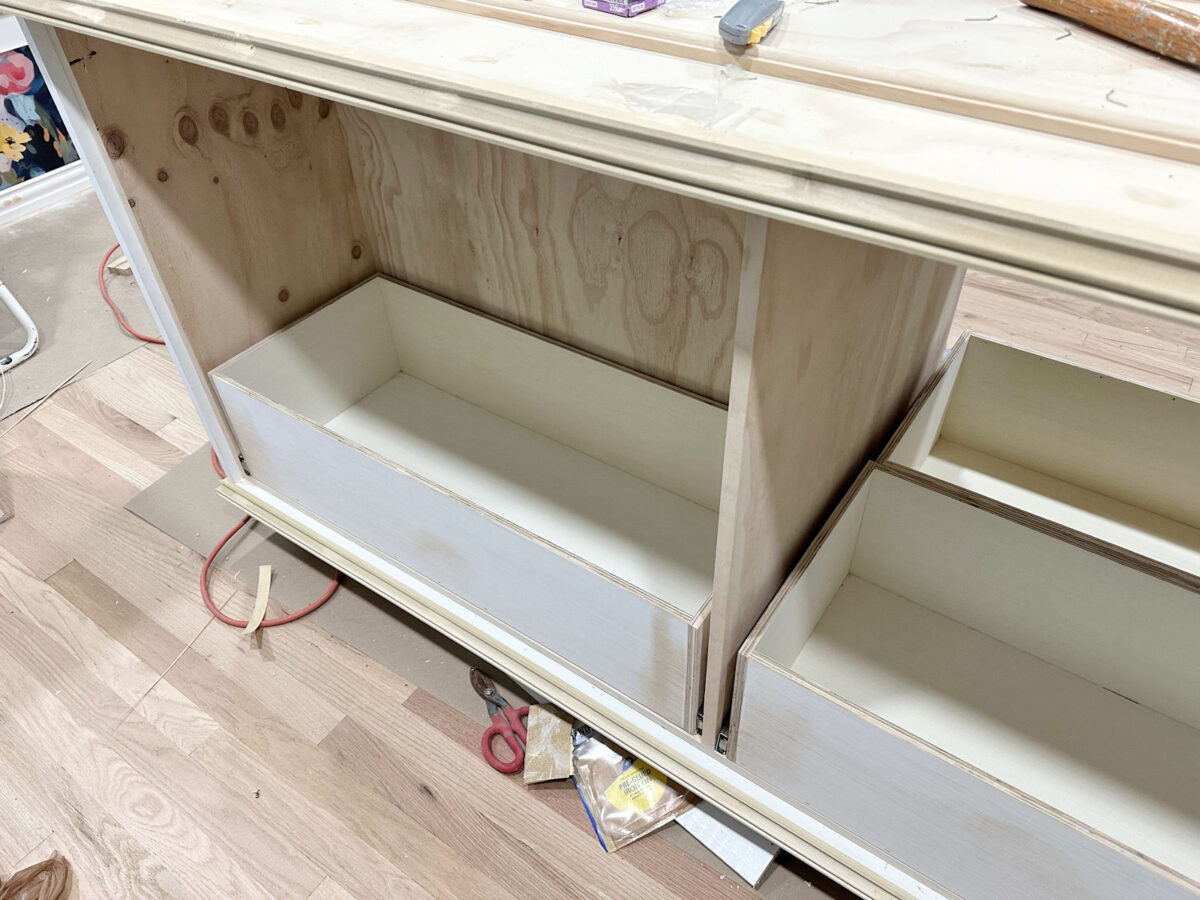
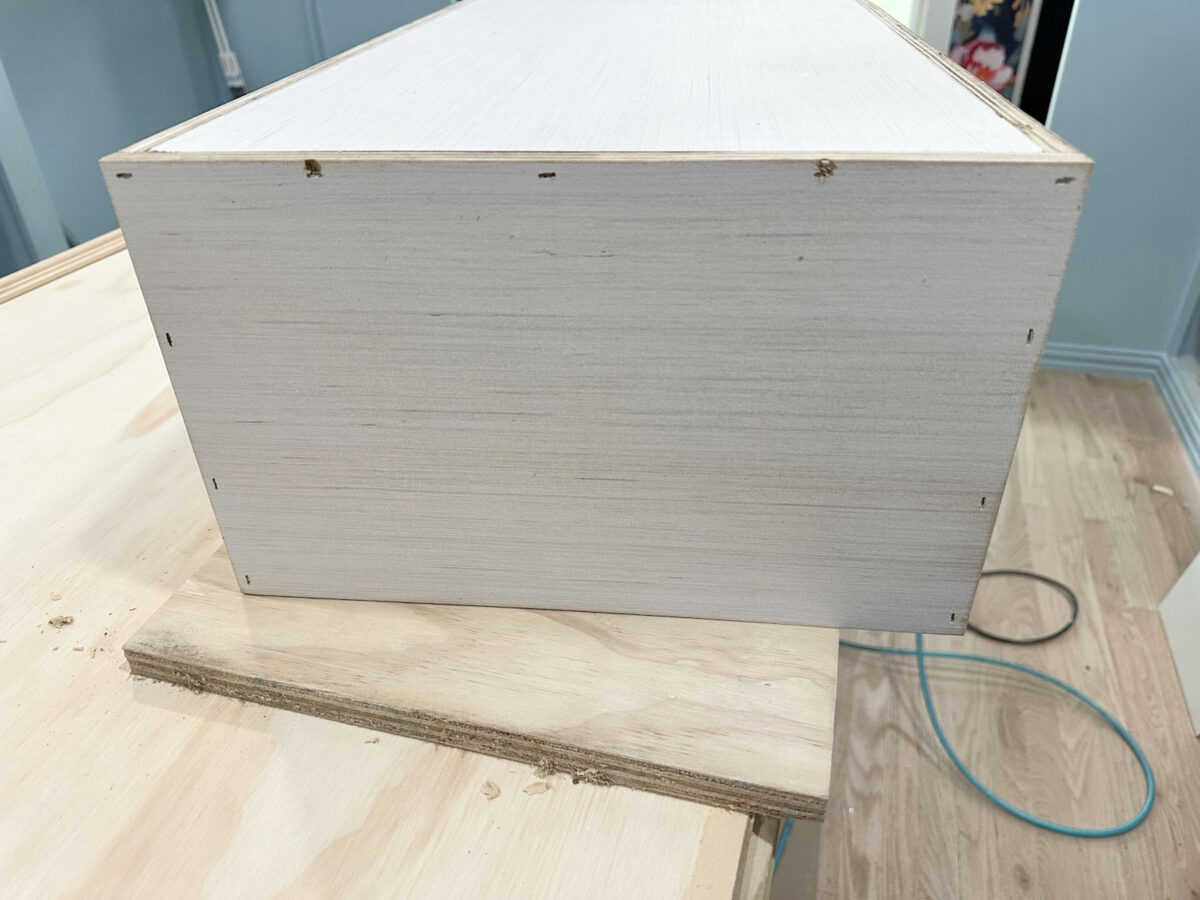
And here’s what they look like in the section that will have drawers on both sides. I made them as big as I could while leaving a fraction of an inch between them where the backs meet.
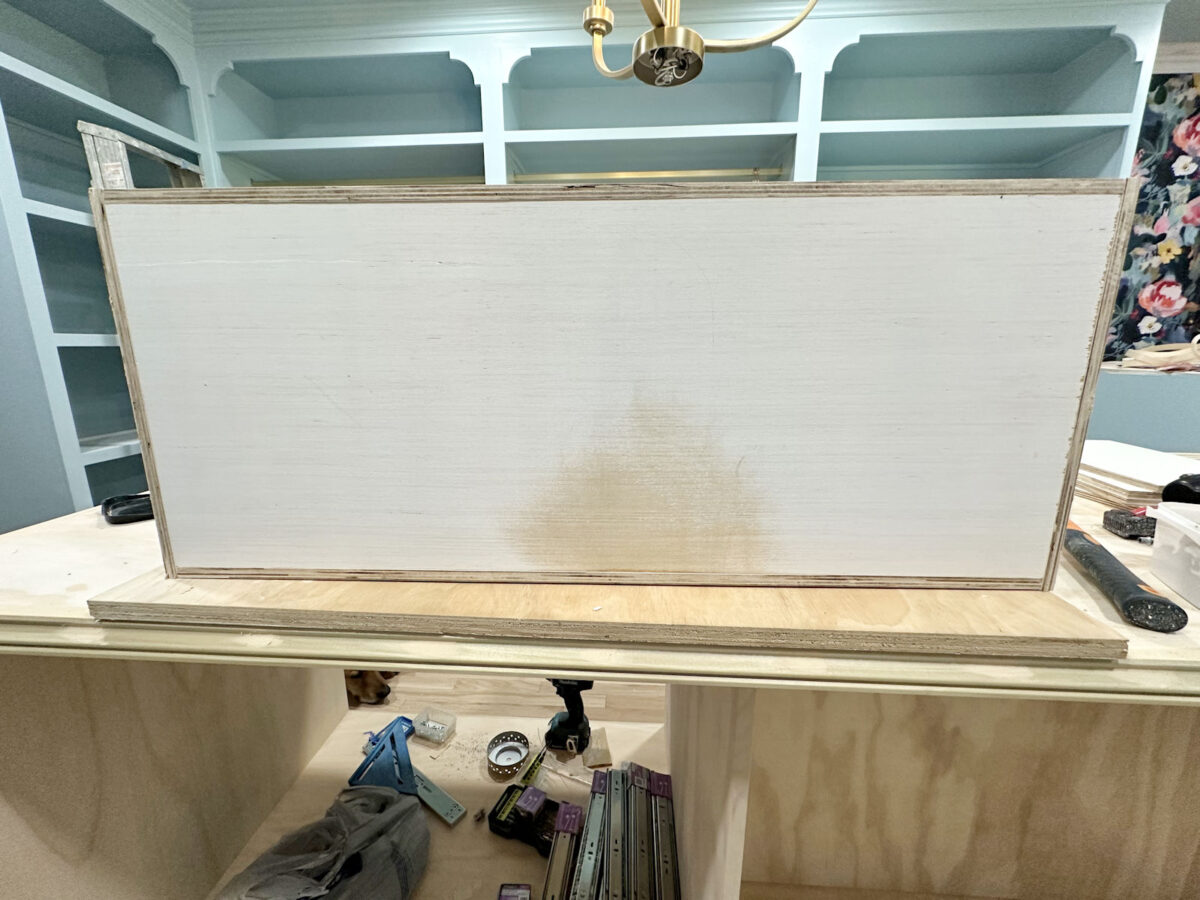
But on the side that faces the jewelry/mirror side of the closet, I decided to keep four drawers. The bottom one is a deep drawer, and the other three are shallower. Obviously, they’re not installed yet, and again, drawer boxes aren’t stacked on each other like that when they’re installed. There will be space between them once they’re installed and the drawer fronts are on.
So let’s get to the process…
How to build drawer boxes the easiest way
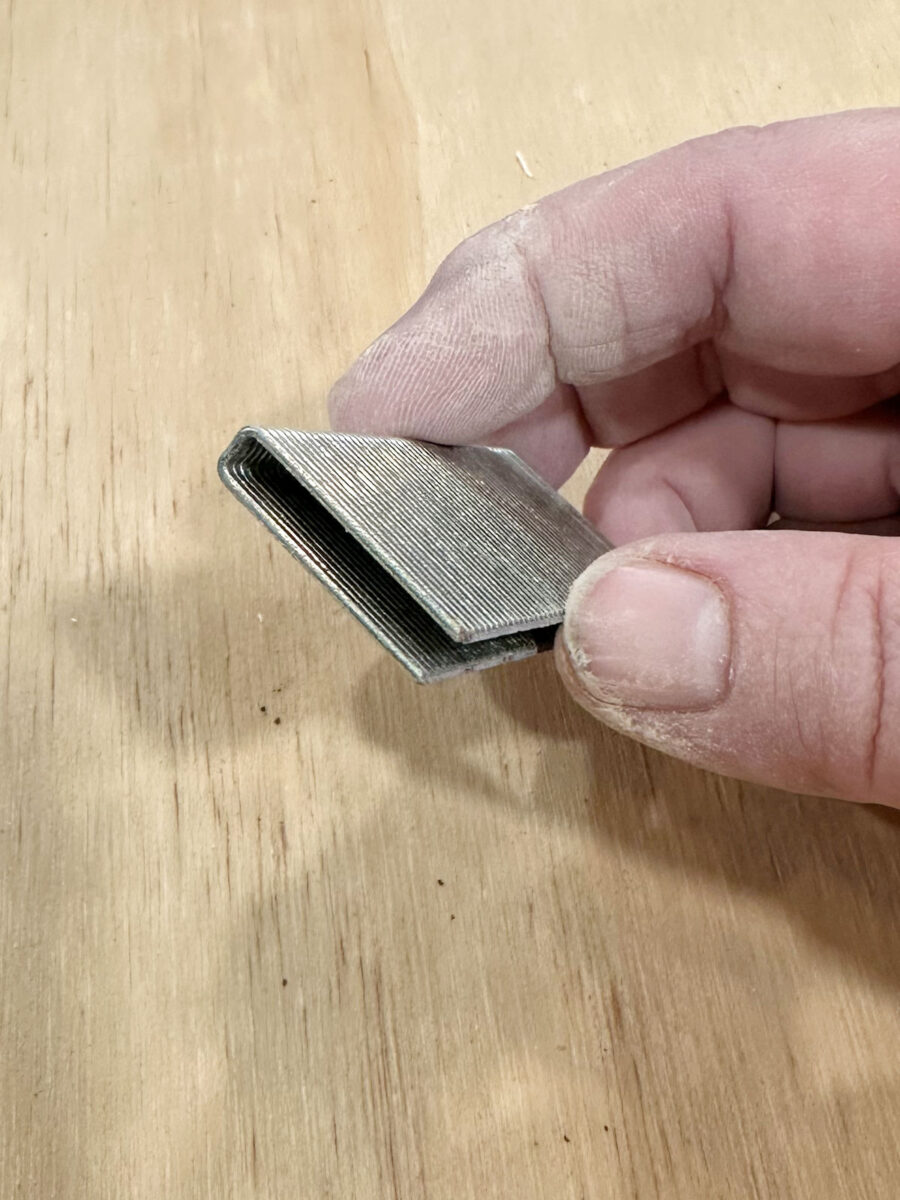
First, I highly recommend using staples instead of nails to assemble a drawer box like this. My drawer boxes are made out of 1/2-inch plywood, so I used these 1-inch narrow crown staples. (Please forgive my messy wood filler-covered fingers.)
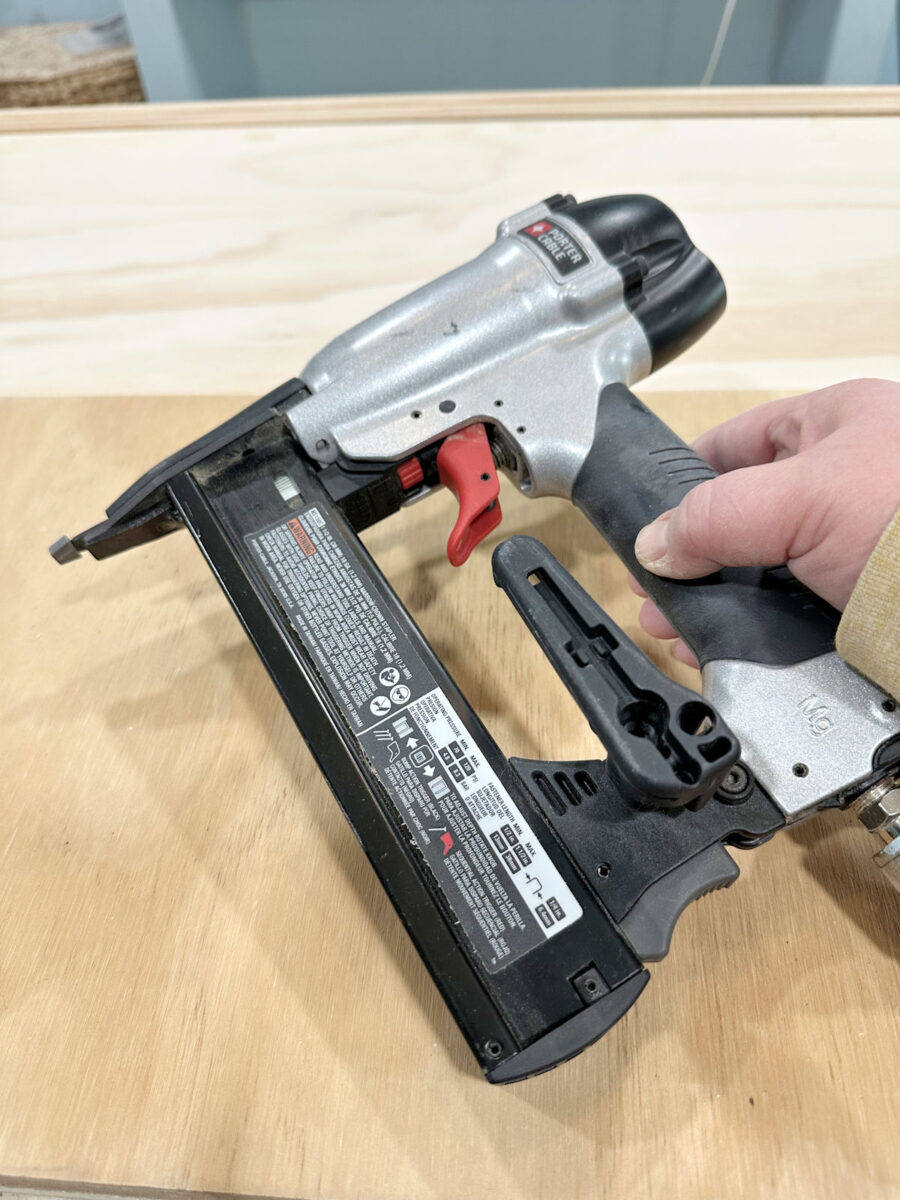
For those, you need a narrow crown stapler, which looks just like a nail gun. I got this Porter Cable narrow crown staple gun at Home Depot. I generally use it for upholstery projects, but it’s also great for projects like these easy drawer boxes.
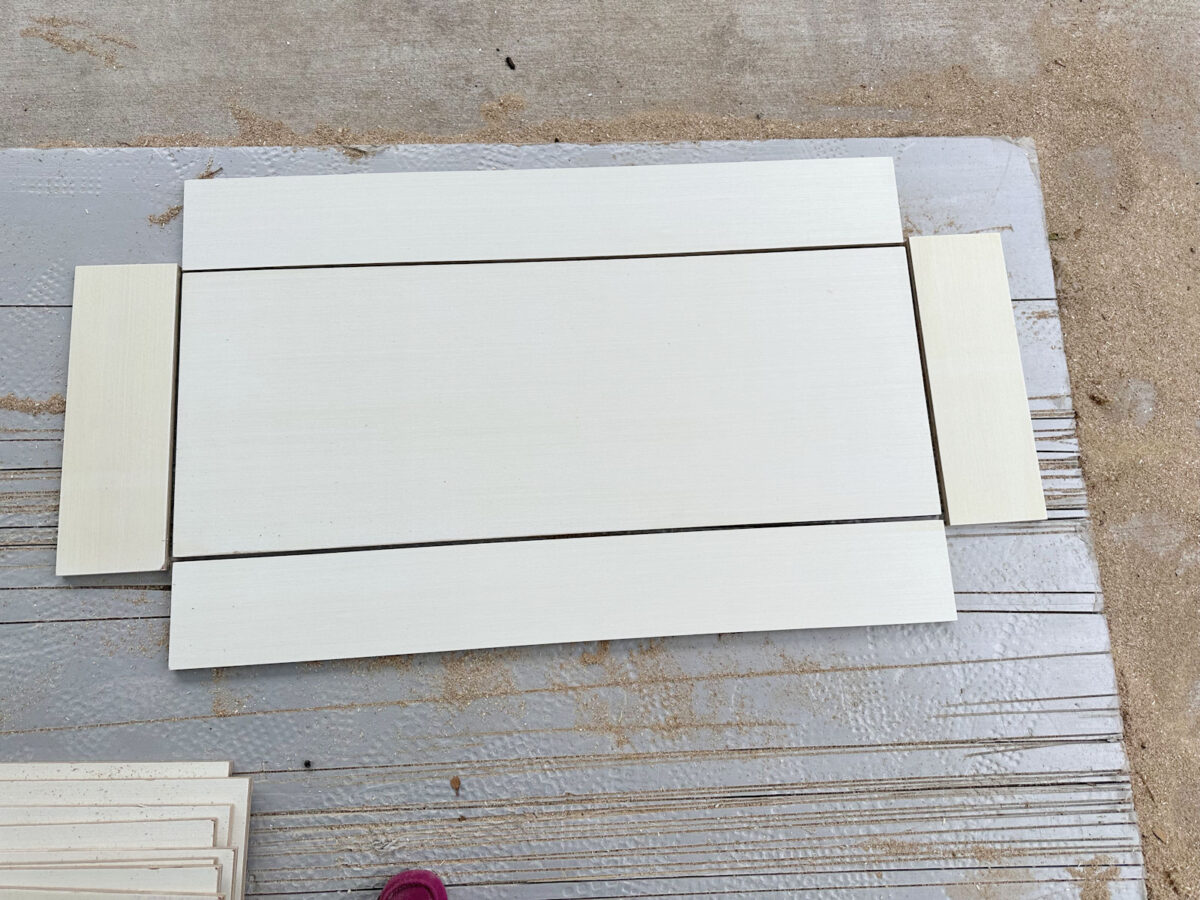
As I showed you yesterday, I cut these five pieces for each drawer box. The bottom piece is cut to the finished length and width of the drawer box minus one inch in each direction. So if I want my finished drawer box to be 35″ x 14″, the bottom piece is cut to 34″ x 13″. The front and back pieces are cut to the same width as the as the bottom piece (34″) and the height that I want this drawer box to be (this one is 4.5″). And the sides are cut to the finished size of the drawer box (14″) and the height of the drawer box (4.5″).
I used my table saw to rip the plywood to the correct widths, and then used my miter saw to cut them to the exact lengths I needed.
Assembling these is as easy as stapling the front and back pieces to the bottom piece, and then stapling the ends on. It really can’t get much easier than that. You can see here that I used nine staples to staple the front and back pieces to the bottom piece (the drawer box is obviously turned upside down here). So the advantage of using staples is that those nine staples are pretty much the equivalent of 18 nails. I put them roughly 4.5 inches apart.
Once the front and back were attached to the bottom piece, I attached the ends, stapling that on all three sides.
Here’s a look at it from the bottom. I got a bit aggressive with the sander on this piece. 😀
But you can see that the side pieces extend 1/2″ past the bottom piece on each side to cover the edges of the front and back pieces.
Staples generally go in cleaner than nails, and they don’t have a tendency to bend as they go in and come out the side of the wood like nails often do. But they do sometimes take a chip out of the plywood, as you can see here. But that’s nothing that a bit of wood filler won’t fix.

And that’s it. It really is the easiest type of drawer box to build, and since it’s put together with staples, it very sturdy. I don’t know that I would recommend this very basic type of drawer box for a kitchen or another room that gets a ton of traffic and use each and every day. For those, I would probably recommend another method of assembly. But for something like this dresser, I personally think they work perfectly.
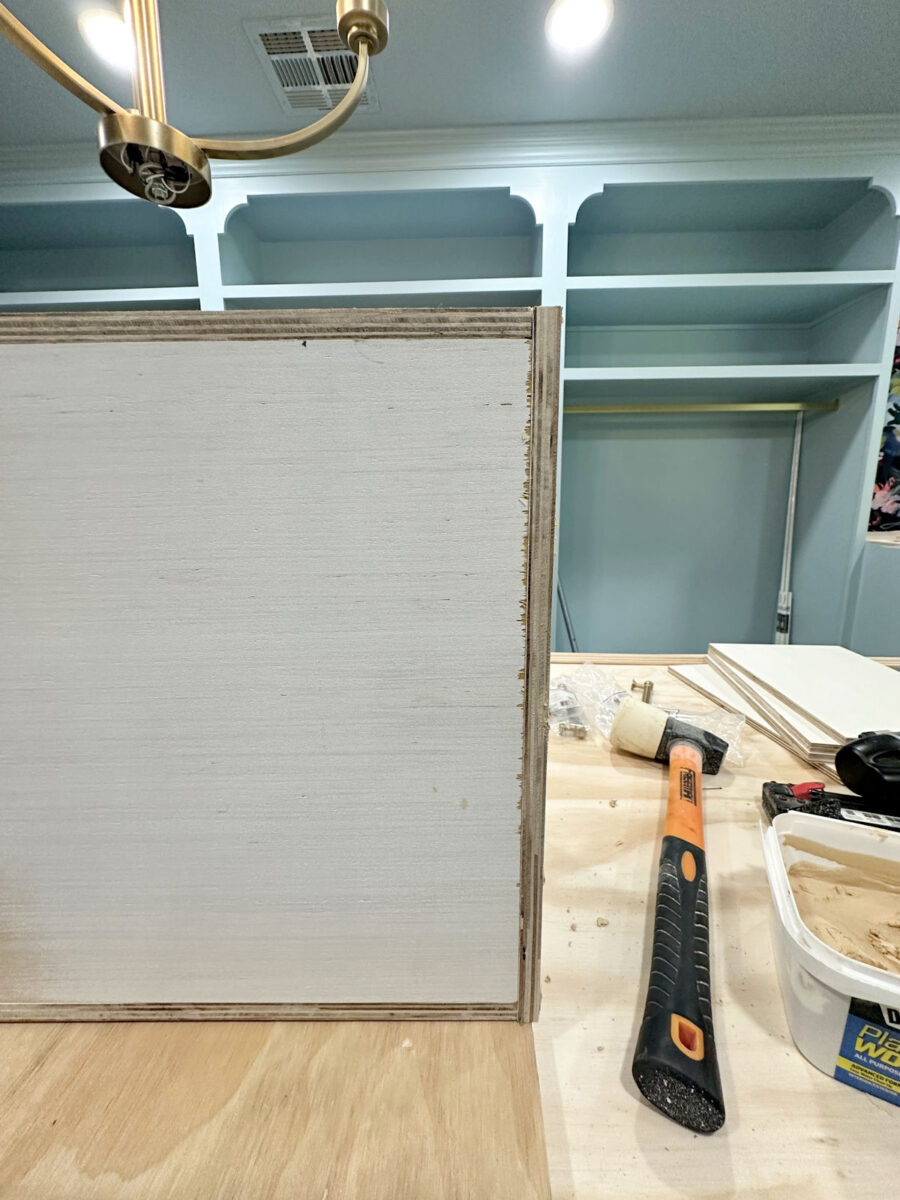
And once it’s assembled, I fill the staple holes on the sides with wood filler, and then sand the whole thing, especially making sure that all of the joints where the pieces come together, as well as the top edges of the drawer box and the corners where they meet, are all sanded smooth.
You can also use iron-on edge banding to cover the top edges of the drawer box to give it a really nice, clean, finished look, which I’ll probably do on these.
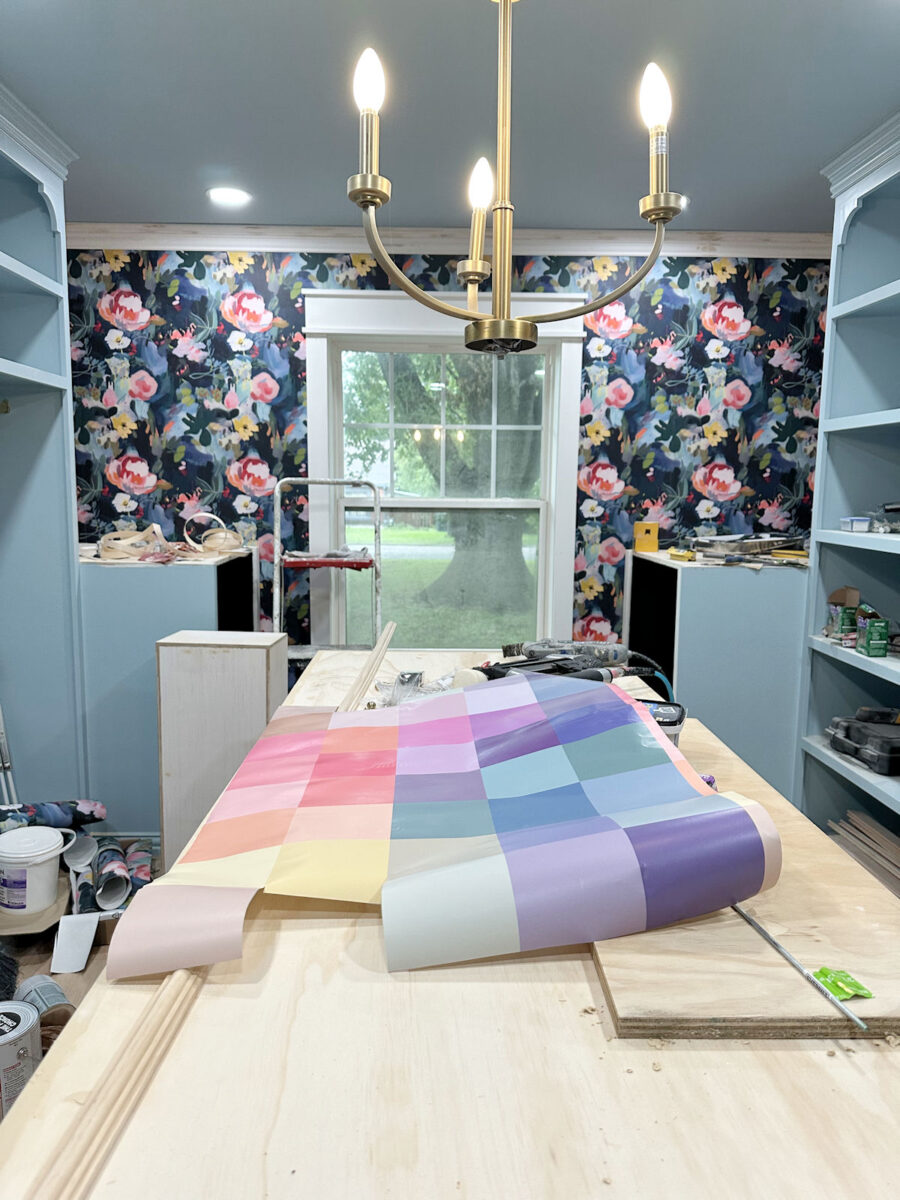
On a random note, do y’all remember this wallpaper I designed to go in the studio bathroom? Obviously, I won’t be using it in there now since the plan is to turn that bathroom into a walk-through pantry, so I’m considering using it to either line my drawers or maybe use on the sides of the drawers just for a fun bit of color when the drawers are open.
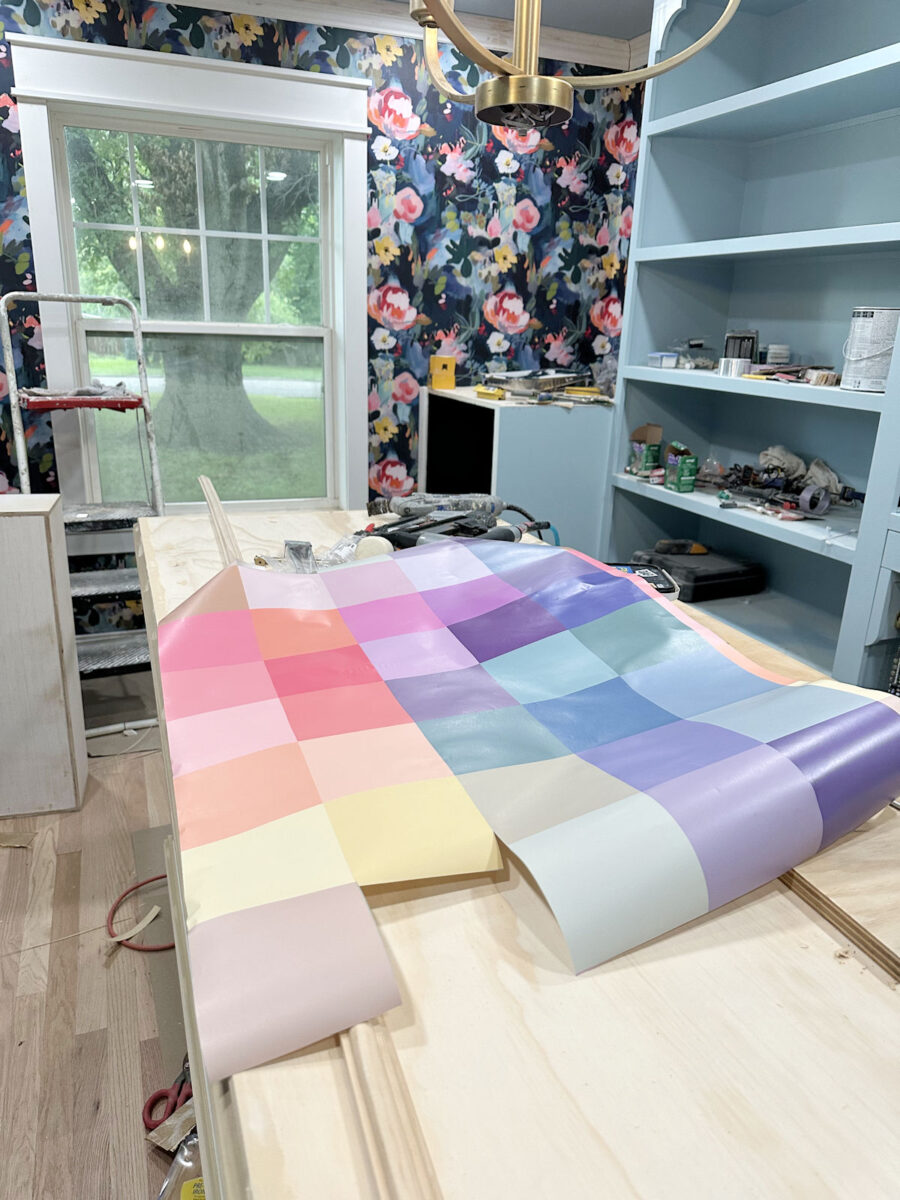
The colors aren’t perfect for this room. The wallpaper has lots of purple in it and no dark blue. But does it really matter? It won’t show in the room unless I open a drawer, so really, the color is just for fun and only for my enjoyment when I open a drawer.
But now for the news you have all been waiting for. I have friends who are coming over TOMORROW to help me move the washer and dryer into the closet!! WOOOHOOOO!! 🍾🎉🙌 I have been without a dryer since the middle of December, so it will feel like Christmas morning when I finally have that hooked up and usable! But I have a lot of cleaning up to do before they get here, so I better get busy!
More About My Walk-In Closet/Laundry Room

see all walk-in
closet diy projects

read all walk-in
closet blog posts

Addicted 2 Decorating is where I share my DIY and decorating journey as I remodel and decorate the 1948 fixer upper that my husband, Matt, and I bought in 2013. Matt has M.S. and is unable to do physical work, so I do the majority of the work on the house by myself. You can learn more about me here.