")
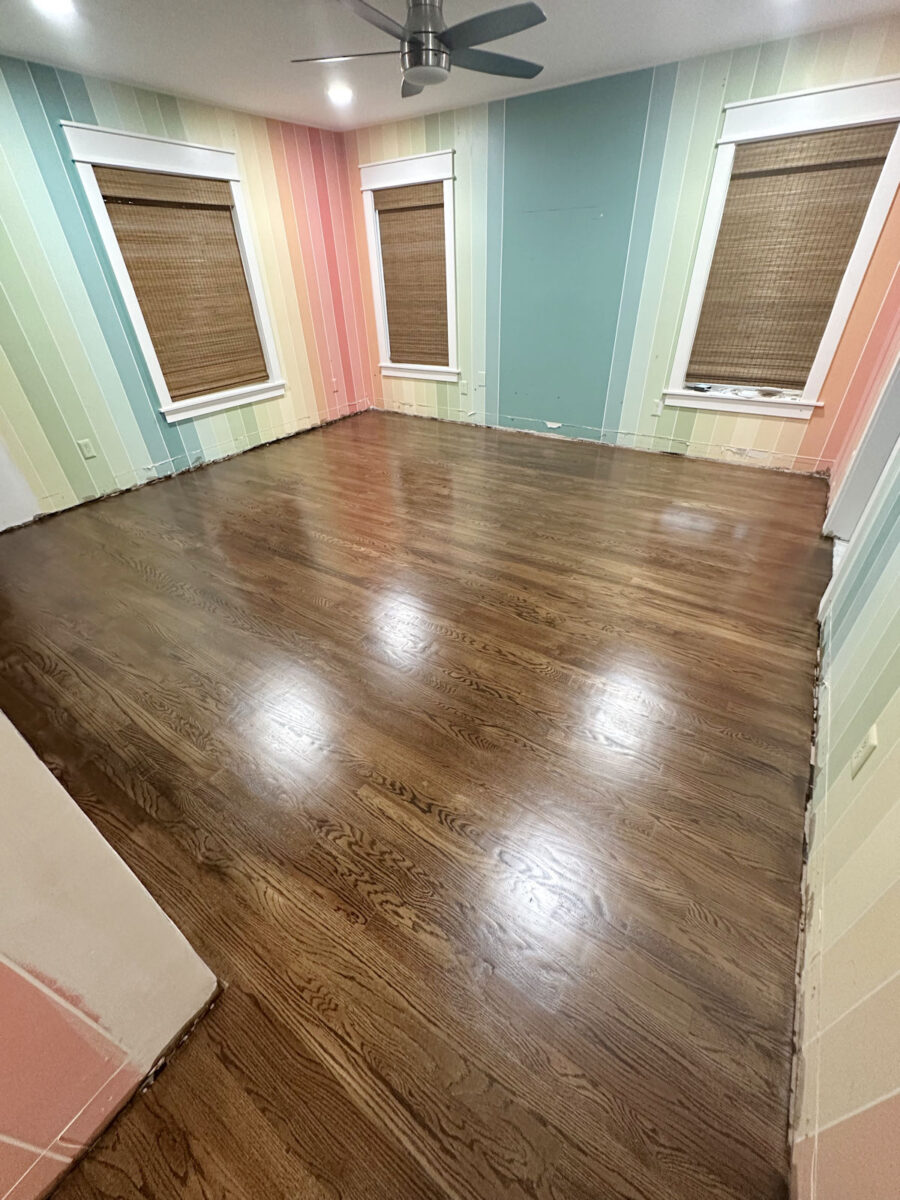
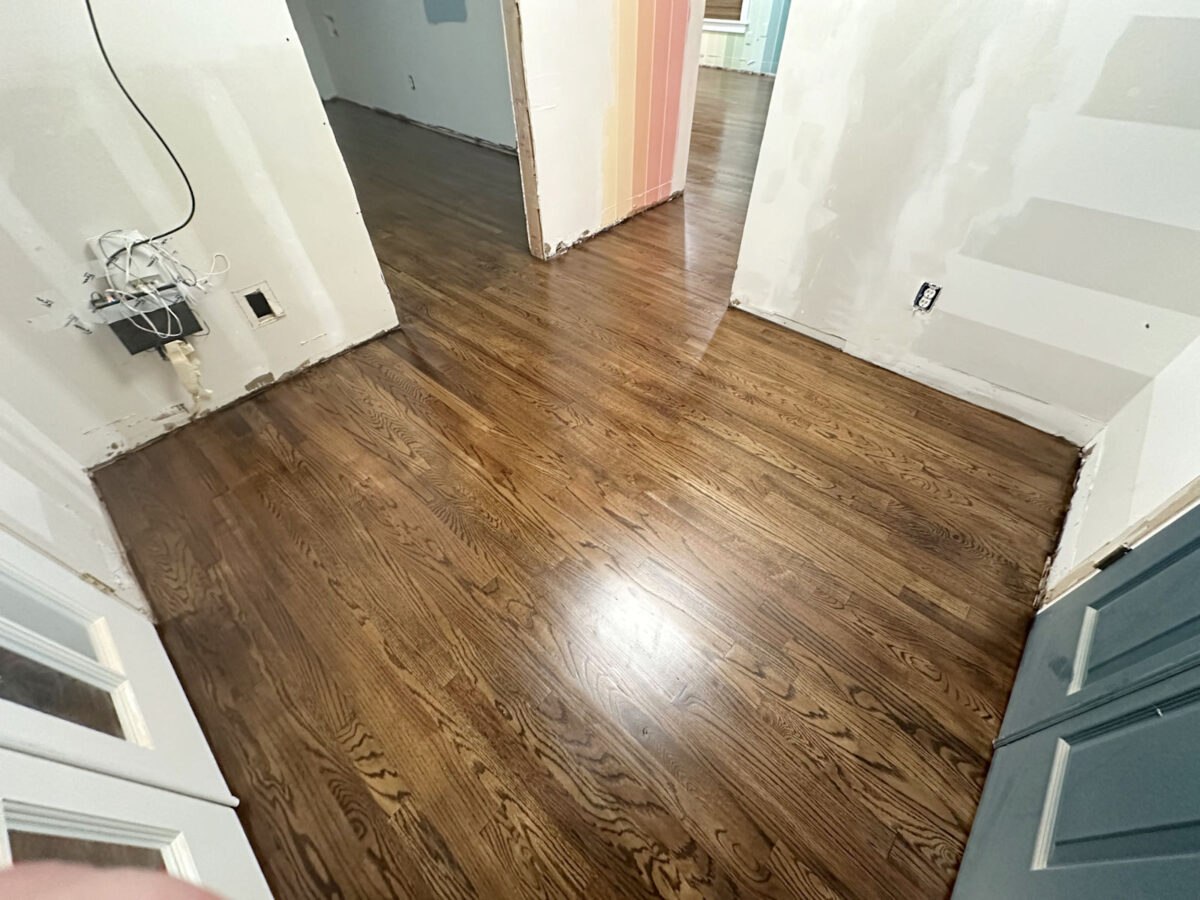
Y’all, the floors are finished!! Oh my goodness, this feels like I just cleared a huge hurdle. What a relief! I mean, I cleared a hurdle, but it’s a hurdle at the very beginning of a very long race. But I’m relieved, nonetheless. Here’s the final result.
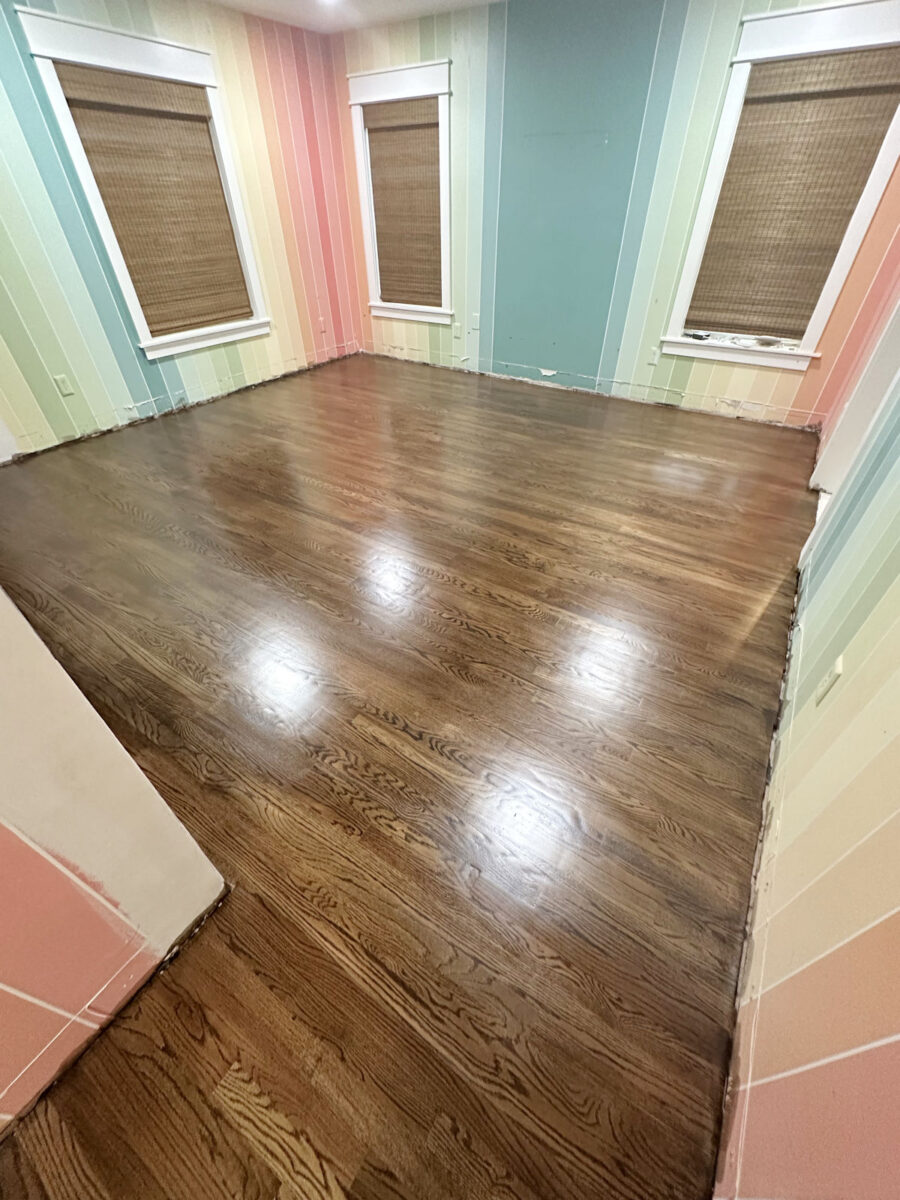
The funny thing is that, in person and with bare feet walking across the floors, I can tell a huge difference between the floors before sanding (i.e, the floors that just had two coats of the stain/polyurethane mixture) and the floors now after they’ve been lightly sanded and polyurethaned with the final clear coat of poly. These floors are very smooth now and feel buttery soft underfoot. But in pictures, there’s really no difference.
Here’s the floor with the two coats of polyurethane/stain mixture on the left, and the finished floor after sanding and adding that final coat of polyurethane on the right. It’s hard to tell a difference in pictures, right?
So I guess y’all will just have to take my word for it. The difference in how it feels underfoot is significant.
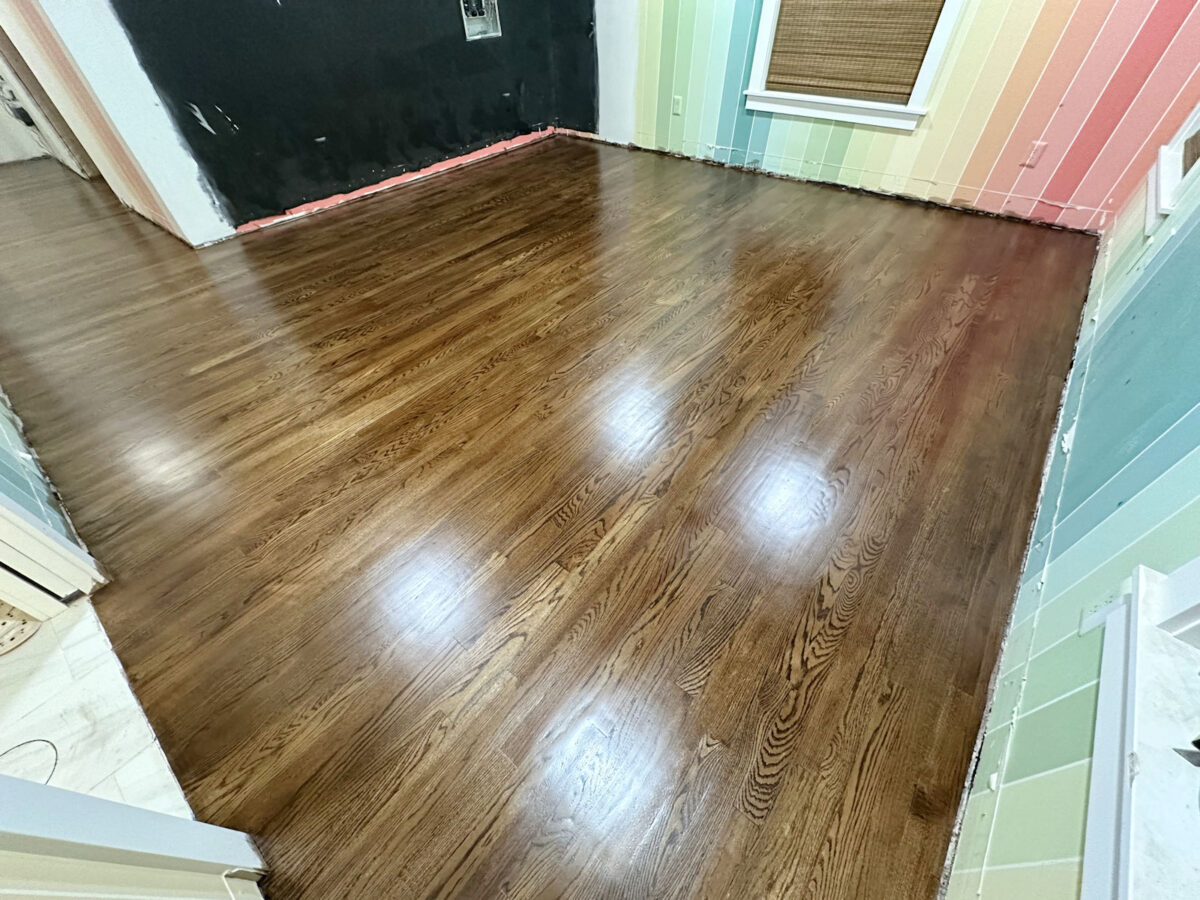
I thought that the sheen might be a bit less after that final coat of satin polyurethane, but there’s not really a significant difference. Unfortunately. The floors are reflecting everything — the striped walls, the black wall, the lights, and everything else.

That’s one of the main reasons I don’t like shiny finishes. The sheen distorts the true color because it reflects things around it. And also, the shinier the sheen, the more it shows imperfections.
And there are plenty of imperfections, mainly in the way of animal fur and my hair getting caught in the polyurethane. I tried to catch as many as possible and get them out when I saw them, but when I have a 100-pound dog who sheds the equivalent of a chihuahua about once a week, it’s virtually impossible to catch all of them. And I vacuumed and swept twice before putting that last coat of poly on the floors. Still, it’s impossible to get rid of all of them.

But hopefully, since the floors are dark, and since no one else is going to scrutinize my floors the way I do, no one else will notice those few Cooper hairs that are trapped in our floor at least for the next decade or two. 😀 Overall, I’m so pleased with how the floors turned out.
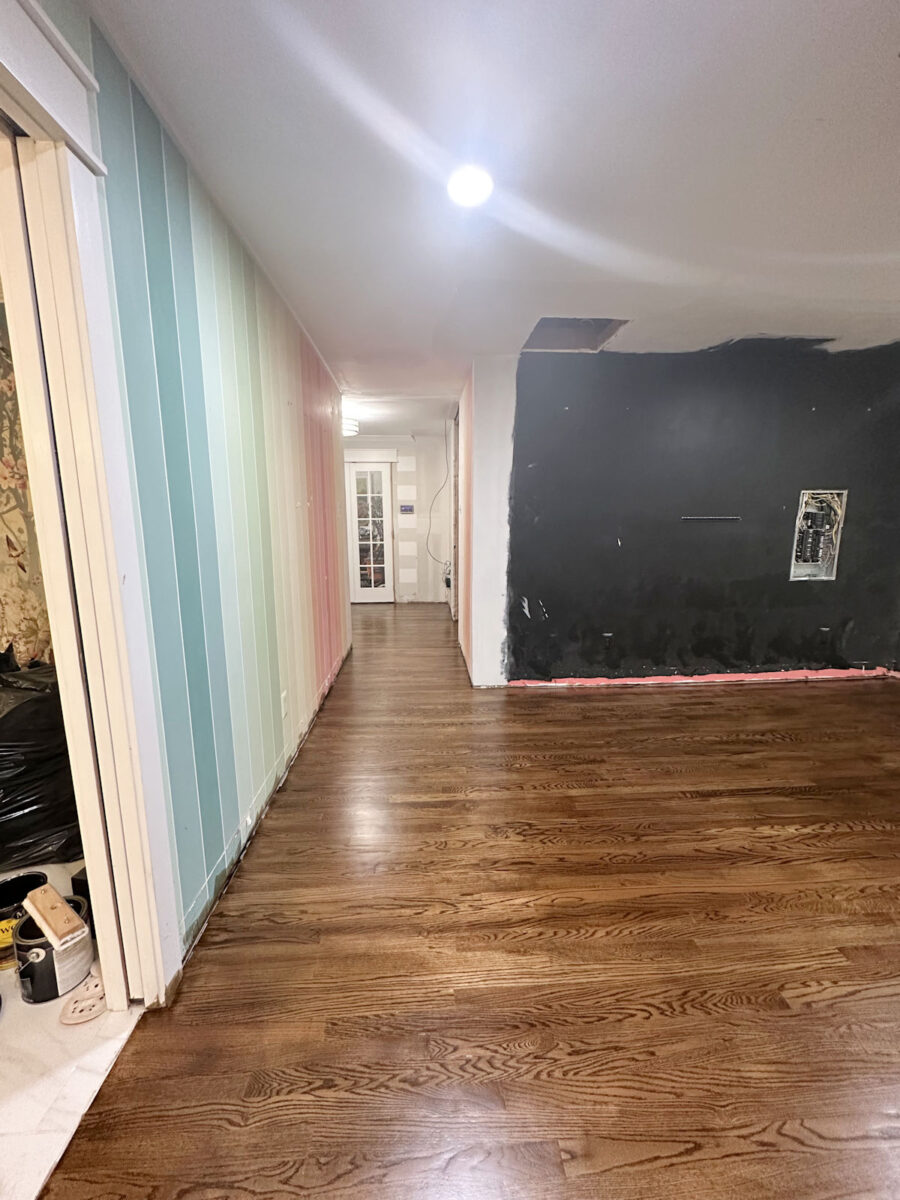
And finally, here’s a look at the closet — the room with very little light right now.

I’m still deciding what kind of lighting I want to add to this room, but the finished room will be much brighter than it is right now.

But the floor is finished, and now it’s on to the fun stuff!
And that brings me to the closet. As y’all know, I want to concentrate on my closet first because my current lack of a closet is the thing that’s affecting my life the most right now. Matt and I are doing just fine sleeping in the breakfast room. But what’s negatively affecting my life and peace of mind right now is having all of my stuff spread out over the house. Our bathroom is at one end of the house, my clothes are in the sunroom, my shoes and handbags are in my studio.
And then there’s the fact that I haven’t had a working dryer since the middle of December when the contractor unplugged my dryer so that he could pull that wire (dryers require a 220-outlet and larger wiring than most everything else) out of the sunroom and put it in the new location. So one of my first priorities, once I feel like the floors have had enough time to dry to the point that I won’t mess them up, will be to get my washer and dryer in their new locations. (Don’t worry. The floors will be covered.)
So at least for now, my closet will be my priority. I may take a break here and there and do a project for the bedroom and foyer, but I hope to get the closet done as soon as possible. And that brings me to yesterday and my planning for the closet.
I sat down at my desk to figure out my purchase list and cut list for the closet, and I got hung up on one particular detail that could have a pretty significant impact on the overall price of the closet. That detail is the cabinet depth. All this time, I’ve been planning on building the cabinets 20 inches deep. That’s the depth that is shown here. All of the cabinets on the perimeter of the room are 20 inches deep, and the three sections on each side wall are 46 inches wide.

But if I make one small change, those cabinets will require significantly less plywood to build, which will save me quite a bit of money. If I do 20-inch-deep cabinets, I can only get two pieces out of one sheet of plywood. But if I change the depth to 16 inches, I can get three pieces out of one sheet of plywood. Plywood is pretty expensive these days, so that one change can add up to quite a saving.
I know this is a small detail, but it’s a detail that makes a big difference. The hangers I use are 17.5 inches wide, and that’s without having an article of clothing on it.

It’s very common for closet cabinets to be 14 to 16 inches deep, which means that the hanging clothes stick out past the frames of the cabinets. In fact, I’d say that this is the most common depth that you see when you scroll through pictures of walk-in closets.
That’s what I see the most when I scroll through pictures of closets. And really, that depth would work out better, and makes a whole lot more sense, for the side of the closet that will be mostly shelves. It makes perfect sense for shoes, handbags, and folded clothes to be on shelves that are 16 inches deep rather than 20 inches deep. And I’m planning on one whole side of the closet to be nothing but shelves and drawers. Those drawers are wide, so there’s no need for them to be really deep.

But the one thing that I keep going back to is the idea that I may, at some point in the future, want to add doors to the cabinets if I find that dust is a problem. I really can’t imagine myself wanting doors on everything, but I kind of live in that “what if“. If I make the cabinets 16 inches deep for hanging clothes, that rules out the possibility of ever being able to put doors on those cabinets.
I know it’s a small detail, but it’s these details that make a difference. And it’s these details that I continually get stuck on. So you can tell me your thoughts on that. Should I go with the j16-inch depth and save a bundle of money? Or should I stick with the 20-inch depth for the possibility (which really does seem slim, if I’m being honest) of putting doors on the cabinets in the future? *Sigh* Once I make this decision, I’m ready to make my final list and purchase all of the supplies to get this room started!

Addicted 2 Decorating is where I share my DIY and decorating journey as I remodel and decorate the 1948 fixer upper that my husband, Matt, and I bought in 2013. Matt has M.S. and is unable to do physical work, so I do the majority of the work on the house by myself. You can learn more about me here.