
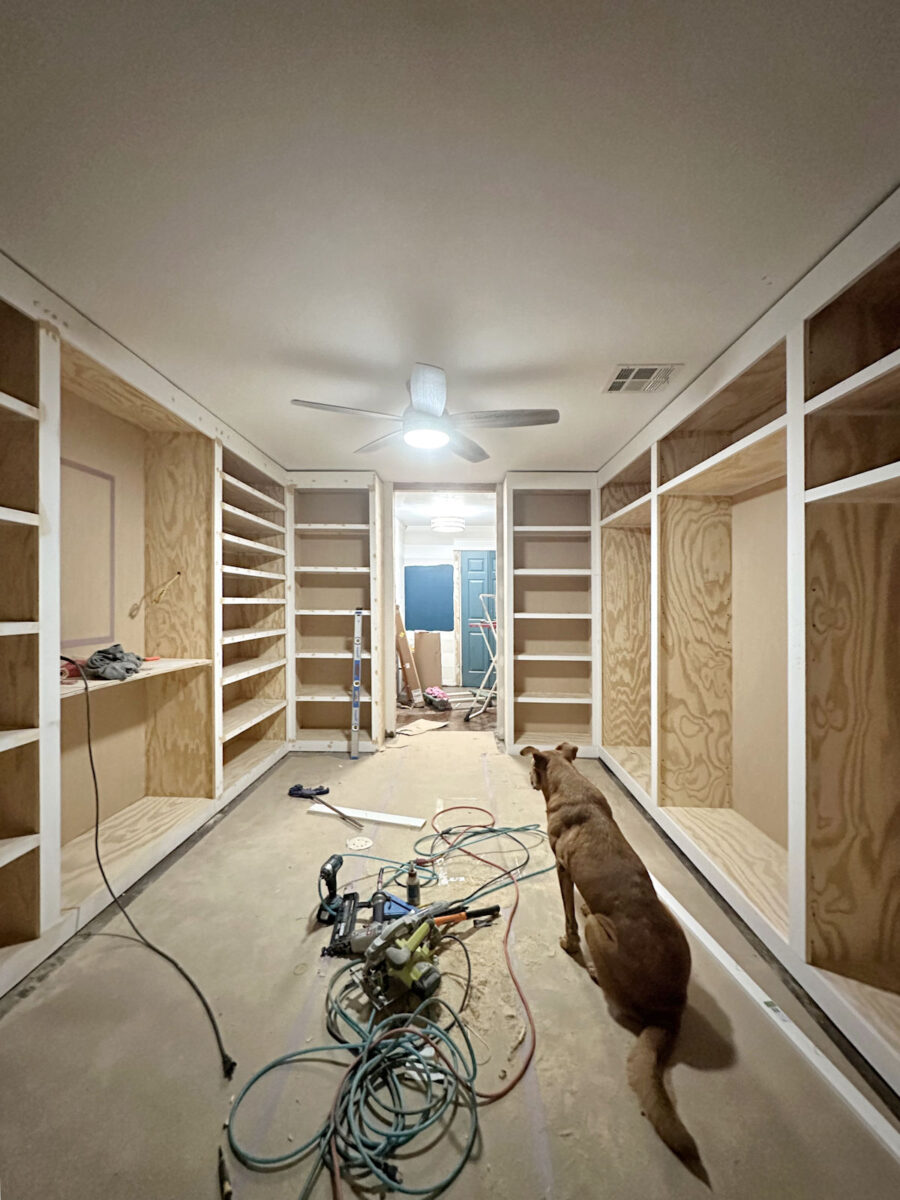
Things are moving right along on my walk-in closet project! I now have the whole thing trimmed out (with the exception of three pieces), but I still don’t have the pretty molding attached yet. I’ve been in the wood filling and sanding stage for the last two days. As soon as I get through that process, I’ll attach the pretty molding, do a little bit of wood filling on those nail holes, and then start caulking everything. If things go as planned, I hope to be ready to prime and paint this weekend or early next week at the latest!
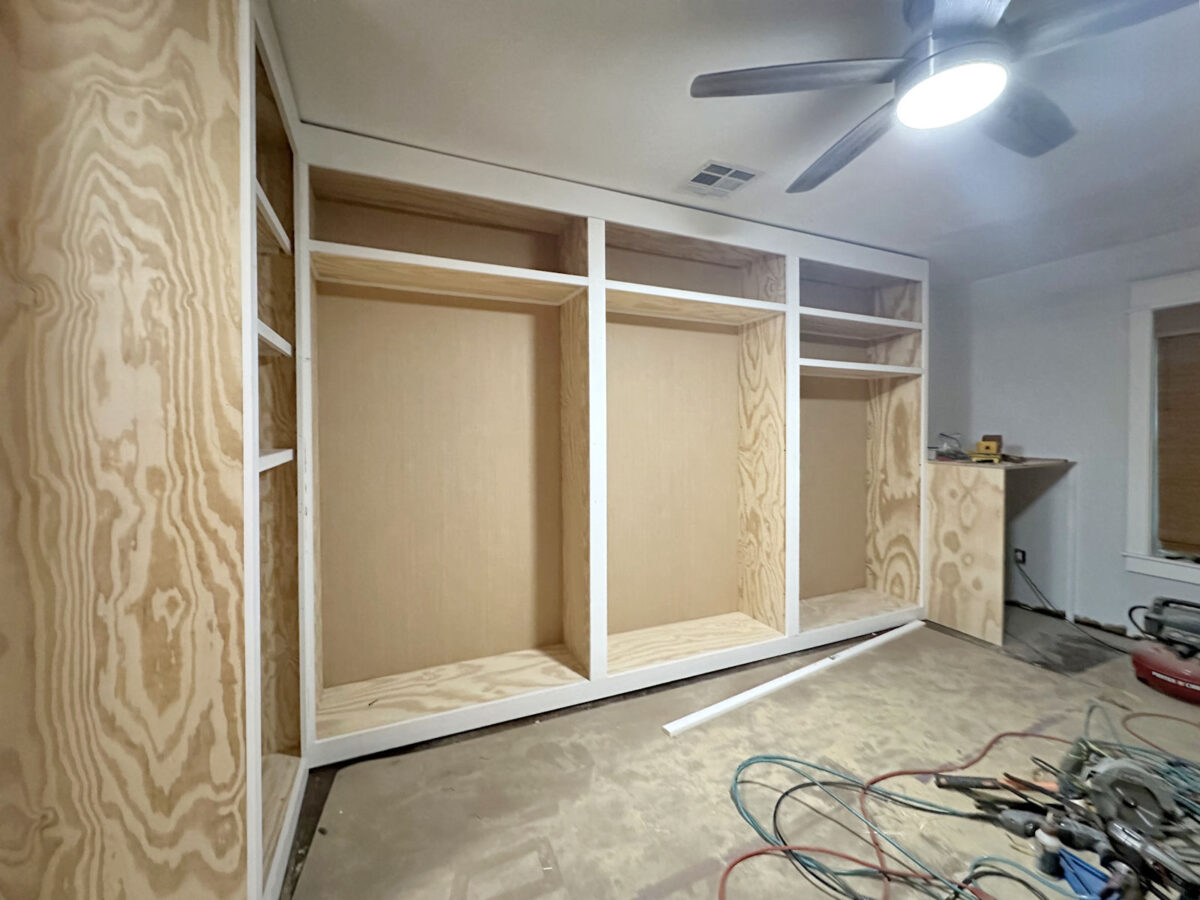
Here’s what the closet looks like now that the other side of the room has been trimmed out.
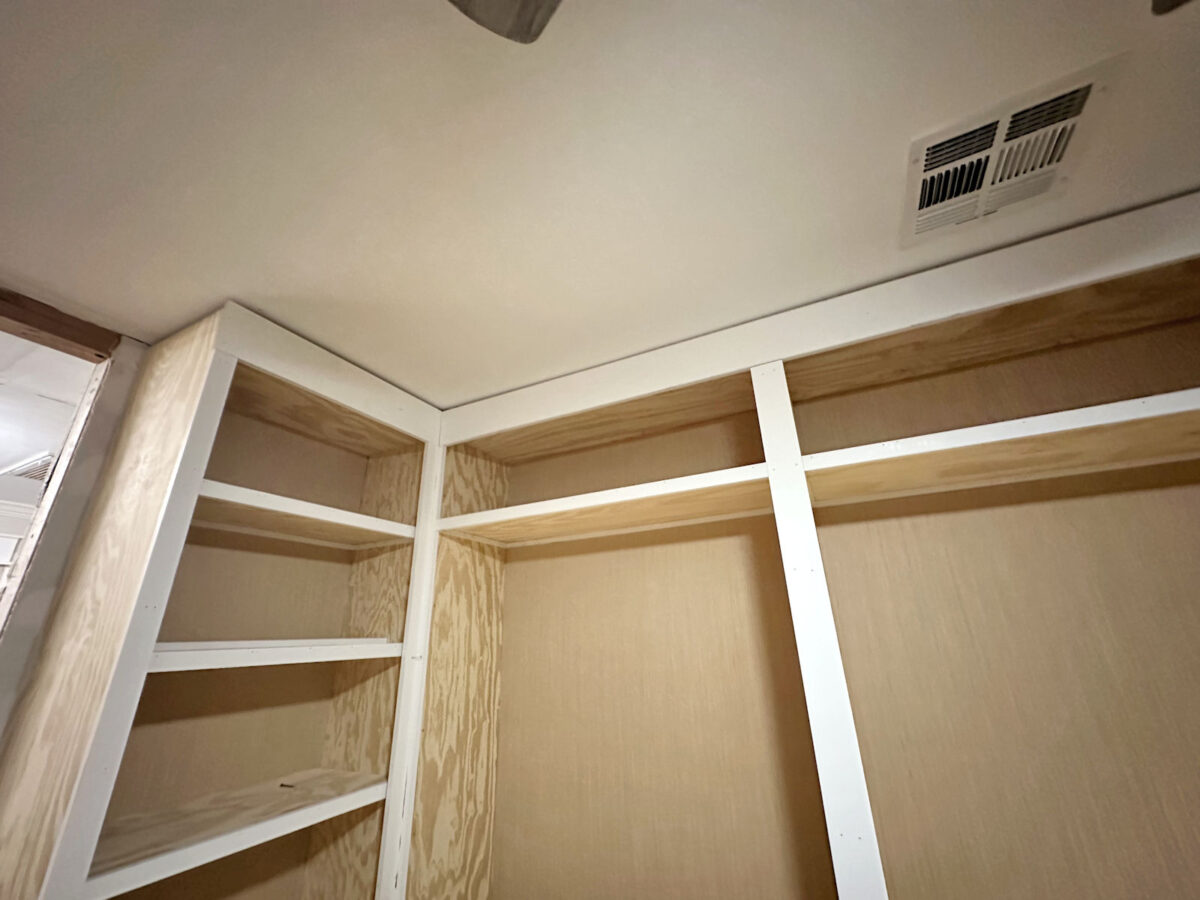
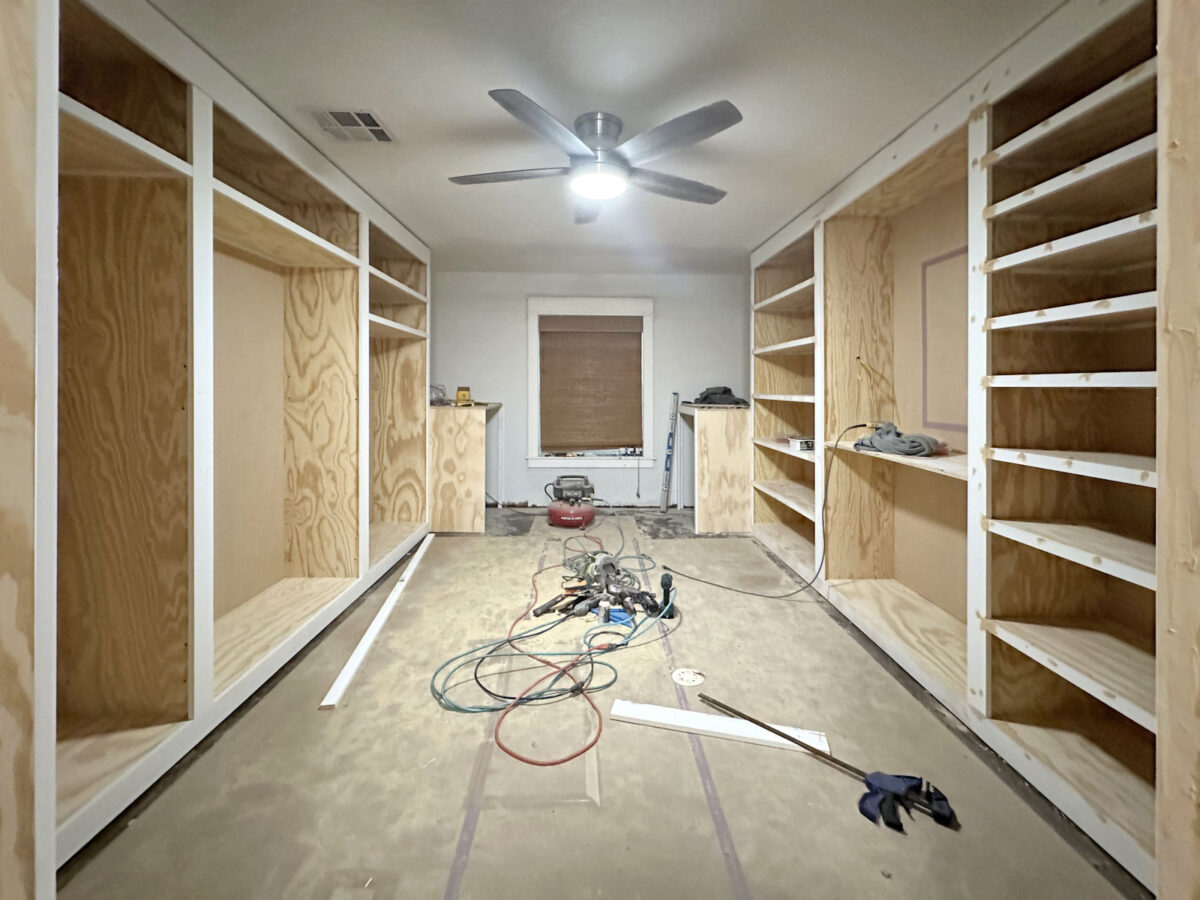
This side of the room obviously had a lot less trim that had to be installed, but it also gave me the most problems. I thought I would never get those shelves straight. Notice I said “straight” and not “level” because when working in a 70+ year-old home, nothing is perfectly level, square, or plumb. That means that if I attached the top trim along the ceiling and then had the shelves perfectly level, they would look completely off with each other. So it’s a balancing act when dealing with older homes. You want things to be as level as possible, knowing that they’re not going to ever be perfectly level, while also making them look uniform with each other. That requires a lot of “splitting the difference” when installing shelves inside square cabinet units that aren’t sitting perfectly plumb on an unlevel floor and with an unlevel ceiling.
But I finally got them looking right…I think. I did the best I could with what I had to work with.
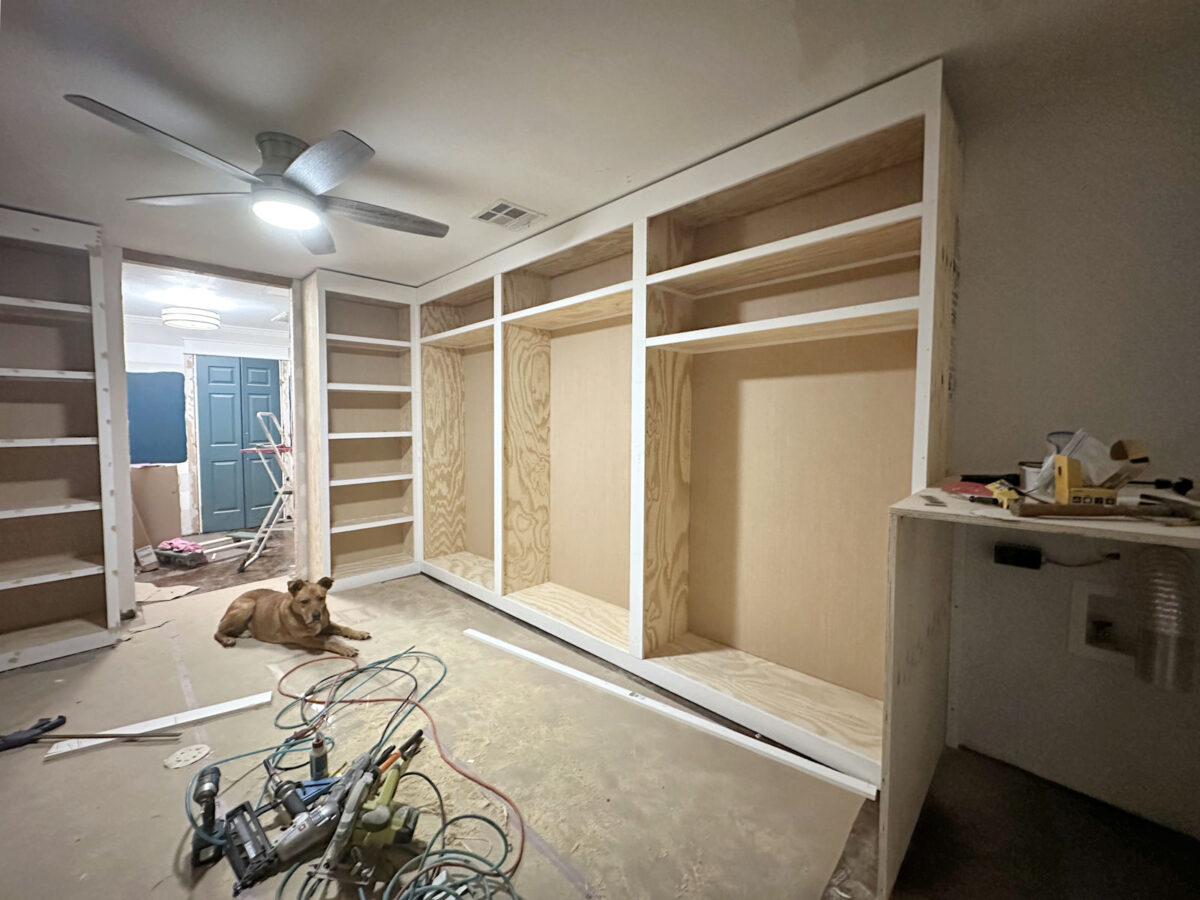
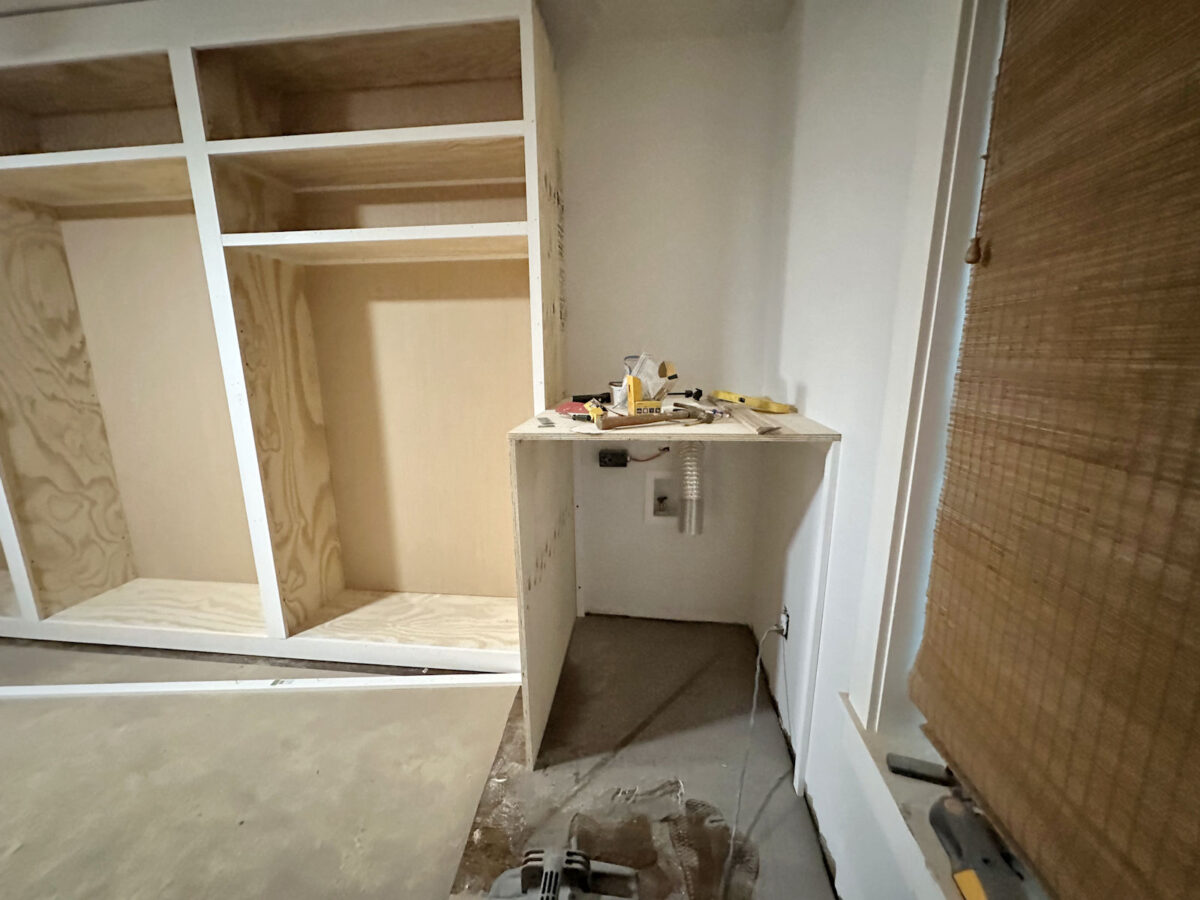
I also got a bit bogged down by redoing the cabinet on the right side of the doorway. I had that cabinet in place and screwed to the side cabinet, and had it almost completely trimmed out. Then I decided to redo it. The reason?
When I installed it the first time, in order to get those two cabinets perfectly spaced with the doorway, the edge of the cabinet on the left side was perfectly aligned with the front edge of the side cabinet. But in order to maintain that spacing around the doorway, the cabinet on the right side had to be hidden an inch more behind the side cabinet on the right that it was connected to. That meant that the doors on the left cabinet would have been an inch narrower than the doors on the right cabinet.
That didn’t set well with me. I tried to brush it off and just move forward with trimming out the cabinet, but I couldn’t let it go. So I ended up taking off the trim, unscrewing that cabinet from the side cabinet, moving it over an inch (which I thought I would never get done because it’s such a tight squeeze), screwing those cabinets back together, and starting over on the trim.
Now the two cabinets have the same width showing, and the doors will be the same width on both cabinets. But now the doorway isn’t perfectly centered between those cabinets.
But I’ll take care of that when I trim out the doorway. I’ll just shim the door jamb on the right side so that it’s an inch away from the rough framing, and that will make the doorway centered between the cabinets again. Fortunately, I have 38 inches of width to work with on that doorway, so losing an inch on that side won’t matter.
Because I wasted lumber by re-trimming that cabinet, I ran out of lumber to use to trim out the dryer cabinet. But that’s okay. It’s just three pieces. I can do that very quickly.
But it’s moving right along! I still have at least two days of work ahead of me (not counting today because I don’t have a lot of time to work on Wednesdays). But tomorrow and Friday will be all about wood filling, sanding, and caulking.
And I’m so glad I waited to finish the doorway until after the cabinets were all installed! It still needs some framing and drywall done before I can trim out that doorway. But had I already finished that, it would now be off center with the cabinets. Now I can get the doorway perfectly centered with the cabinets on the first go ’round.
Also, I want to point out that the gap between the top trim and the ceiling will disappear once the pretty molding goes on. The crown molding will hide that gap and go all the way to the ceiling.
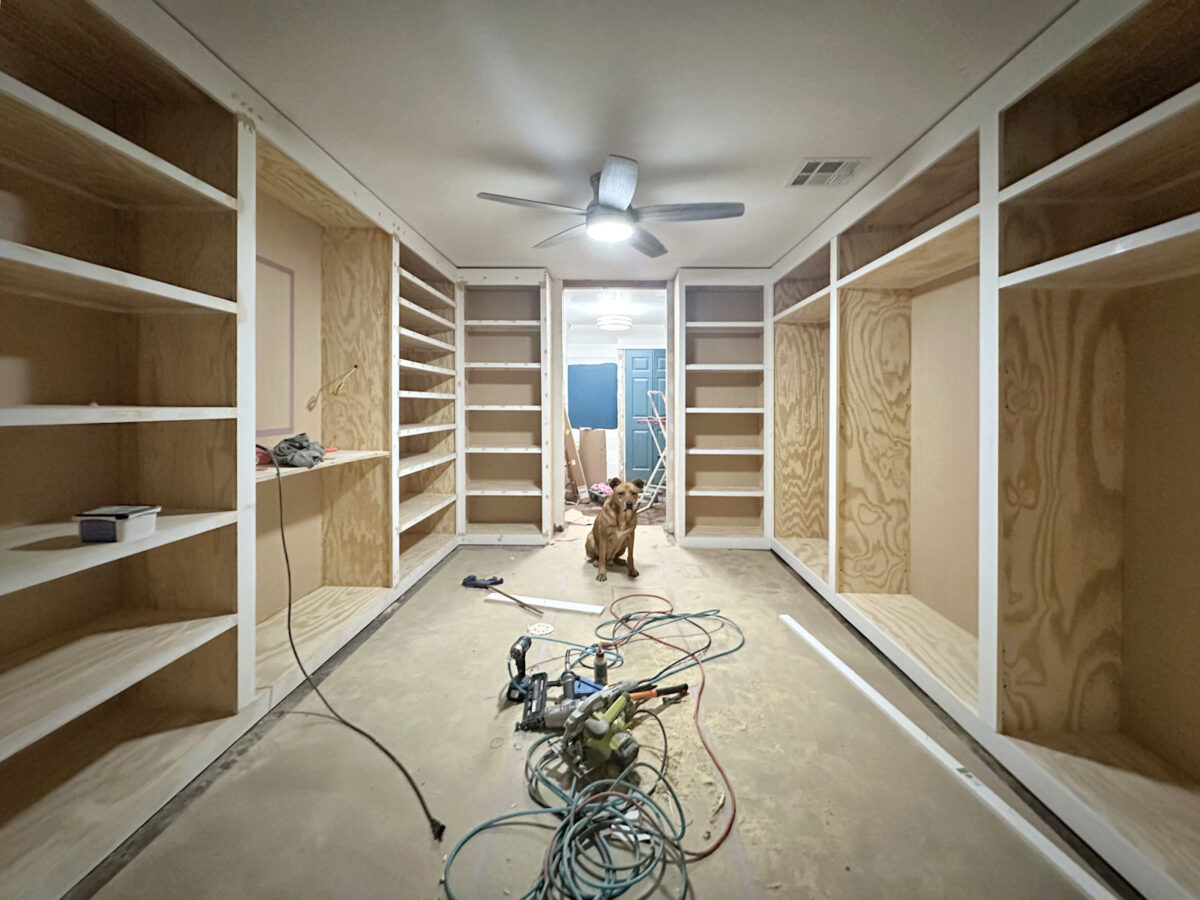
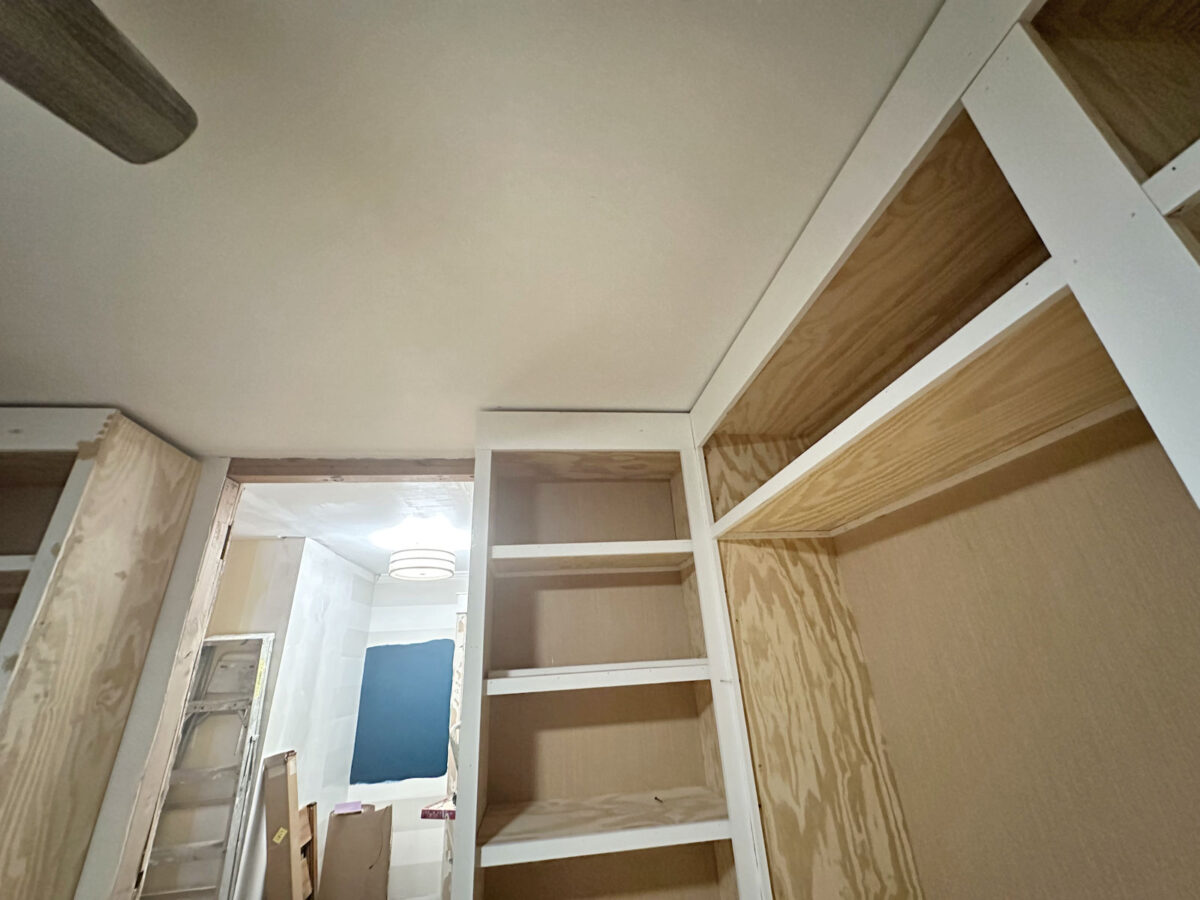
And here’s a look back the other direction. I’m so excited about how this is shaping up!!

Addicted 2 Decorating is where I share my DIY and decorating journey as I remodel and decorate the 1948 fixer upper that my husband, Matt, and I bought in 2013. Matt has M.S. and is unable to do physical work, so I do the majority of the work on the house by myself. You can learn more about me here.